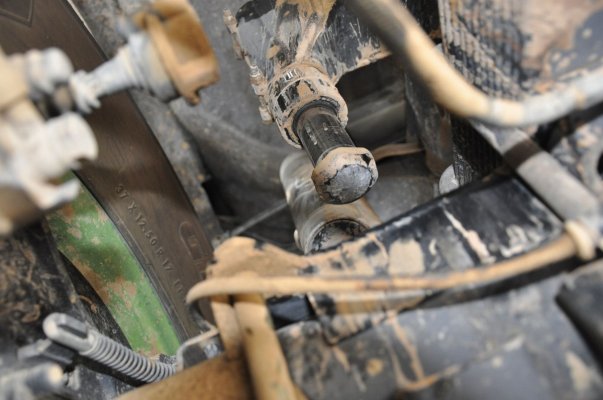
I got my Icon bump stops installed

Disclaimer: Links on this page pointing to Amazon, eBay and other sites may include affiliate code. If you click them and make a purchase, we may earn a small commission.

MOLONxLABE

Full Access Member
Joined
May 21, 2013
Posts
482
Reaction score
647
Location
NE Colorado / Lake Havasu City, AZ
I got my new Icon bump stop kit and installed it over the weekend. Installation went really smooth after the bed came off. I highly recommend removal of the bed for this installation, it's much easier than dropping the exhaust, fighting with the brake lines, and dealing with the very limited space.

user11389_pic6649_1372211088_zpsd81f97e1.jpg


As you can see, the exhaust barely snakes through. I'd imagine if you had a dual system, you might have a hell of time getting it to work with this kit.

user11389_pic6652_1372211701_zpsf2861cc4.jpg


I haven't had a chance to give it a really good flogging yet, but I did take it through some nasty whoops and the rear end feels a lot smoother and much more controlled.

So far I'm very satisfied with it, Icon has produced another great product and I'm looking forward to throwing some more nasty terrain at it and seeing how it holds up!
 
Last edited:

OnlyKetchup

Member
Joined
Feb 16, 2013
Posts
35
Reaction score
12
Location
Bakersfield, CA
Wasn't aware that Icon had come out with a kit. The design looks interesting with the tie rods, seems like it might balance our the forces better than others. Not sure how I feel about the 2" vs 2.5" bumpstops though. What made you choose this kit?
 
OP
OP
MOLONxLABE

MOLONxLABE

Full Access Member
Joined
May 21, 2013
Posts
482
Reaction score
647
Location
NE Colorado / Lake Havasu City, AZ
Wasn't aware that Icon had come out with a kit. The design looks interesting with the tie rods, seems like it might balance our the forces better than others. Not sure how I feel about the 2" vs 2.5" bumpstops though. What made you choose this kit?

For exactly that, the design looked to me that the impact forces were going to be more evenly distributed. I had been considering a bumpstop system for awhile, I thought I'd try something new.

---------- Post added at 10:07 PM ---------- Previous post was at 10:04 PM ----------

Looks great! Now get some flogging in, so you can report how well it works, haha.

Yeah, I'm planning on it!
 

KX250R

Full Access Member
Joined
Sep 27, 2011
Posts
286
Reaction score
204
We ran the 2" ICON bump stops in the recent NORRA Mexican 1000 on the G&P Racing rig and they did great. We wore the pads off them flogging them so much LOL. You would have to work really hard to abuse them as much as Wiz and I. You will like them.

DSC_0202_zps1435a47c.jpg
 

SwampKing

FRF Addict
Joined
Apr 7, 2012
Posts
1,938
Reaction score
266
Does look good...
.I prefer having the frame braces extend out around the narrowed (weakened) part of the frame but then again they do have rods else where. I just can't see the threaded eyelets/ rods being stronger compared to RPGs bracing left to right of the soft spot to frame though. Seems icons design is relying on the extra rods to distribute the impact.
Only way to really find out.......ANYONE wanna go for some nose dives comparing the vendors?!?!?! Haha. I see wiz and them are successful. It's really how hard can each vendors design take at this point though.
 

DylanICON

Supporting Vendor
Supporting Vendor
Joined
Jul 26, 2011
Posts
23
Reaction score
68
Location
So Cal
The Raptor frame has a couple of issues that make it difficult to work with. The outside is formed for spring clearance and has very few flat surfaces to work with. Because its boxed gaining access to the inside to securely bolt to and distribute force is difficult. The bigger issue is that because the bump stop is cantilevered over the leaf spring it wants to peal the bracket off the outside of the frame. Just bolting to the outer side surface of the frame would work that surface like the head of a drum, would not be very ridged and would fatigue eventually. So we wrap the bracket down underneath the frame rail to pull from as low as possible to resist pealing the bracket. Now the problem is that there is only one small factory bolt that is not sufficient to handle the shear loads. We could drill more holes but we don't want to do that and the inside of the frame does not have a great place to distribute the nut against. So we now take advantage of the large flat surface on the inside of the frame. The inner bracket half bolts to the outer half in 2 directions: In to prevent pealing the bracket away, and up to hold the outer bracket firmly against the bottom of the frame to transfer the intended bump loads to the chassis. The inner bracket also goes over the top and connects to the outer bracket to firmly hold the top against the frame. The forces are now being placed on strong flat corner sections of the frame. The resistance to pealing the bracket off the frame is now converted to pushing in on the upper outer edge of the frame that is flat, square and strong and the pulling force is on the lower inner edge of the frame that is also flat, square and strong. There are also 2 bolts in through the side of the frame but they are not taking the brunt of the force. They are ensuring that the bracket is held firmly to the odd shape of the frame and are helping the frame stability in the weak formed area.

Now we have securely clam shelled the frame and put the forces to strong corner sections and distributed it to flat surfaces. But because the bump stop is cantilevered there is a twisting force created. There are factory cross members just fore and aft of this area and the frame is actually quite robust in twisting strength and would most likely be more than sufficient for 95% of off roaders. But to be thorough we added a cross bar. It has 2 holes per side to resist twisting and also maintains the width of the frame. The billet CNC machined I beam is solid at the ends to prevent crushing under the bolt junction for maximum clamping force. The additional twist resistance from the cross bar goes through the ribbing on the inner bracket to the bottom where the brackets want to pull out but the most direct force path is to pull here directly so we added the tension rods. This competes the force path into primarily push pull forces.
 

Raptor911

FRF Addict
Joined
Aug 9, 2012
Posts
4,690
Reaction score
2,252
Location
Ashburn, VA
Do you really really have to remove your bed to install this?

---------- Post added at 09:34 PM ---------- Previous post was at 09:31 PM ----------

sir ... you have a lot of reading to catchup on >> http://www.fordraptorforum.com/f92/...c-bumpstop-system-official-information-24805/


Wasn't aware that Icon had come out with a kit. The design looks interesting with the tie rods, seems like it might balance our the forces better than others. Not sure how I feel about the 2" vs 2.5" bumpstops though. What made you choose this kit?
 
OP
OP
MOLONxLABE

MOLONxLABE

Full Access Member
Joined
May 21, 2013
Posts
482
Reaction score
647
Location
NE Colorado / Lake Havasu City, AZ
Top