Running Roush Exhaust without tips? Anyone have a picture from underneath?

Disclaimer: Links on this page pointing to Amazon, eBay and other sites may include affiliate code. If you click them and make a purchase, we may earn a small commission.

ManleyORV

Full Access Member
Joined
Sep 5, 2012
Posts
136
Reaction score
41
Location
Cuyahoga Fall, Ohio
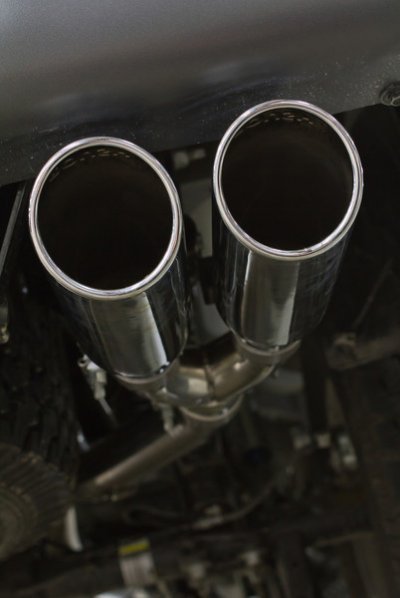
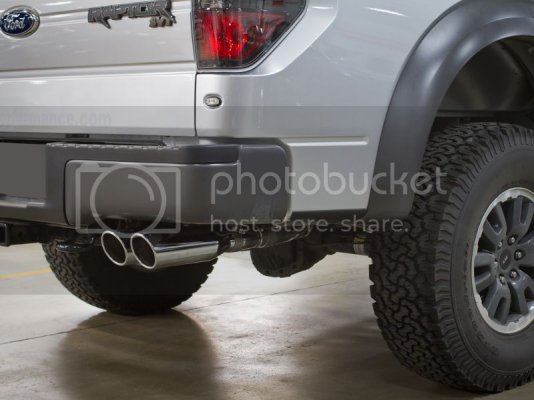
I'm curious where the exhaust would end up if you didn't install the tips? Anyone have a picture?

After hearing Lost Highway's Roush this weekend I'm pretty sold on it, especially for the price. But I don't really want any tips showing.

Any help is much appreciated.

-Josh
 

Reptar

FRF Addict
Joined
Aug 24, 2010
Posts
2,454
Reaction score
619
Location
Jersey
they end a couple inches behind the bumper. I ran mine without the tips the 1st day because I was driving up to the powdercoaters to PC my tips. The ehxaust has more of a drone noise and isn't as deep without the tips on. It's because they're exiting out of 2 tiny ports instead of 2 large long tips that somewhat echo/magnify the sound to make it deeper, yet reduces drone as well.

You could not use the Y pipe that splits the 3" into the dual tips, the sound may be better just coming out of the 3" rather than the split 2.5" ones, but you'd need to get a custom exhaust hanger made, because the last hanger is on that Y pipe piece.

Just get the black PC tips and be done with it!
 
OP
OP
ManleyORV

ManleyORV

Full Access Member
Joined
Sep 5, 2012
Posts
136
Reaction score
41
Location
Cuyahoga Fall, Ohio
Might cut it back a bit and dump it pointing down. Was just looking for a photo to see what I was working with.

Interesting about the sound without the tips... Never would have guessed that!
 
OP
OP
ManleyORV

ManleyORV

Full Access Member
Joined
Sep 5, 2012
Posts
136
Reaction score
41
Location
Cuyahoga Fall, Ohio
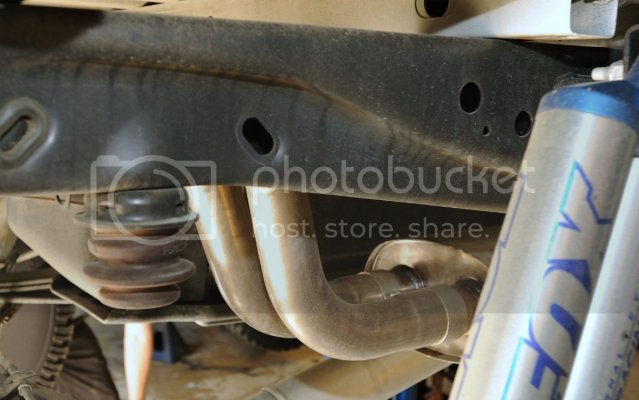
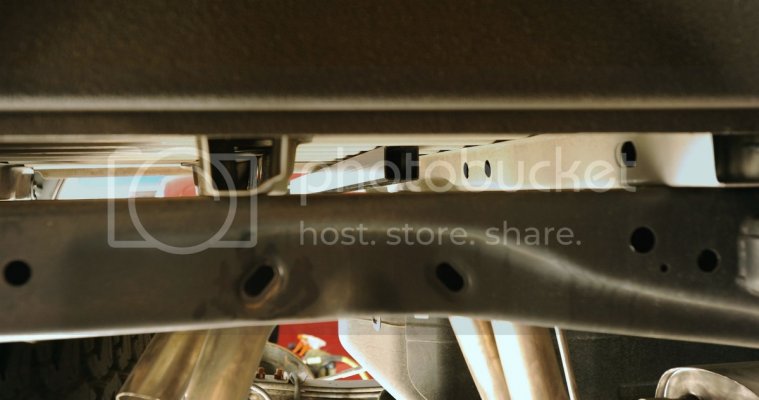
Can anyone snap a quick photo for me from underneath where the tips and Y-Pipe connect?

---------- Post added at 06:17 PM ---------- Previous post was at 04:40 PM ----------

Looking at these photos, I think I'd be able to not use the Y-Pipe or Tips and just leave it or fasten a turndown to it.

421248-2_800x600.jpg

RH421248d.jpg
 

Mjolnir

FRF Addict
Joined
Jan 1, 2012
Posts
2,320
Reaction score
2,424
Location
Colleyville, Texas
Here is the underside of mine, I have a cutoff borla


My wonderful wife (same one who gave me the truck for our 25th anniversary) got me a stage three kit for my birthday.<br />
<br />
The great guys at Rock and Roll Off Road let me hang out and bug them while they installed it.<br />
<br />
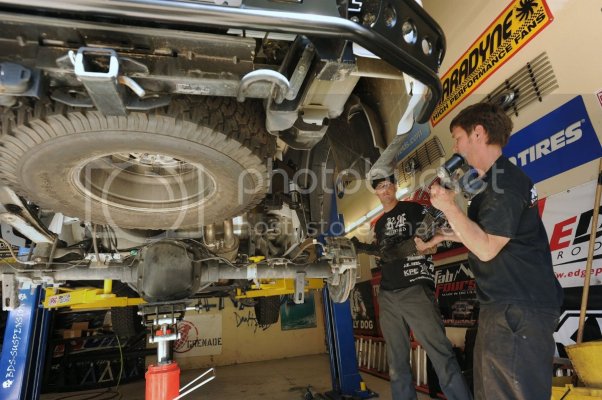
I got some pretty cool pictures, and I know it's been up here before, but if you're bored and want to see some neat undercarriage pics of the Raptor, here you go:<br />
<br />
Up on the Lift we go:<br />
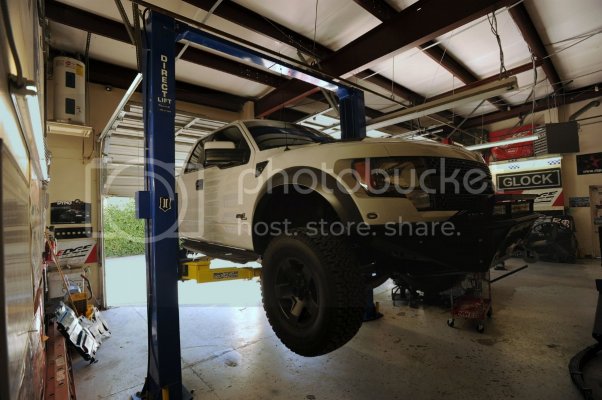
mybirthdaypresent.jpg<br />
<br />
Before shot:<br />
before1.jpg<br />
<br />
Another before shot:<br />
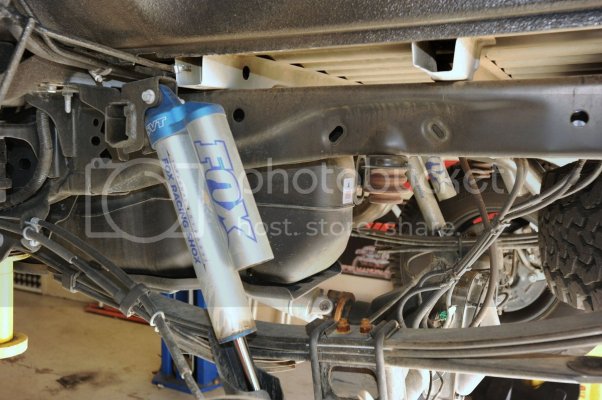
before2.jpg<br />
<br />
Removing the shocks:<br />
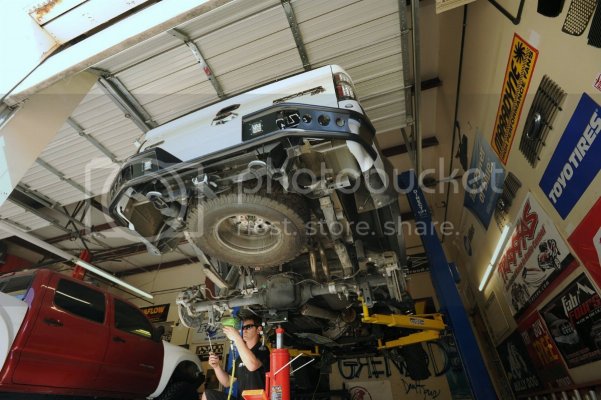
removingtheshocks.jpg<br />
<br />
Sliding the rail:<br />
fittingthecrossbrace.jpg<br />
<br />
setting the brace:<br />
firstpartofstage2.jpg<br />
<br />
finishing stage 2:<br />
stage2almostdone.jpg<br />
<br />
Off come the leaf springs:<br />
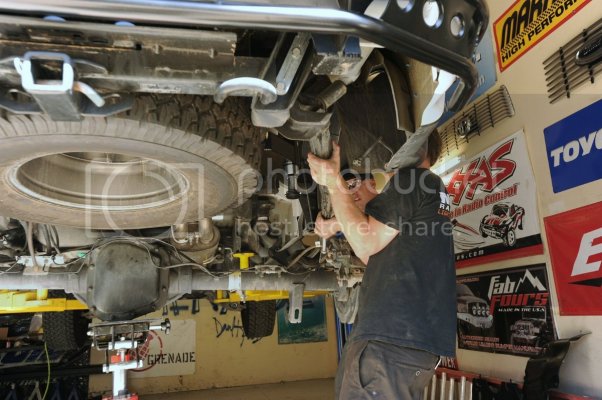
outwitholdleafsprings.jpg<br />
<br />
On Goes Stage 3:<br />
inwithnewleafsprings.jpg<br />
<br />
The "Pinto" Bolt on the left leaf spring:<br />
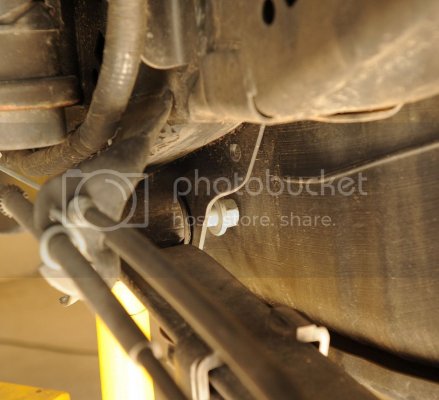
stage3boltproblem.jpg<br />
<br />
Drop the tank? How about cut the bolt:<br />
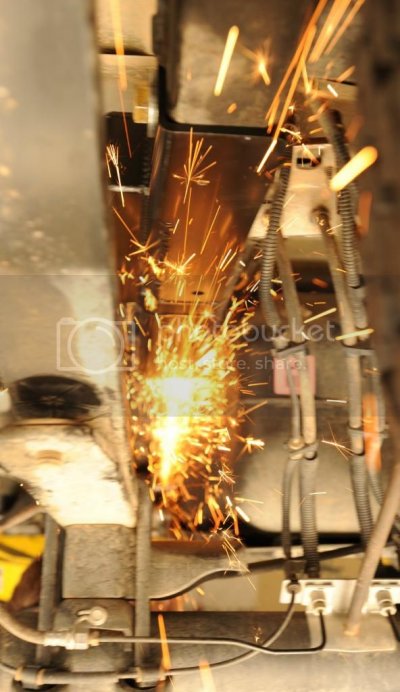
boltproblemsolved.jpg<br />
<br />
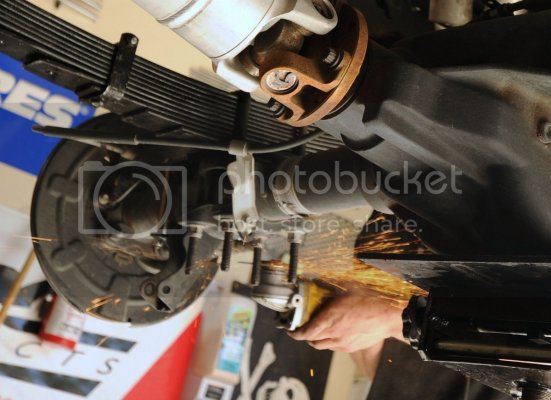
Stock U Bolts are a bit long now:<br />
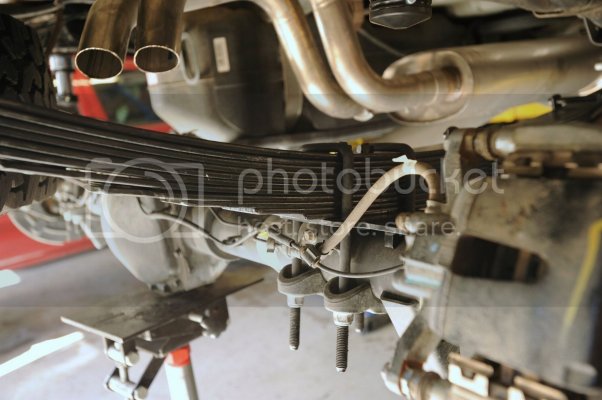
Uboltsareabitlong.jpg<br />
<br />
Get the Grinder:<br />
easyfixforlongubolts.jpg<br />
<br />
Almost done with leaf springs:<br />
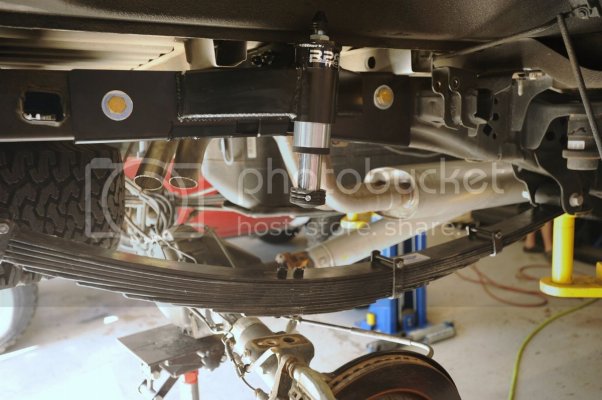
gettingclosewithstage3.jpg<br />
<br />
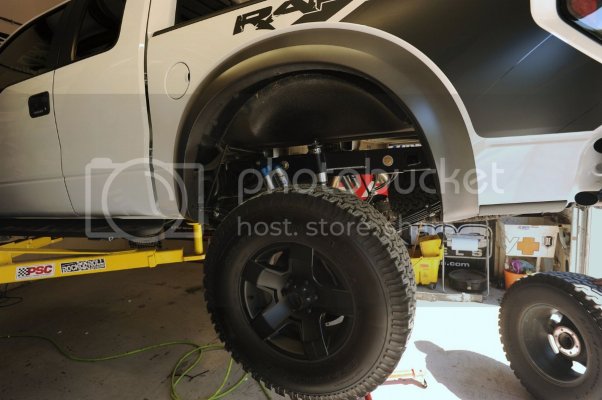
Ready to put the wheels back on:<br />
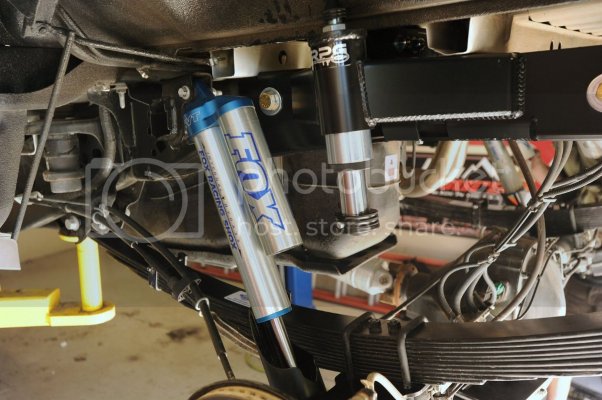
almostdone.jpg<br />
<br />
Wheels on:<br />
boltingthewheelsbackon.jpg<br />
<br />
Finished - ready to go get dirty:<br />
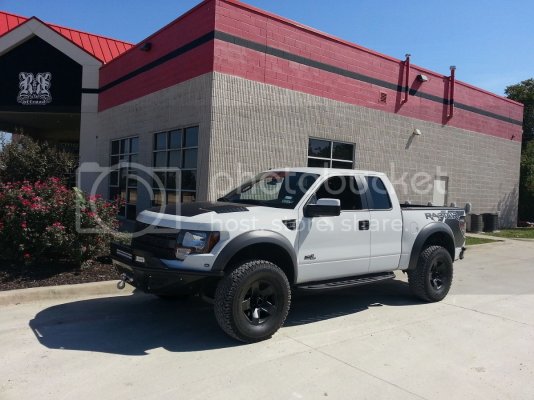
finished.jpg

Sent from my iPad using Tapatalk HD
 
Top