Horn Blaster Train Horn Install
Well... my train horn installation is a bit unconventional. I wanted the tank and horns be be protected as I do quite a bit off-roading. I also got the largest
horn blaster kit offered by
Alternative Offroad. The train horn kit comes two fold for me. I wanted onboard air along with some fun. We now live near the beach and I figured I'd be airing down a lot more often than before. I also upgraded the compressor to the constant duty viair compressor (the 540 kit typically comes with the heavy duty viair compressor).
Once the kit came in, I spent some time under the truck and looking on the interweb to find ideas for where to mount everything. The 540 kit comes with a 5 gallon DOT rated tank with 8 ports. This tank is awesome! But it is large, and won't fit in convention locations.

The tank is too large to fit between the frame and the rocker panel like most have installed it. I also didn't want the tank in the bed. My bed is typically very full of gear, luggage, coolers and other important items. I wasn't about to make room for a tank of air. I had to do some cutting, but I was able to stuff the tank up into the fender behind the rear wheel on the driver side. Orangeaddict helped me get the tank installed. Soon I was grinding and cutting more on my truck than I thought I ever would.

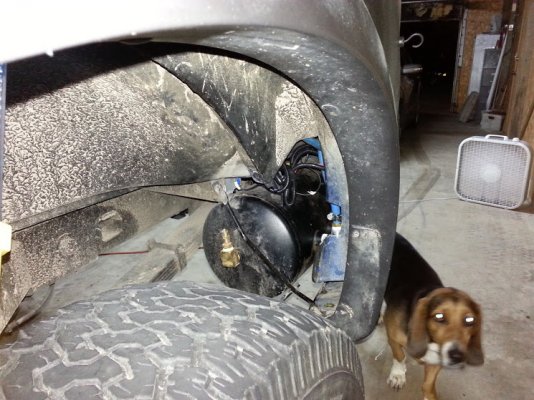
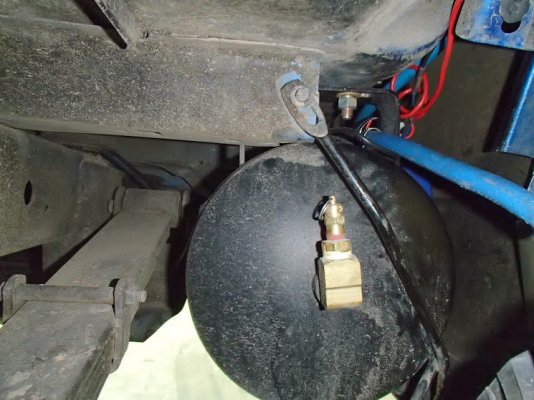
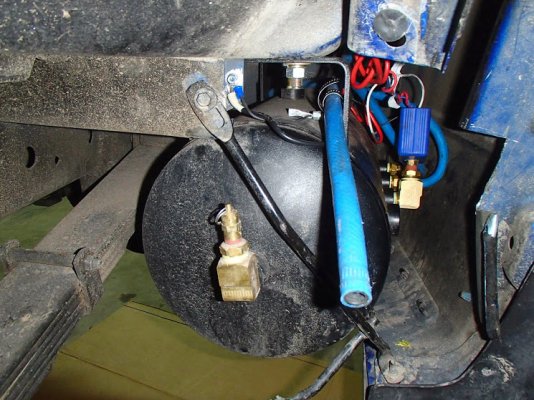
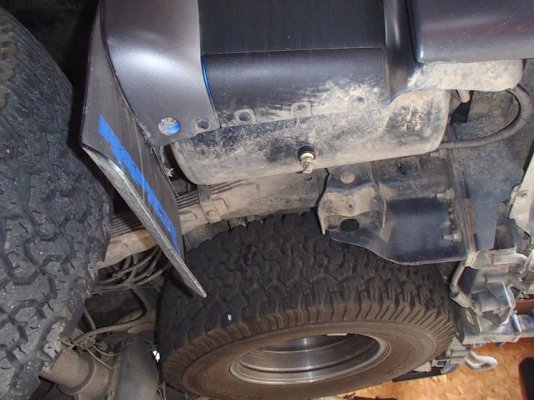
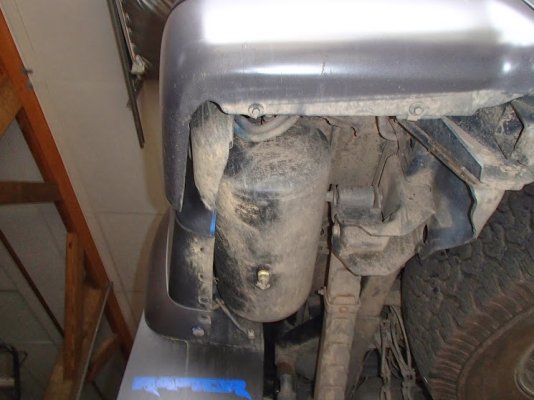
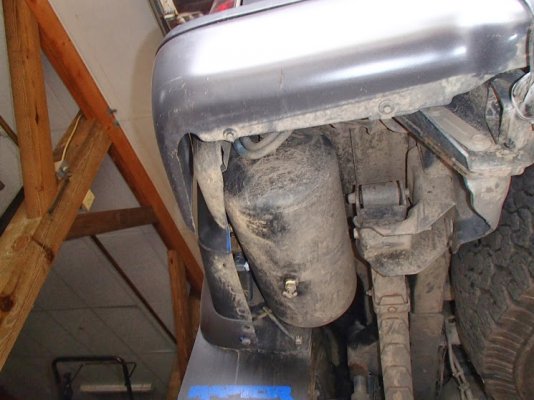
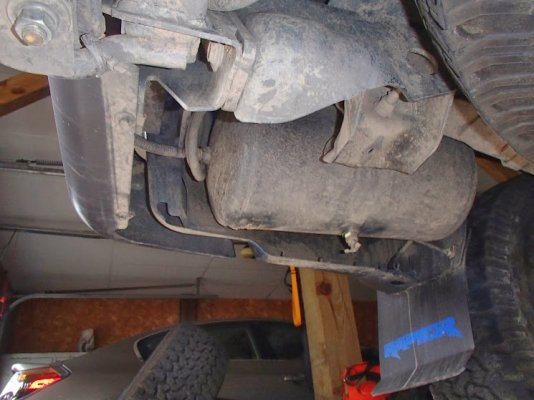
Getting the tank in there and mounting it to the bed was tough. The mounting bolts had to go through the bed, thus the tank is upside down. I had to trim portions of the underside of the bed and portions of the inner fender. I also had to trim the end of the leaf spring bolt to give myself the most clearance.
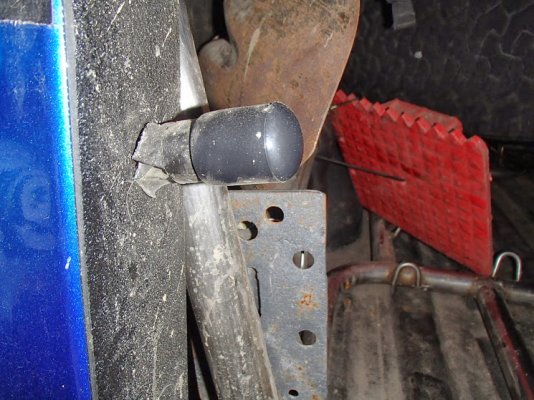
Now that I had the tank mounted, I found a good spot for the air horns. I was able to put them up against the bed, between where the spare tire goes and the cab. I used some self tapping screws and a few strips of perforated galvanized steel. The back side of the horns on are the driver side, the open end is towards the passenger side. I kept the horns as far as way possible from the stock exhaust.
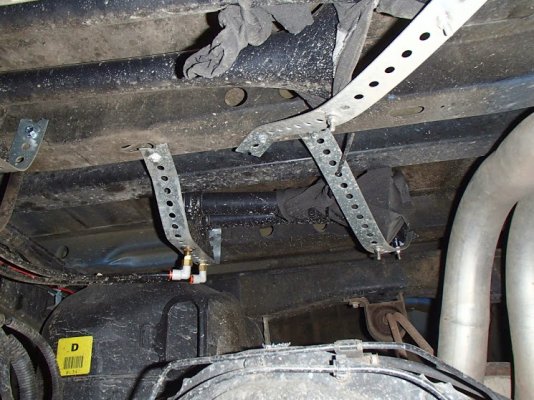
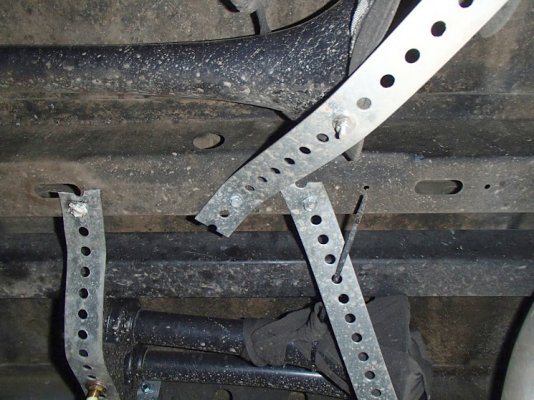
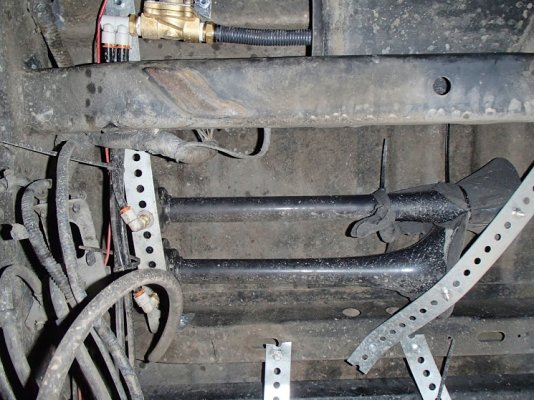
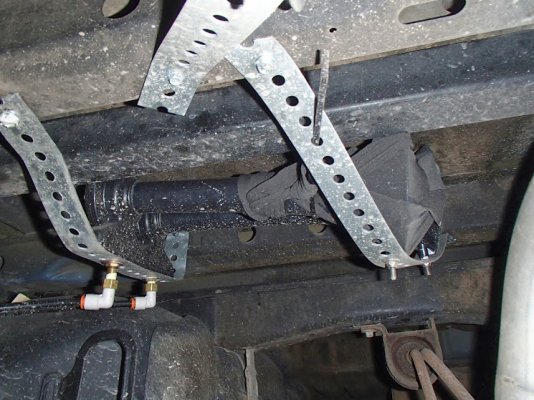
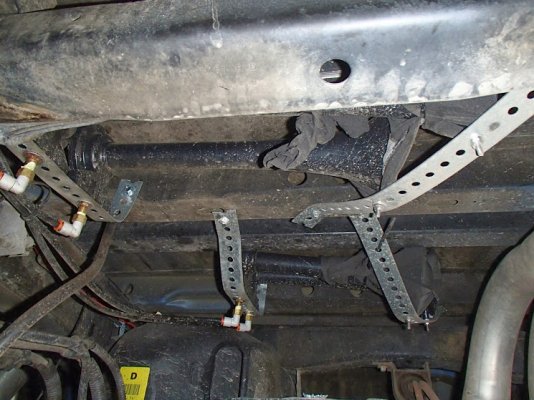
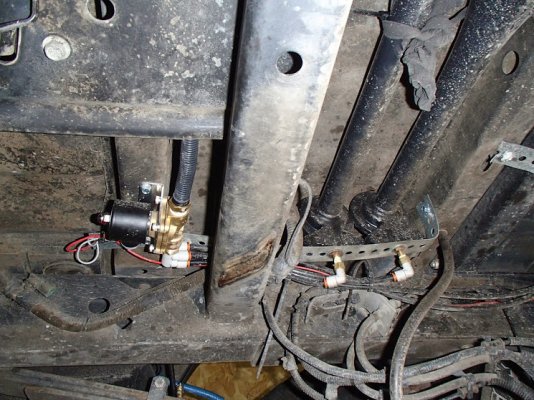
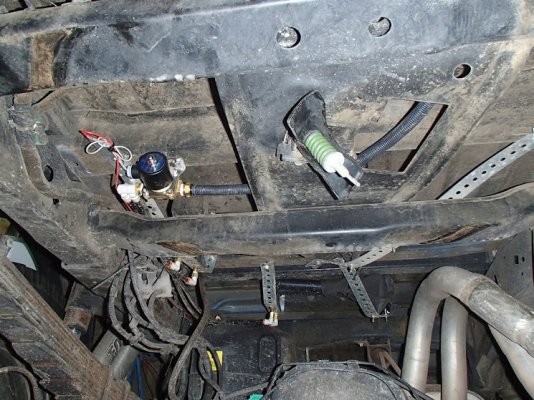
I also thought about putting some stocking over the end to keep the water and mud out. It didn't really work out too well. But ohwell.
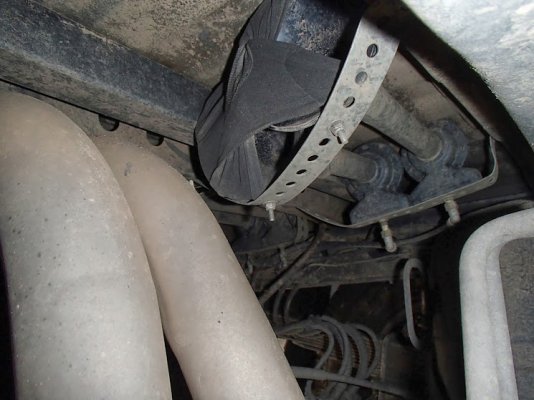
With the tank and horns mounted, I needed a common place for the air compressor. I did, however, want to mount the compressor in the bed to keep it out of the mud and protect it. I found a nice location in the rear driver side, directly above the tank. This worked well with my current WSI Expedition Bed Rack, as the compressor is protected since the hi-lift jack is directly above the compressor and my 50 cal. recovery gear box is next to it. As you can see in this photo, the compressor is well protected in the bed.
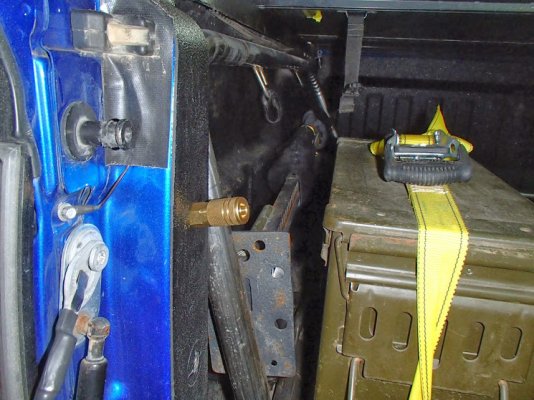
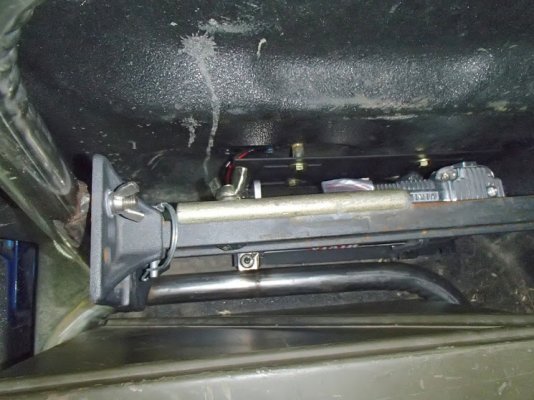
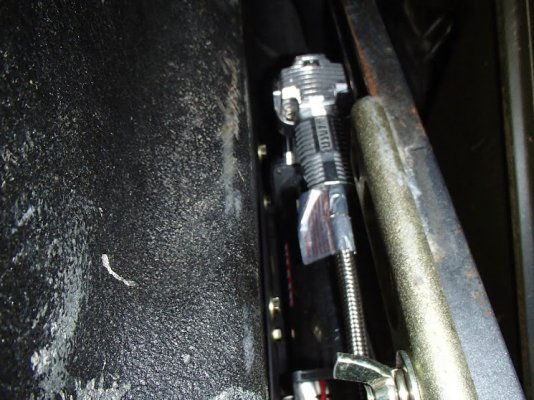
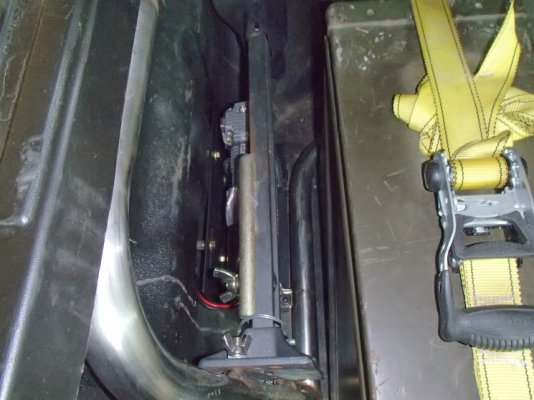
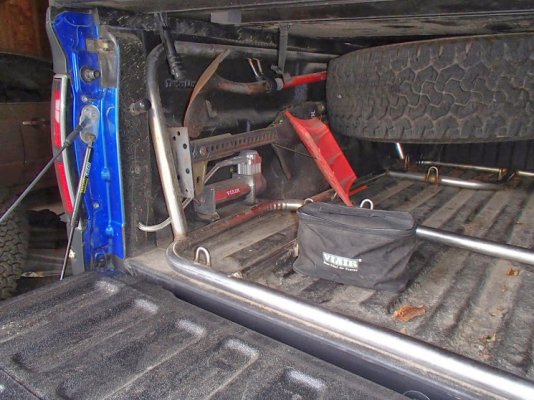
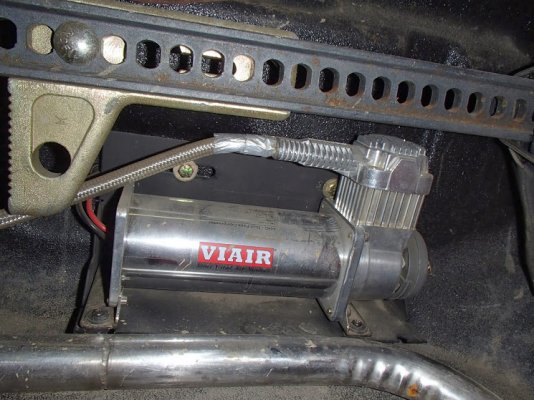
I had to remove the tie down cleat and I was able to run the wires through the hole behind it. The air hose ran through the stock holes for the bed extender.
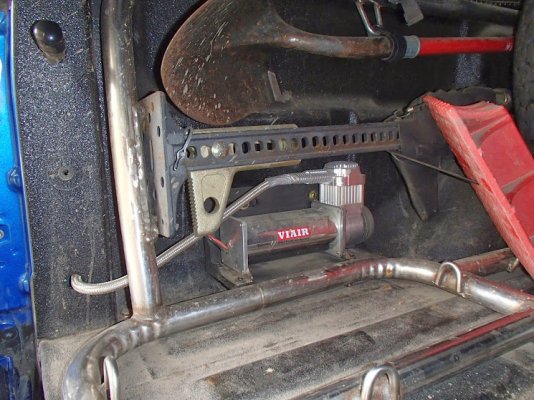
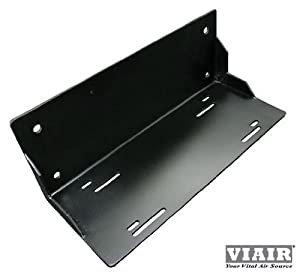
For the compressor, I also bought the
viair compressor mounting bracket for $23 from amazon.
Bigblue hooked me up with a cover for my air fitting mounted on the side of my bed. Previously I had black electrical tape over it.
Before:
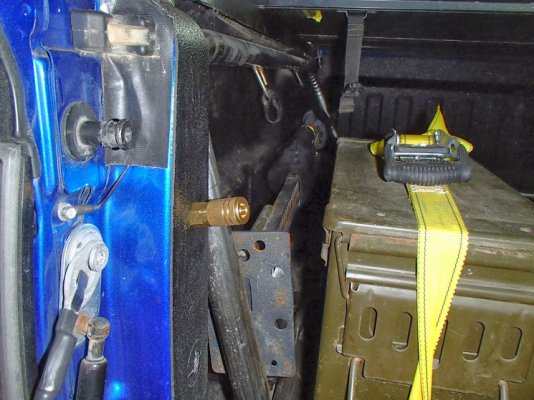
After: THANKS BLUE!
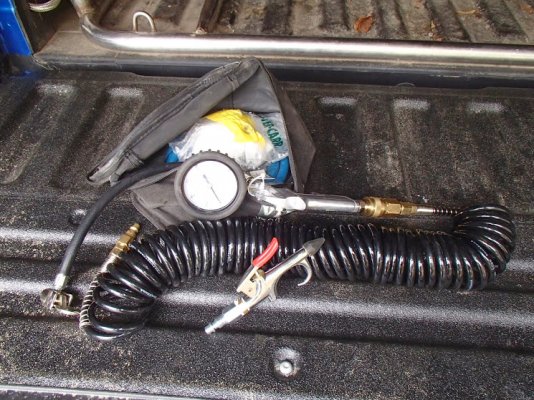
I bought the Viair tire kit from amazon. With the air hose, I can reach all 4 corners of the truck.
I also added the pressure gauge to my dash. I ran a 1/4" hose from the tank into the cab.
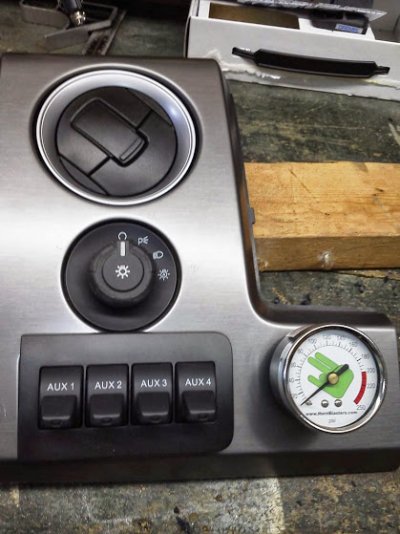
I put the compressor kill switch on Aux 1 and the horn is on Aux 2. I couldn't figure out how to tie it into the horn and the aux switch together. So Aux two makes the horns go live! And yes, I do like to toot my own horn... lol...
If you guys have any questions, let me know.
Thanks,
Yukon Joe
GLRE Support Raptor
WWW.RUNRAPTORRUN.COM


