Jmeo
Full Access Member
I just wanted to document how the install of my Diode Dynamics (DD) front amber backlit lights into the stock housing went for all those who are considering this upgrade. I will be installing the backlit rear lights tomorrow and I will update with how that went.
I do not use my truck off road as of now, but I do live in a hilly area with mostly non-lit back roads, so I wanted a better set of lights than what was supplied from the factory. I also did not wantt to alter the looks of the truck as I really like the look of the factory assemblies, so this route was perfect for what I was looking for.
I spent a few days investigating all the option out there and watched MANY Youtube videos and read every thing I could find and decided to buy form Specialty Performance Parts. I had never purchased from them before, but their videos and documentation is very well done. I reached out to them for questions and was very quickly contacted by them and very soon after that had exactly what I wanted all figured out and purchased. Their technical support and ordering process is simply amazing. That said, I have no affiliation with them and I was not asked to make this post. I just feel the great experience was worth mentioning. Also, I was very happy with my past experience with Offroad Alliance and the recent conversation with them as well, I just liked the package and advisor experience SVP put together for me better. Anywho, here goes.
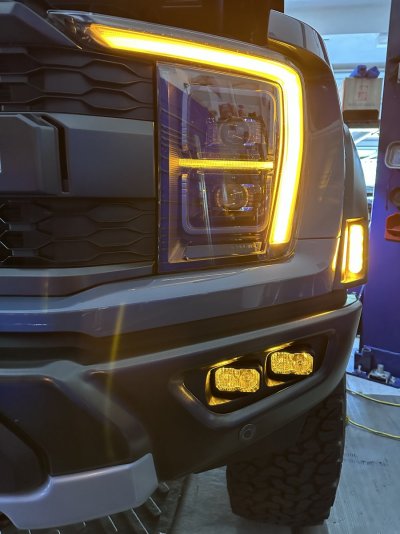
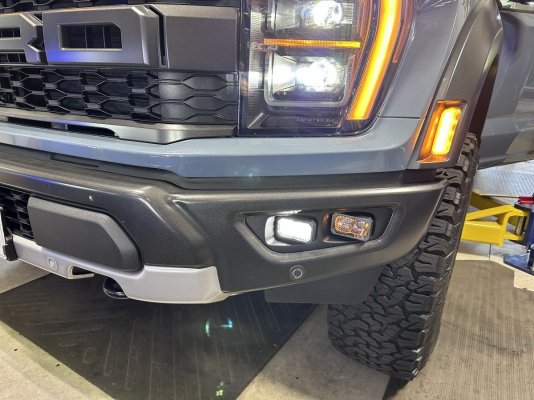
The package I went with means ZERO splicing into my factory wiring, which was a big factor as to why I went with this kit. I went with all four lights being combination flood/spot that are backlit amber. They supplied me with a plug and play harness and the adaptor harness to grab the parking light signal from the grill light. I simply swapped the factory rigid assemblies for the DD using the special brackets that were provided and using the DD hardware. Doesn't get any easier than this.
In this photo you can see the lights I went with, the plug and play pigtails that connect the lights to the factory wiring, heavy duty washers for the light install, the custom brackets, the harness to connect the (4) white wires for amber backlighting to the grill parking light adaptor (not pictured), and the up-fitter switch pigtail kit. I purchased the grill parking light adaptor from a seller on Fakebook and I had already installed it before I took this picture. One of the up-fitter pigtails will be used to trigger the rear floods that I will install tomorrow, and the others will be used for possible future upgrades and add-ons.
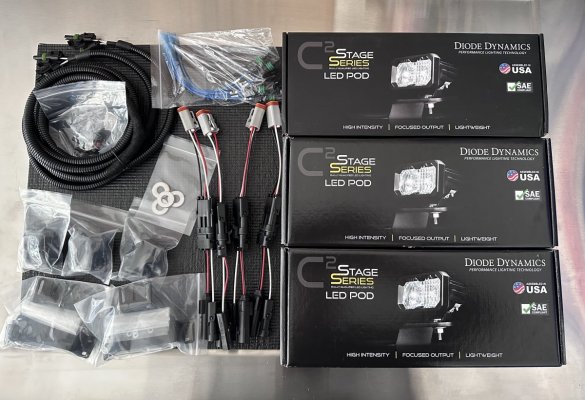
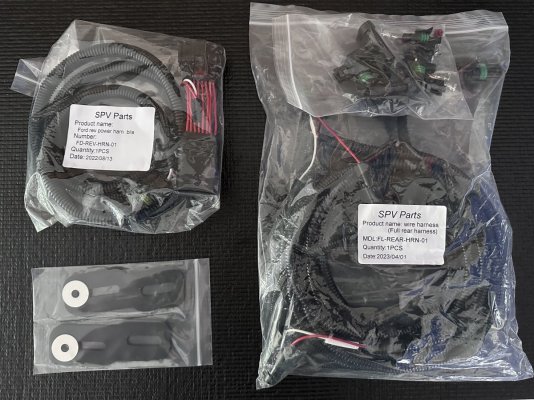
In this photo you can see the rear mounting brackets, taillight adaptor harness to snag the parking light signal and reverse activation, and the long harness that I will run to the up-fitter wire in behind the battery. This will allow the lights to be backlit red with the parking lights, turn on with reverse lights, and be turned on as needed with an up-fitter switch.
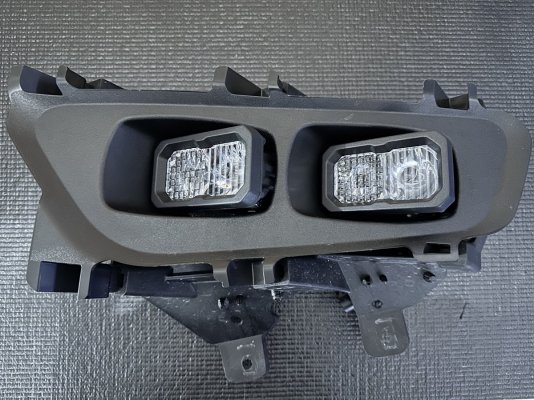
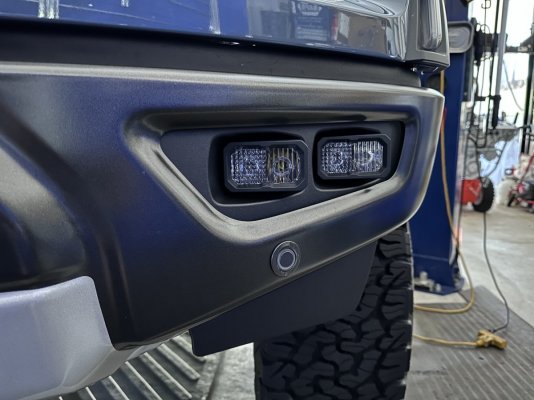
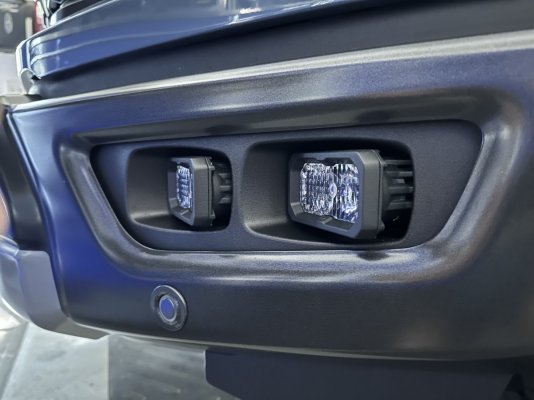
Getting to the good stuff, I simply swapped the stock Rigids for the DD using the supplied hardware, pigtails and brackets. It truly was a plug and play swap.
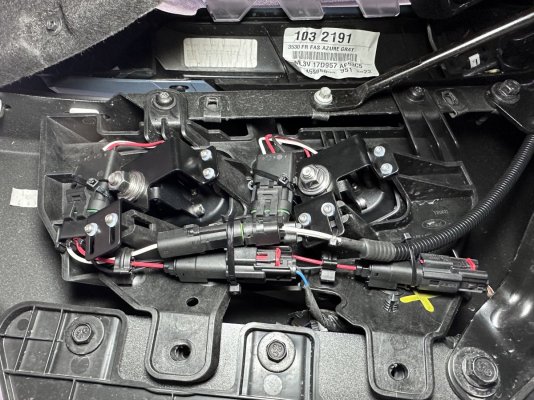
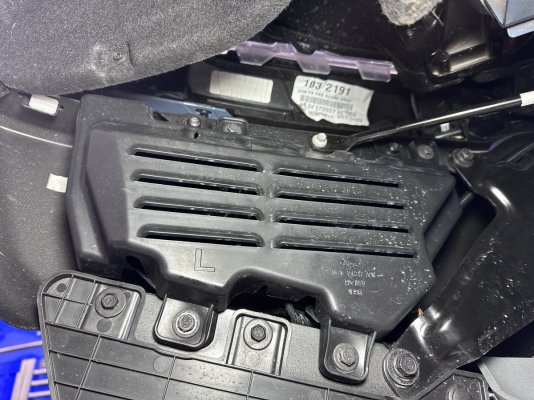
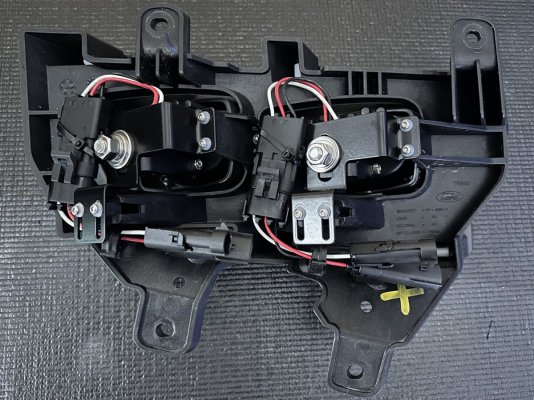
In this photo you can see how everything connects behind the lights (drivers side). I did the same for the passenger side (not shown).
Continued in next post due to (3) photo limit per post........
I do not use my truck off road as of now, but I do live in a hilly area with mostly non-lit back roads, so I wanted a better set of lights than what was supplied from the factory. I also did not wantt to alter the looks of the truck as I really like the look of the factory assemblies, so this route was perfect for what I was looking for.
I spent a few days investigating all the option out there and watched MANY Youtube videos and read every thing I could find and decided to buy form Specialty Performance Parts. I had never purchased from them before, but their videos and documentation is very well done. I reached out to them for questions and was very quickly contacted by them and very soon after that had exactly what I wanted all figured out and purchased. Their technical support and ordering process is simply amazing. That said, I have no affiliation with them and I was not asked to make this post. I just feel the great experience was worth mentioning. Also, I was very happy with my past experience with Offroad Alliance and the recent conversation with them as well, I just liked the package and advisor experience SVP put together for me better. Anywho, here goes.
The package I went with means ZERO splicing into my factory wiring, which was a big factor as to why I went with this kit. I went with all four lights being combination flood/spot that are backlit amber. They supplied me with a plug and play harness and the adaptor harness to grab the parking light signal from the grill light. I simply swapped the factory rigid assemblies for the DD using the special brackets that were provided and using the DD hardware. Doesn't get any easier than this.
In this photo you can see the lights I went with, the plug and play pigtails that connect the lights to the factory wiring, heavy duty washers for the light install, the custom brackets, the harness to connect the (4) white wires for amber backlighting to the grill parking light adaptor (not pictured), and the up-fitter switch pigtail kit. I purchased the grill parking light adaptor from a seller on Fakebook and I had already installed it before I took this picture. One of the up-fitter pigtails will be used to trigger the rear floods that I will install tomorrow, and the others will be used for possible future upgrades and add-ons.

In this photo you can see the rear mounting brackets, taillight adaptor harness to snag the parking light signal and reverse activation, and the long harness that I will run to the up-fitter wire in behind the battery. This will allow the lights to be backlit red with the parking lights, turn on with reverse lights, and be turned on as needed with an up-fitter switch.

Getting to the good stuff, I simply swapped the stock Rigids for the DD using the supplied hardware, pigtails and brackets. It truly was a plug and play swap.
In this photo you can see how everything connects behind the lights (drivers side). I did the same for the passenger side (not shown).

Continued in next post due to (3) photo limit per post........
Last edited:


