

Gen 2 Fusetap Hardwire
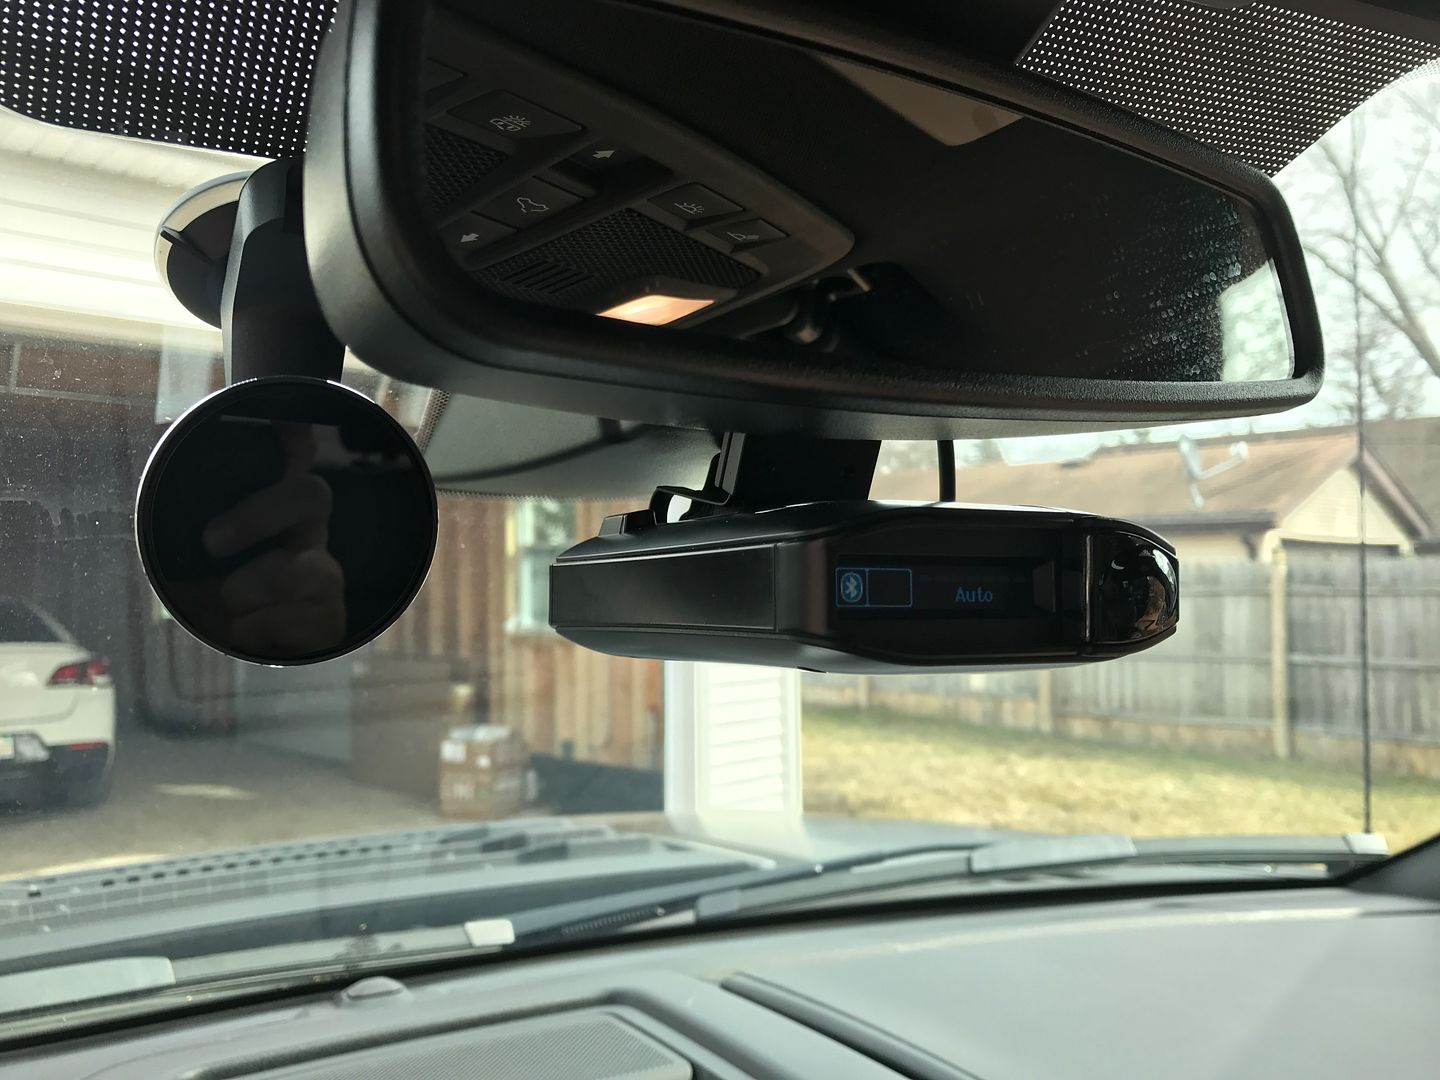
I do like the clean and easy install the mirror tap provides, but for those wanting to access hardwired devices that are out of reach, use a require a wired remote, or simply want to add a cutoff switch etc, this might be helpful… I use the ****** live smartcord remotes in my cars/truck. My 360 and max are not mounted in an easily accessible spot for mute and power down access, so I mounted the smartcord remote in an accessible area near steering wheel.


Once mounting spot is determined I start with the power feeds and go across headliner and down a pillar. If your power has a bulky end or deice that’s not removable, you may need to feed from bottom up. In my case my ****** and waylens dashcam are micro usb and smartcord (telephone plug), so easy to feed plugs either direction. Older ****** hardwire and other dashcam power lines have fixed remote or gps dongles which may prove to be a pita to pull through/behind trim/airbags,etc so going up might be only option.


The headliner will pull down enough to push wiring under it, the a pillar cover needs to be removed. Remove (2) 10mm bolts on the A pillar handle, and give slight tug from handle. A pillar Exposed will reveal the airbag. While you can bypass removing the A pillar, and just tuck wire in, but having a cable running on the outside of the airbag is not something i'd suggest. I feed a small length of wire behind it, and tape my device power line to that, and then pull it through behind the airbag.


You can then run it down the a-pillar behind the rubber trim all the way down to the interior plastic trim that surrounds the hood latch. This is held in place by clips, simply pull back towards rear of truck it will pop out and you can run cord into cabin under the drivers side dash. Some may opt to do this process towards the passenger side direct to the fusebox, but to use my supplied power line to the smartcord, I went to drivers side then ran across to fusebox under the dash. Also found, under the drives side, there is more room to work with, no underside paneling/ducts to remove.

[For ****** or Steering wheel area Dongle/Remotes] (if not using skip this step)
Similar to the A-Pilar, I fish a line from side of steering column though dash into footwell, tape to the power line we just fed down a pillar (for ******, I also tape 2nd power line too), and pull up and out beside the column. I chose the side of the collum, but you ab also mount under or atop. On my gen1, I mounted atop the collum but found it more awkward reaching in between wheel vs the side where yours hands reside majority of the time.


On my ’12 I ran a switch just under the driver dash trim to kill the detector. Thought was to kill it without drawing too much attention to hands in motion while getting pulled over ha. This is added before the power line runs to the fusetap, using same ground for switch as seen below . To simplify this setup, i found you can simply unplug the cord in rear of the smartcord remote, which kills power too.

Next you will remove the (2) pieces of lower trim on the center console. The drives side has (1) 7mm bolt near the pedals, and rest of that trim piece is held with clips that comes free by pulling outward. Passenger side uses no hardware, only clips, pull free. On pass side, also remove the door accessing the inside cabin fusebox.


With trim removed you now have your power line fed into the drivers footwell area (the orig line, or the 2nd power line from the column area remote). You will now be getting power and grounding the device and/or dongle. I utilized and existing bolt on the console frame for the ground. You will need a washer to place behind ground eyelet as it is recessed.


For power added a few feet of 16awg wire and fed through the circular hole in the console frame into the passenger footwell. I then connected a Microblade (they changed from mini to micro fyi) fusetap to the power line and used use spot #36 ( Key on power – 360 camera/heated rear seats). This wire can simply be tucked underneath the carpet.


For a dash cam that requires constant power, I ran tapped the power from my VHF radio. It has an inline fuse and runs directly to the battery. I grounded this device on an existing bolt on the passenger side. It was mentioned elsewhere that Fuse 29, which is listed as 'not used' and sports a 30a fuse, was an always hot source. I did not come to the same result, but will try and update once a better always hot source is found.
Also found that a cable coming to passenger side can also run up the small space between center console and glovebox. Could make for a cleaner temporary solution using the dash power sources until you tap your power elsewhere
Once this is completed, power up the truck and confirm your devices have turned on. If all good, reverse steps, and re-install trim. Seems like a lot for just a couple electronics, but really not more than an hour of work.
**not a professional installer, novice hackmanship, recreation purposes only***
I do like the clean and easy install the mirror tap provides, but for those wanting to access hardwired devices that are out of reach, use a require a wired remote, or simply want to add a cutoff switch etc, this might be helpful… I use the ****** live smartcord remotes in my cars/truck. My 360 and max are not mounted in an easily accessible spot for mute and power down access, so I mounted the smartcord remote in an accessible area near steering wheel.
Once mounting spot is determined I start with the power feeds and go across headliner and down a pillar. If your power has a bulky end or deice that’s not removable, you may need to feed from bottom up. In my case my ****** and waylens dashcam are micro usb and smartcord (telephone plug), so easy to feed plugs either direction. Older ****** hardwire and other dashcam power lines have fixed remote or gps dongles which may prove to be a pita to pull through/behind trim/airbags,etc so going up might be only option.
The headliner will pull down enough to push wiring under it, the a pillar cover needs to be removed. Remove (2) 10mm bolts on the A pillar handle, and give slight tug from handle. A pillar Exposed will reveal the airbag. While you can bypass removing the A pillar, and just tuck wire in, but having a cable running on the outside of the airbag is not something i'd suggest. I feed a small length of wire behind it, and tape my device power line to that, and then pull it through behind the airbag.
You can then run it down the a-pillar behind the rubber trim all the way down to the interior plastic trim that surrounds the hood latch. This is held in place by clips, simply pull back towards rear of truck it will pop out and you can run cord into cabin under the drivers side dash. Some may opt to do this process towards the passenger side direct to the fusebox, but to use my supplied power line to the smartcord, I went to drivers side then ran across to fusebox under the dash. Also found, under the drives side, there is more room to work with, no underside paneling/ducts to remove.
[For ****** or Steering wheel area Dongle/Remotes] (if not using skip this step)
Similar to the A-Pilar, I fish a line from side of steering column though dash into footwell, tape to the power line we just fed down a pillar (for ******, I also tape 2nd power line too), and pull up and out beside the column. I chose the side of the collum, but you ab also mount under or atop. On my gen1, I mounted atop the collum but found it more awkward reaching in between wheel vs the side where yours hands reside majority of the time.
On my ’12 I ran a switch just under the driver dash trim to kill the detector. Thought was to kill it without drawing too much attention to hands in motion while getting pulled over ha. This is added before the power line runs to the fusetap, using same ground for switch as seen below . To simplify this setup, i found you can simply unplug the cord in rear of the smartcord remote, which kills power too.
Next you will remove the (2) pieces of lower trim on the center console. The drives side has (1) 7mm bolt near the pedals, and rest of that trim piece is held with clips that comes free by pulling outward. Passenger side uses no hardware, only clips, pull free. On pass side, also remove the door accessing the inside cabin fusebox.
With trim removed you now have your power line fed into the drivers footwell area (the orig line, or the 2nd power line from the column area remote). You will now be getting power and grounding the device and/or dongle. I utilized and existing bolt on the console frame for the ground. You will need a washer to place behind ground eyelet as it is recessed.
For power added a few feet of 16awg wire and fed through the circular hole in the console frame into the passenger footwell. I then connected a Microblade (they changed from mini to micro fyi) fusetap to the power line and used use spot #36 ( Key on power – 360 camera/heated rear seats). This wire can simply be tucked underneath the carpet.
For a dash cam that requires constant power, I ran tapped the power from my VHF radio. It has an inline fuse and runs directly to the battery. I grounded this device on an existing bolt on the passenger side. It was mentioned elsewhere that Fuse 29, which is listed as 'not used' and sports a 30a fuse, was an always hot source. I did not come to the same result, but will try and update once a better always hot source is found.
Also found that a cable coming to passenger side can also run up the small space between center console and glovebox. Could make for a cleaner temporary solution using the dash power sources until you tap your power elsewhere
Once this is completed, power up the truck and confirm your devices have turned on. If all good, reverse steps, and re-install trim. Seems like a lot for just a couple electronics, but really not more than an hour of work.
**not a professional installer, novice hackmanship, recreation purposes only***
Last edited:
