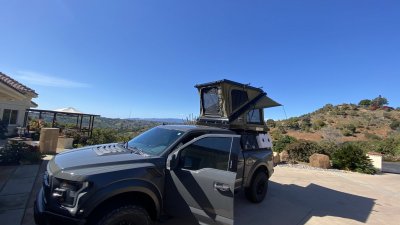
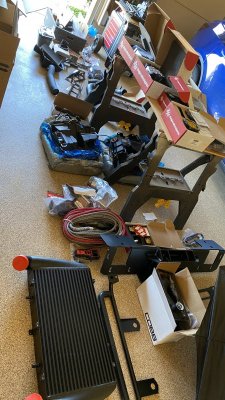
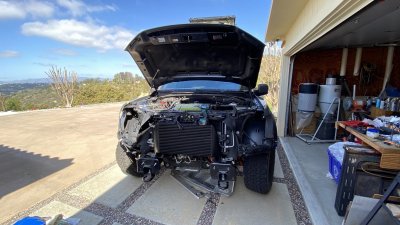
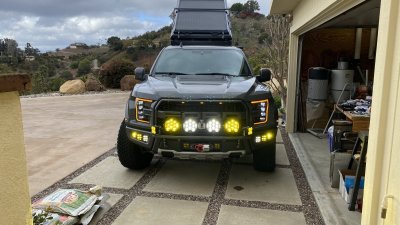
Alright! Big update on two weeks of installs. I purchased the ORA 550 package (Hands down excellent customer service from them), Swarfworks Elite Light Mount, Swarfworks Winch Mount, 4x LP9's, 2x XL80's, 2x XL lasers (Haven't come in yet), triple foglight bezel kit with SAE Squadrons and S1, and SwitchPros RCR 12. Not everything is wired correctly or installed yet. For instance, I won't be able to do my chase or side lights until I get rid of my Decked because it's covering the hole I want to go through. I also don't have parking lights tapped yet for the backlights on the LP9's or the RCR12.
ORA 550: I installed the entire pack as one unit. Probably an idiotic way to do this over a couple days (Maybe 3 total?) because I have excess parts. I watched so many YouTube videos and read so many directions. None of the excess parts seem critical and all places where a bolt should be have a bolt. Sometimes I even put a bolt where a nut should be because I lost the nut!
Spark plugs. They are spark plugs. Helped to have adjustable end on the socket. Use a torque wrench. Remember kids, cross threading is nature's Loctite. Them threads ain't ever coming out. Don't worry if the engine doesn't run.
Intake: Cobb. Straightforward. In the grand scheme of things a very easy install. The MAP (I think it's the MAP) plug unplugs from the sensor so it's easier to handle/take out.
Cobb FMIC: This is the one that I have two extra O rings and two metal tabs. The amount of space the stock intercooler and shutter system took up was incredible. It's solid and in there. I had flashbacks to attempting to install silicone hoses on my WRX that were cut wrong but everything fit well with no issues.
AMS Boost Tube: What a pain in the butt getting the passenger side coupler on the turbo. I reused all hoses that were on the truck already. AMS packaged a tube that I assume is supposed to be used if they wouldn't fit.
ORA tune: Customer service is outstanding. I sent Chris from
@OffroadAlliance.com the information needed and he rushed a tune out to me. I come from the world of Subaru where if you sneeze you need to tune the car because it can't figure out the new air pressures. Turned out I didn't need to worry at all but Chris still worked with me (This guy was texting me at 8 at night and 6 in the morning on a weekend) and got it to me. I've never received such excellent customer service.
The tune is awesome. All of the modifications have made my turbos a little louder and I can definitely feel the increase in power. Torque is awesome and I'm not squealing tires any longer. With all the weight in the back of the truck, it was definitely worth the upgrade. Oh, the transmission? Smooooooooooooth. I don't notice shifts anymore if I'm not paying attention to them. My gas mileage has decreased but I can't tell if my driving has changed because I love slamming the gas.
Swarfworks Winch Zeon 12-S Platinum. Install was straightforward. I highly recommend not putting brackets inside of the Baja Designs boxes. That way, you can find the brackets when you need them instead of looking like an idiot and falsely claiming you never got them. The packaging fell apart during shipping and I am officially missing the turnbuckles which should be arriving today. I am also getting the harness for the lights to attach to the winch. Installing the winch was easier with two people but can be done with one. I also put the dome light inside of the winch housing. Don't have anywhere that seems great to attach the line to or run it through. But it does light up the winch line and makes it a lot easier to see. I have the Factor 55 Ultrahook with their Hawse fairlead on it. When cutting the grill, cut the grill without the fairlead on it. The fairlead will push the grill over the spacers and make a clean install. I will be ordering a new grill cover at some point to make it look cleaner.
Swarfworks Elite Light Mount. Everything this guy makes is just extremely well engineered and impressive. The license plate relocation bracket does NOT fit with this mount installed. I reused the front hardware due to not having the hardware kits and stability does not appear to be affected. Will be keeping a close eye on this. Mounts the lights wonderfully, though the camera relocation bracket was a REALLY tight fit. As in, I had to hit it to get it into place. Otherwise I have no complaints whatsoever. Wish I had gotten the template for the cutting but it wasn't so hard to do with a Dremel.
SDHQ A Pillar: Haven't put lights on it due to not having them. But they seem really strong. Mine do contact the fenders with the silicone on the outside of the bracket. Did not have to remove the passenger antenna to get it in there but it took some finagling.
Morimoto headlights: Great light output with a very sharp cutoff. Used the DOT regulation to align them and I couldn't see more than 50 feet. Had to adjust. When going off road on washboards, the high beams flicker. I'm not sure if there is a mechanical reason that's causing this but it is noticeable when running only headlights and fogs. Fuse 14 is what I used for the DRL's. I also tapped into the same line for the SwitchPros ignition.
Triple bezel kit: 2x Squadron SAE clear and 2x Squadron SAE amber. Doesn't really do much more than the Morimoto headlights do. I can tell a difference with amber but I probably don't have them aligned correctly either. Still not awe inspiring bright. I think the light stretches out farther than the S1 but the S1 ambers on the outside really provide a lot of light. A lot more than I expected. These overshadow the headlights.
LP9's and XL80: Headlights, fog lights, don't need them. When Chris told me to wear sunglasses when I turned them on I thought it was hyperbole. It wasn't. Middle of the day and I had to wear sunglasses to look at them. At night, I can turn off my fogs and headlights and not notice a difference. They are BRIGHT and they light up pretty far. Do I need the XL lasers? No. Probably not. But they are on order and coming anyway. I cannot overstate how bright these are. I have the XL 80's angled outwards to a corner light and the LP9's point straight with the bends in the bar. I have an INCREDIBLE amount of light in front of the truck now.
SwitchPros RCR Force 12: What a useful little thing with an insane amount of wires coming out of it. I am definitely not a wiring expert and Noah from
@The Car Stereo Company helped me through a lot of it. I used the Swarfworks mount. Turns out, you can't take the fuse box cover off with the Switchpros module in there. So finish everything in the fuse box first.
@Oldfart helped out with location to run a wire through the firewall. TAKE APART THE PLUG. Use a paperclip. I didn't have a paperclip handy to me to I tried everything else under the sun and it didn't work. Five hours I spent trying to get this thing through the firewall. Metal coat hanger, F4 tape. I'm sure other tape works too but F4 tape is my favorite tape due to no stickiness. I used silicone grease and petroleum jelly as lube. The control module wire is running outside the console and I need to pull it back out and reroute it. I have the module mounted to Built Right Industries dash mount on a 67 Designs Series 55 rail with a carbon fiber arm. I don't have any movement in it at all and I can push the buttons without bracing the control module. It's set to a red backlight until I can get the backlight wire in.
I had a few options on the wiring. I decided to run each light separately and control the outputs from the module itself. Switch one turns on outputs 5 and 6. I wanted to be able to have wig-wag and strobe options just in case but you can't run wig-wag without one touch so it's essentially useless to me unless I want to give up a switch for it. Eventually, I will be redoing all the wiring and I will make it look nice and pretty.
I ordered the kit from Specialty Performance Parts to tap into the BCM to run the backlight on the LP9's and the backlight on the SwitchPros. I didn't want to tap into the main harness.
All-in-all, I'm happy with everything and everyone. Chris from Offroad Alliance is now my go to guy for anything and Noah is just super knowledgeable. All of the parts are high quality and made really well. Everything seems to be thought out really nicely. There is still a lot more to come.
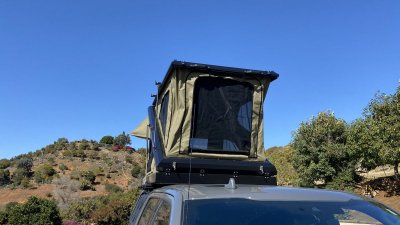
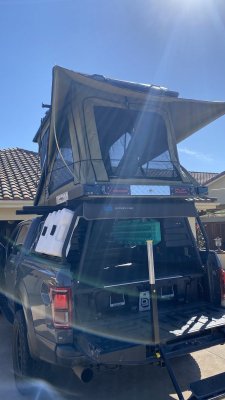
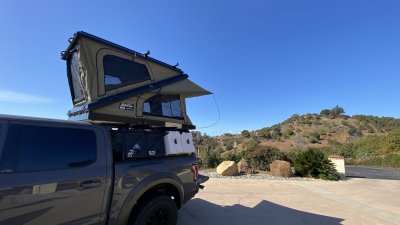
Oh! Small update on the tent. I sleep in it every night and went through this last rainstorm in it. No noticeable wind and the main door on the rear can remain almost completely open during heavy downpours. The sides can be opened a lot with the only rain towards the front where the rainfly goes in to the body of the tent. It's noticeably warmer inside the tent than my previous one even with windows open more.
