jackrook's 2013 Screw build thread

Disclaimer: Links on this page pointing to Amazon, eBay and other sites may include affiliate code. If you click them and make a purchase, we may earn a small commission.

jackrook

FRF Addict
Joined
Jun 17, 2013
Posts
1,379
Reaction score
705
Location
Bermuda Dunes, Ca
forgive my crappy iPhone 5 pictures but thats what youre getting. deal with it

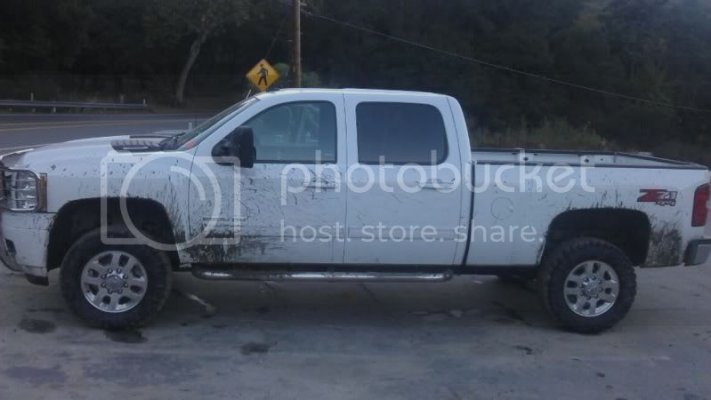
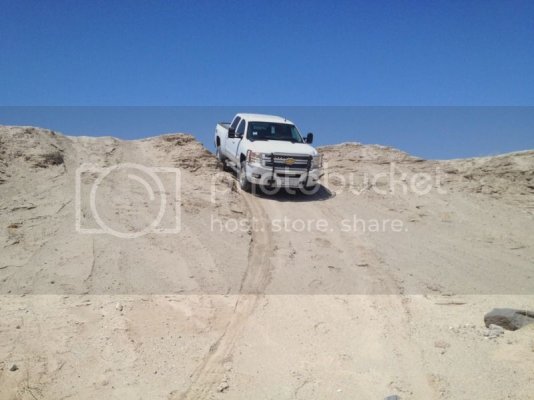
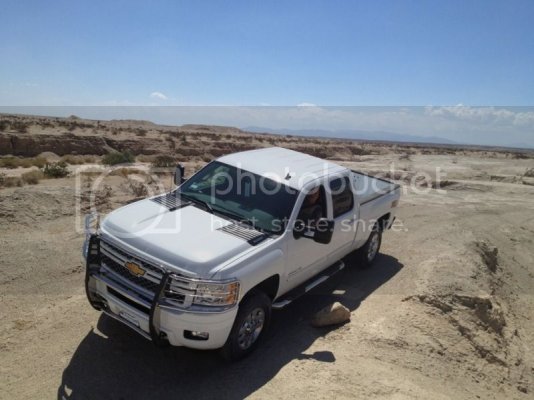
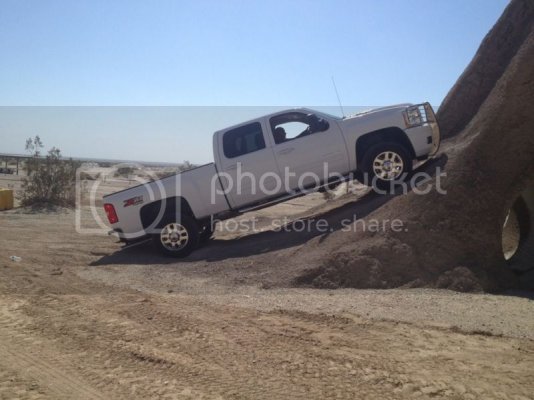
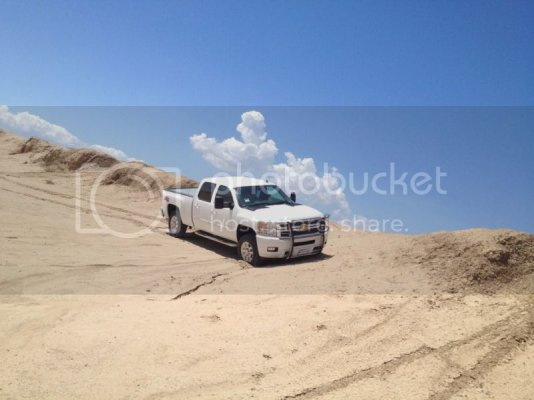
so heres my story. im 30, mild mannered nurse by day, bad ass mother f'er by night. LOL. my last truck was a 2012 2500HD Z71 Silverado on 35 inch Nitto Trail Grappler MT's with generic nerf bars and a grill guard.


my Silverado at Azusa Canyon
null_zpsd21763cf.jpg

my Silverado at Ocotillo
IMG_9232.jpg
IMG_4483.jpg
IMG_9558.jpg
IMG_7996.jpg

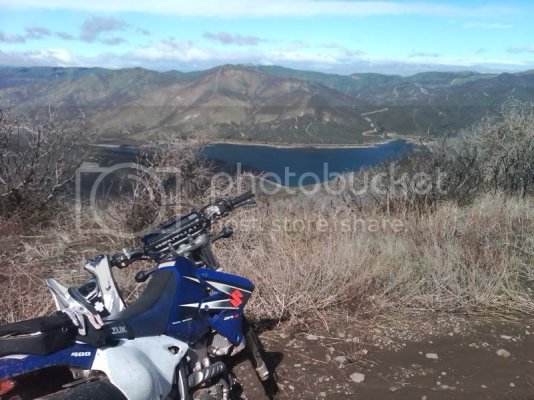
and my other baby. 2006 Suzuki DRZ-400s. tricked out to the teeth!!! heres a shot of her in Rowher Flatts/Texas Canyon
209d4cef.jpg


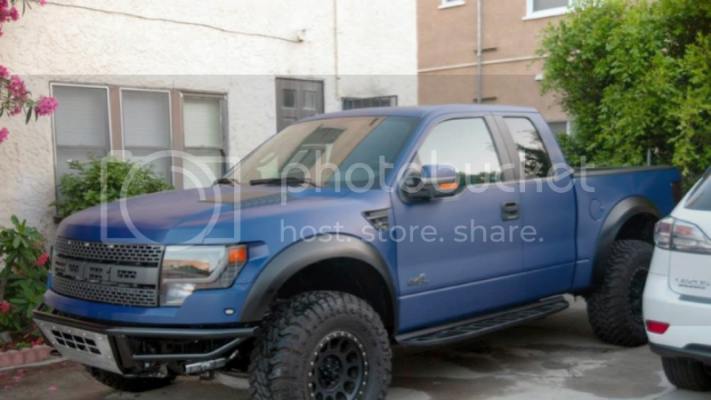
so thats a little back ground on me and my previous vehicle. while i was sad to let it go, i was happy to be getting a Raptor. i had wanted one initially but couldnt justify the price. but with every passing day, week, month....i couldnt take it any more. every time i saw a Raptor on a freeway, it was like they were mocking me. "Come on sexy, buy me. you know you want to" LOL. so guess what?? I DID!!!

------------------------------------------------------------------------------------------------------------------------------------------
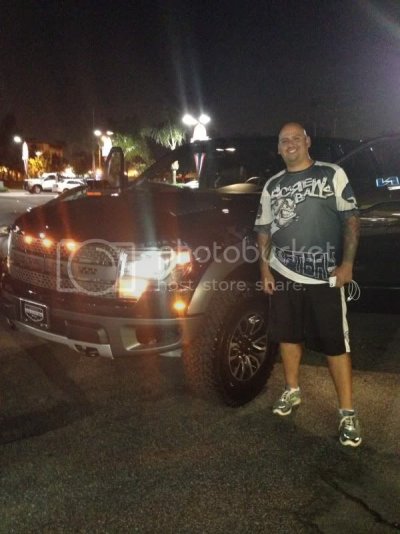
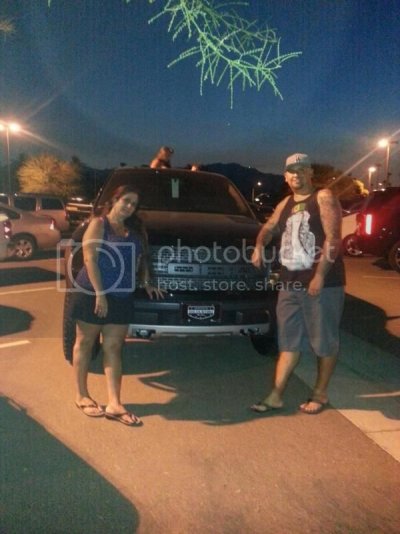
so after a week of dealing with the salesman and GM, we had finally agreed and i signed the papers on saturday June 29nd, 2013. we did most communication by text and phone call. once we reached an agreement, i left straight form my softball tournament. so never mind the dorky jersey. LOL. i was as happy as a clam.
null_zpsabb9d803.jpg

the very next week was our family trip to Palm Springs for 4th of July. the truck barely had a few hundred miles on it after the first week of to and from work, softball, etc. so we leave the house with the truck packed with 5 people in the cab and all their gear in the bed. i was supprised to get such good MPG right away when people were saying they were getting 12-13 MPG right away. and, did ya happen to see how hot it was when we pulled in to town??? thats margarita and swimming pool weather!!!
image1_zpse32e101e.jpg
null_zps2888c544.jpg
null_zps0838ad2d.jpg

so my first week with the truck was great!!! honestly, i knew it was gonna be good but it was way better then expected!!! ive gotten so many compliments and looks from people on the freeway like "oh shit is that a Raptor?" YEAH BABY!!!!! this is a Raptor!!!!
 
Last edited:
OP
OP
jackrook

jackrook

FRF Addict
Joined
Jun 17, 2013
Posts
1,379
Reaction score
705
Location
Bermuda Dunes, Ca
1) Tint the front windows to match the rear

so the very first thing i did was get a 20% tint for the front windows. living in California, we are super strict and our cops are a-holes(sorry if any of you are reading this). i would like to have went darker all the way around but my installer said 20% is the closest match that people do that looks like factory. who am i to argue. so $70 and ive got my windows tinted.

this picture here shows how close my front tint is to matching the factory. he did a great job.
null_zpsbdfb6180.jpg

2) M&R 40inch spot/flood LED light bar behind the grill

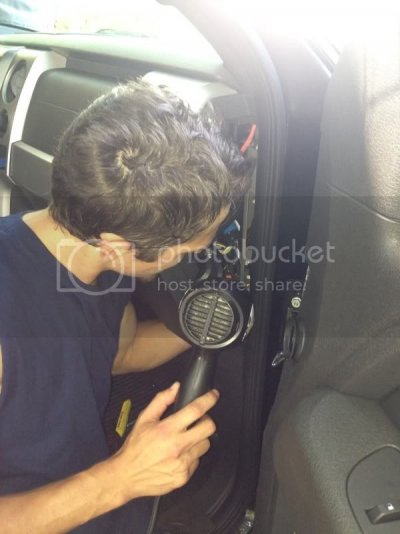
so lucky for me, JohnnyBeagle lives but a stones throw away from me and kind of took me under his wing. he has shared a lot of advice and informed me of great products. well, he mentioned to me that he wanted to upgrade his lighting situation so i haggled him until he gave in to sell me his LED bar. i did a lot of research about installing it and felt confident. me and a buddy decided to give it a go at his house. once we had the glove box out of the way, we both decided it would be best to let him to the work...im too big to work in a tight space like that.

heres my skinny friend Danny working on wiring the upfitter switches. while he was in there i just had him do all 4 of them because god knows my fat hands wont ever fit back there.
null_zps185b7e98.jpg
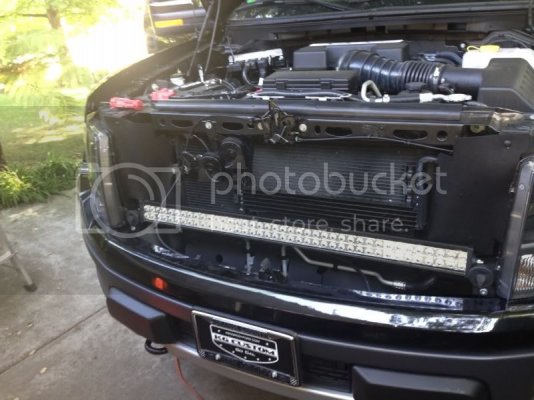
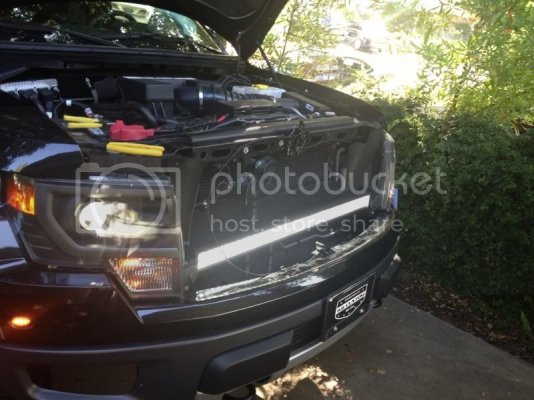
here are two pictures of it. the first is with the bar turned off, the second is when we finally switched it on.
null_zps41d4083d.jpg
null_zps1d39e31b.jpg

3) Addictive Desert Designs Race Series front bumper
so i had made up my mind that i wanted an ADD Race bumper and inquired with JohnnyBeagle about how he liked his and blah blah blah. well he said he liked his alot but was going with the RPG Raceline because it offered a more dramatic approach angle. well thats great for him...and great for me. cash and ****** favors were exchanged and i was the proud new owner of a new-to-me ADD Race bumper.

here it is on JohnnyBeagles 2013 Scab
null_zpsc00ef409.png

well, now i was stuck with a stock bumper that was gonna take up space in my small ass house. but whats this? JohnnyBeagle leagally cant drive without a front bumper??? so we installed MINE on HIS and called it a day.
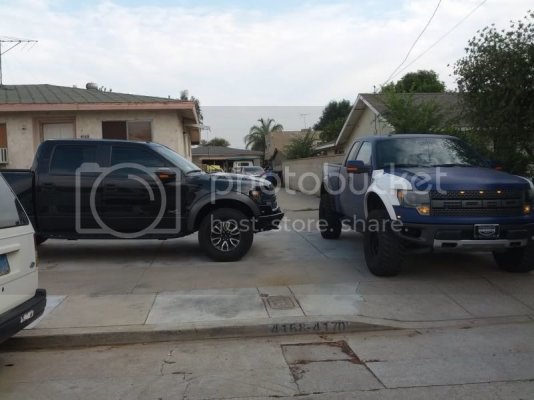
heres a pic of both of our trucks with their "new" bumpers and his old, flawed RPG fiberglass front fenders. RIP.
null_zps6997cd89.jpg

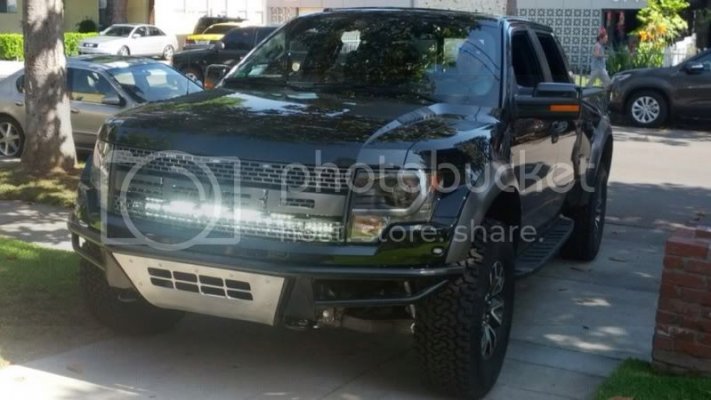
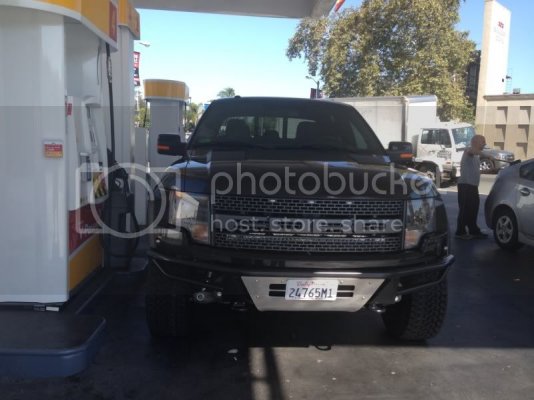
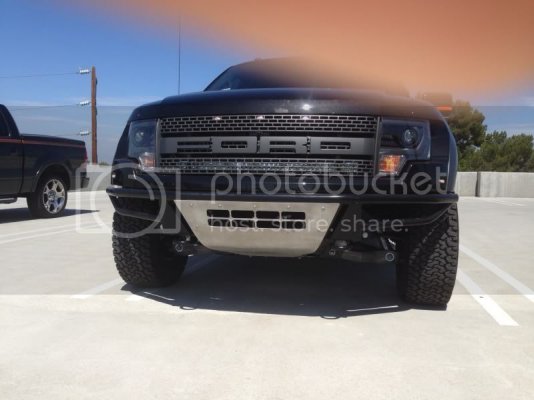
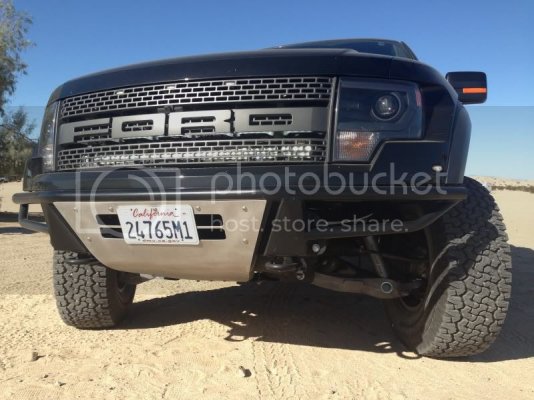
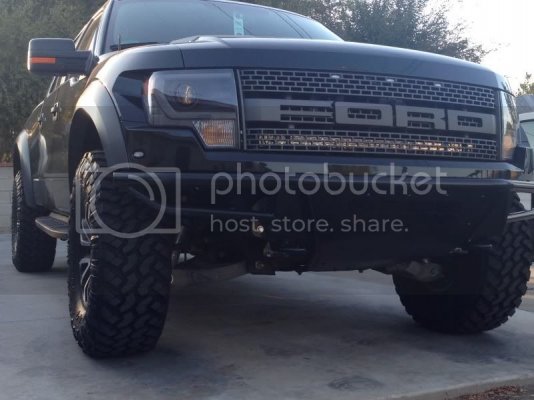
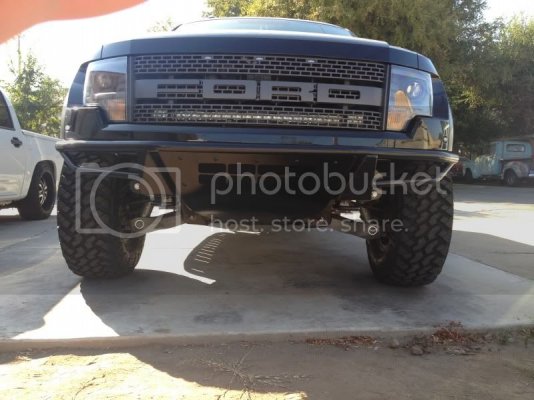
but enough about him. back to me and MY beautiful Raptor. LOL. heres a few shots of my truck with its newly installed light bar and front bumper. God Bless America!!!!!
null_zpse5c0b6b9.jpg
null_zpsdc853252.jpg
null_zpsf7777f7d.jpg

look at that crappy Harley Davidson F-150 i always park next to to rub it in!!! hahahahaha. im a jerk.(see pic immediately above).


4) Craven Speed Stubby Antenna
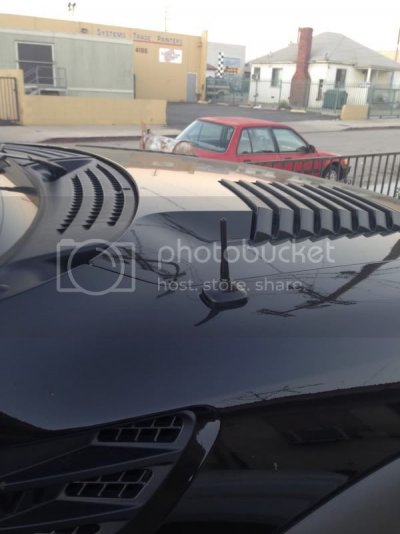
so with my truck being a daily driver, i had to get rid of my stock antenna. at work, shopping malls, restaurants, etc...most places in Los Angeles offer their parking in low ceiling parking structures. i was sick of hearing my antenna scrape the ceiling as i went up 7 floors in the AM for work and then right back down another 7 floors after i clock out. i was sick of the scrapping and sick of hitting the overhanging clearance signs. so off comes the stock antenna and on goes the Stubby. Craven Speed had initially sent me a Ford Mustang antenna that didnt fit. when i spoke to their CS, they apologized and made it right. they overnighted me the proper antenna and included a prepaid shipping label for the erroneous antenna.

the reception around town isnt bad. i dont live out in the boonies so my signal is relatively strong. plus i usually listen to itunes or pandora via Bluetooth so the truth is, im not missing much. this was a cheap $20 mod that really improved the way my truck looked and also stopped the annoying scraping and dinging.

this picture doesnt do it justice but theres a reason its called the Stubby. its nice and small
null_zps4e502bb2.jpg
null_zps294ddae1.jpg

5) Mid Perch front shock adjustment
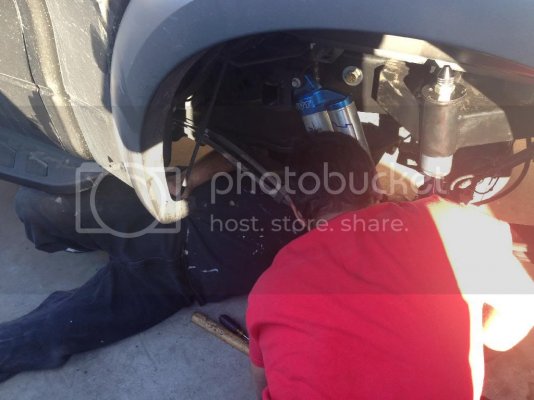
so i posted on this lovely forum that im finally ready to do the mid perch mod and i get a lovely PM from Kirk AKA Raptor Addict. we agree on a date and price and get to it. the most noticable difference isnt on road, its off road. helps minimize the "bottoming out" by putting some preload on the springs.

heres the man, the myth, the LEGEND...doing the work at his shop
null_zps592682f8.jpg
null_zpscc0a50f9.jpg

shout out to my homie KIRK!!!!

visit Raptor Addict: Your one stop Ford Raptor parts and enhancement store for true enthusiasts for all your Ford Raptor needs!!!

6) 37 inch Nitto Trail Grappler MT
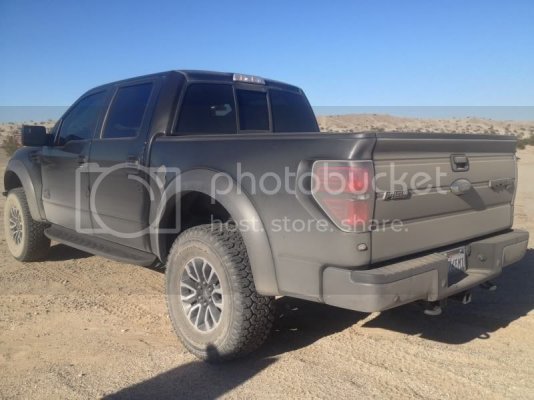
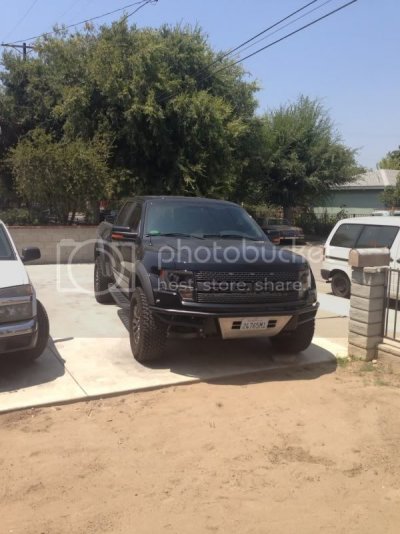
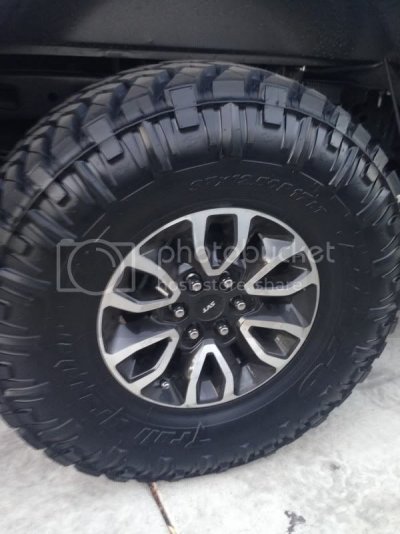
i know tires and wheels are one of the most debated and talked about mods. from experience i know that the Nitto Trail Grappler MT can literally handle anything you throw at it. ive had the tires go through deep sand in Ocotillo, mud in Azusa Canyon, and snow in Big Bear. i researched the Toyos and BFG KM2 but in the long run...nothing beats an old flame. the only real dilema was 35s or 37????? i went with 37s because hey, bigger is better. of course this brings up the age old dilema....fiberglass fenders or chopping up the wheel wells and fenders???? ive decided against the fiberglass fenders after seeing some people successfully modify the stock set up. i will cover that mod later when i actually get around to it.

so here we go. this is the stock tire on rim with the 37inch Nitto rolled right against itnull_zps5c797d76.jpg
in the words of Ludacris....face down, ass up, thats the way i like to f*ck!!!! or should i say, thats the way i like my truck!!!
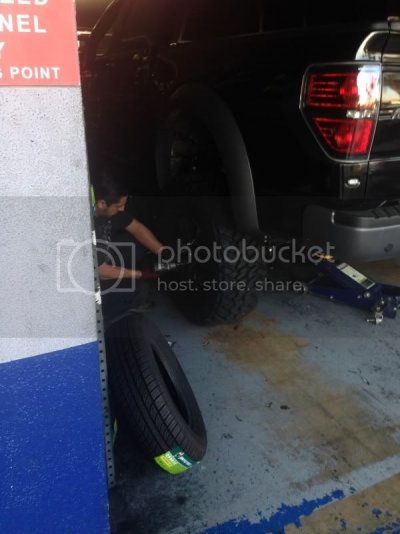
null_zpse334e055.jpg
last tire being put on
null_zps74297398.jpg

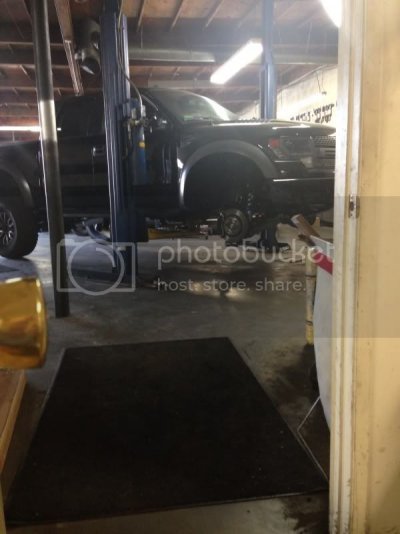
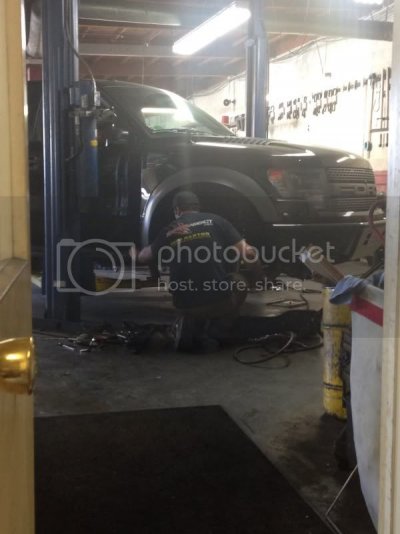
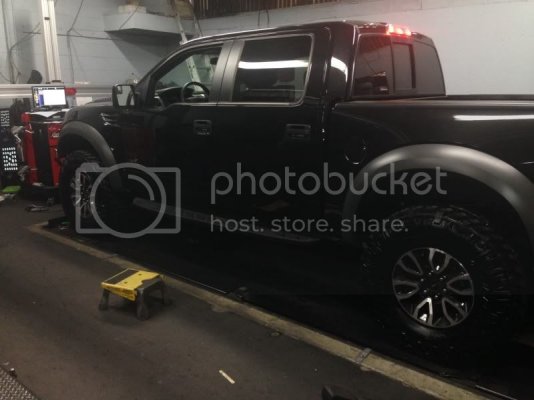
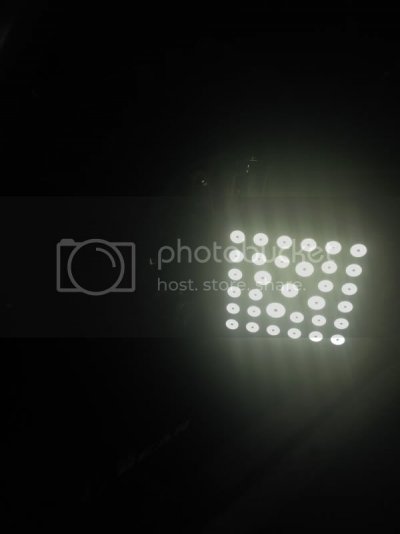
when you get new tires, and ESPECIALLY when you go up or down in size, its always recommended to get them aligned and balanced, etc. so heres a pic of my truck on the rack and a pic of the sensor they use to do it.
null_zps2b35abf8.jpg
null_zpsbcf4665f.jpg

so the typical problems come with tire upgrades. since i went bigger, my MPH will be off. also, they are heavier then the stock tire so you can expect a drop in MPG. is it gonna kill you? no. because you drive a Raptor for a reason. not a Prius.

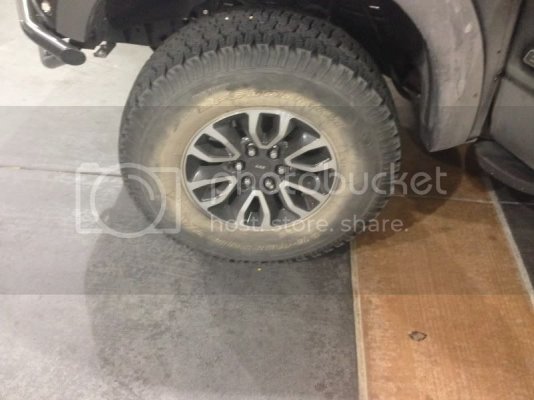
heres my old tire after off roading.
null_zps706182e4.jpg
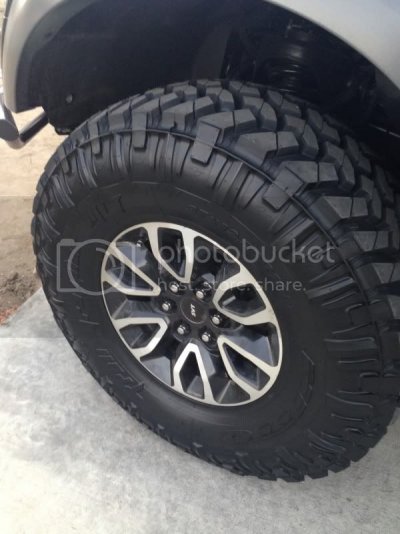
and here is my new tire(i didnt ask for the armoral to be put on it but oh well)
FRONT:
null_zpsde9d8e66.jpg
REAR:
null_zpsbd0a3f8f.jpg
 
Last edited:
OP
OP
jackrook

jackrook

FRF Addict
Joined
Jun 17, 2013
Posts
1,379
Reaction score
705
Location
Bermuda Dunes, Ca
Let the modifications begin!!!!!

7) painting my ADD skid plate.
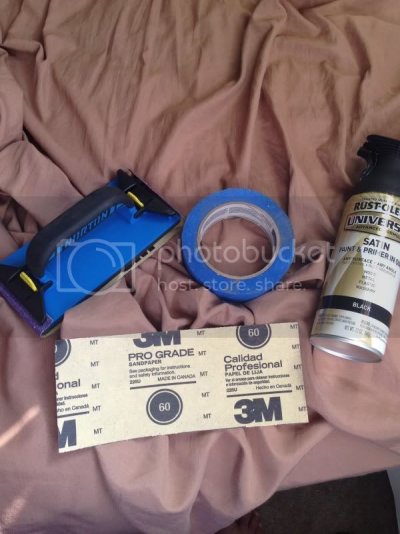
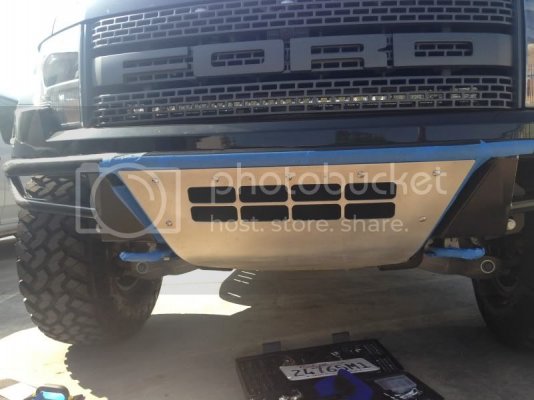
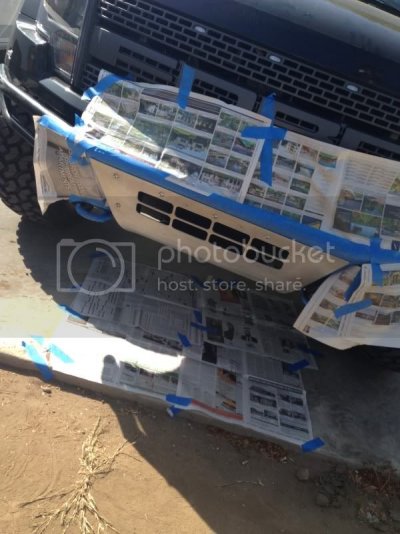
when i got it from JohnnyBeagle it was "unfinished". basically just metal. well, i wanted it to look a bit more bad ass so i decided to color match it. well, if i wanted to throw money at it and go fancy, i couldve used line-x or go it powder coated. but heres the real deal...this is a skid plate. its designed to take abuse. the trucks first line of defense. i know its going to be getting beat up. so why am i gonna spend good money on a part THAT WAS DESIGNED TO BE ABUSED??? so i just decided to sand it down and use a paint/primer combo. i didnt have an extra person to help me get the bumper off so i just decided to paint it with the bumper on. i meticulously(10 minutes) taped off the part i wanted to paint and got to work.

all you need for this is some sand paper, blue painters tape, and paint of choice. i went with the Rustoleum Universal Satin Black Primer/Paint combo.
null_zps2bf99010.jpg

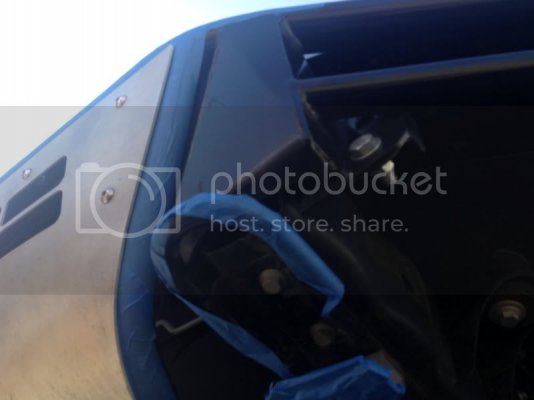
i taped off the area using newspaper and painters tape. i also put newspaper down on the floor to catch any potential drip.
null_zpsb7fd0531.jpg
null_zps5f70409a.jpg
null_zpsa359eab3.jpg

so now its time to paint. you wanna make sure theres nothing in your immediate area that you dont want to get mist on. and if theres a slight wind, spray in between gusts. the can suggest multple light coats instead of one or two heavy coats. so i sprayed a light coat every 30 minutes x4. so 4 light coats later, i let it dry then carefully peeled away the tape and newspaper and heres the results....

before:
null_zpse458d3fb.jpg

after:
null_zpsd265d3f8.jpg
this picture looks like what appears to be a huge blotchy spot but i assure you its just the angle or some shadows.
null_zps96dabd49.jpg


8) Modifying stock fenders to fit 37s

so its now back to the debate of fiberglass fenders vs modifying the stock fenders. lets look at the PROS/Cons of each....
STOCK FENDERS:
Pros:
1) retains factory look
2) stronger then fiberglass
3) cheaper

Cons:
1) isnt good for off road unless extremely modified
2) difficult to modify
3) tire may appear "stuffed" in wheel well

FIBERGLASS FENDERS:
Pros:
1) give truck more wheel well space for bigger tires
2) gives truck an agressive "trophy truck" look
3) wider fenders prevent rocks from being shot at door

Cons:
1) Fickle and delicate to lay, not always "OEM" fit
2) Weaker and prone to cracks
3) $1500+ for a complete set, install, and color match

so with all that said, i used my new set of tools and every ounce of mechanical knowledge ive ever had and decided to modify the stock wheel wells. i prayed to Jebus and got to work

****ALL PICTURES FOR THIS SECTION ARE FOR FRONT PASSENGER WHEEL WELL****

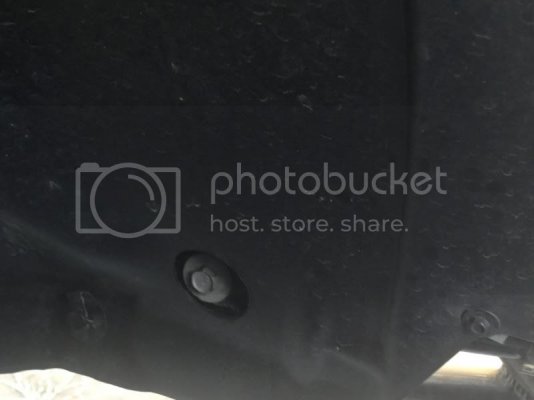
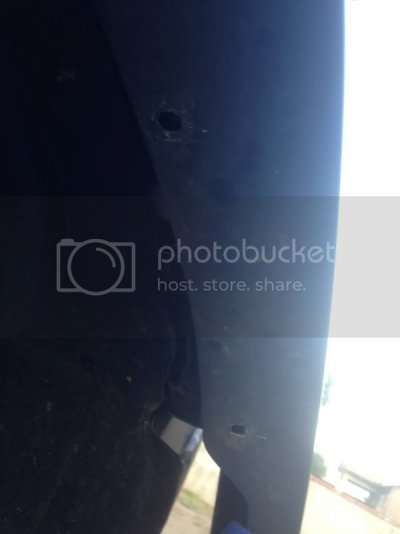
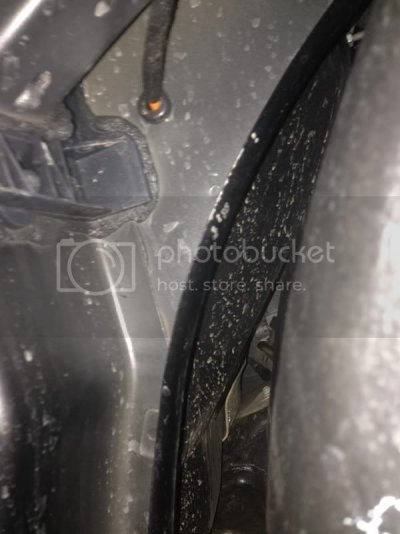
in this first picture we see 3 "bolts". the one on the left is a black push pin. more on that in a sec. the middle grey is irrelivate at this time. the tiny black screw on the right is what you want to focus on.
null_zps9969c4a0.jpg

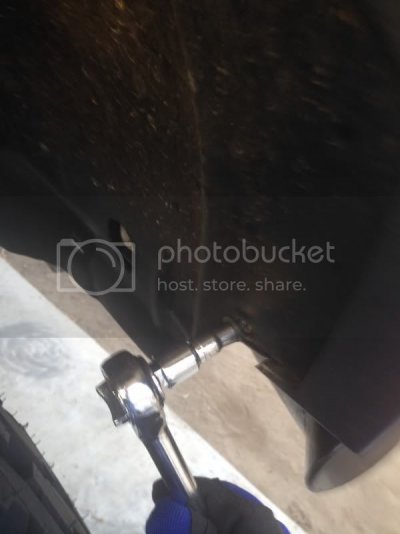
attach a 7/32 to a small socket wrench and remove them systematically. there is 6 if my memory serves me right
null_zps75dd2adc.jpg

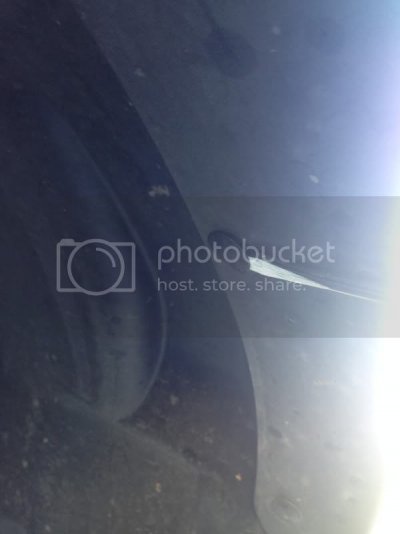
next we want to remove the black plastic threaded push pins that are holding the fender flare in place. these will come out easy BUT NOT BY HAND. what i recommend doing is using a flathead screwdriver or something similar and gently pry yourself some clearance, like so
null_zps318a93e6.jpg

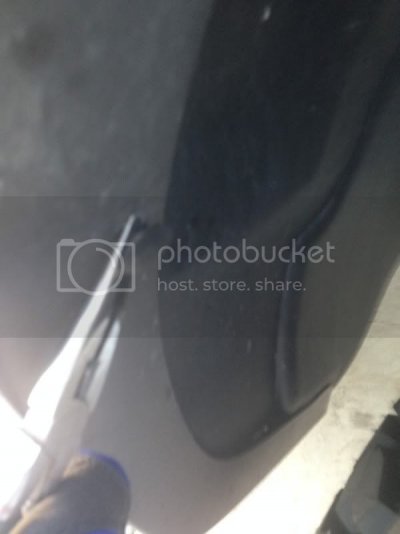
once you have enough separation between the head of the push pen and the back side of the fender flare, i recommend using a needle nose plyer and pry off in a back and forth, side to side fashion like so(or you can just yank them if you have the arms of He-Man)
null_zps959d881e.jpg

and this is what you should get!!!! notice the empty holes where the push pins used to be and the gap between the fender flare and fender liner. the liner can now begin to be separated from behind the fender flare
null_zps463e70c3.jpg

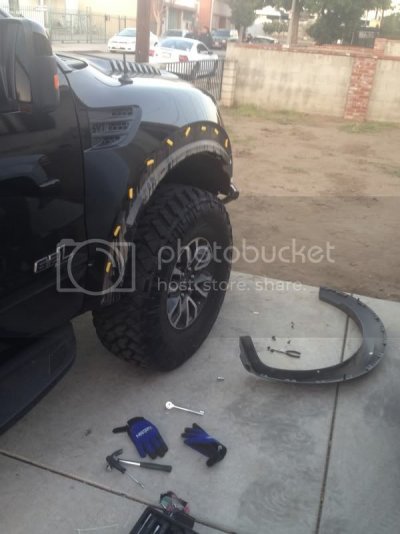
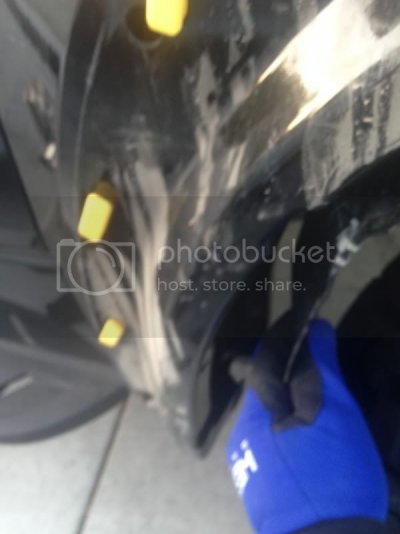
or you can do what i did and use this time to fully remove the fender flare from the actual fender itself. the very first clip in the front, closest to the front bumper is very delicate and i actually broke mine. but its not a big deal if you break it. the yellow clips you see are more then enough to hold the flare back in place. youre gonna have to pull pretty hard. you will feel some resistance and start to second guess yourself if something may snap. once youve passed the front white clip, nothing should break. so one by one, using two hands, pull the fender flare from the fender.
null_zpsfa4cd468.jpg


there are 9 yellow clips and one white clip which you can barely make out in the picture. its all the way in the front. thats the delicate clip. once you make it past the first one, the other 9 yellow clips shouldnt give you any issue. so you can see in this picture that my fender flare is completely off and i have completely separated the wheel well liner.
null_zpsc3a0677c.jpg

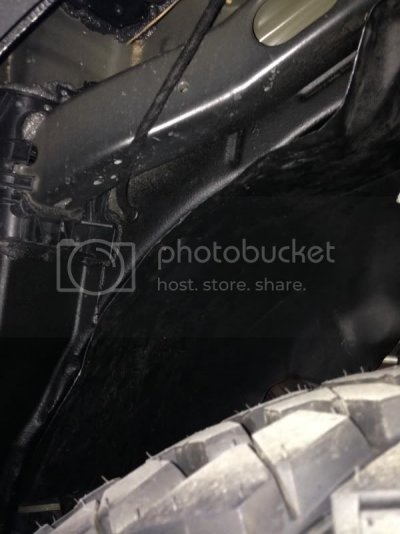
the back of the wheel well is actually a very nice texture, almost like what the dash board is made out of. well anyways,now you can begin to bend or push back the liner to expose the welds and misc metal that needs to be cut.
null_zps207f74c0.jpg

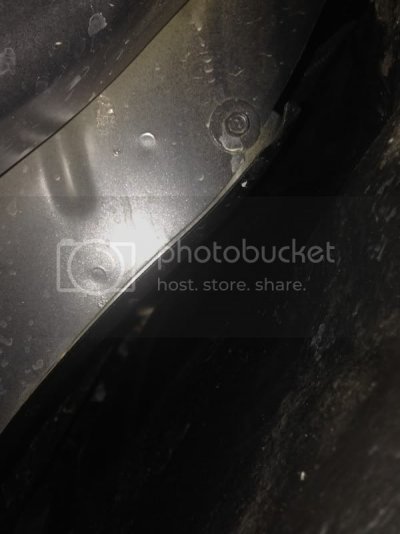
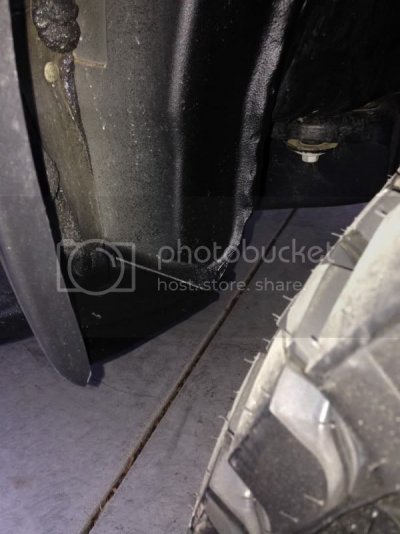
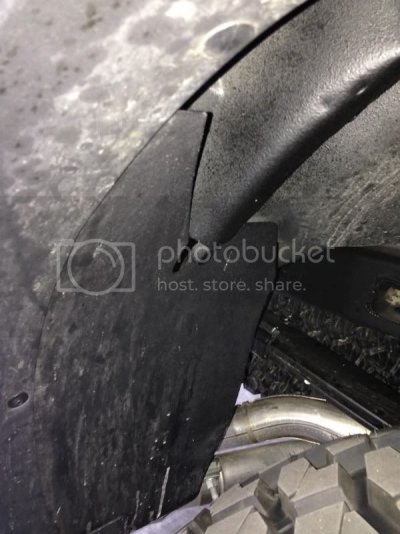
ok ladies and gents, now we are getting somewhere!!!!! this picture below shows one of the areas of immediate concer. from here on out i will call it "the metal strip". please bare with me, im a novice. LOL.

so this metal strip is not PARTICULARLY sharp but neither is a musketball, if ya get my drift. and high speeds, even a blunt object can pop a tire. also, lets not forget about the spring compressions. so you will see the metal bar of concern starting at the top right and arching down towards the middle of the picture. that needs to either be hammered back, or grinded/sawed off. your choice.
null_zpsb935c01f.jpg

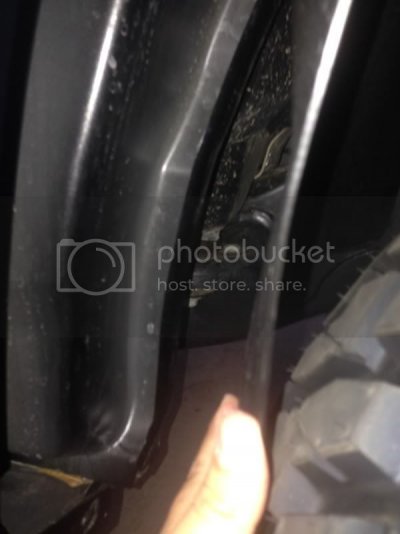
so basically that metal bar was acting as a cover. but covers can still be dangerous. in the picture below, you will see the true "knife edge" just north-east of the screw. THAT IS THE MAIN AREA OF CONCERN. follow it and hammer it back so its no longer a risk to pop your tires. now getting back to "the metal bar" also in this picture...if the metal bar hits the tire DEAD-ON, all that will happen is some rubbing. but if the tire is turned one way or the other, the tire may hit one of the sharp corners of the bar. the metal bar is in essence acting as a sheath for the sharper knife edge. but the sheath itself has sharp edges if the tires hit it on the sides. get what im trying to say? so, once again....hammer it, cut it, grind it. doesnt matter, just make it work. im not too sure about removing it. why expose more of the true knife edge of you dont have to???
null_zps2e5e8802.jpg

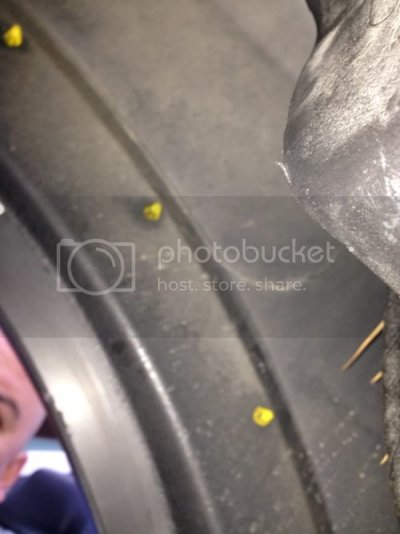
this picture here shows the bottom of the knife edge. do the same to the bottom that you did to the top. pick your poison. also, in the bottom left of the picture, you will see a hole where a screw used to go, holding in the wheel well liner behind the fender flare and also holding the fender flare to the fender. well, man up and put your big boy pants on because youve gotta got that bitch clear off. decide how drastic of an angle you want to take off. that part is metal. so when attaching the fender flare back on, you will have just loose floppy fender flare, line it up and cut it off to match the cut you previously made. with the fender clipped back on like normal, that wont make a difference. the 9 yellow clips will be holding it in place. it wont rattle in the wind or at high speeds
null_zpsc1b5043e.jpg


HERE IS THE "after" OF THE FRONT

So the metal bar I kept referring to has been cut back and covered with the cut wheel well liner
null_zps89afa733.jpg

The major cutting I was referring to was right here. The hole for the push pin has been completely cut off and both fender flare and metal have been cut to give us adequate clearance with the wheels full lock in either direction
null_zpsc156029f.jpg

Lastly, here is a picture of the inner wheel well, with the fender placed back on, clipped to all. 9 yellow clips and the wheel well liner cut. If you're picky, you can add more liner to cover the big gaps. I could care less.
null_zps47f5d1b2.jpg

lather, rinse, repeat for drivers side.

My ******** didn't take pictures of the rear wheel wells so I just used some pics that came up on google.

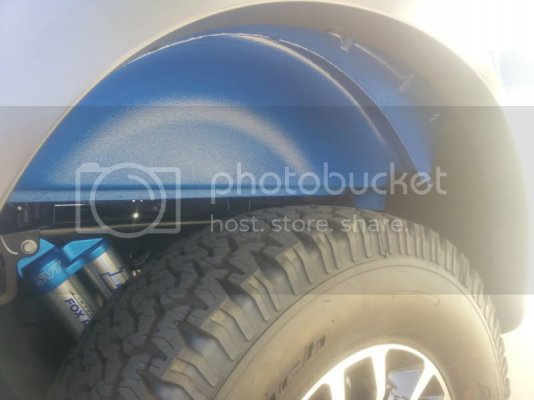
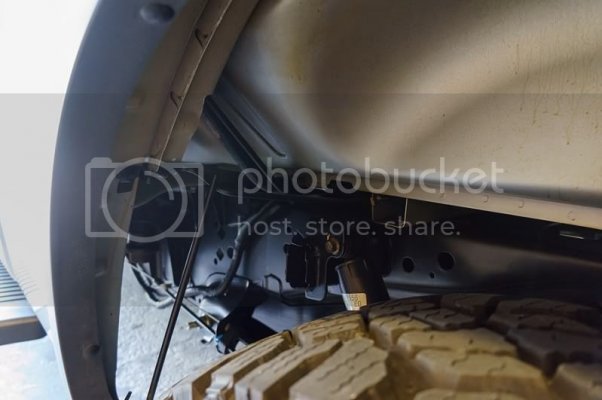
The rear wheel wells are relatively spacious and since the wheels don't turn left or right, just compress up and down, the rear was much easier. The knife edge is in the back of the wheel well. Here are two stock pictures of what it would look like...look closely and you'll see what I'm talking about.
null_zps9dbd481e.jpg
And that is how you fit 37s
null_zpsa0e11433.jpg

SO HERE IS THE "after" OF THE REAR:

you can see the knife edge has been trimmed down significantly and the wheel well liner has been cut down and used to cover the remaining edge. See, I told ya rear was easy.
null_zps3cd2aa9e.jpg


credit to RAPTOR ADDICT aka KIRK for picking up the cutting where i didnt have time to finish. thanks bud
 
Last edited:
OP
OP
jackrook

jackrook

FRF Addict
Joined
Jun 17, 2013
Posts
1,379
Reaction score
705
Location
Bermuda Dunes, Ca
9) knockoff 20 inch LED lightbar

So after seeing Infinaterealitys thread of a 30 incher and some 2x2, I decided to give it a go. I payed $126 shipped for a generic 20 inch led light bar. The description says its 120 watts, 9,000 lumens. It "should" fit nicely in the brackets welded in my bumper, behind the skid plate. I payed for it Sunday, it arrived Thursday, I installed it Friday.

It comes disassembled. The bar is assembled but the brackets aren't assembled. It comes with two different sets of screws. One long, the other short. Also came with washers and locker washers.

So first things first....this bar is SLIGHTLY wider then the tabs so I had to hammer the tabs out ever so slightly.

Slide the lock washer first then the regular washer down the short screw. Thread the screw half way into the hole. Obvious. Repeat same thing for other side.

I removed my skid plate for easy access. The actual mounts are welded on the bumper. I have an air gun with an Allen wrench adapter.
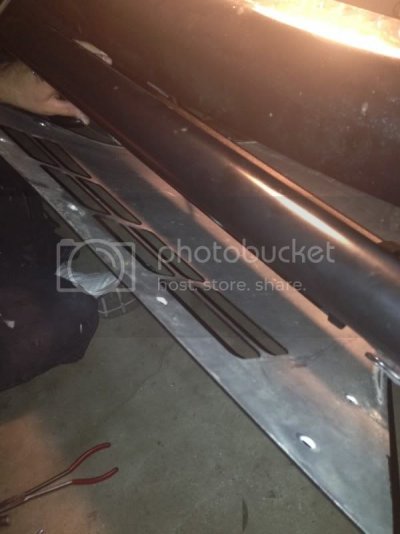
null_zps78b6f1c1.jpg

Once both sides are screwed in half way, gentle slide it on to the tabs and maneuver it into place. Then, using an Allen wrench that's provided, tighten each side until almost completely tight. Then position the light to your liking.
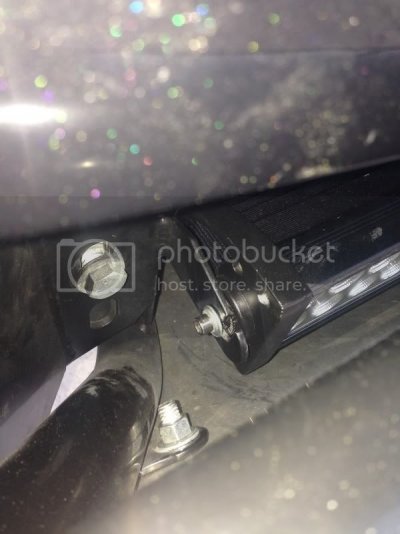
null_zps29d986a2.jpg

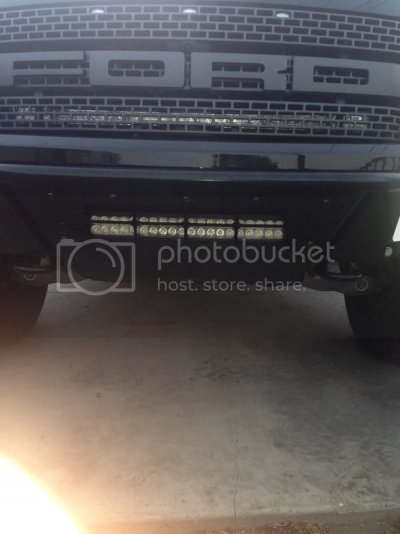
Here's a pic of it mounted below my M&R 40 inch. Both lights are off.
null_zps7ad20677.jpg

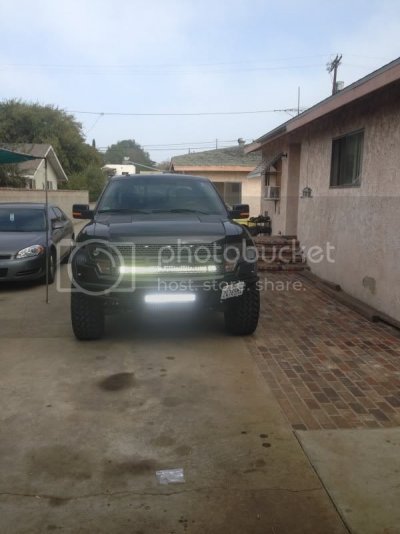
Here's a pick of both lights on during the day. 20inch is in the skid plate. It's whiter and seems brighter. Listed at 9,000 lumens compared to my 15,000 lumen M&R
null_zps164efd6f.jpg

Here's both lights on. My iPhone isn't a $2000 camera so just be happy with this.

null_zps031ca954.jpg

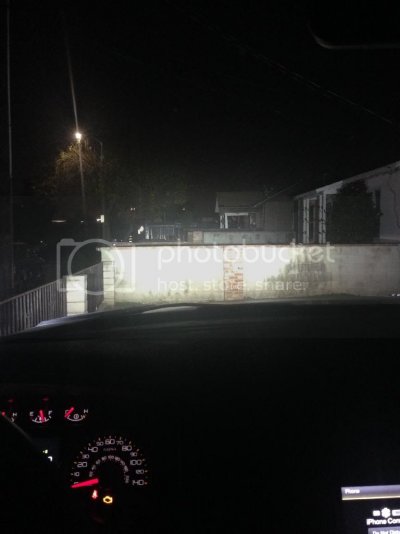
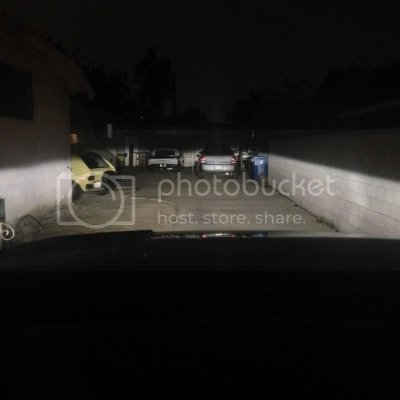
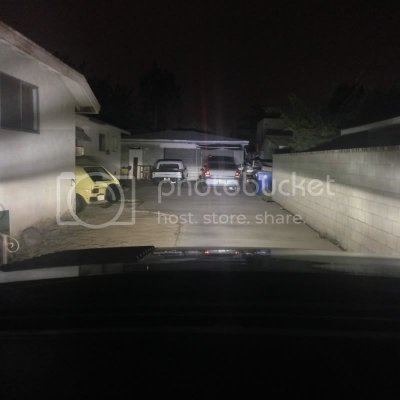
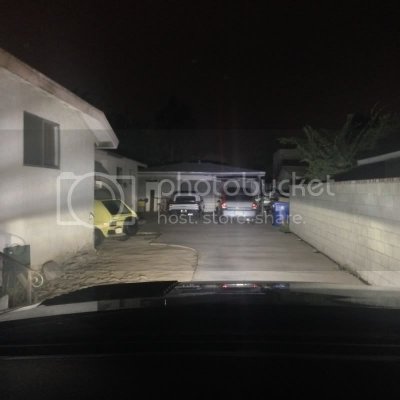
Here's my truck looking down my driveway. I'd say 25-30 yards to my garage. Notice my surroundings and trees above and behind my garage.

Here is just my stock HIDs
null_zpsbefeaae4.jpg

Here is my HIDs plus my 40inch M&R. BIG DIFFERENCE!!!
null_zpsf14f5dde.jpg

Here's my HID plus my 40 inch M&R plus my new 20 inch generic bar. Notice the extra light on the wall on the right and the house on the left
null_zpsb1247840.jpg

Here's the side of the house with my HIDs and 40 incher. Notice the shadows, windows, and door.
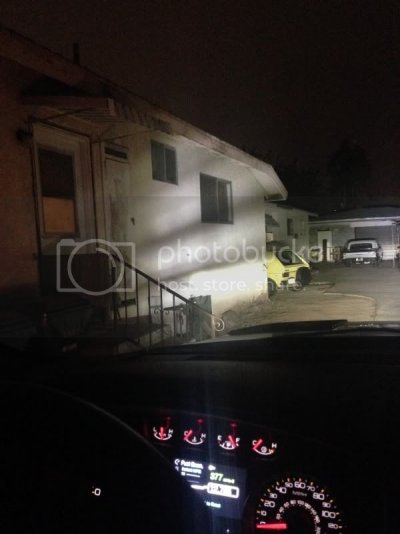
null_zpsbef4e965.jpg

Here's the same angle but with my 20 inch generic bar added to my HIDs and 40 incher. Notice how much lighter the shadows are but the doors and windows are also more illuminated.
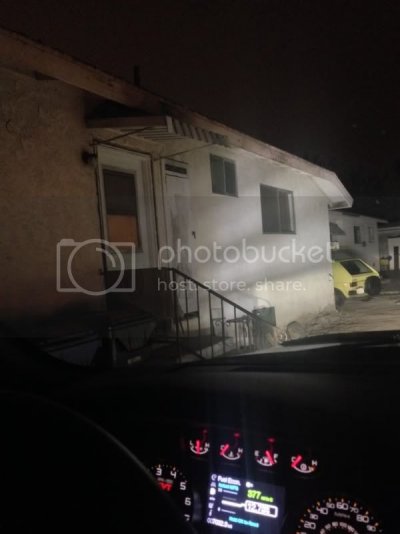
null_zpsbd510328.jpg


FINAL REVIEW: installation wasn't a breeze. The bar is a tad too wide but we were able to hammer the tabs back a bit. Once it was on the tabs, ******** it in was easy but long. It's a tough squeeze...too tight for power tools. But it's a doable job by hand. I purchased this bar for $126 total including shipping. The output vs value is phenomenal and if you've got the tools and the patience to deal with it, they are definitely worth it!!!! My cell phone pictures don't do it justice. The 20 inch generic bar would be good as a primary off road light but it is GREAT as a secondary or complimentary off road light. Excellent purchase.


10) Icom F5021 with permanent mount antenna install

so any time you go on an "official" Raptor run(Snoball, Havoc, TRR, etc) you are pretty much dead in the water unless you have a VHF radio. a popular choice is the Icom f5021. simple and easy to use. as a rookie, i went to a ham radio store and they ripped me a new *******. they wouldnt help me because i didnt have a "callsign" and wasnt licensed. they had this exclusive attitude. so you know what? **** YOU!!! i bought it off the internet and it was cheaper!!! i also got a 50 inch Larsen half wave antenna with a NMO mount. i got the standard 17 feet of coax cable that runs from the antenna to the radio. i also got a rain cap that can be used to cap the antenna mount when not off roading(ex, daily driving use).

lets get started.

first thing to do is remove the two screws hoklding the rear brake light in place. then just gently remove the brake light and let it hang but the connections. itll be fine.(thats my GFs yummy ass in the reflection)
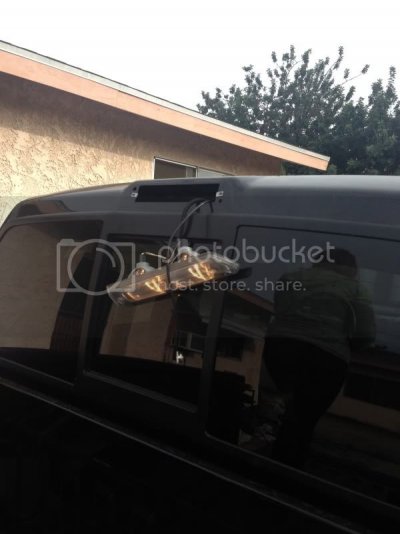
null_zps947c47cf.jpg

next, gently pull back the headliner until you can sneak a peek at the brake light opening. once you can see it, thead the coax cable through the brake light opening.
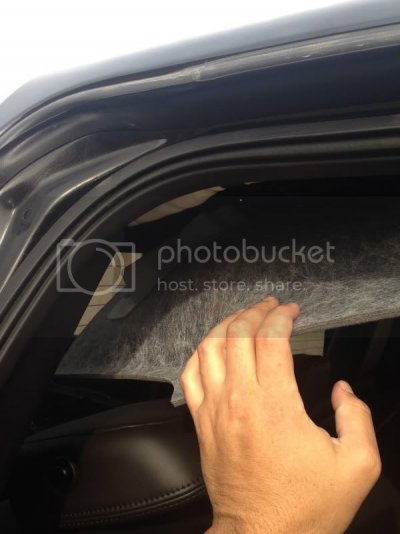
null_zps3841fb18.jpg

now push the cable all the way to the back of the roof to where it meets the back window. the cable cleanly tucks away into the back side panel all the way down. just finger tuck it in as much as you can. its not gonna pop out.
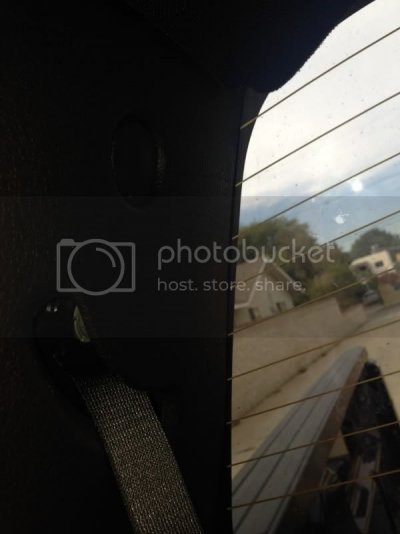
null_zpsb74a9fbd.jpg

heres the wire peeking out behind the back seat. i purposely took the picture with the wire exposed so youll know where to tuck it. so tuck it in down the panel and make your way to the floor.
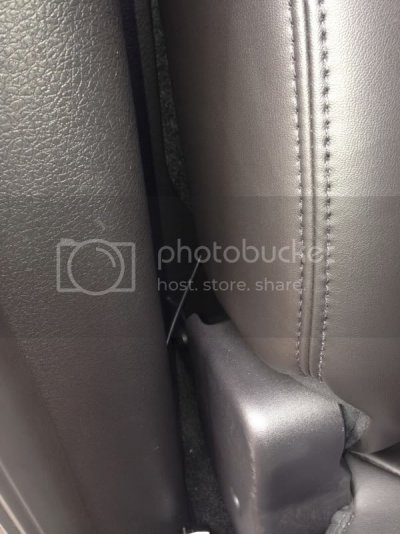
null_zpsb3d11b40.jpg

heres the cable peeking out of the back and front door sills(pictures were taken with wire out on purpose). continue to tuck wire under door sill and carpet. you will be fine. its easy.
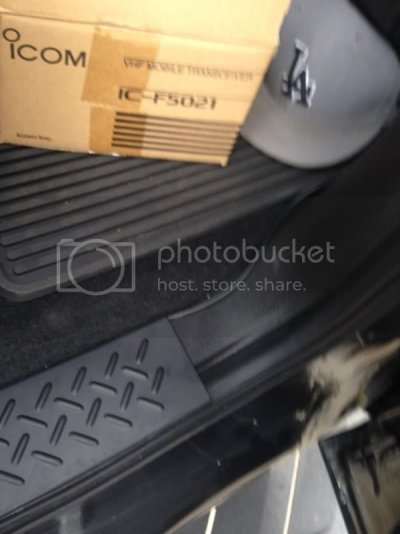
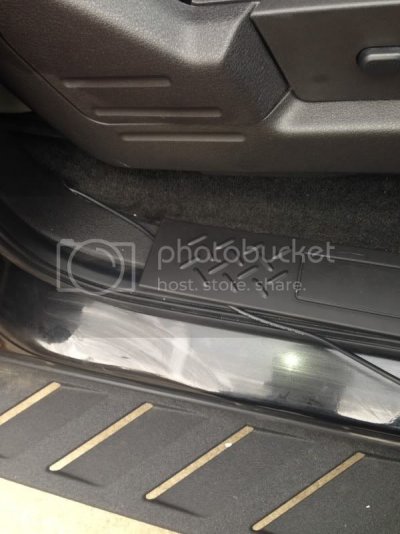
null_zps3448c779.jpg
null_zpsecb1f8c6.jpg

the front door sill(just like the back) pops off completely. its held in by clips(which ive broke but that just gave me an excuse to get the recon illuminated door sill LOL). completely remove the door sill and left up the carpet. run the coax cable across, under the carpet towards the center console.
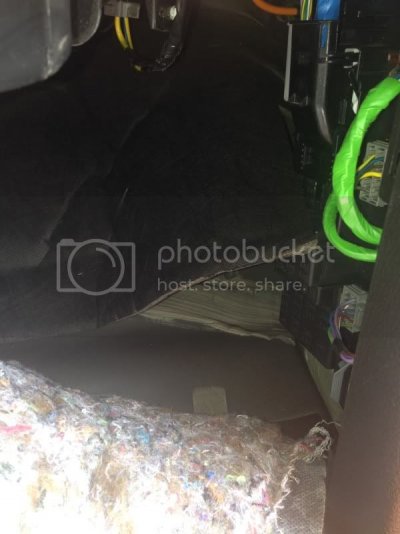
null_zps003e65d9.jpg

now heres where im gonna get a lot of heat from people but i really dont care. i cut a small hole in the carpet to pull the coax cable through. dont like it? drill a hole in your center console. either way youre gonna need to either cut or drill. i just tore up the carpet...just like i do in real life LOL
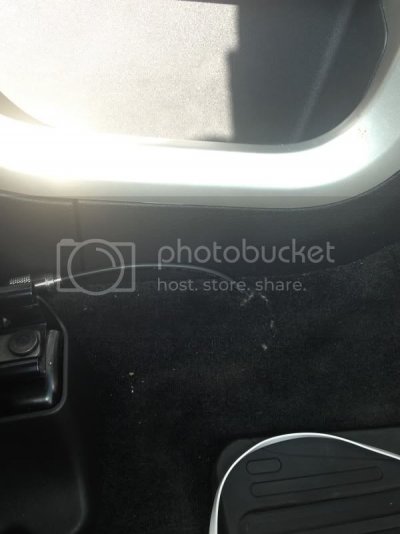
null_zps6f6eb85c.jpg

GREAT!!!!! the coax/antenna cable is in. now lets mount the antenna.

going back to the first picture of the opened third brake light, we find the perfect mounting area for our antenna. unfortunately i couldnt take pictures while drilling the hole but i made a 3/4 inch hole, 2 inches from the brake light, slightly off center(i wanted my antenna to have some personality).

its literally that easy. i understand some of you may be uneasy about drilling in to your roof, but have confidence. there is no wiring back here and its relatively thin.

heres a picture of the ACTUAL rear end of the coax cable where the antenna attaches to. once i tightened the ring that keeps the antenna in place, i applied a thin layer of black sealant just for some extra protection. i didnt really care what it looked like because whos gonna be inspecting the roof of my truck for sealant residue??
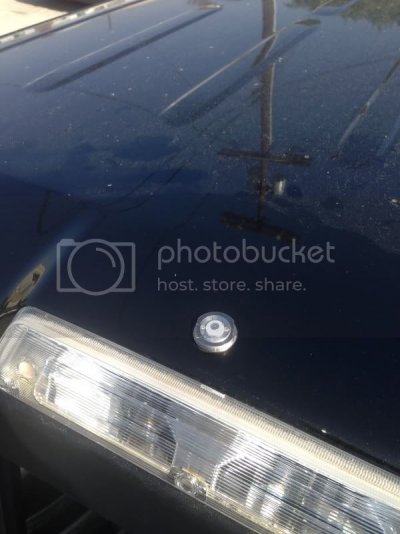
null_zps87930b2d.jpg

heres a picture of my Larsen antenna mount with the antenna in it. you have to open the mount with a tiny allen wrench(supplied) and slide the antenna in then lock the screws with said allen wrench.
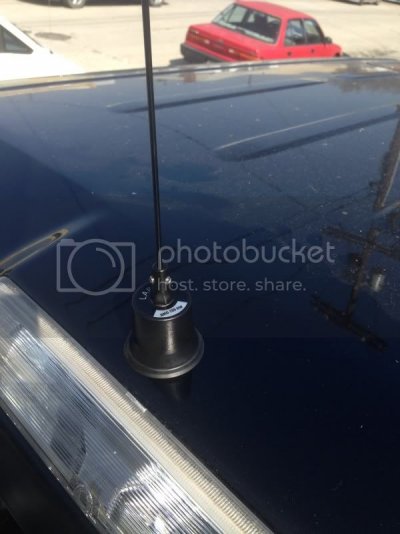
null_zps45052883.jpg

heres the full antenna(wires in the background are 20ft high. dont worry)
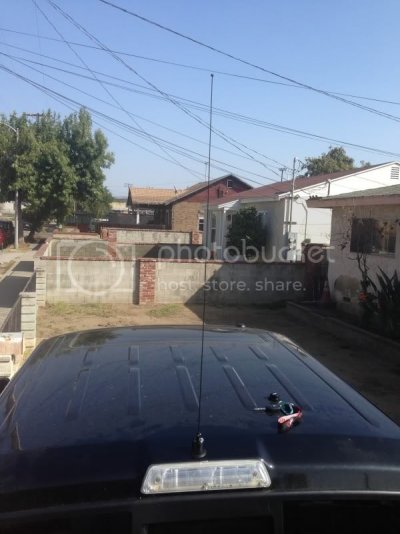
null_zps1de7edb9.jpg

and here is the raincap/cover that is used when the antenna is not on. this will be kept on for my daily driving. it protects the pieces of the coax cable mount that accepts the antenna and screws on.
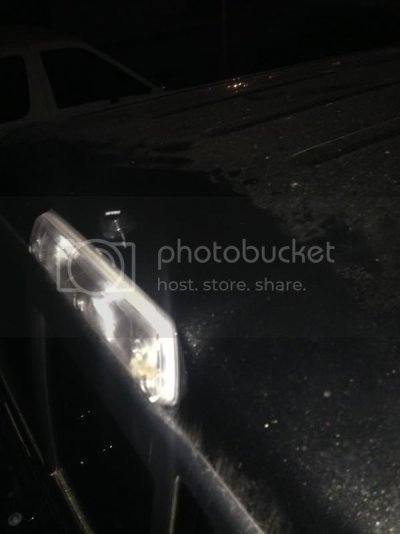
null_zpsc749a8bf.jpg

AWESOME!!!!!! now that weve got the coax cable ran and the antenna mounted, lets run the power cable!!!

pop the hood and look to the fuse box in the back left corner. just under that is a rubber plug. what a coincidence...i took a picture of it.
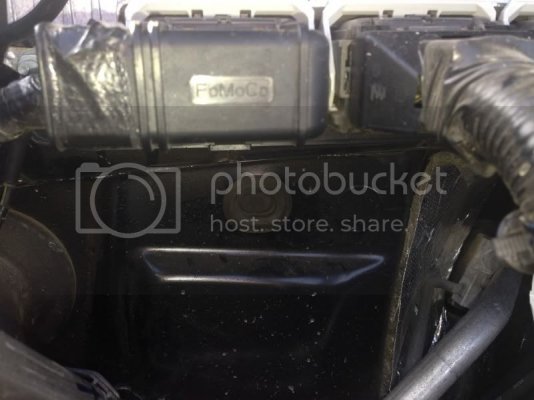
null_zpsc51c4c51.jpg

now comes for the hardest part of the install!!!! remove the rubber plug. it took me 7 beers to work up the confidence to do it, but i did. i manned up and pulled it out!!! behind it is the firewall.
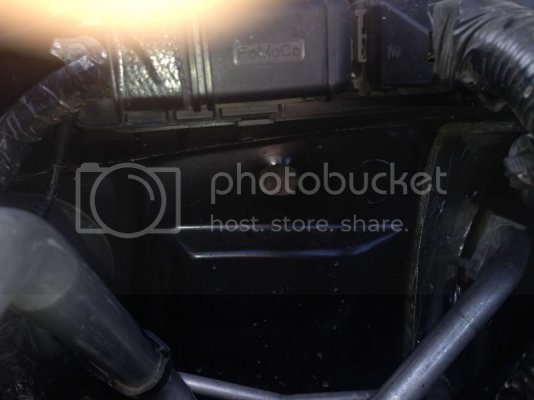
null_zps6b47075d.jpg

i tried and tried and tried and tried and tried and had no success. i was in constant communication with SVTdon and still couldnt get it(like hes any help LOL). so i finally said **** IT!!! so i pulled back the carpet and found a spot that had to wiring or vital components on either side of the metal.
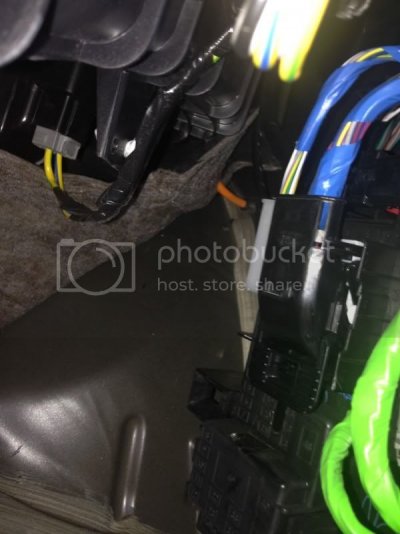
null_zps8267b561.jpg

i drilled a hole using a 3/4 inch bit. i drilled the hole to give me about 3 inches of protection with the wheel well. the wheel well is relatively hard and will prevent mud, water, etc from getting in to the hole. heres the view of the hole from the engine.
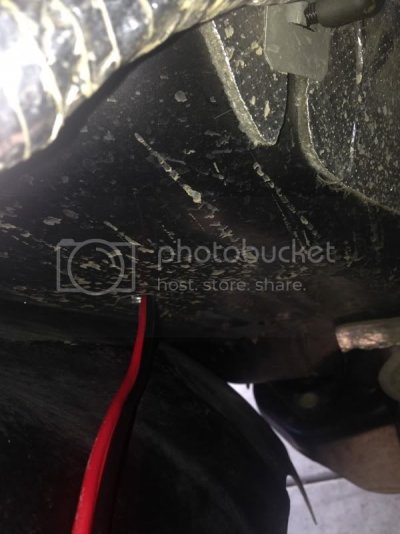
null_zps9a3aba5f.jpg

heres a view of the hole from the inside, behind the carpet and firewall.
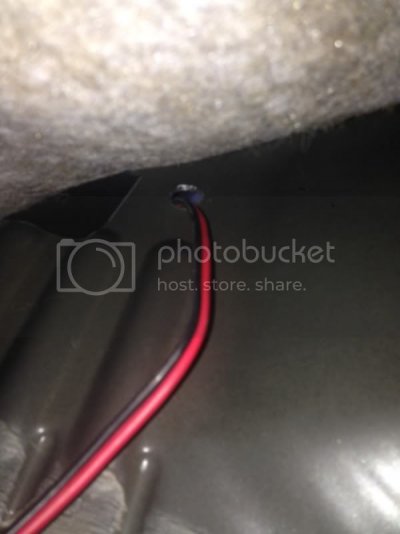
null_zpsba23b50b.jpg

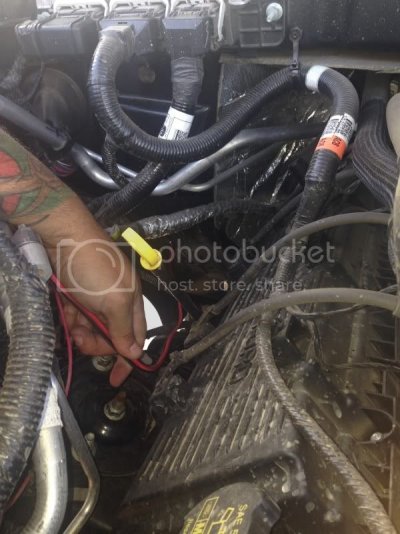
now that youve got the hard part over with, we can connect the cables to the batter. black to black and red to red.. once youve connected it, be sure to tuck away the cable so it doesnt get chopped or burned up.you wanna have SOME slack so youre not damaging the connectors. hide the wire and feed the excess through the hole, into the cab of the truck, like so...
null_zpsdfcc5efb.jpg

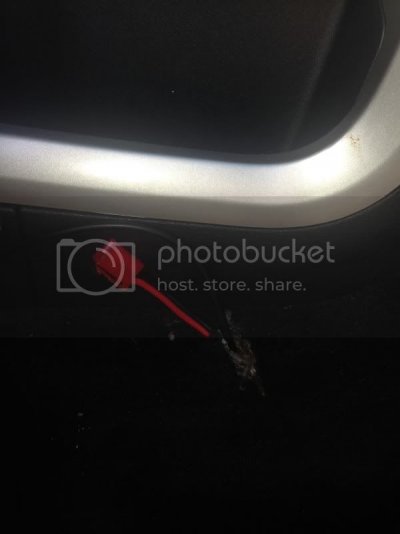
now that i have the cable inside the cab and the carpet lifted, im gonna run the power cord through the same carpet hole as the coax cable.
null_zps78c71dd3.jpg

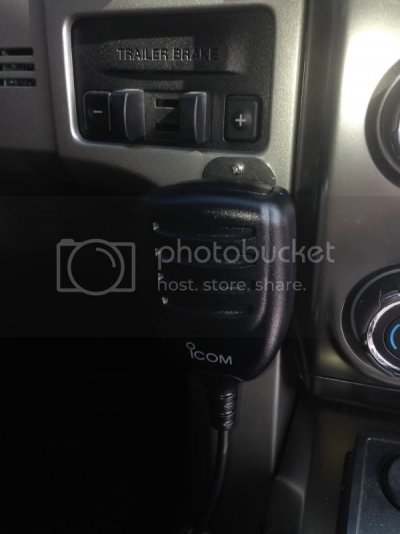
my actual radio is being programmed by Icecobra. you may have purchased your radio already programmed or have a radio that doesnt need programming. thats all good. while my unit is being programmed, lets finish this write up with the MIC MOUNT.

it is suggest to "ground" your mic mount if you plan on using your radio to "scan". however, with an f5021 Icom, we cant scan. all ofo out stations need to be programmed. so theres no need to ground it.

i picked the drivers side so that way, if im riding solo, i wont have to reach over to the passenger side to grab the mic. when i have a passenger and they are controlling the mic, they can just keep it in the cupholder.
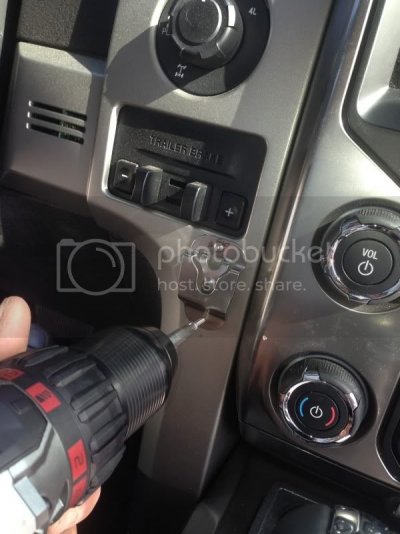
null_zpscf421496.jpg

here it is mounted and with the mic on it. im 6'6 and have PLENTY of leg room. this is nowhere close to hitting my knee.
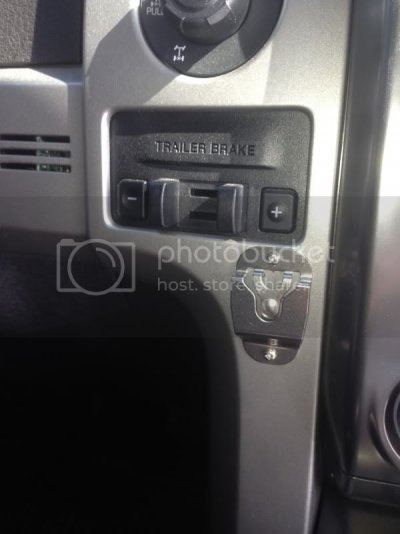
null_zpsa1e6eb3f.jpg
null_zpsd8802ea4.jpg

i went with the typical install that a lot of people do here. just directly mounted the bracket into the center console using a cordless drill. piece of cake
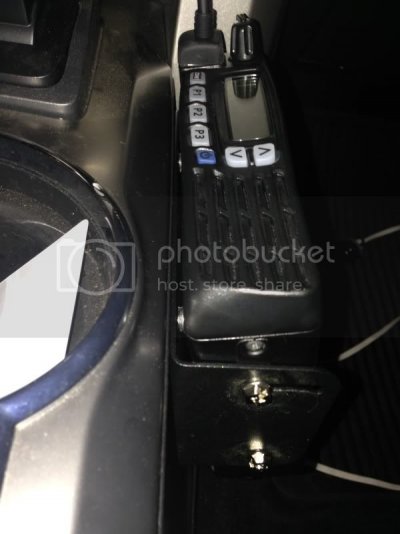
null_zps1a4cb078.jpg

heres my full set up. thinking about adding another mic clip to the passenger side so when i have a navigator, they can manage the mic.
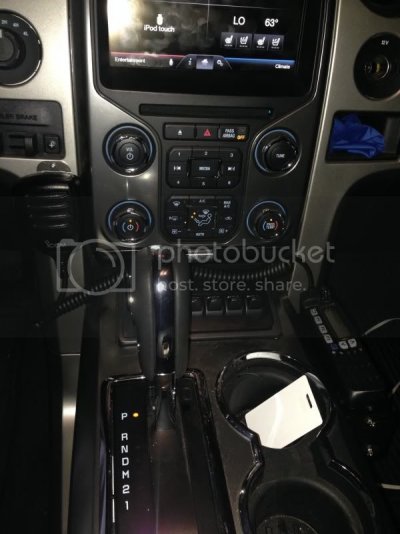
null_zps5a3b5c46.jpg
 
Last edited:
OP
OP
jackrook

jackrook

FRF Addict
Joined
Jun 17, 2013
Posts
1,379
Reaction score
705
Location
Bermuda Dunes, Ca
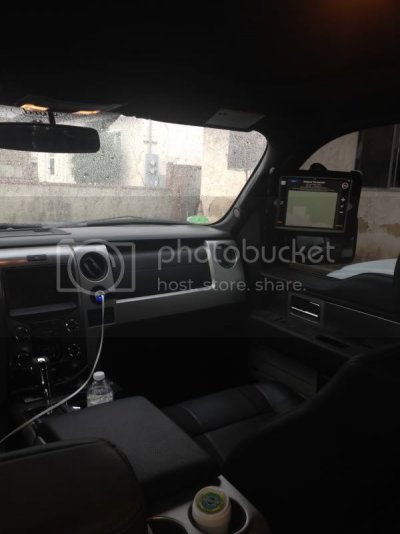
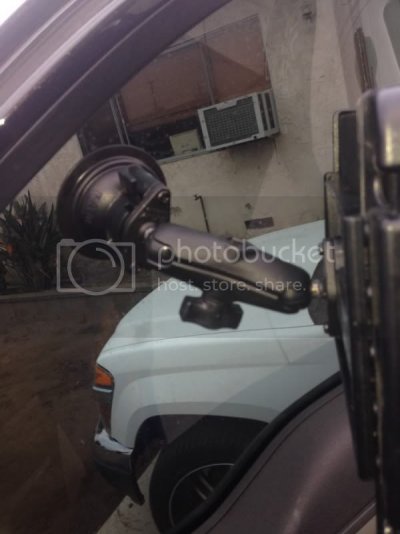
11) iPad window mounted GPS system most of us on this forum recognize that off road navigation can help out IMMENSELY while out on the trail, or lack of trail. but who really wants to spend an insane amount of money on a dedicated off road navigation system that will be used sparingly and sits right in the middle of your view? with all the apps and technology out there at a high quality/low price ratio, it just makes sense to go with a tablet style GPS system. 1)iPad 4 2) RAM heavy duty suction cup mount 3) Motionx HD for iPad this is the exact set up i used last weekend while out in Ocotillo Wells. while it was not a flawless system to say the least, it was suffice to get me home twice when i was lost on a trail(only been there one other time). i downloaded the terrain/topo maps that show trails(named about 75% of them) and sand washes/river beds(names about 75% of them as well). i have the wifi only ipad and therefor the GPS doesnt track me on the map but i think i will buy a plug-in GPS antenna and just use it when im off roading. all in all i am very pleased with this set up. it is designed for the passenger/navigator to operate and can easily be adjust to their height by placing it higher or lower on the window. the strenght of the suction cup was never in doubt. i went over many woops and hard bumps at Ocotillo and this thing jiggled a little but never fell off or changed positions. it is also able to be ran continuously by being plugged in to one of the many ports. heres a pic of it mounted on the front passnger window. the view is fronm the back seat, drivers side null_zps3e6c035a.jpg
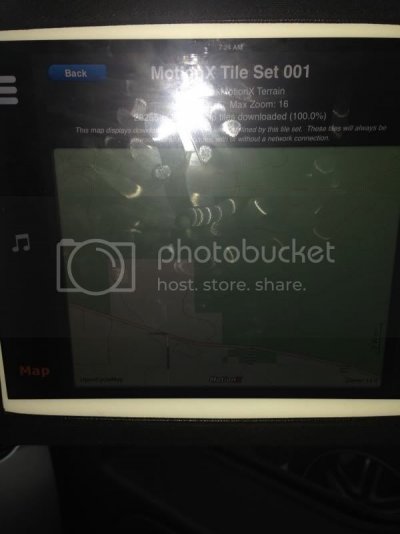
sorry for the flash and finger smudges. not a big deal if theres no flash. its easy to read in any light and great for off roading. trails, washes, and paved roads are easy to distinguish and you can set the zoom to be very detailed, just depends on how much space you want to use on the download. null_zpsa5b6fa4a.jpg
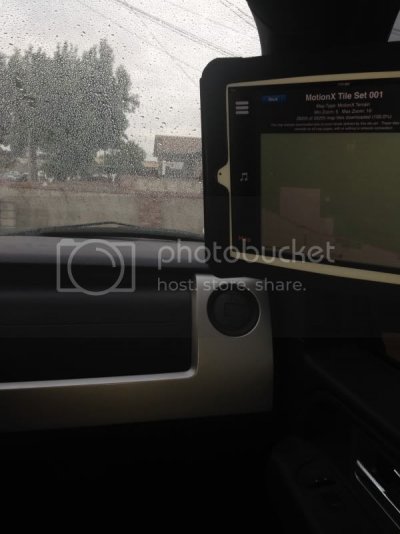
here is a "partial" view of what the passenger sees. the camera angle and whatnot doesnt do it justice. its very easy to keep your eyes on the trail and on the GPS, just mount it where its best FOR YOU. everyones height, plane of vision, etc is different so just mount it where youre comfy. null_zps5fdfd089.jpg
heres the mount suctioned to the window. its very strong, adjustable on the fly, and uses a double sided ball joint and clamps to stay in place.

null_zps8517fddf.jpg
while it may require some tinkering and requires maps to be pre downloaded, this is an excellent substitution for an expensive and permanently mounted offroad GPS. there are many different apps out there and many different cheap tablets that can be used. i just used the ipad because its what i currently have. i just want this to be a conversation starter for those wondering if this will work as good as a dedicated off road GPS. my answer? yes. just take your time researching apps, purchase the proper mount for what your looking for, and dont forget that not everyone will like what you do but if it works for you, thats all that matter....and this works for me GREAT!!!


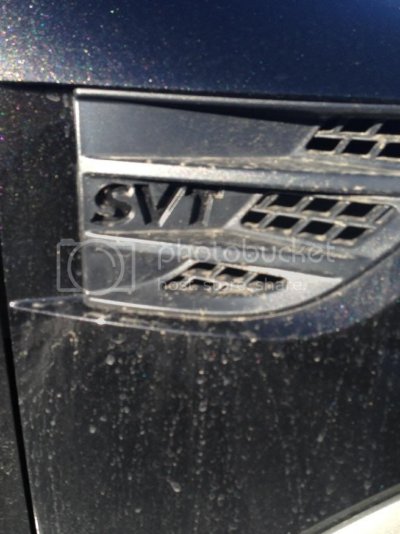
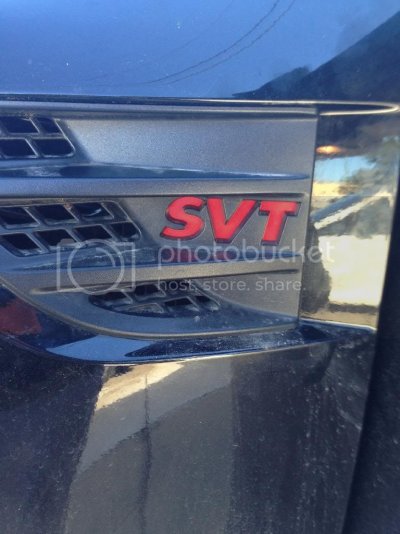
12) red 3M vinyl side vents piece of cake. i used a plastic cake cutter knife to pop out the vents. it really is that easy.
before:
44EBE157-01EB-49D2-AFD5-A61DD6819483_zpsngfqvkr1.jpg
after:
83CDE9C9-A64C-4BC1-B1A4-B3BB7103E682_zpsiurii3zm.jpg

13) Outlaw Raptor Alpha 1 bed rack
so since moving to 37s i can no longer keep my spare under my bed. my 3 options were to get a "tiregate", a bed mounted "Y" bar, or a bed rack. in my opinion, the Tiregate looks the best however with my truck being a daily driver, i didnt want to lose the function of the back up camera. so that takes that out of the equation. the Y bar is the cheapest and does a solid job of keeping the tire down, but id have to drill into the bed in multiple spots to anchor the plate. thats not gonna happen so that leaves me with just one option. A BED RACK!!!! in my exhaustive seach, i checked out Saints, WSI, Outlaw, ADD, and SDHQ. there were some pretty decent racks but to be honest, most of them are just over priced BOHEMITHS with fancy cutout logos and polished metal plates. i wanted something small but sturdy. i wanted a rack that was going to hold 2 37s, a floor jack, a tool box, and a gas can. my options were limitless because most were like this. so why Outlaws rack? well, me and my GF also ride dirtbikes. fitting the bikes in the back of the truck would be difficult with the bed it, but luckily for me, the Alpha 1 bed rack is removable. first thing is to drill out the bed bolts. if youve never taken them out, it can be mentally intimidating. but luckily my good friend RAPTOR ADDICT was there to talk me through it every step of the way. they are "speed bolts" so there is no nut to attach these to. a hole is drilled through the frame and a clip is place and the bottom of the frame. the clip is threaded similar to a nut. so you really just slide the bolt all the way down and only torque the last inch. what makes this rack "removable" is the cup system. i dont know the exact diameter of the bar but for argument sake we will call the diameter "X". so what Outlaw has done is use cups(see below) that are X+1mm. theyve also drilled holes going through the cups from one side to the other. when you slide the rack in the cups, the rack also has holes drilled through it that line up with the cup holes. a holding pin goes through the holes and in essence, attaches the bed to the cups, which go under the bed bolt and washer. i was doing a lot of work and forgot to take pictures but heres a pic of the cups already bolted to my bed. observe the holes drilled out. B02486A0-D406-4341-AF0F-465981FEB960_zpsiucmnqpm.jpg
so once you mount and align all 4 cups, slide the bed rack on, sit on all 4 corners to really seat the bars in to the cups, and slide the holding pin through the cup and rack.
(yellow pin is what holds it in place, see pic)
995BDE64-EC27-4DE0-9C40-4BF5F3DDAFA7_zpsdmw3c3g1.jpg

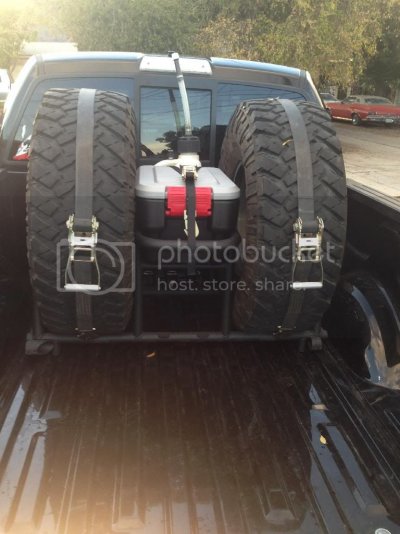
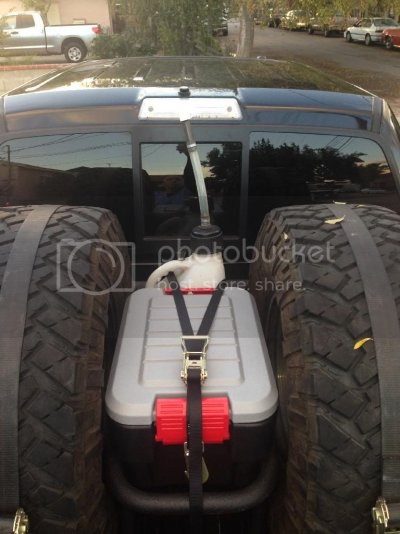
so heres the finished product. it is loaded with 2 37 inch Nittos or stock 2013 SVT wheels. a fully loaded tote box, a 5 gallon gas can, and a floor jack(not pictured but will be on there tomorrow)
82CDEFD4-AC98-46B0-BFB7-CC328BEA8E47_zpsa30jxmgt.jpg
38A253A6-0E2D-493A-8E0A-F5CFD175C4EC_zps5pwpk8lx.jpg


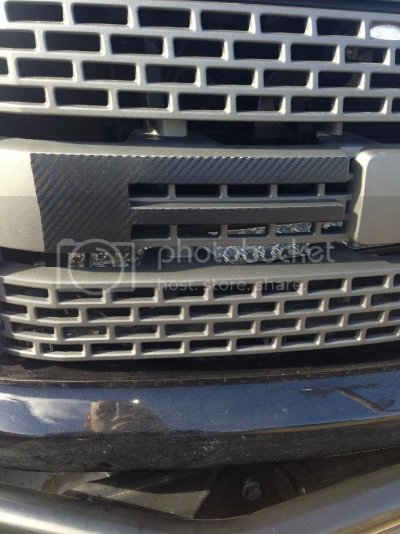
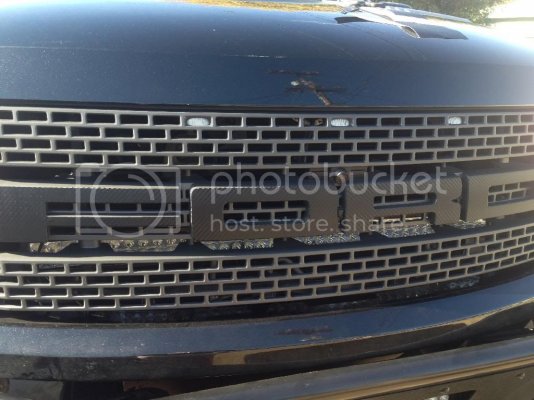
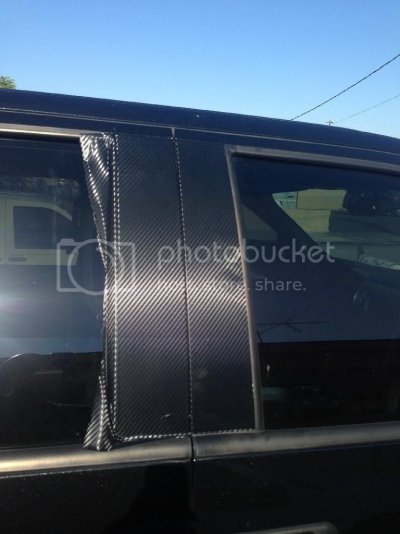
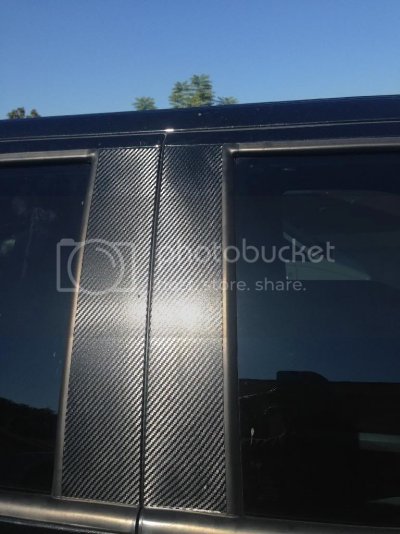
14) random carbon fiber vinly
i purchased a small sheet of carbon fiber vinyl off of ebay and decided to do some small trim work.

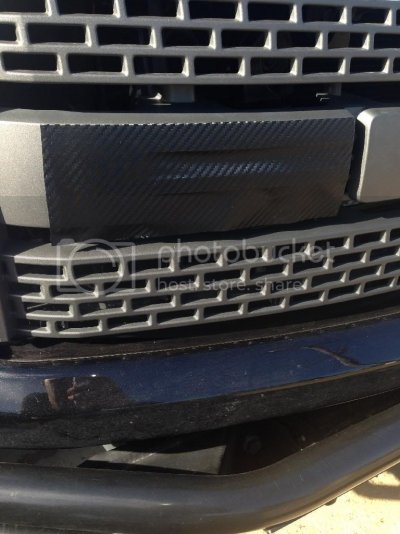
first thing i did was the "FORD" logo in the grill. most people color match or color match out line their truck. but being black, color match just blends in and you cant really tell. well heres my little spin on it.

i used a scalpel i brought home from work for the fine stuff and some regular scissors to cut large pieces off.

here is a rough cut. i used scissors and then lined it up. once i was happy, i peeled back the adhessive backing
9F24DEF8-B543-4CAD-AF83-D58C89F12408_zpskle4algk.jpg

i used my scalpel to get the corners and sharp and round edges. if you get up to my grill and get super close and visually eye **** it, youll see that the lines arent super shop quality but its all good.
BF84CA25-B6C0-4B70-BC76-086061E065CF_zpsise7tkzk.jpg

here is my entire grill.
3DF2C311-7EA5-41D4-9F9A-677BA0869E39_zpstmrcmhsk.jpg


i had some leftover vinyl so i decided to do my doors. i used the same tools.

loosely placed the vinyl on and then used the scalpel.
7FD1AE57-F834-4930-9338-7C0F508BB464_zpsnpllbmkw.jpg

and now here it is all cleaned up!!!
482A262C-D908-4525-88FD-6D1190342537_zps4viufrpa.jpg


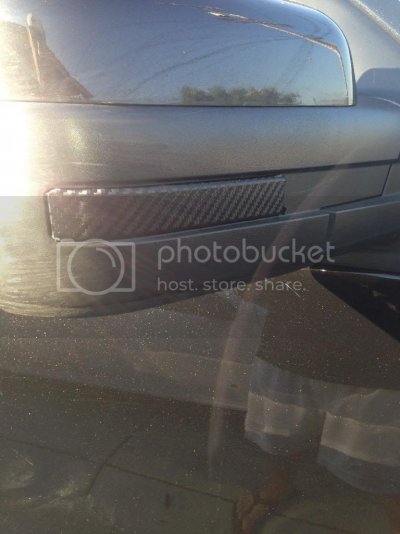
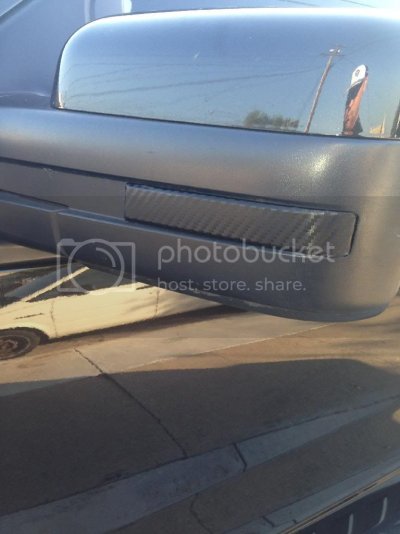
Big Blue recommended me to do mt mirror reflectors. so i popped them out and heres what they look like now.
0D11E428-D19B-45A3-A7E3-B6267FD1A74F_zpsxwqr5kz7.jpg
A3199736-AC0E-4315-8A84-FBD394519DBA_zpstqxrls0d.jpg

the lines arent the straightest and maybe if i had more tools it wouldve came out better but for a mod that cost me $20 on ebay and combined less then an hour of time, im very very happy with it. for those of you who are teetering on the thought of doing some cosmetic mods, do it!!! it gives your truck a whole new look.


15) M&R version 2 Hood Mounts 90watts

lets keep this short and sweet.

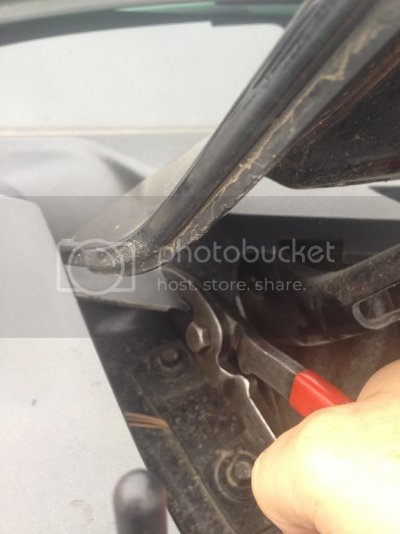
pop the hood and locate the ford hood brackets. do one side at a time. locate and cut the weather stripping using something that can cut stiff plastic.
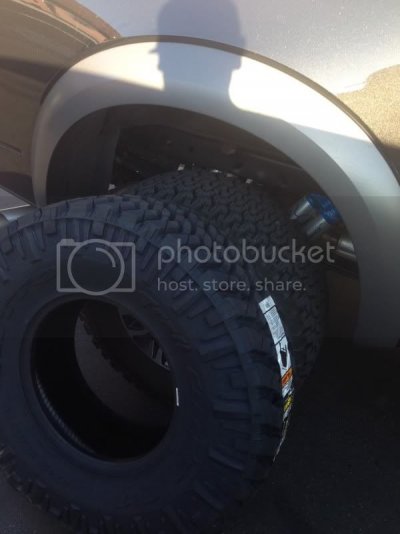
A9D32897-C187-4715-8D87-9FD2C08E8322_zpssqyip1y3.jpg

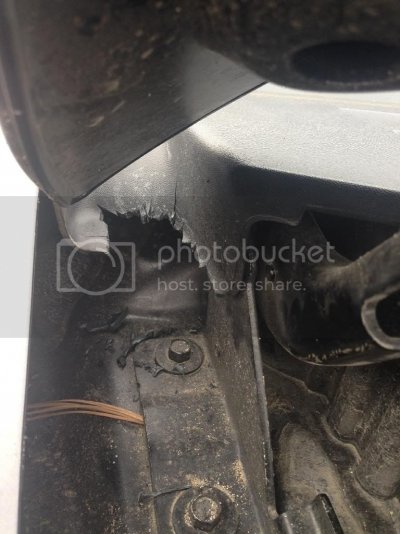
once you have it cut it should look like this. im not too keen on keeping this straight and clean. im just not **** like that. yes i said ****.
7AD8230A-0F11-4395-AD8D-1CC3CA344113_zpsipp4pqb5.jpg

remove the bolts holding down the factory mount and slide the M&R hood mount over the OEM mount and install the bolts. use a 10mm socket and an angled ratchet. also, make sure the mounts are slid as close to the front of the truck as possible to aid in proper hood closure fitament. its not science.
A06A2A18-1688-46C1-A5E0-3A65DEE8D8AA_zpstfb4dcus.jpg

heres what it looks like with the hood closed.
564FE961-2CBA-4827-A330-259D4A25D440_zpsyfky1ws5.jpg

now that the hood mount is installed, we have to install the light mount. slide the supplied bolt down through the light mount and into the hood mount and tighten the nut on from the bottom using a 3/4 socket and an adjustable wrench.
9754B6C2-2B25-4759-B296-C0424A4BCA9D_zpsjftlw12f.jpg

now attach the lights using the supplied allen bolts. thread one through each side.
1F66AC9E-EDBD-4F44-9632-2C97256256FF_zpsmu8b0u1p.jpg

now take this time to tighten everything, make sure its lined up how you want it, and apply loctite if desired.

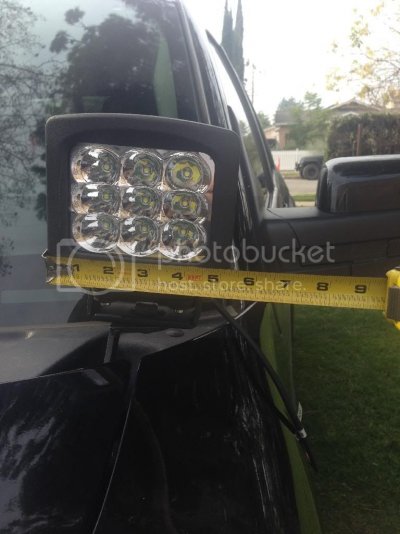
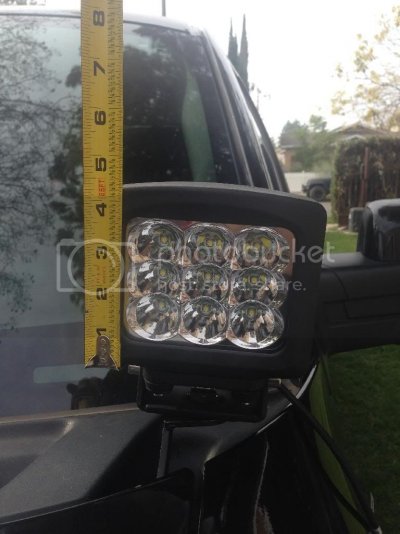
the lights are measured 5.5 inches across and 4.5 inches from top to bottom. this is including the housing, not just the lenses.
AB764180-CF76-448A-8FFD-A4C8124AD9AC_zpszcazaqpy.jpg
0874E871-81D1-4BE8-AD0C-AE72B45E34D2_zpsixg2ytj7.jpg

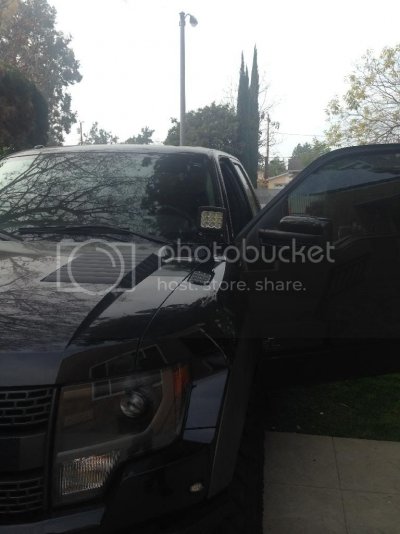
and here is the finished product!!!
8B214899-A800-4310-9047-F9A40B90850C_zpsqjcfdyeb.jpg

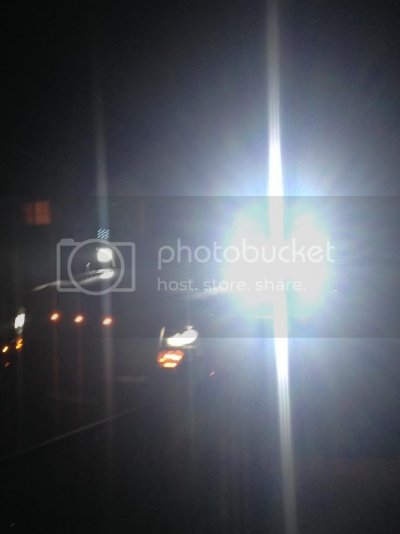
the light output is amazing. youre getting 16,200 unobstructed lumens. these are very bright. my pictures dont do it justice.
E3F6748A-E8FF-4122-A923-6AE5A94D14ED_zpsmzu7h1q3.jpg
70B52E60-32D1-4106-8A70-960128156569_zpsodozr8ce.jpg
---------------------------------------------------------------------------------------------

final thought: i have seen the Rigid D2 and Vision X light cannons in person. i am telling the honest truth when i say that these M&R Hood Mounts blow both of them out of the water. these are brighter and produce more usable light.

i work hard for my money and wont endorse a product i feel is not worth what i payed for it. simply because i dont want my fellow Raptor owners feeling as gyped as i was. THIS IS NOT ONE OF THOSE TIMES. i paid for these lights. M&R is not endorsing me in any way.

THESE LIGHTS ARE A BETTER BUY THEN THE RIGID D2S AND THE VISION X LIGHT CANNON!!!! they are very bright and my pictures do not do justice. if youre looking for a set of hood mounted lights, these should really be your only option. the quality is second to none and Mike and Roman are firm believers in good customer service.

GET THESE LIGHTS!!!!!
 
Last edited:
OP
OP
jackrook

jackrook

FRF Addict
Joined
Jun 17, 2013
Posts
1,379
Reaction score
705
Location
Bermuda Dunes, Ca
16) RPG Stage 2

the time has come to do some suspension upgrades to the truck. as many of you know, i started a bump stop thread that was full of many different opinions and ideas. i was able to get some good info from many sources. in the end i went with the RPG bump stop and frame support kit.

their instructions are detailed online with many pictures so no need for me to post too many here. but for the hell of it, here ya go anyways....

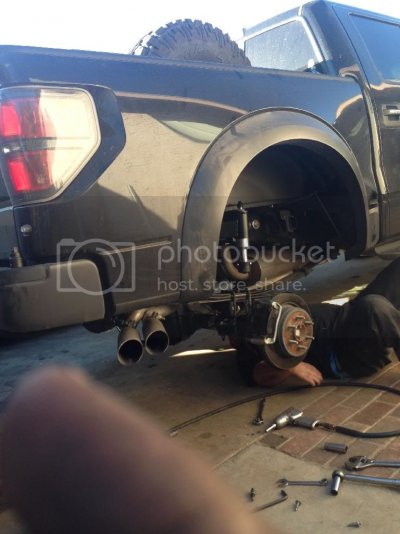
jack up the rear as high as it will go and put it on jack stands. remove the tires and shocks. if you have a spare underneath, this is where you will need to drop it. youll also need to unbolt the exhaust hanger(see #17).
3C84CCF0-9067-47C1-99A8-3DE60F91633B_zpscyptlf68.jpg

follow the instructions on the RPG website. it helps to have powertools. luckily my grandpa is a mechanic and we had everything we needed. including the man power. dont kid yourself. this isnt an easy install. let me rephrase that. its not hard. but it is time consuming and you MUST have the proper tools.

so heres the frame support and bump stop installed with the shock back on. just need to install the tires and youre good to go.
9CE55234-B372-44B7-84D9-B5AE79C9AF91_zps3hiqs5ov.jpg


17)stock exhaust resonator delete at the "Y-pipe"

before we go any further i want to state that all pictures and instructions for this mod are from Joey, AKA Cleavis. thanks for the help. this mod has made me the happiest so far out of all my mods. i cant help but hammer the gas pedal now because my truck sounds like a trophy truck. LOL

first thing i will post is the WRITTEN instructions and i am just going to copy and paste them from our emails.....

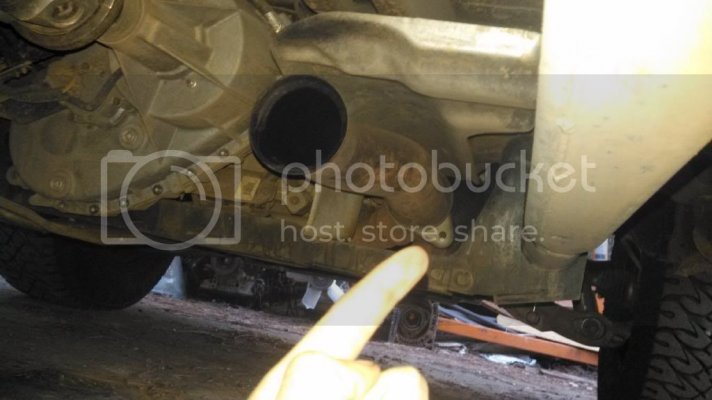
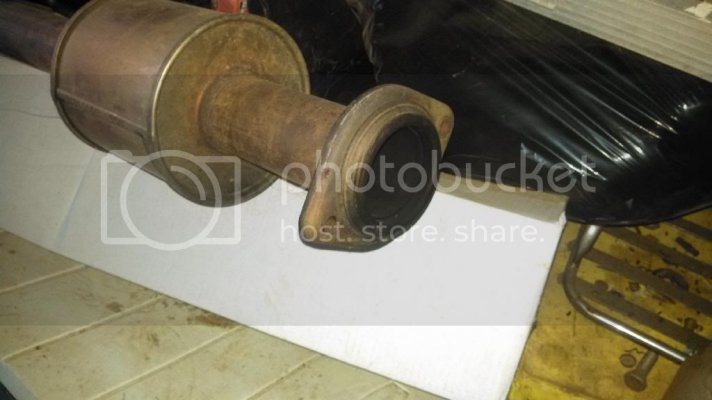
.....Okay, hopefully those pictures are in the same order as I attached them, in the first pic is the flange that bolts the factory y-pipe to the resonator and muffler, the second pic is where the bolts attach that flange to the rest of the exhaust, remove those bolts and then move the muffler and resonator back and you can start up the truck and see how you like the sound, the third pic is of where the forward exhaust hanger bolts to the frame, I put the bolts back in just so I would know where they were if I ever needed them again, the fourth picture is of the hanger which is still on the muffler, it was easier to unbolt it than remove the rubber hanger from it, make sure you have something or someone to catch the exhaust before you remove the hanger bolts, the fifth is a picture of the jack I use to lift my truck when i'm at home working on it, the last picture is of how high I had to lift the truck to get the exhaust out, once you have it lifted up with a jack stand on the driver and passenger side that high and preferably the jack under the exhaust is probably the ideal time to unbolt the exhaust hanger, then you have to drop the spare tire all the way to the ground and you can worm the exhaust over the axle and out of the side of the truck, I've thought about either removing the y-pipe flange or cutting the front of the rest of the exhaust off and bolting it to that flange, but most of the time the flange will wedge itself somewhere and won't rattle, so I've left it for now, some time in the future I'll remove the flange and the rest of the hangers to cut down on weight, the only drawback with this exhaust setup is that you lose a little bit of power on the bottom end, but you gain more at the top and I think the rear suspension works better offroad because it has less weight on it, I don't have a bump stop kit and there are times where I should've bent my frame but didn't and I think it's because of not having any exhaust under there, I'm sure I still could, but it hasn't happened yet.....

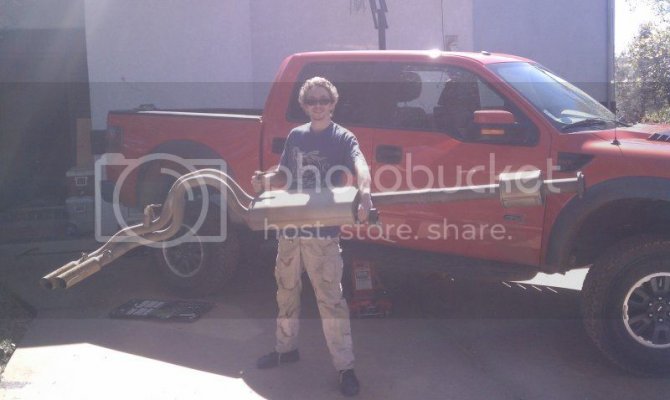
and now here are the pictures(including Joey holding his exhaust like a proud papa!!)
2F3E14AD-4911-4E55-9D63-D971924889E8_zpsg6irmkgb.jpg
8A28E90B-81D3-439E-BB21-3DAFBEA2CE50_zpsgvpwamqv.jpg
08C36199-95B7-49F1-990A-F13987858D7E_zpsuc7pcdfs.jpg

ok people. this isnt a mod for everyone. this mod will not hurt your engine in any way. these engines dont rely much on back pressure from the exhaust like many older engines did. also, this is EXTREMELY loud. your truck will sound like a beast. at highway speeds and upon excelleration, sounds like a harley motorcycle. if you have ****** neighbors and young children, maybe you shouldnt do this. my neighbors to the right of me are family. to the left of me is a house of youngsters who all drive trucks and work on them all the time. and theyve all got flowmasters.

18) M&R roof mounted LED lighting setup

so many of you have been waiting for this thread. mike has been dropping little teasers here and there. first thing i want to say is please forgive my ****** iPhone pictures. if any one wants more detailed pics just send me a quick PM and ill snap a close up as soon as i can.

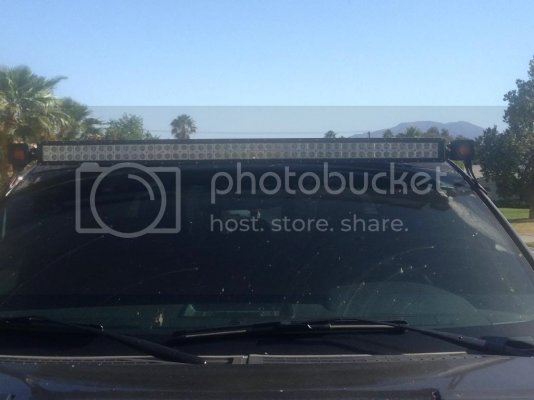
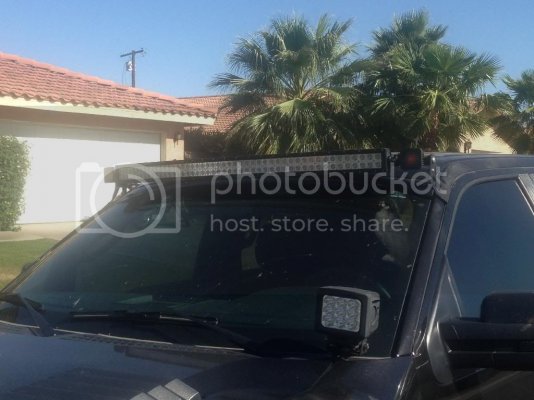
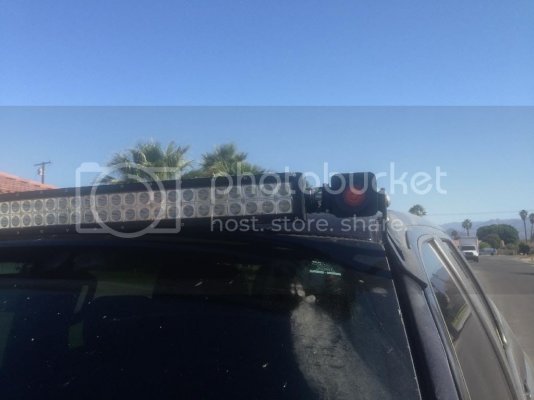
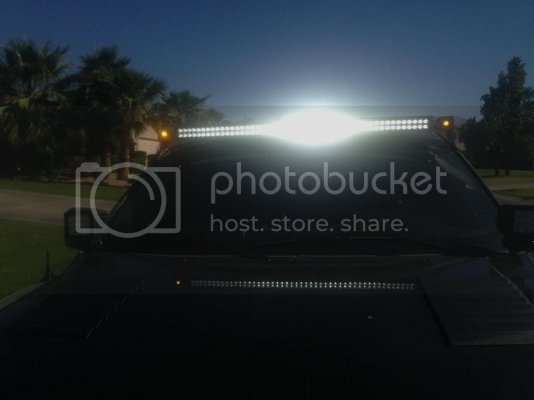
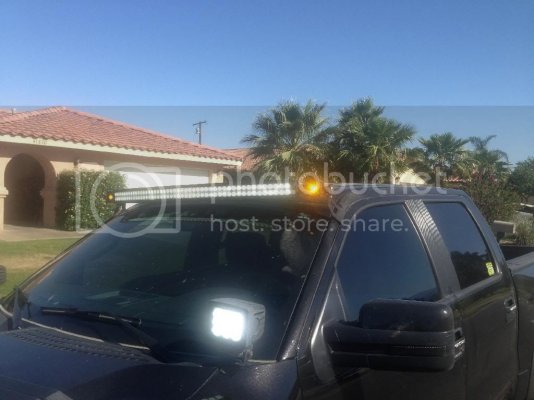
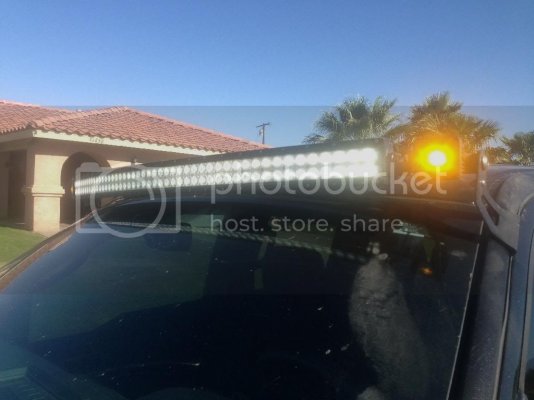
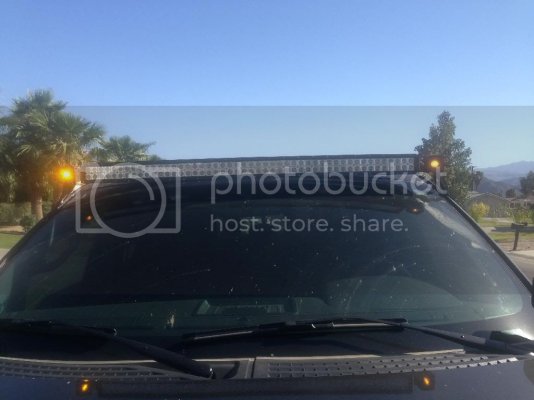
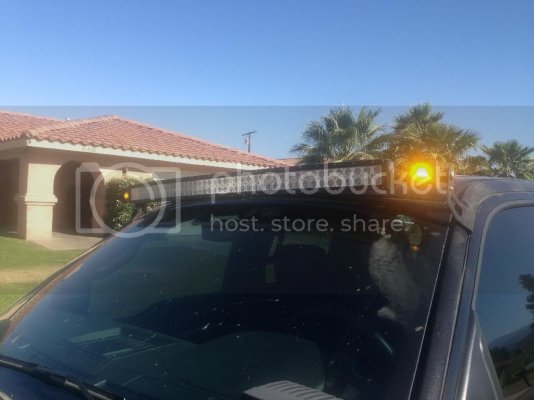
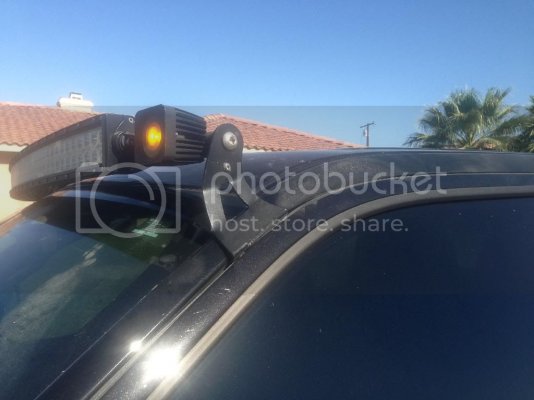
so i was one of the first customers to have the M&R convex bar, along with my neighbor and butt buddy Justin Bieber. his pictures are on their website. as you can see from the website pictures, the mount is longer then the bar so there will be about 5 inches on each side of the bar. well i wanted to fill the gap. so after brainstorming with Mike, i drove down there and he welded on some tabs and we threw on a 10 watt amber fog light on each side. now it completely blocks the mounting bar in the rear and gives me amber lights to help with visibility in the desert sand here in palm springs. the convex bar is connected to aux 1 and the ambers are connected to aux 4 so you can drive with the convex bar off when you just need the amber to cut through sand or snow.

so, pardon my dirty truck, we had a very bad sand storm here saturday. but here are the pictures. also, the other lights on my truck are from M&R as well. 20 inch in the bumper and version 2 90watt hood mounts. please feel free to ask any questions. just send mike or myself a PM.

straight on picture with convex bar and amber fogs OFF
85F2CE90-D6BF-494E-813B-F9C06A8CBDD1_zpsiqszkjhk.jpg

two views with me standing off the drivers side
F1BCF170-E262-46B1-A038-00CD6A43A228_zpseidgv3js.jpg
F21F7996-F493-4CE7-BA41-EC5693CC9B5D_zpskopxf9zc.jpg

straight on view with convex bar and amber fogs on
ADAA71B6-5724-47B5-BDA6-DC5656BAFDAD_zpsrl5xw3yh.jpg

side view with both on
CD11B847-45C0-4838-8247-77C35D95A61E_zpsv15tl5kp.jpg
DA08A8B3-7518-4C91-B2EA-1F78E492273F_zpsq2wlkxrd.jpg

now with just the ambers on
C5E62D5A-35BC-4223-BBC4-4E03BB68EBE4_zpszltqruqp.jpg
1B8E3605-0C8F-4206-AB89-DAFD6835B414_zpsbxkao0vf.jpg
085CF1B6-37C9-472B-BD5F-E564DC8C9A86_zpsbyvtin6z.jpg


i want to thank Mike and Roman for their bad ass customer service. we had kicked around this idea for a while but im glad we decided to go forward with it. im very very happy with the results. also, before you guys ask, i taped the wiring for the ambers and the convex bar together and ran down down the front of the window and tucked in in to the weather stripping. looks clean. i used a few dabs of silicone to keep the wires in place.


19) K&N air filter

No pics here. It's a direct swap for the oem air filter. Some people say they received better air flow, better sound, better acceleration, and even a few wack-o's say they see a HP increase. Well I don't see any of that. Didn't even notice a louder sound because I'm driving with no resonator, mid pipe, muffler, or tips. I unbolted the stock exhaust at the resonator. Oh well. In the long run it only cost me $45.


20) Lowrance Elite 5m gold with Alpha 1 Outlaw mounting brackets

I joined Raptor Expeditions and one of the rules is using a Lowrance. So as mentioned above, my ipad navigation is now "supplemental". I'll load maps on it and keep it in the center console and bust it out for topography reference, etc.
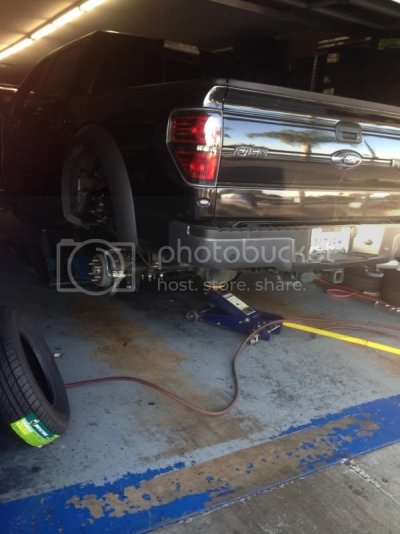
The main benefit of a Lowrance is it's chart plotting feature which works two ways. 1) as you're driving with the unit on, you can record your trail and mark hazards easily as they pop up. 2) upload someone else's trail with hazards and allow the unit to keep you on track and display pre marked hazards as they come up
So some people have chosen to hardware it to the phone charger port. Others actually use an adaptor and plug it in to the phone charger and then dismantle the unit when not in use(good idea because these are expensive!!) well I wanted to run it directly to the battery. Risky? Yes. But as long as I keep the engine running, it will not be a drain on my battery. So let's get the pics.

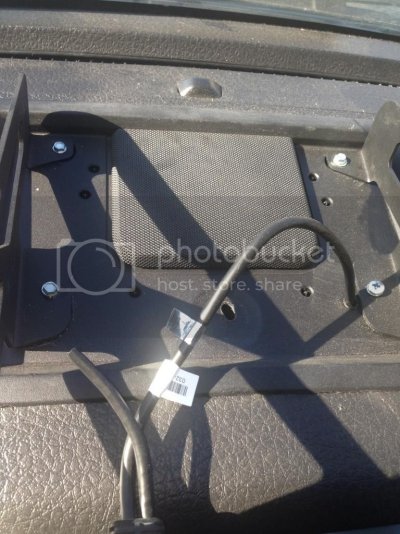
First thing you do is remove the soft rubber pad that's over the center dash speaker it lifts up easily. No need for a pic.

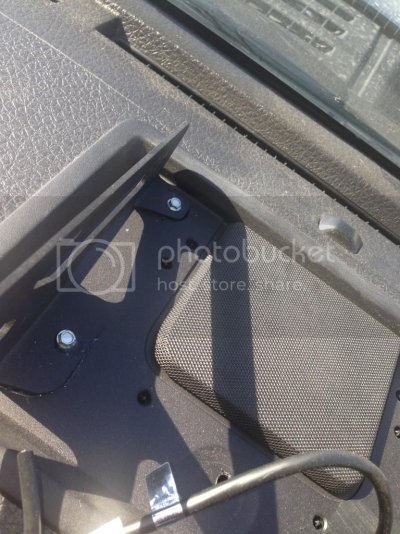
Next you remove the stock screws located in the left and right back of the area. Once they're removed, grab the appropriate side mounting bracket and follow the holes already there. Just insert the screws that outlaw supplies as they are longer. Secondly you're gonna have to use the self tapping screws. As you're drilling you will get the feeling like they aren't grabbing on to anything. That's because they aren't. Here's what it looks like...
01B04303-C3BE-4A98-B7F5-4EECCAF936B5_zpsy1j6yrxf.jpg

Now, under the screws farther from the windshield, I added some crazy glue under the bracket so it holds firm to the plastic. I haven't had any issues.

So now you need to drill a hole to run the wiring down. First, remove the glove box. Makes it easier to fish for the wire ;-) I drilled a hole to the front right of the area. The stock power cable from Lowrance has 2 separate cables. One is power and the other is for sonar/fish finder. CUT THAT CABLE OFF(see picture). Here's a pic with the cut cable AND the hole I drilled that has the cable ran through it. Stick your arm(preferably someone with small hands and long skinny arms) all the way up the console to reach the cable and pull it down.
AD3250B1-3E04-4A50-873A-F18D5F0E97C7_zps2t0zrmjd.jpg

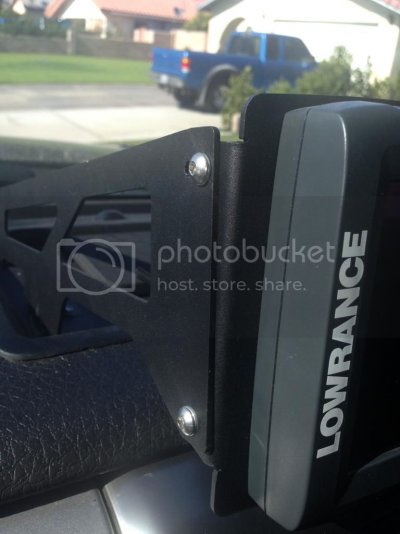
The bracket that attaches to the unit itself is very self explanatory. There are 4 small screws that come with the outlaw packaging and 4 small holes in the back of the Lowrance and 4 small holes in the mounting bracket. Coincidence???? I think not. Assemble it. Now it's time to attach it to the mounts we already installed. The bottom screws in to a stationary position so start with them first but don't tighten all the way. Just enough to hold it in place. Now, as you can see from the picture below, the top screw area actually allows for you to angle the unit for sun. If you get glare, just adjust the tilt.
35267AE7-DDF2-464C-A97A-78A2D37291CB_zpstuaidqgo.jpg

And that's that! Now, it's not without it's flaws. The Elite 5m has an internal antenna. Myself and several other forum members were having issues keeping the satellite locked on us. So my next mod will be an Lowrance Point 1 Baja external antenna. Then after that, leafs. Then after that tie rods.
 
Last edited:
Top