R1jamn
Full Access Member
- Joined
- Jun 18, 2011
- Posts
- 401
- Reaction score
- 299
Many OEM trailer hitches have quite a bit of clearance between the receiver and the ball mount.
The Ford Raptor is no exception. Mine has an excessive amount of freeplay.
There are some aftermarket accessories that you can purchase to mitigate this freeplay.
I have not used any of these products and I cannot personally give feedback on their performance.
I do not endorse these products, but you may find some of them at etrailer.com
Click HERE
I decided to fabricate my own from my garage.
My main focus was to keep this a plug and play design.
I did not want to use wrenches, hex keys, bolts, jam nuts, clips, bubble gum (etc.) for mounting an anti-rattle mechanism from an aftermarket source.
Let's get started!
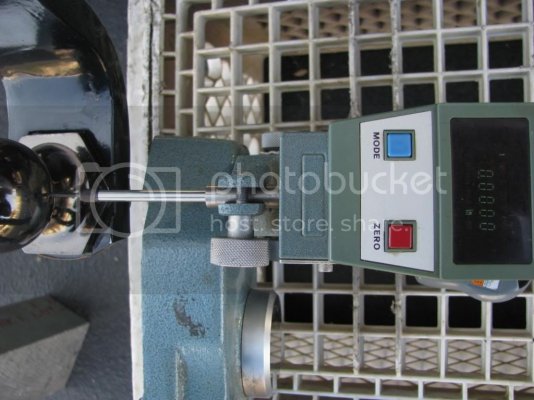
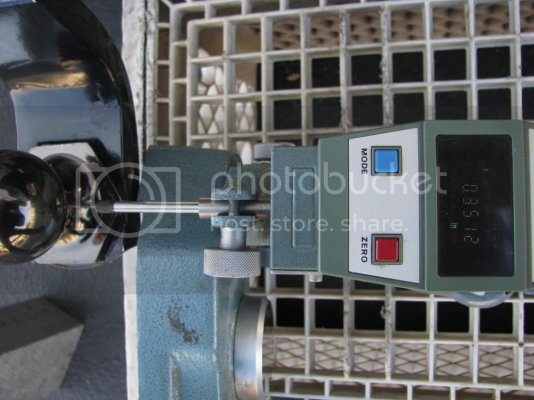
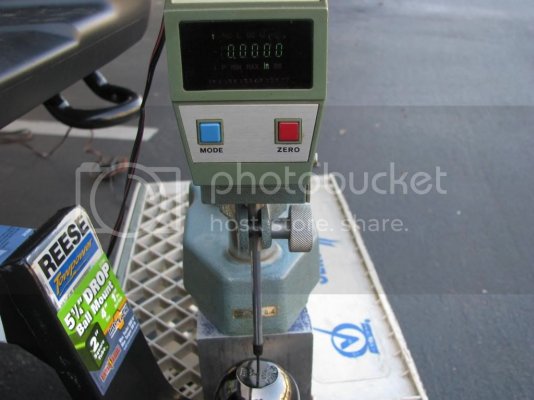
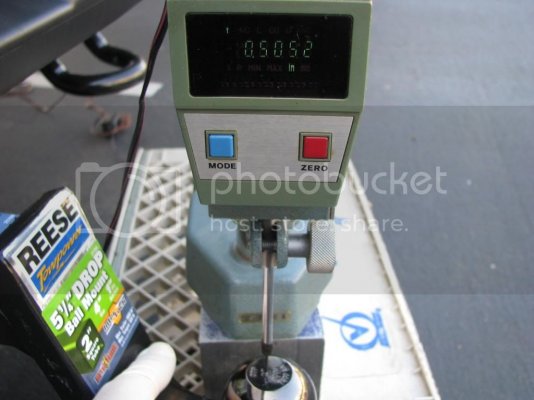
I installed the ball mount to the receiver and set up a digital drop indicator just to see how much movement was actually at the ball.
I checked both vertical movement and lateral movement.
The vertical movement (up & down) was 1/2"
The lateral movement (side to side) was nearly 3/8"
As you can see this is excessive.
Now Install the ball mount into the receiver and slide the hitch pin in.
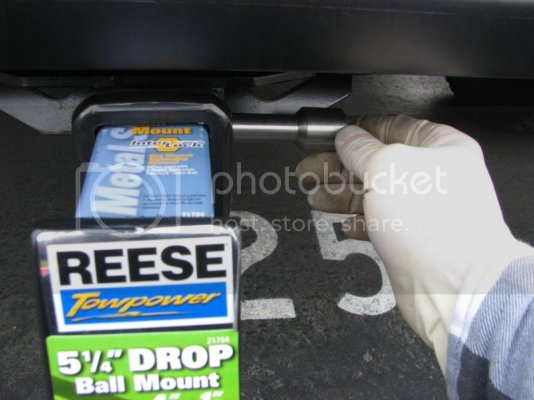
Then take a sharpie and mark the ball mount just in front of the receiver face.
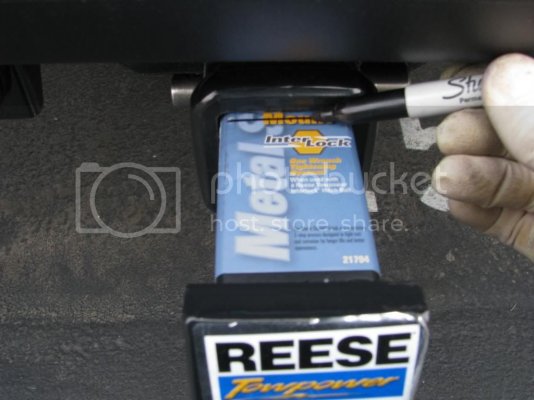
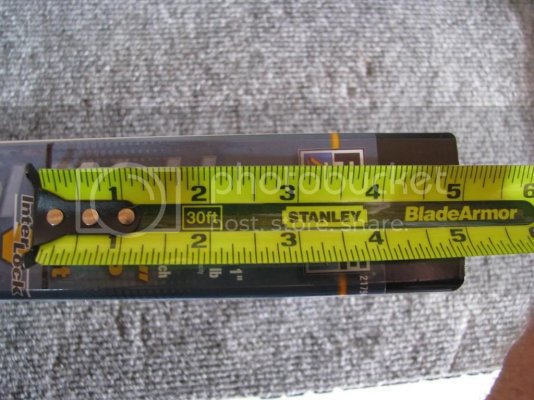
Now measure the distance from the back of the ball mount to the sharpie reference line.
This Reese ball mount is 5"
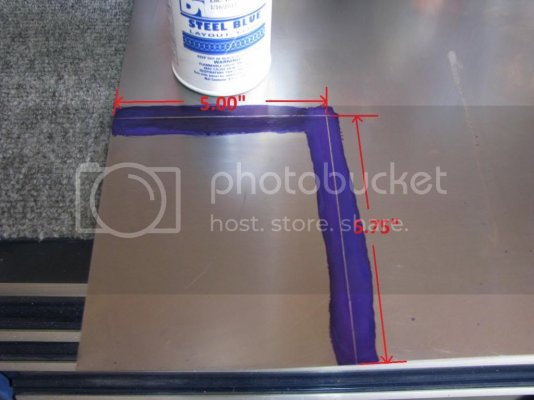
Now use 22 ga steel flat stock and lay out a pattern for a shim that you will fabricate. (I bought this flat stock at Home Depot)
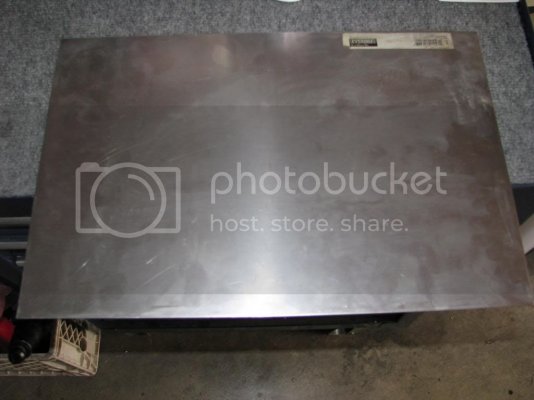
The dimension I will cut is 5" x 5.75" (The 5" dimension is for the length that was measured and the 5.75" is for the 3 sides of the ball mount).
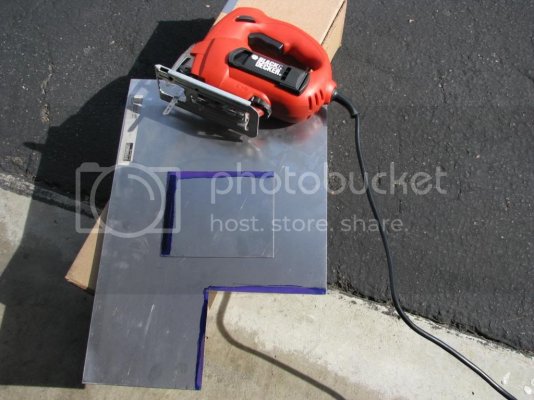
Use a jig saw to cut out the pattern.
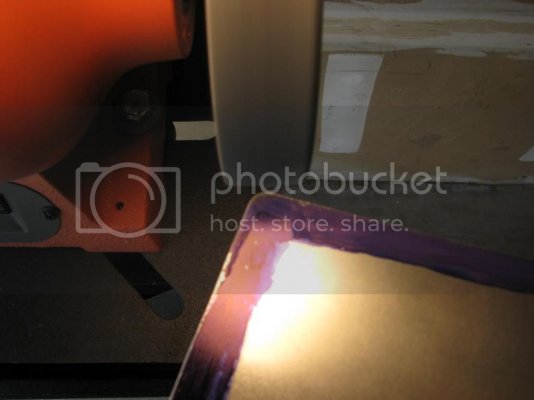
Deburr the edges and form a radius on the corners.
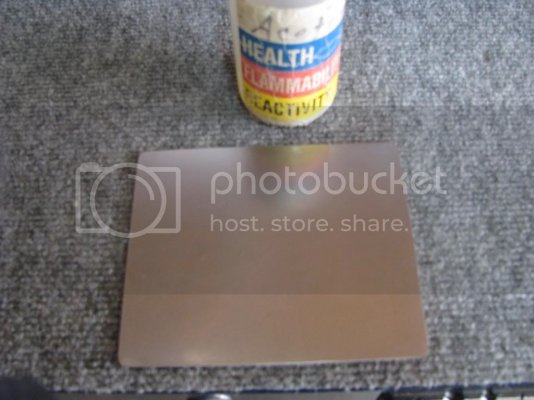
Clean it up.
Now clamp the flat stock to the ball mount.
Make sure the positioning is correct when you clamp it. (The 6" is actually 5.75")
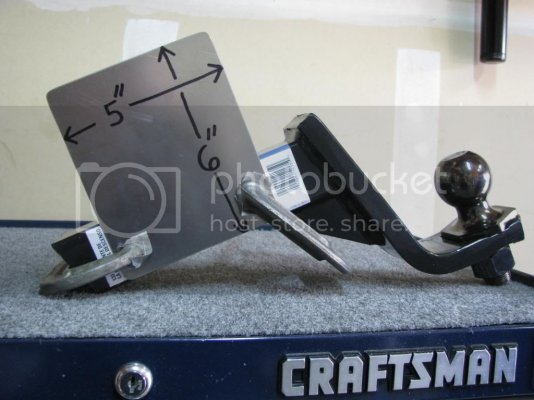
After it is clamped down you will need a rubber mallet to form a 90 deg bend.
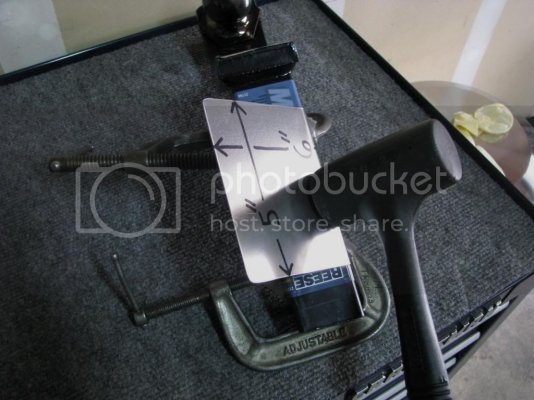
Repostion the clamps and form the second 90 deg bend.
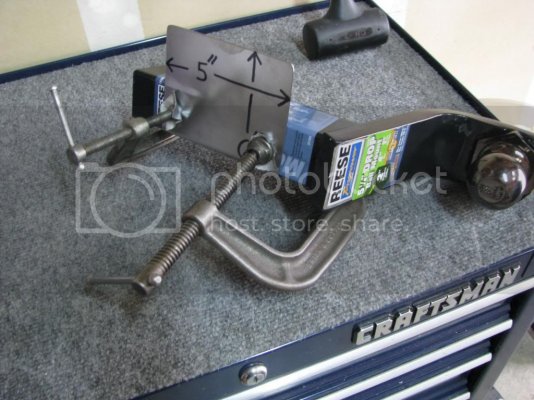
Take the ball mount and newly formed shim to your Raptor and slide it into the receiver.
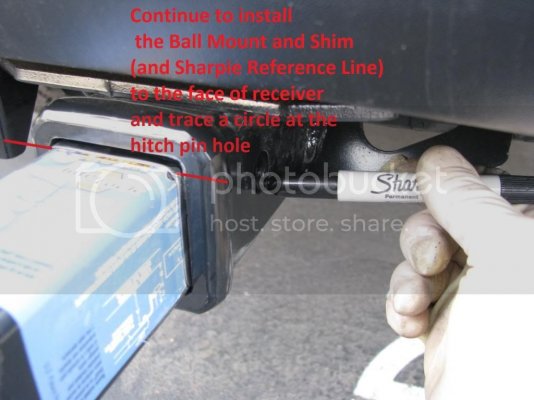
Make sure the shim is aligned with the sharpie reference line.
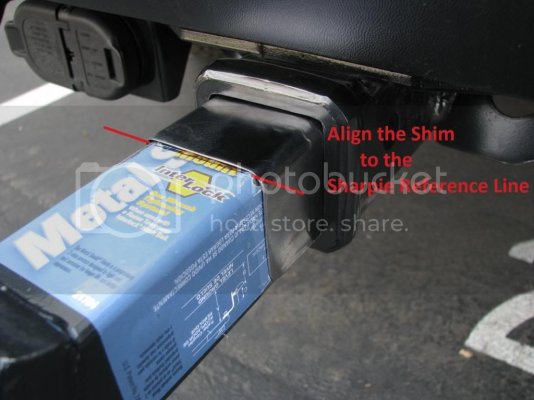
Take a sharpie and mark a circle at the hitch pin hole.
Make sure the sharpie reference line is at the face of the receiver.
Set up the shim to drill a clearance hole for the hitch pin.
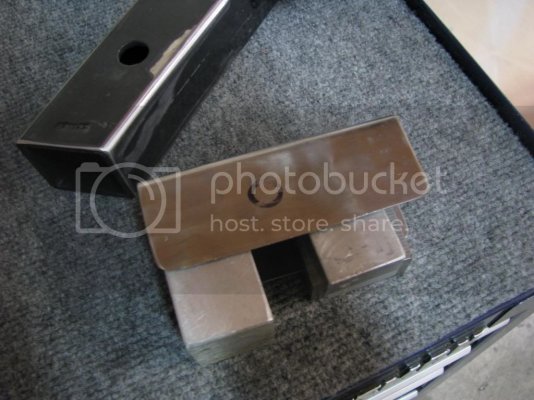
A drill diameter of 3/4" to 13/16" will be good.
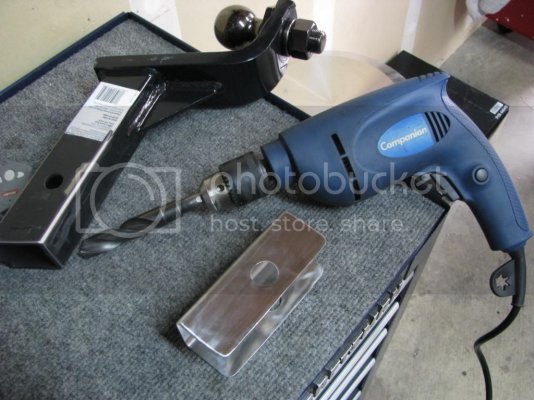
Align the shim to the ball mount and clamp it.
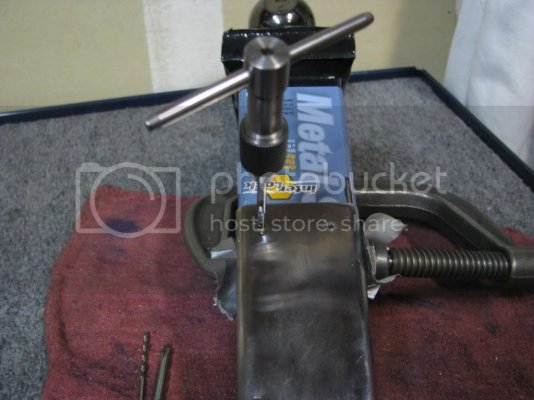
Center drill, drill and tap the shim to the dimensions shown in pic.
I used a #29 drill.
I used an 8-32 UNC tap.
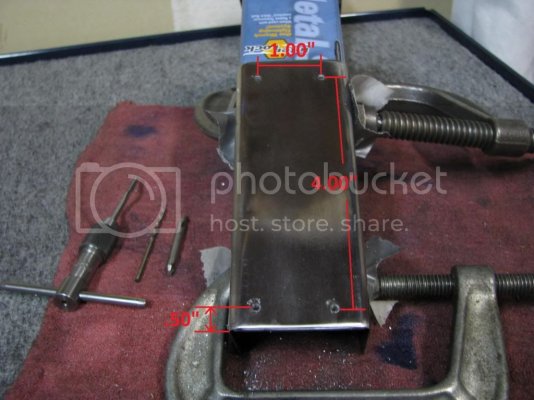
Take your time tapping!! Use a good cutting fluid too.
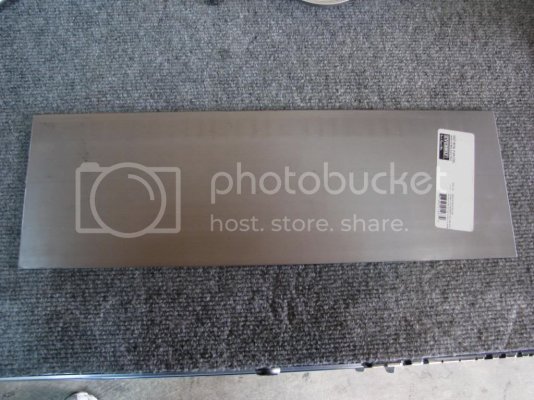
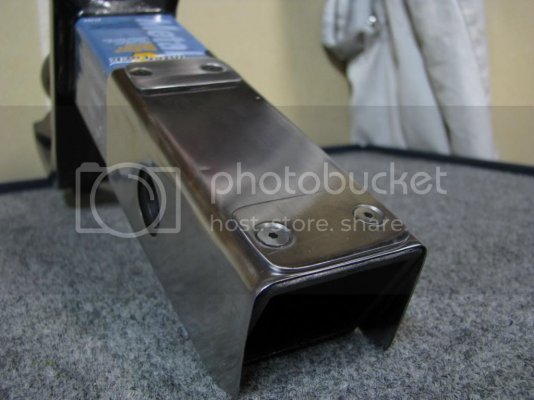
Now fabricate two top shims with 16 ga steel flat stock. (I picked this up at Home Depot also).
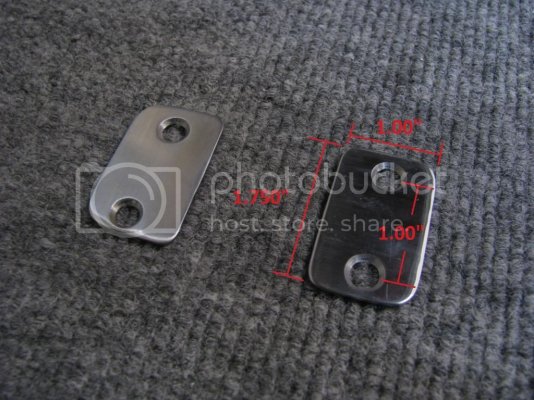
Cut the top shims to the dimensions shown in pic.
You will need to drill a 3/16" pilot hole in the shims.
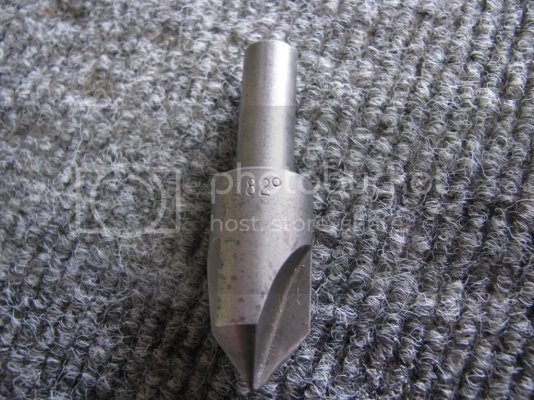
Then use an 82 deg counter sink tool to form a c-sink for 8-32 flat head cap screws (make sure the flat head screws sit below the top surface).
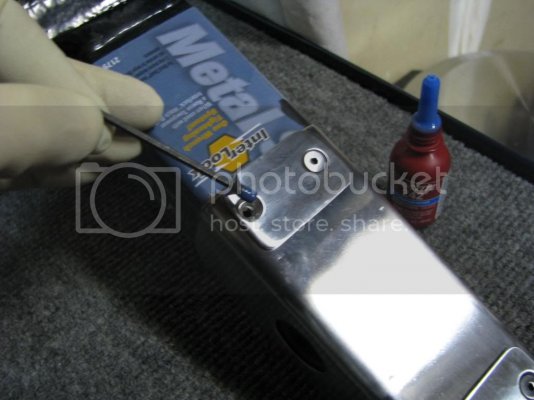
Install the top shims with the 8-32 Flat Head Cap Screws.
Use Loctite 242 (Blue Thread Locker).
You should have something that looks like this when done.
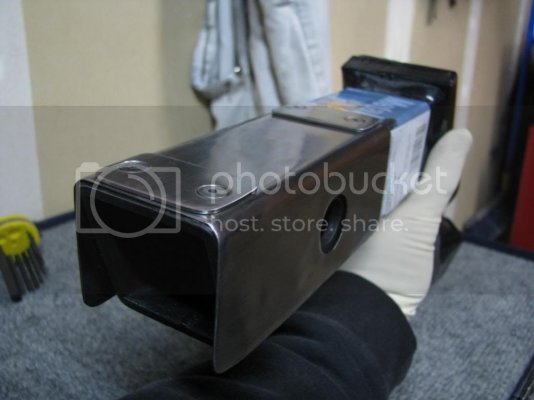
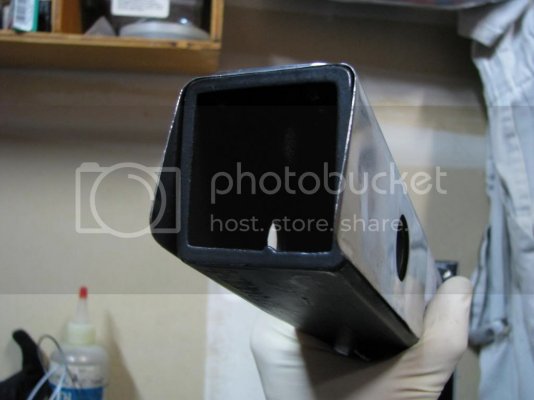
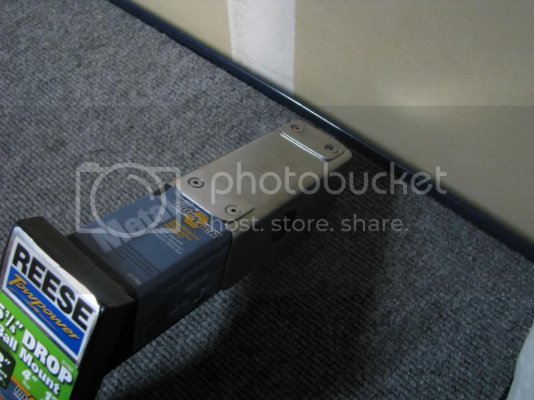
Now take the ball mount out to your Raptor and install it.
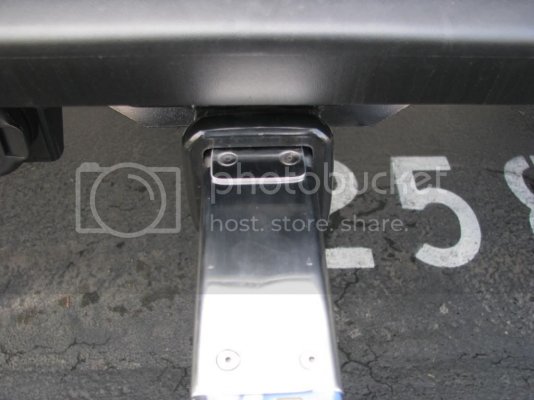
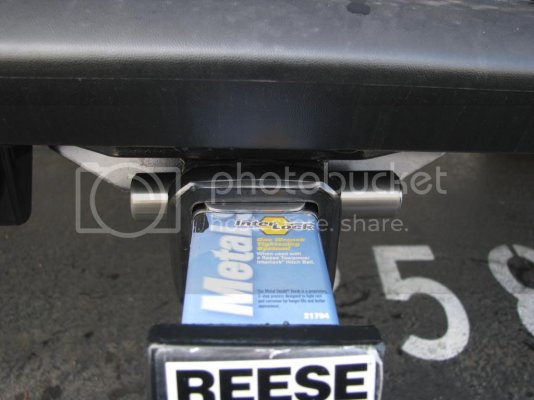
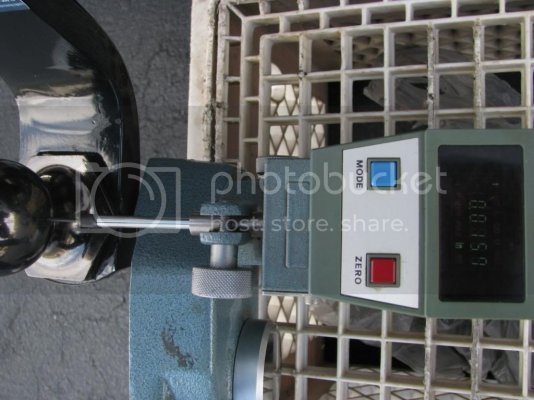
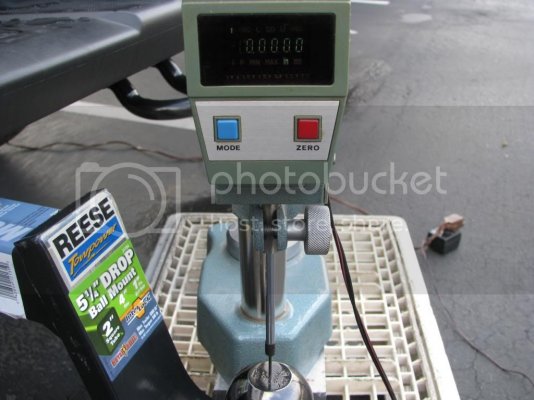
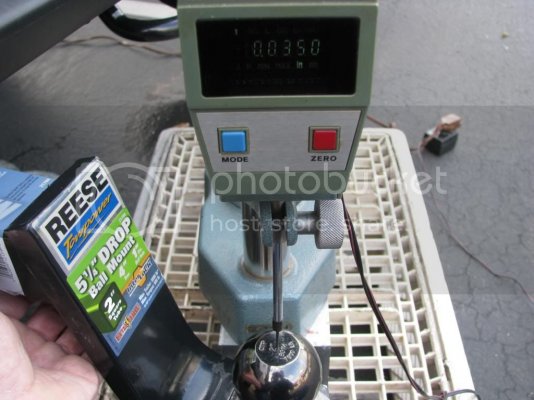
Now to check how much freeplay I have eliminated.
Lateral free play is now only 1/64"
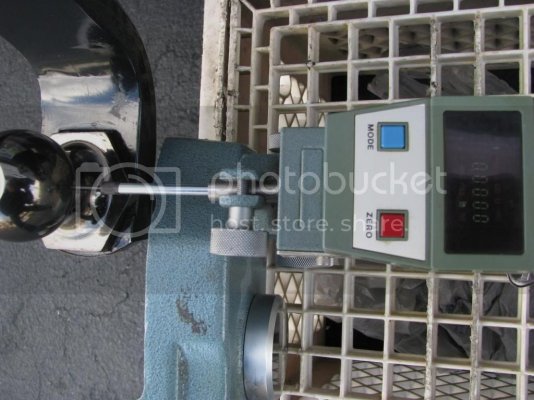
Vertical freeplay is now just a hair over 1/32"
This ball mount is now ready to go.
The Ford Raptor is no exception. Mine has an excessive amount of freeplay.
There are some aftermarket accessories that you can purchase to mitigate this freeplay.
I have not used any of these products and I cannot personally give feedback on their performance.
I do not endorse these products, but you may find some of them at etrailer.com
Click HERE
I decided to fabricate my own from my garage.
My main focus was to keep this a plug and play design.
I did not want to use wrenches, hex keys, bolts, jam nuts, clips, bubble gum (etc.) for mounting an anti-rattle mechanism from an aftermarket source.
Let's get started!
I installed the ball mount to the receiver and set up a digital drop indicator just to see how much movement was actually at the ball.
I checked both vertical movement and lateral movement.
The vertical movement (up & down) was 1/2"
The lateral movement (side to side) was nearly 3/8"
As you can see this is excessive.


Now Install the ball mount into the receiver and slide the hitch pin in.

Then take a sharpie and mark the ball mount just in front of the receiver face.

Now measure the distance from the back of the ball mount to the sharpie reference line.
This Reese ball mount is 5"

Now use 22 ga steel flat stock and lay out a pattern for a shim that you will fabricate. (I bought this flat stock at Home Depot)

The dimension I will cut is 5" x 5.75" (The 5" dimension is for the length that was measured and the 5.75" is for the 3 sides of the ball mount).

Use a jig saw to cut out the pattern.

Deburr the edges and form a radius on the corners.

Clean it up.

Now clamp the flat stock to the ball mount.
Make sure the positioning is correct when you clamp it. (The 6" is actually 5.75")

After it is clamped down you will need a rubber mallet to form a 90 deg bend.

Repostion the clamps and form the second 90 deg bend.

Take the ball mount and newly formed shim to your Raptor and slide it into the receiver.
Make sure the shim is aligned with the sharpie reference line.

Take a sharpie and mark a circle at the hitch pin hole.
Make sure the sharpie reference line is at the face of the receiver.

Set up the shim to drill a clearance hole for the hitch pin.

A drill diameter of 3/4" to 13/16" will be good.

Align the shim to the ball mount and clamp it.
Center drill, drill and tap the shim to the dimensions shown in pic.
I used a #29 drill.
I used an 8-32 UNC tap.

Take your time tapping!! Use a good cutting fluid too.

Now fabricate two top shims with 16 ga steel flat stock. (I picked this up at Home Depot also).

Cut the top shims to the dimensions shown in pic.
You will need to drill a 3/16" pilot hole in the shims.
Then use an 82 deg counter sink tool to form a c-sink for 8-32 flat head cap screws (make sure the flat head screws sit below the top surface).


Install the top shims with the 8-32 Flat Head Cap Screws.
Use Loctite 242 (Blue Thread Locker).

You should have something that looks like this when done.


Now take the ball mount out to your Raptor and install it.


Now to check how much freeplay I have eliminated.
Lateral free play is now only 1/64"


Vertical freeplay is now just a hair over 1/32"


This ball mount is now ready to go.
Last edited:

