Eagle Keeper
Full Access Member
- Joined
- Oct 21, 2010
- Posts
- 34
- Reaction score
- 10
After a very busy two weeks I finally found the time to get it installed! Some of you might not remember but I won the SDHQ military give away (see this http://www.svtoffroad.com/showthread.php?2768-A-SDHQ-give-back-to-our-military-personal...).
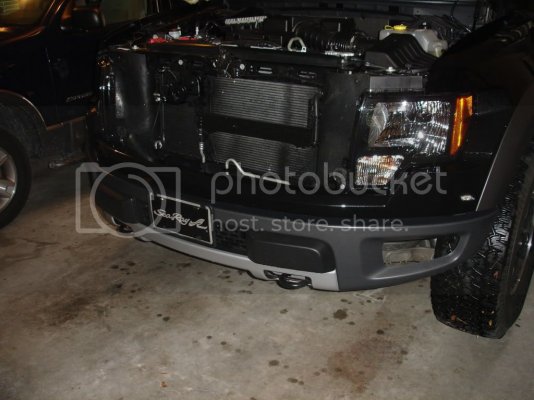
Here is the before picture!
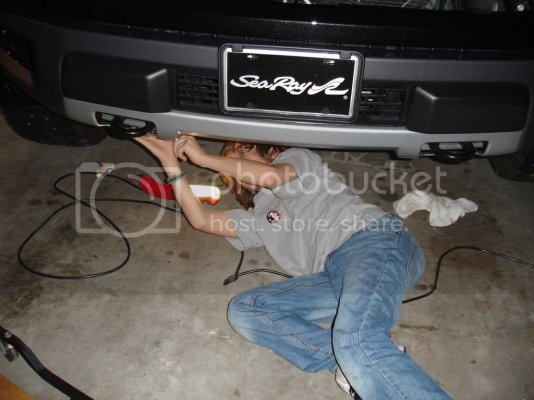
My son removing the skid plate. He might be 10 but you need to start wrenching some time!
Once you get the skidplate removed you can see the mounts for the factory bumper.
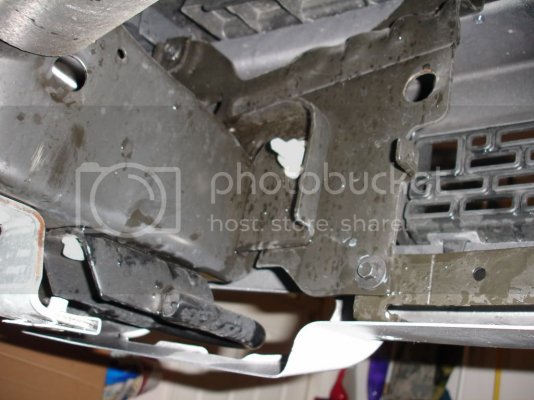
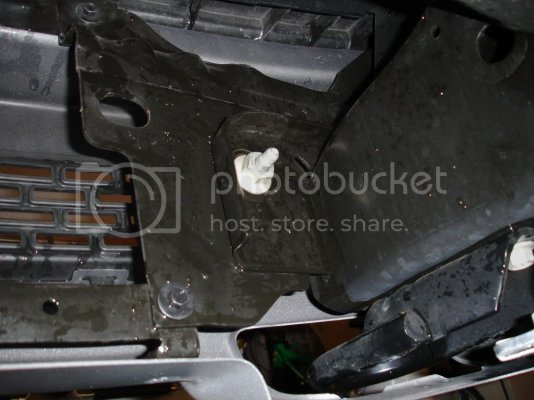
Rather than removing the main mount nuts I removed the 10, 10mm bolts that hold the bumper "skin" to the mounts. If you choose to go straight to the mounts make sure you remove the two 10mm bolts that hold the hood release bracket on. Otherwise you could damage the front painted piece that runs just below the grill. These pictures show the "skin" removed and the bumper support structures still installed. Also don't forget to put some tape on to protect the painted piece above the bumper.
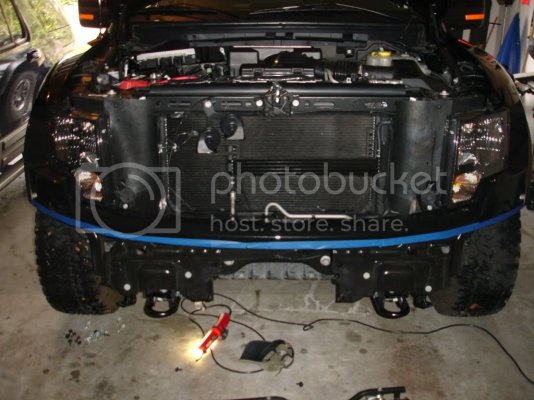
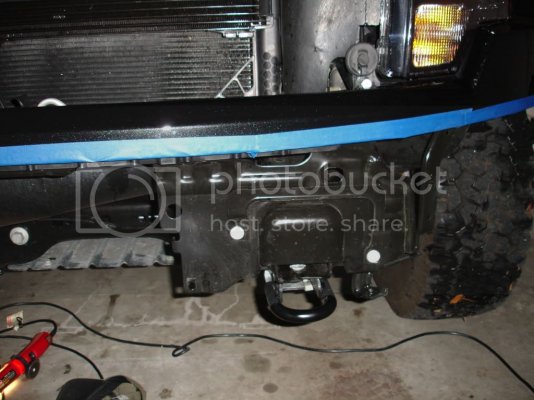
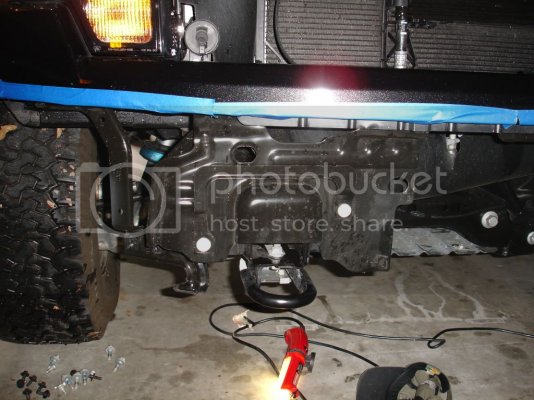
After that it makes it easy to remove the main mount nuts and drop the brackets without damaging the paint!
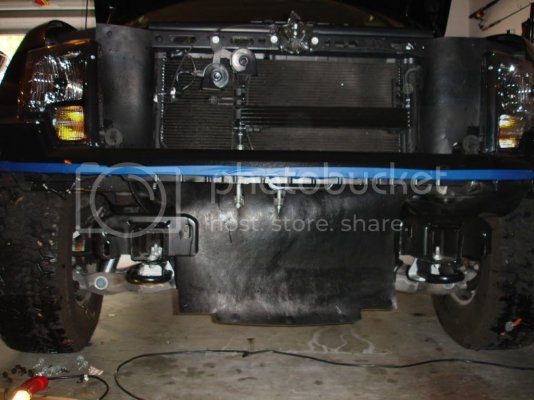
After that it's just a matter of bolting up the LED bumper. You will need to drill two holes per side but you want to get the other bolts in the factory holes tight before you start drilling.
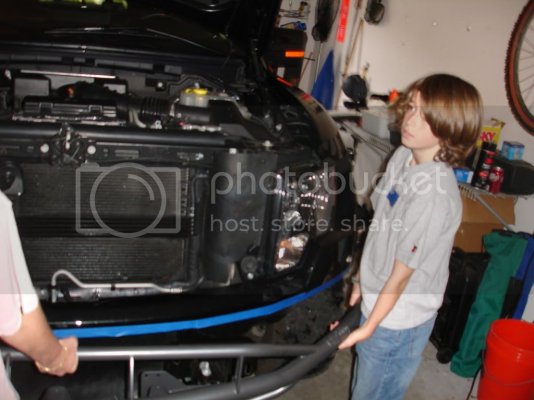
This is after the additional holes are drilled and all the mount bolts installed. Also the support brackets for the hood release mechanism is installed.
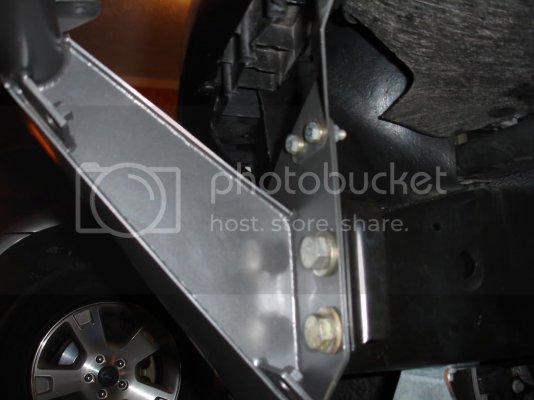
Now you can put the factory skid plate back on.
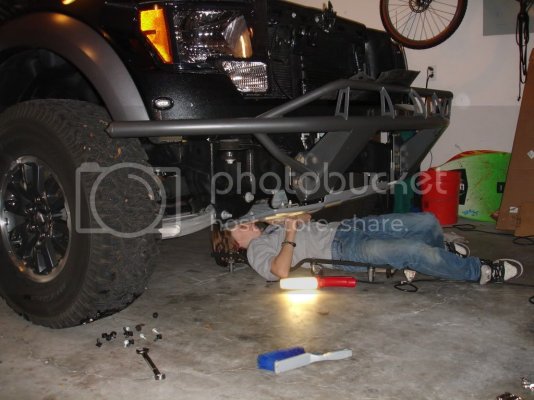
Make sure when you install the skidplate that comes with the bumper you attach the air diverter to the three bolts in the skid plate. Then sit back and enjoy!!
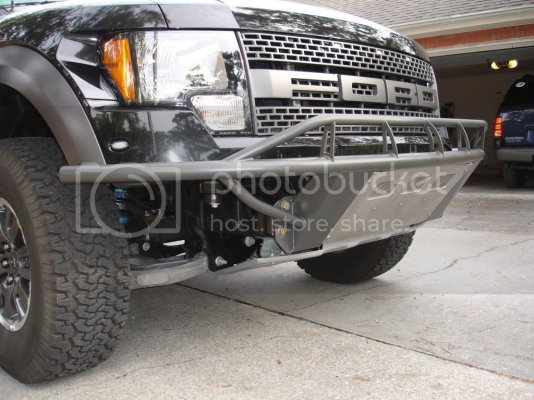
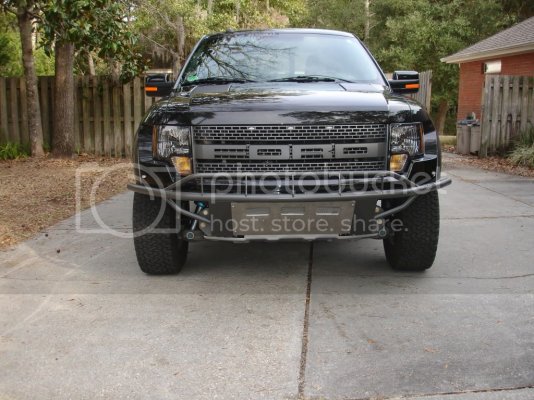
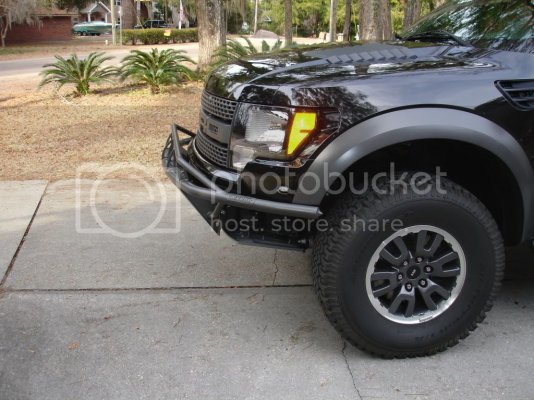
Let me know if anyone needs additional pictures or if you need a more detailed explanation. And once again I want to thank the guys at SDHQ!!!!!!!!!!!!!!!!!!!!!!!!!!!!!!!:rockon:
Here is the before picture!

My son removing the skid plate. He might be 10 but you need to start wrenching some time!

Once you get the skidplate removed you can see the mounts for the factory bumper.


Rather than removing the main mount nuts I removed the 10, 10mm bolts that hold the bumper "skin" to the mounts. If you choose to go straight to the mounts make sure you remove the two 10mm bolts that hold the hood release bracket on. Otherwise you could damage the front painted piece that runs just below the grill. These pictures show the "skin" removed and the bumper support structures still installed. Also don't forget to put some tape on to protect the painted piece above the bumper.


After that it makes it easy to remove the main mount nuts and drop the brackets without damaging the paint!

After that it's just a matter of bolting up the LED bumper. You will need to drill two holes per side but you want to get the other bolts in the factory holes tight before you start drilling.

This is after the additional holes are drilled and all the mount bolts installed. Also the support brackets for the hood release mechanism is installed.

Now you can put the factory skid plate back on.

Make sure when you install the skidplate that comes with the bumper you attach the air diverter to the three bolts in the skid plate. Then sit back and enjoy!!


Let me know if anyone needs additional pictures or if you need a more detailed explanation. And once again I want to thank the guys at SDHQ!!!!!!!!!!!!!!!!!!!!!!!!!!!!!!!:rockon:

