i still have a gamecube
You are using an out of date browser. It may not display this or other websites correctly.
You should upgrade or use an alternative browser.
You should upgrade or use an alternative browser.
PorterW1111's "Burro" build up
- Thread starter PorterW1111
- Start date
Disclaimer: Links on this page pointing to Amazon, eBay and other sites may include affiliate code. If you click them and make a purchase, we may earn a small commission.
PorterW1111
FRF Addict
PorterW1111
FRF Addict
PorterW1111
FRF Addict
PorterW1111
FRF Addict
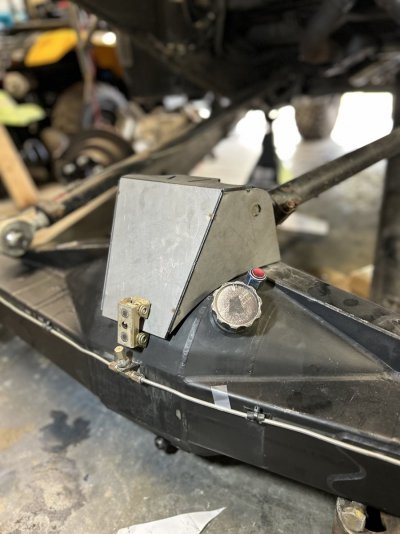
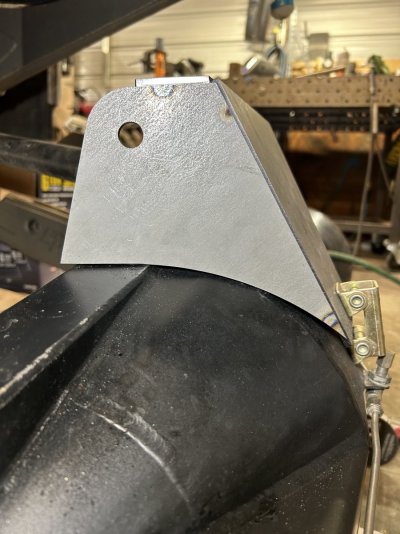
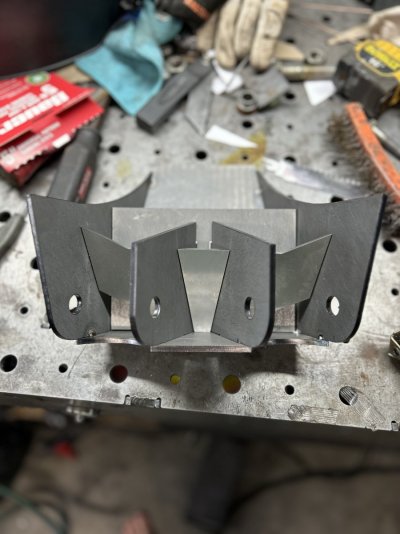
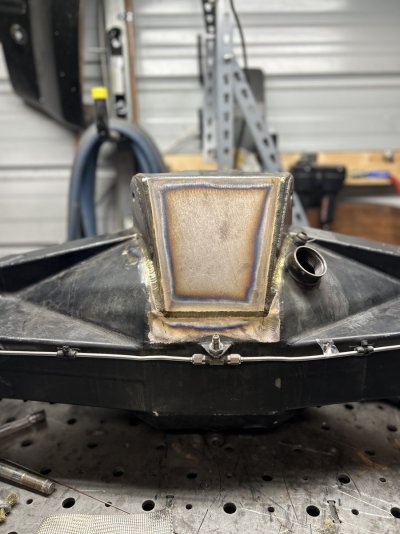
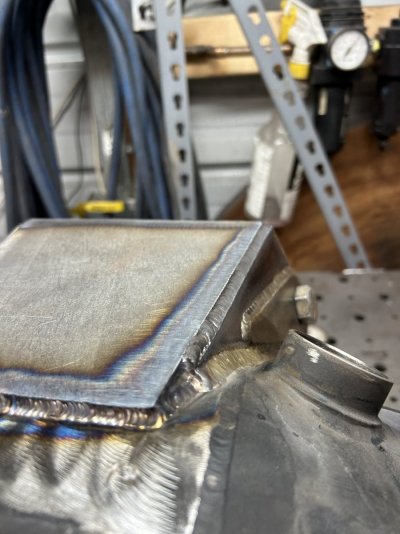
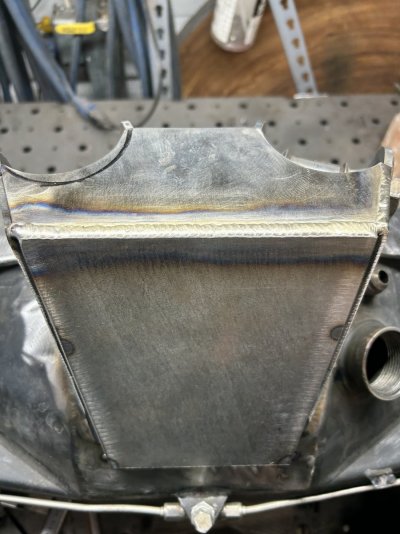
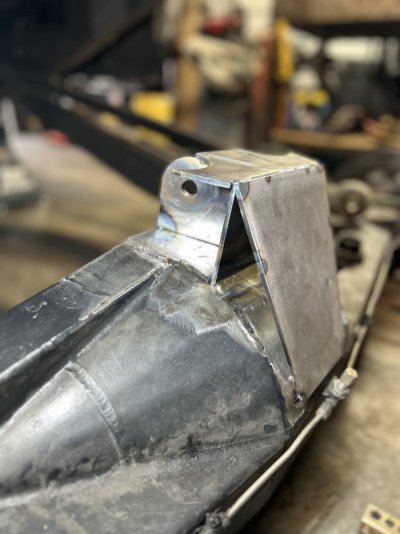
Alright so cutting off the old upper link mounts was a pain in the butt. Kudos to ID designs that was one beefy mount.
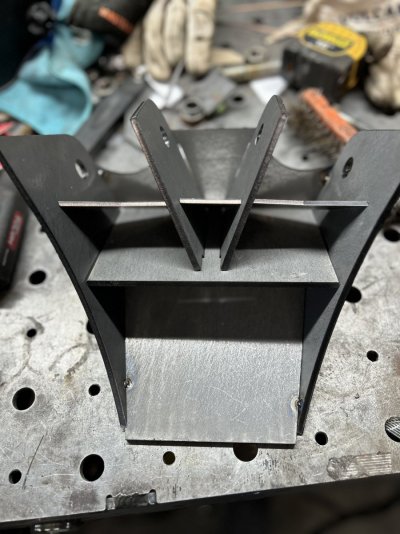
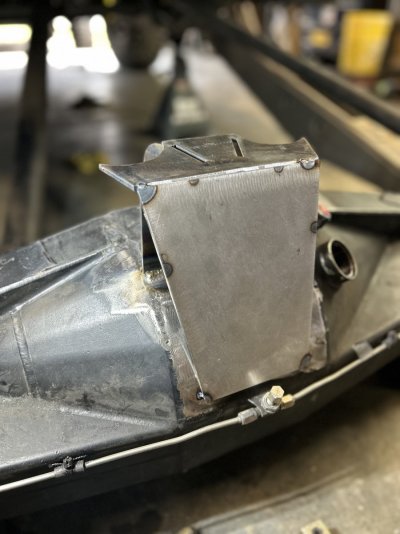
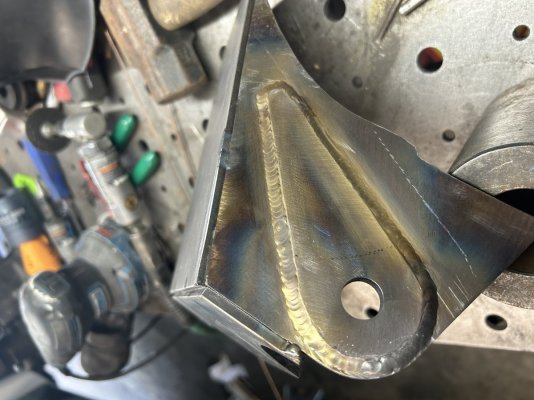
Then spent as much time as I could welding on the bench, got it to here last night.
I have to trim the outer sections to match where the inner ended up landing but should be able to tac mount and cycle here this weekend.
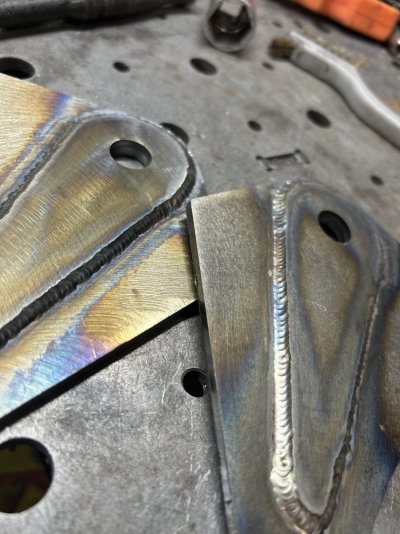
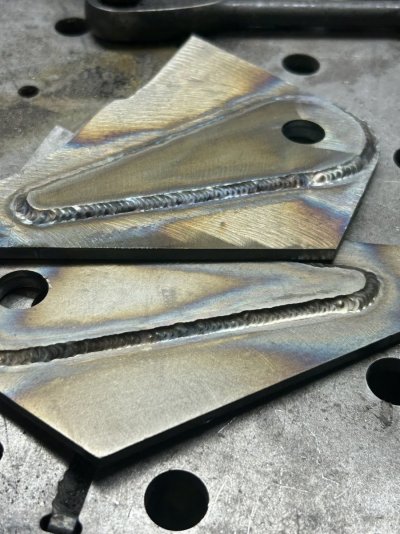
Crazy process of fully welding certain parts before added the support plates. Not just tac the whole thing up set it on top and rip around the outside. So many different contact points getting fully welded.
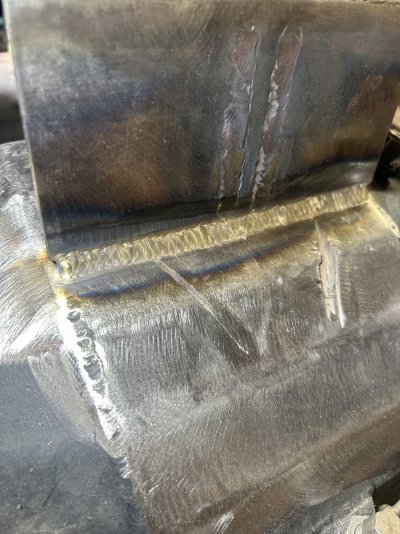
Also still working on those welds, luckily by the time I get to the visible ones I should have it down haha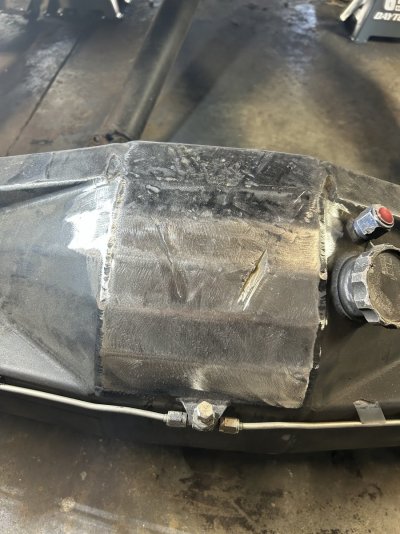


PorterW1111
FRF Addict
PorterW1111
FRF Addict
PorterW1111
FRF Addict
Have been spending a good amount of time cutting and sanding off the old tube. Then moving things around multiply times mocking everything up.
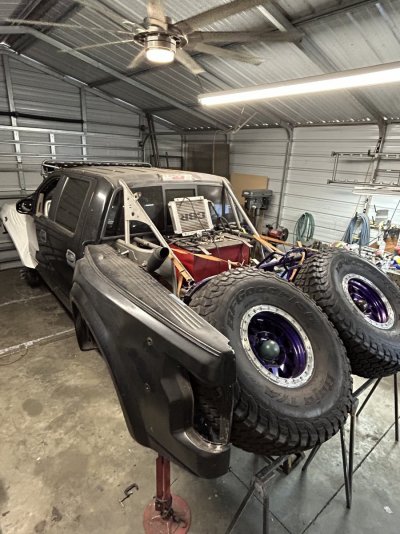
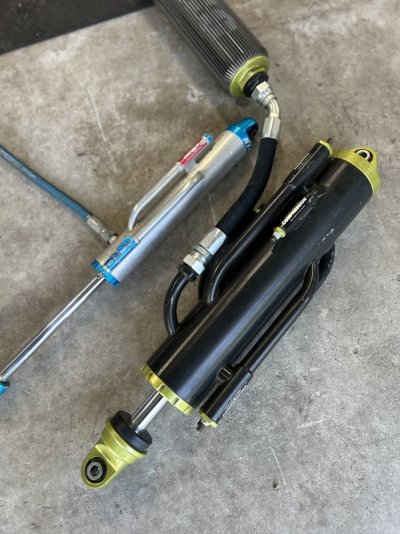
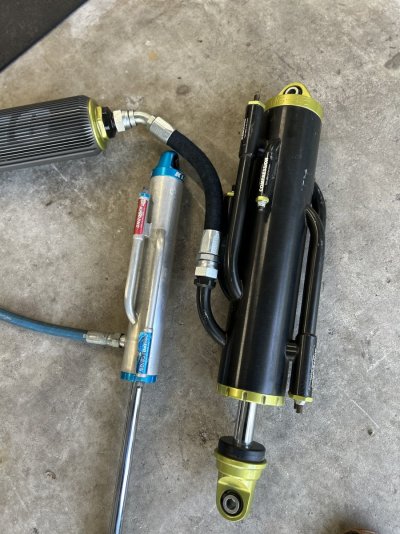
Couple things that have ended up working out, the fuel cell pushed the sway bar forward and means it now has to mount off the links and it’s travel path would have hit the bypass resi but since the bypasses are clocked then the sway bar is free.
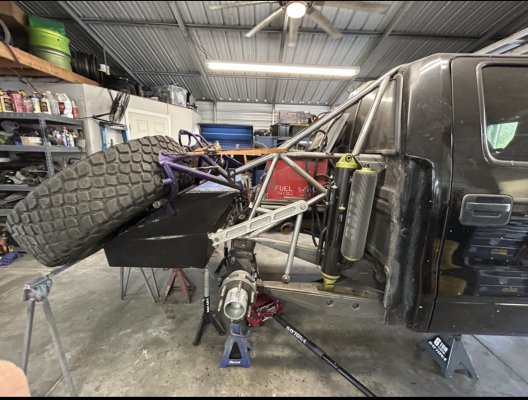
Bumps will clear on the inside of the sway bar arms though I might end up needing an inch or two longer overal sway bar length but time will tell.
Tube layout looks good and so I drew up a cleaner outline of what’s to come. Overall happy with how things are going together. One thing that. Lows my mind is how big all these parts are and yet how neatly they all pack in together.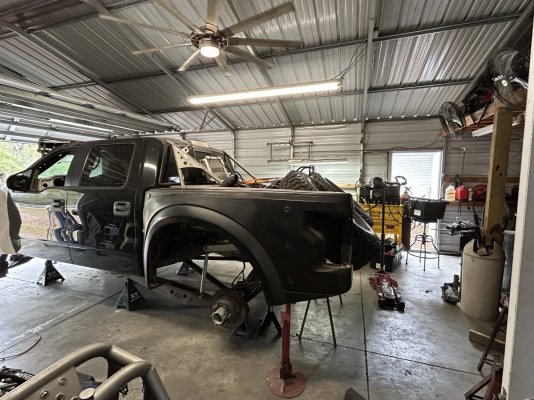
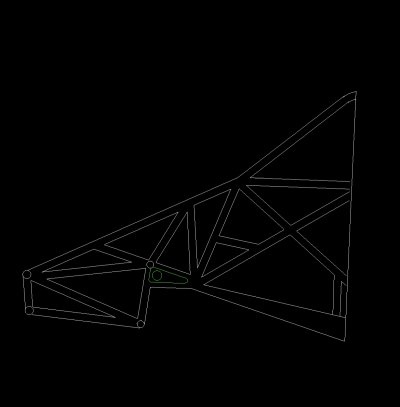

Couple things that have ended up working out, the fuel cell pushed the sway bar forward and means it now has to mount off the links and it’s travel path would have hit the bypass resi but since the bypasses are clocked then the sway bar is free.

Bumps will clear on the inside of the sway bar arms though I might end up needing an inch or two longer overal sway bar length but time will tell.
Tube layout looks good and so I drew up a cleaner outline of what’s to come. Overall happy with how things are going together. One thing that. Lows my mind is how big all these parts are and yet how neatly they all pack in together.


That thing is fire!!! Can't wait to see this done!!
tabvette
FRF Addict
I am way late to the party on this project. Man that is sweet. You are an artist.
Similar threads
- Replies
- 15
- Views
- 4K
- Replies
- 5
- Views
- 607
- Replies
- 20
- Views
- 2K
Members online
- RRick
- OBXRAPTOR17
- downforce137
- Pismobound
- Sharpie69
- cfendya
- Evil Peaches
- BamaFun
- thirstyforgas
- raptorCAT06
- jond
- Latchkey Kid
- AGENTX
- bellnghmrider
- IDI-Charlie
- Littlefx4
- Nesc204
- isis
- GCATX
- bman17
- Bozz
- Keith88
- Raptor812
- Andy1320
- DMacDonald
- Blu Bug
- JohnyPython
- pirates1456
- Tigmandick
- John Michial
- jamesrwright1994
- taquitos
- Monte87
- FP_RPTR
- 3wheelkhalil
- eljefe_tx
- ToadSmasher2K1
- Eisner62
- Jdselig
- kocher93
- sambhutta
- 17baker
- raceguy3820
- WhiskeyTangoGTFO
- Neens
- 2slo4u
- EastEndAngler
- YelloEye
- raptordoke
- vill
Total: 1,889 (members: 75, guests: 1,814)


