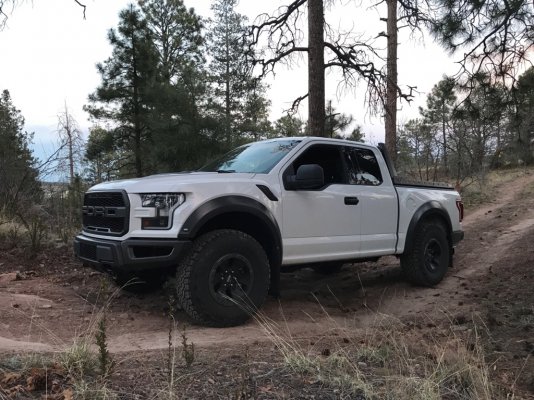
GEN 2 800A+ Offroad Build

Disclaimer: Links on this page pointing to Amazon, eBay and other sites may include affiliate code. If you click them and make a purchase, we may earn a small commission.

OP
OP
Bark beetle

Bark beetle

Full Access Member
Joined
Oct 29, 2016
Posts
135
Reaction score
149
Location
Northern NM
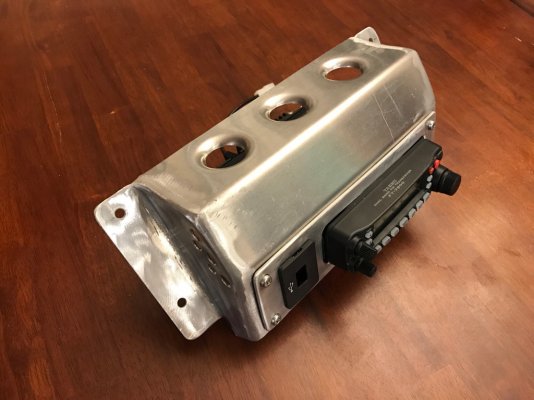
Do you have a pic of what you did for the USBs on the radio mount?
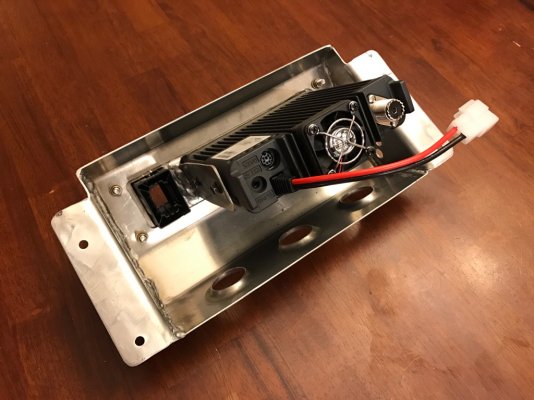


I recycled the stock USB connector and housing that is in the phone charger tray. That may only be on the 800A package. I think higher models have inductive chargers. Blue Sea has lots of nice marine grade USB outlets that you can use.

Pic of the stock USB housing from the back
42e43ac4b725f13eaf0d5f1a414d8708.jpg

Front
5dd65c244e3e2a31e8f8f10c7e27d9ef.jpg


Sent from my iPad using Tapatalk Pro

---------- Post added at 07:59 PM ---------- Previous post was at 07:57 PM ----------

Where did you get the HD d-rings?


Recycled them from the stock ones. Death wheel and a hammer will have them off in a few minutes. Rewelded on the new receiver tube D ring mounts just above the receiver.


Sent from my iPad using Tapatalk Pro
 

ZaneMasterX

FRF Addict
Joined
Apr 27, 2014
Posts
1,550
Reaction score
1,520
Location
Mountains
I recycled the stock USB connector and housing that is in the phone charger tray. That may only be on the 800A package. I think higher models have inductive chargers. Blue Sea has lots of nice marine grade USB outlets that you can use.

Pic of the stock USB housing from the back
42e43ac4b725f13eaf0d5f1a414d8708.jpg

Front
5dd65c244e3e2a31e8f8f10c7e27d9ef.jpg


Sent from my iPad using Tapatalk Pro

---------- Post added at 07:59 PM ---------- Previous post was at 07:57 PM ----------


Recycled them from the stock ones. Death wheel and a hammer will have them off in a few minutes. Rewelded on the new receiver tube D ring mounts just above the receiver.


Sent from my iPad using Tapatalk Pro
Nice. Where did you get the tie downs you put through the bed bolts on the bed floor?
 
OP
OP
Bark beetle

Bark beetle

Full Access Member
Joined
Oct 29, 2016
Posts
135
Reaction score
149
Location
Northern NM
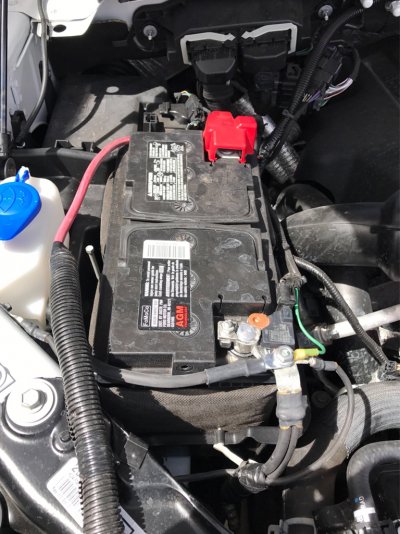
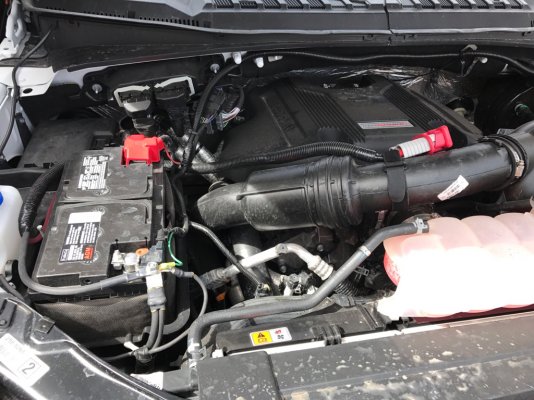
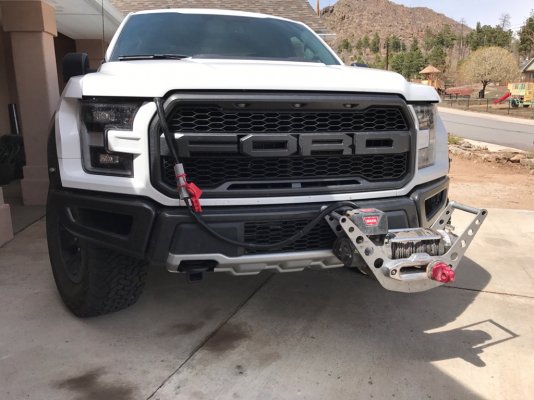
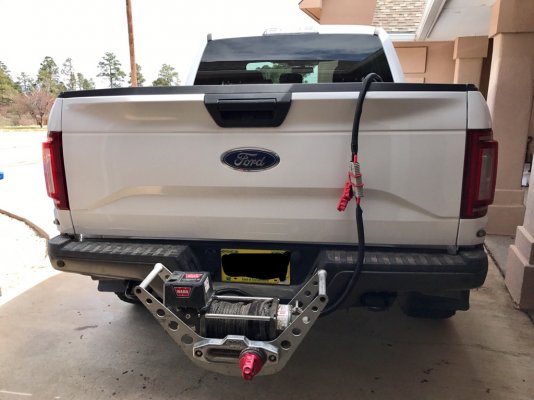
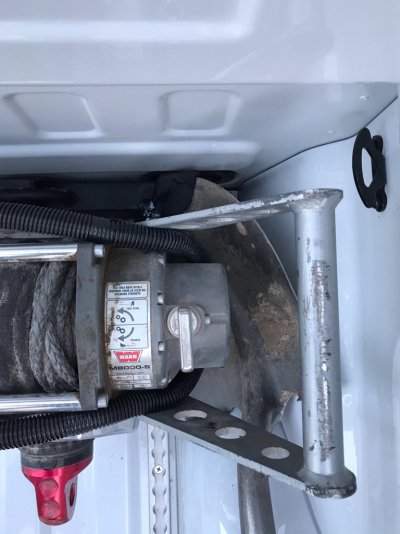
I finally got the wiring done for the winch, painted the front skidplate and silver part of the bumper and tested out the winch wire connections. Headache rack and bed rails are planned for tomorrow.

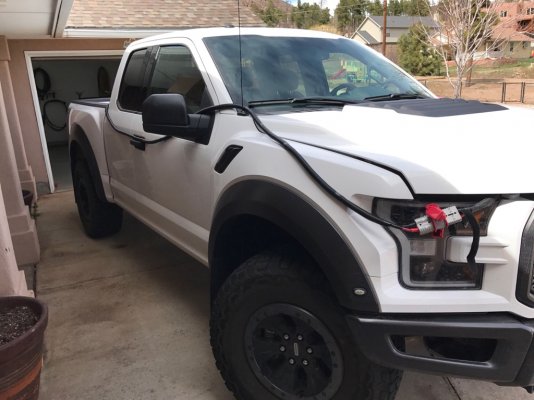
All stealth wiring because I don't use the winch that often. Stays under the hood until I need it.
0d1568b9463a9cc706e58d1b76cfb108.jpg
ae57803fd4ac99eea686d4d86a6186c1.jpg

Front mount, same for the passenger side as well
c2d46fb42faabf06a96617de072ca64a.jpg

Extension cable to reach the back
a90c83ebec1b482c8eaba920f87ec12e.jpg
c4acca358edc24c55529d7c4371ecbb1.jpg

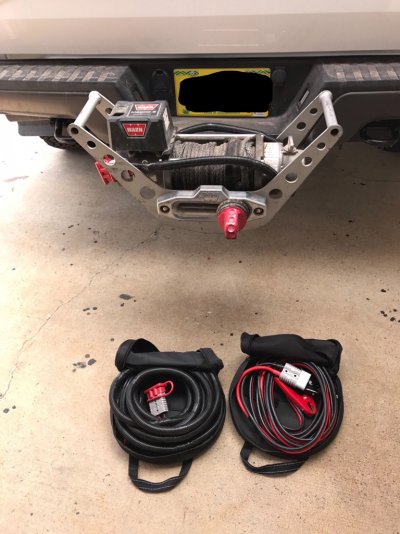
The extension cable, jumper cables and the storage bags with the winch. Jumpers fit nicely behind the rear seat above the jack.
3c7ce50186ee26c81b8b3b8629d15007.jpg

All cables were made by cv-supply on ebay. My Tacoma friend found him and he makes really nice stuff. This was a custom order I worked out with him that included the following:

1 - 24ft 4 gauge cable assembly with quick connectors and dust covers on both ends
1 - 4 ft 4 gauge cable assembly with quick connector and dust cover on one end and lugs on the other - from battery to front
1 - 4 ft 4 gauge cable assembly with quick connector and dust cover on one end and lugs on the other - from winch
1 - 20 ft 4 gauge cable assemby with quick connect on one end and jumper clamps on the other
2 - bucket boss jumper cable bags

If I did it again I might consider making the pigtails 6ft instead of 4ft.

I should also mention that winching with the stock cable mounted hand controller in the rear mount is a two person operation, it is too short to make it into the cab. A wireless setup will be in my future but most of the time there are at least two of us so it is a low priority.

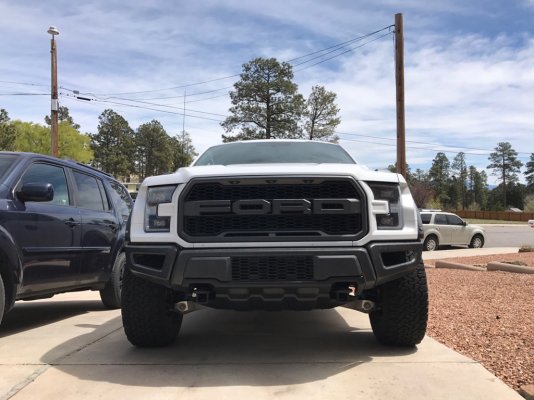
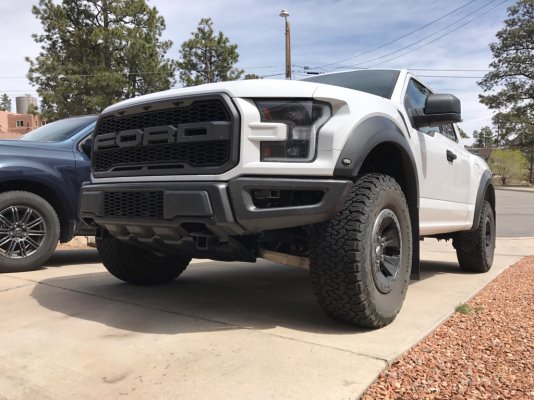
Black skid looks much better and the receiver mounts blend in a lot better now.
708102158bfa8cc01530262eedcec1de.jpg
6ed5e6633ee3115f27613d5b7b387c0c.jpg


Sent from my iPad using Tapatalk Pro
 
Last edited:

dude1782

FRF Addict
Joined
Sep 2, 2016
Posts
1,381
Reaction score
1,176
Location
PHX, AZ/SLO, CA
Thanks. 802As have 2 USBs and I was worried I wouldn't be able to keep them when I get my radio in on Monday.


Sent from my 2017 Raptor using Tapatalk
 

xxaarraa

Full Access Member
Joined
Mar 3, 2017
Posts
858
Reaction score
465
Location
Southlake, TX
I finally got the wiring done for the winch, painted the front skidplate and silver part of the bumper and tested out the winch wire connections. Headache rack and bed rails are planned for tomorrow.

All stealth wiring because I don't use the winch that often. Stays under the hood until I need it.

Bark, I'm a keen follower of your winch setup. Keep us posted on how it holds up while you are out wheeling.
 

WhatExit?

FRF Addict
Joined
Mar 11, 2014
Posts
1,800
Reaction score
1,211
Location
48th state
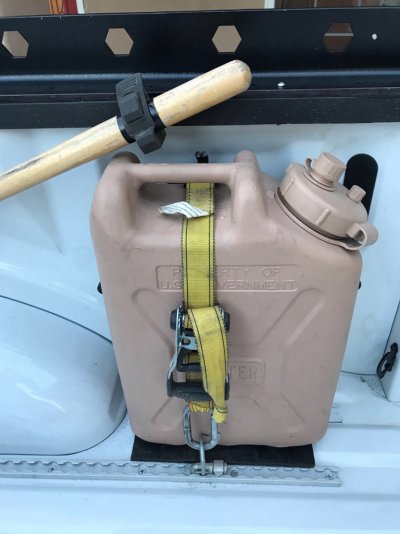
What kind of hardware did you use when you installed those Scepter gas can brackets, etc., in the back of your aluminum bed? Did you follow Ford's guidelines for hardware usage with the aluminum box?
 
OP
OP
Bark beetle

Bark beetle

Full Access Member
Joined
Oct 29, 2016
Posts
135
Reaction score
149
Location
Northern NM
What kind of hardware did you use when you installed those Scepter gas can brackets, etc., in the back of your aluminum bed? Did you follow Ford's guidelines for hardware usage with the aluminum box?


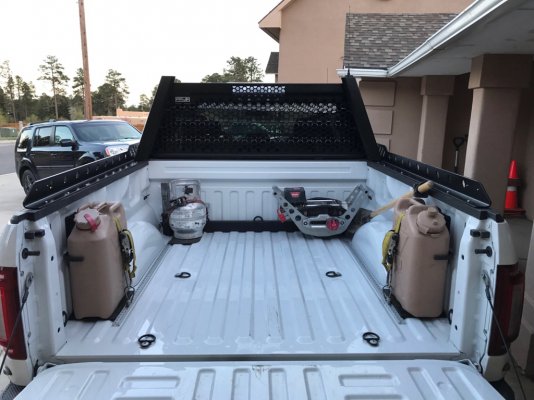
All the hardware is the factory stuff on the box links. The mounts are an adaptation of the box link with a short ratchet strap. If I recall correctly Ford advised 250 lb per box link. The Bed is definitely delicate but the cans are rock solid and if you try to shake them the whole truck moves.


Sent from my iPad using Tapatalk Pro
---------- Post added at 09:15 PM ---------- Previous post was at 09:01 PM ----------

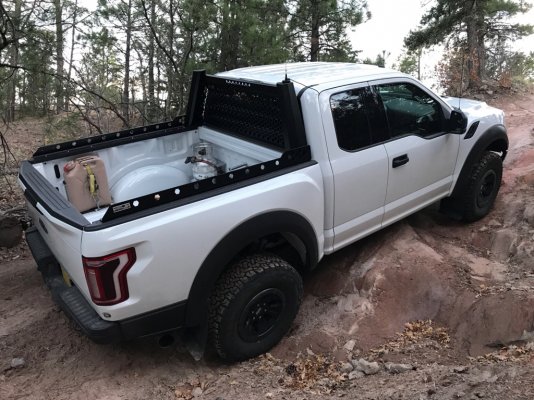
Good day of fabricating, thought the headache rack and beds rails were going to be a bolt in affair. Wrong! In the end I am pretty happy with it and it is all aluminum so it is light but I had to do a lot of cutting to get the bed rails looking like they actually belonged on the truck and followed the bed contour. Bolting them down is also delicate, I only went for places where the inner and outer skin overlap for a double thick section.

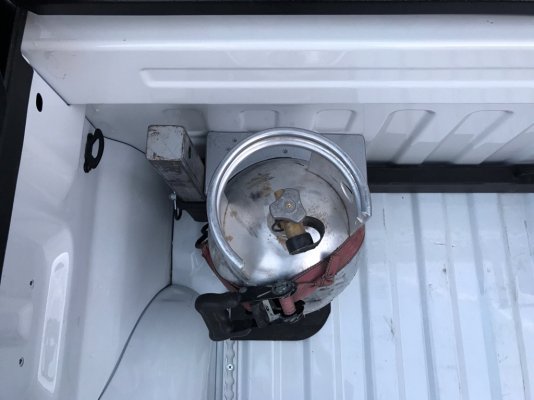
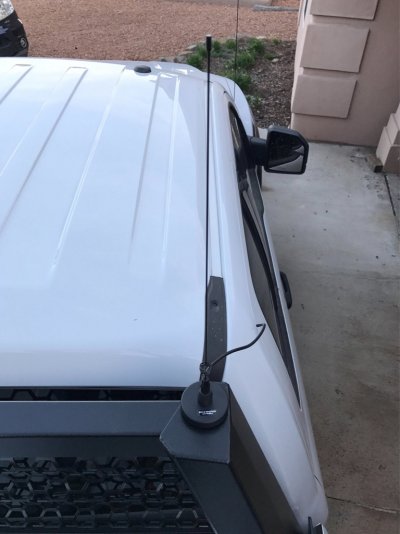
I cut off the horizontal Scepter can strap mounts, they were unnecessary. Looks better and is more compact now. The propane mount is finished with a small plywood adapter and a full size shovel fit perfect with a new tip bracket and quick fist at the end of the handle. With the rack on I was finally able to mount a small steel disk for the antenna. I know it doesn't have the best ground plane but it works good enough for my purposes and doesn't risk the cab roof with a low branch catching the antenna.
73f0aad814f24255fa64c8dee3ce6618.jpg
73089fbdac3d71f35e924fd53889c03d.jpg
859cebe4cdef78b231a4a54e87512457.jpg
8a4347243f2e20f4cec9cc475150ffeb.jpg
64884e1d34876d0eb5d592c99edfe345.jpg

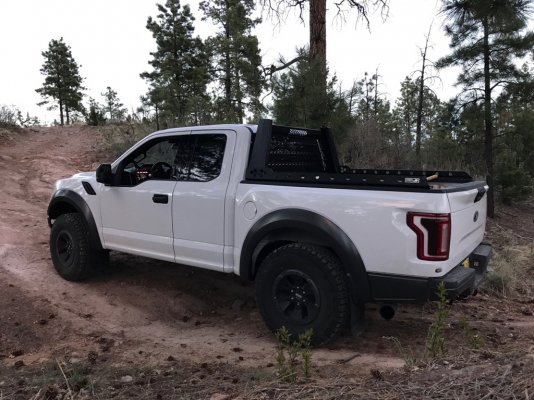
A few of the finished headache rack and rails
4fdd6a1d4e03438b53503c4dfbc4e0fd.jpg
490f506a265e47d4723cbc5b5d34d0cc.jpg
49be5cef1090dde1f46688f50766ba3f.jpg

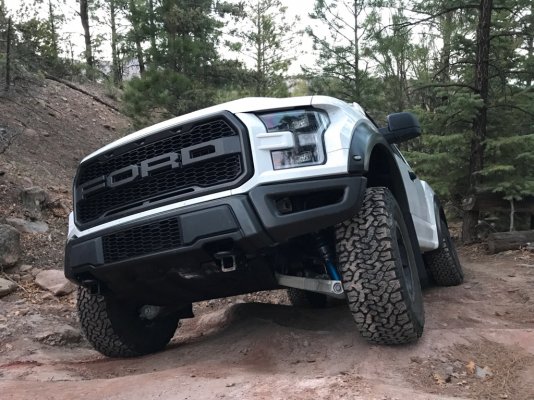
I tested the approach angle on the front receivers and they scraped at the same time the main skidplate did. Not bad.
a93d691ae05fd980f59c384ff6d7dd42.jpg

Worth noting, the front articulation sucks with the swaybar on, the driver front is off the ground in this pic. Really wish Ford had an electric disconnect unit like JK's, especially with Rock crawl mode. Without the swaybar I was eating up the tread on the fronts with the body roll, so it went back on. Obviously it feels much more solid in the corners with it on.


Sent from my iPad using Tapatalk Pro
 
Last edited:

WhatExit?

FRF Addict
Joined
Mar 11, 2014
Posts
1,800
Reaction score
1,211
Location
48th state
What kind of hardware did you use when you installed those Scepter gas can brackets, etc., in the back of your aluminum bed? Did you follow Ford's guidelines for hardware usage with the aluminum box?
I was referring to galvanic corrosion of dissimilar materials in contact with each other (with aluminum on the truck).

See link below for the entire Ford Bulletin:

Background:
The high-strength aluminum alloy in the all-new F-150 does not produce red rust like steel. We have gone to great lengths
to develop coatings to inhibit corrosion. However, customers should take note that when installing aftermarket equipment,
aluminum can still corrode if the aluminum is attached to dissimilar metals. This type of corrosion is called “galvanic
corrosion” and it occurs where there is contact between different metals, like steel or stainless steel fasteners.

Protecting against galvanic corrosion
When installing aftermarket equipment, it is necessary that the installer pay special attention when drilling or clamping
dissimilar metals to the aluminum body.
• Anytime the factory paint is damaged, it is recommended that the paint be repaired with a suitable coating prior to
installing aftermarket equipment (i.e. splash guards, bug shields, tool boxes, etc.)
• When installing fasteners into the mounting hole the fastener should not have contact or have an interference fit
with the sheet metal
• For zinc coated steel bolts and screws, an aluminum washer should be used
• For further protection, an isolation layer should be used between the two dissimilar metals
• When clamping onto the truck, a polypropylene or urethane tape can be used as the isolating layer


Link to the Ford Bulletin...

SPECIAL VEHICLE ENGINEERING – BODY BUILDERS ADVISORY SERVICE

Attaching Accessories to Aluminum Panels and Structure
Models Affected: 2015 MY and later F-150

https://www.fleet.ford.com/truckbbas/non-html/Q-222.pdf
 
Top