Courtesy of SDHQ
What you will need:
Leaf springs
U-Bolts with nuts and washers
4-Bushings with flat side
4-Standard round bushings
2-Bolts with nuts
2-Larger sleeve
2-Smaller sleeve
Lots-o-grease
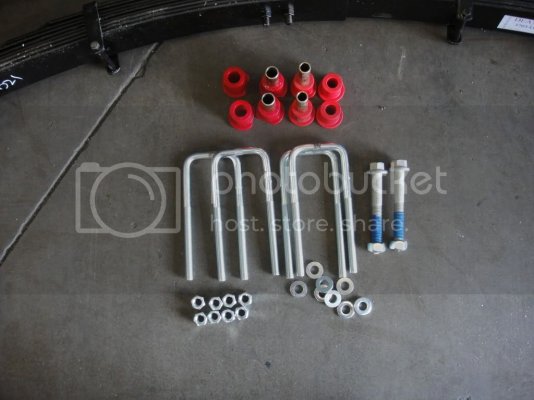
With the truck on the ground the removal of the stock leaf springs and block begins.
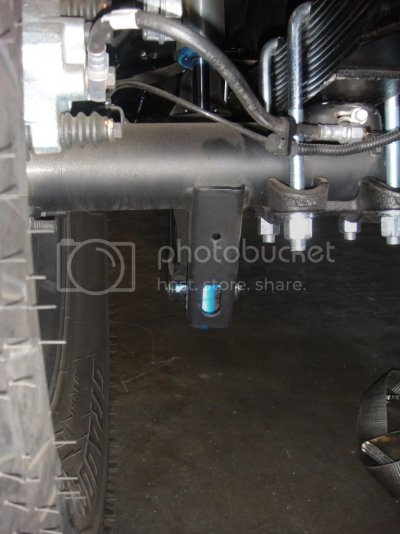
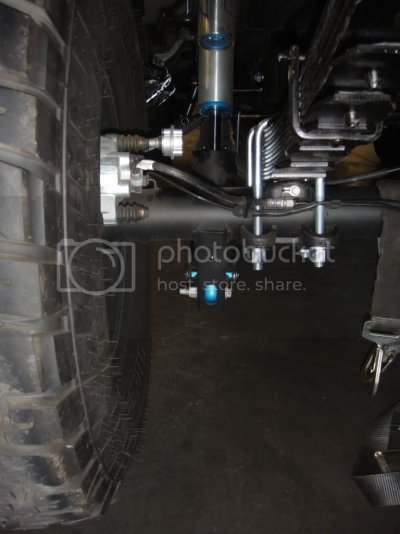
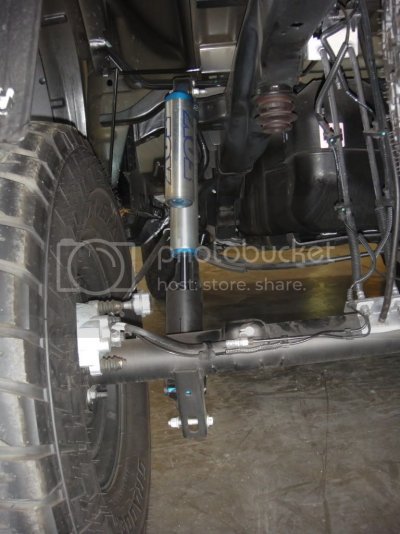
Start by removing the lower shock mount bolt
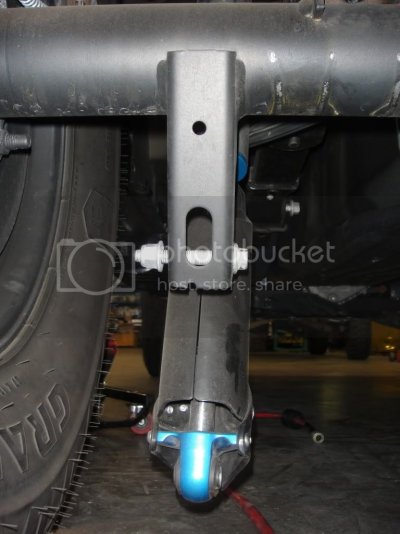
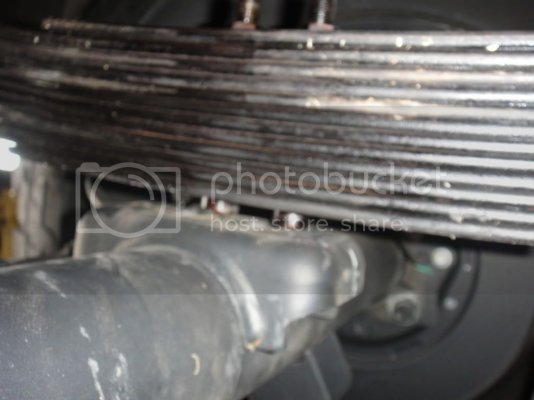
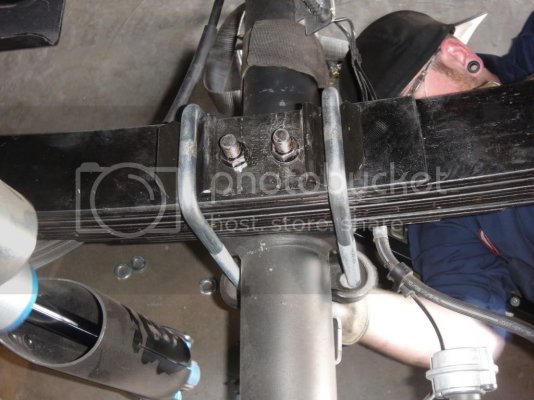
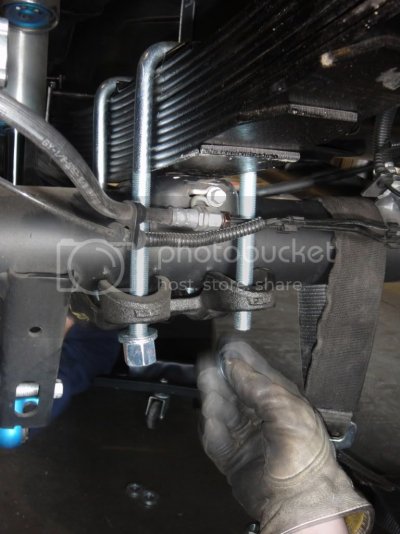
Remove the stock u-bolts and lower u-bolt plate
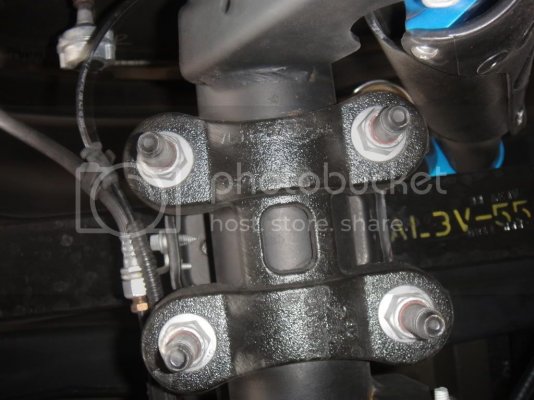
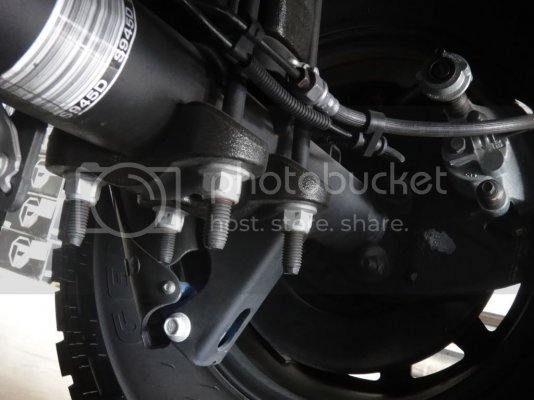
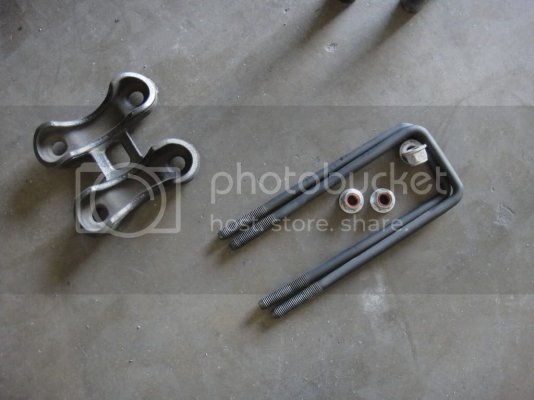
Now comes the removal of the leaf spring mounting bolts
The front mount takes a little extra work to get out of there because it is so close to the fuel tank, after the bolt has been loosened and the nut removed, the head of the bolt must be cut off in order to remove it. ( Use of a torch is NOT advised) Once the head of the bolt is cut, the remainder of the bolt will need to be punched out.
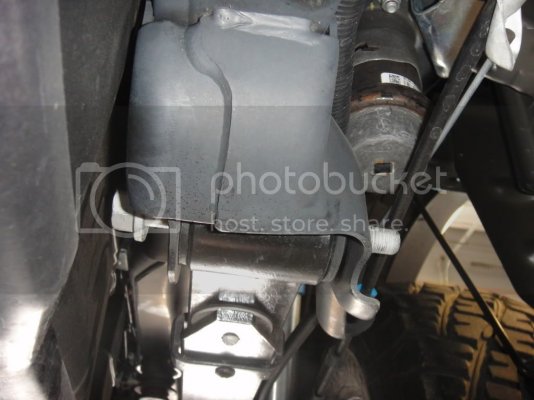
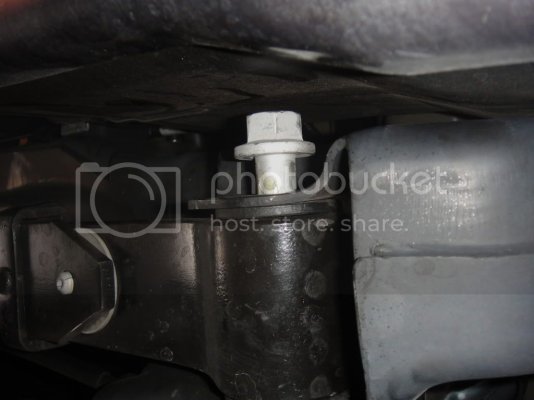
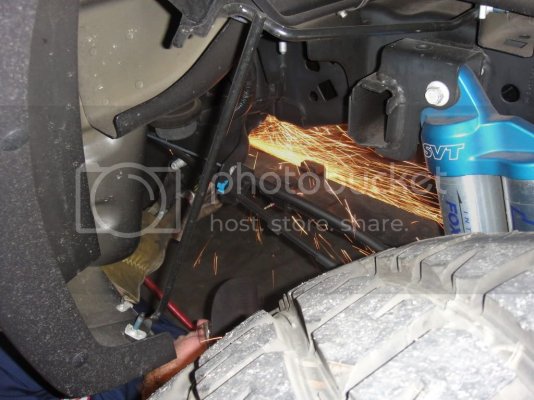
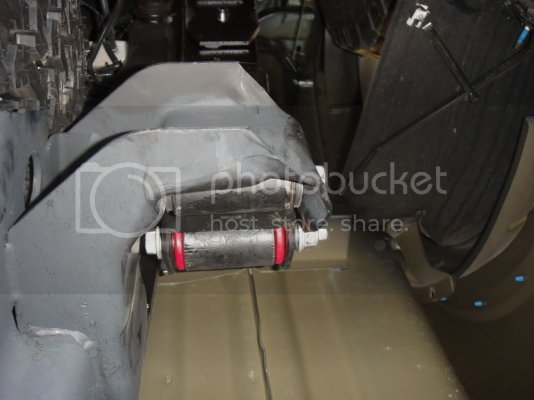
On the rear mount, you are going to want to loosen but not completely remove the shackle bolt, in order to make it easier to transfer it over to the new spring once it is off the vehicle.(top bolt in pic 1) The lower bolt may be completely removed. Keep in mind that once this bolt is removed there is nothing solidly holding the leaf spring in place
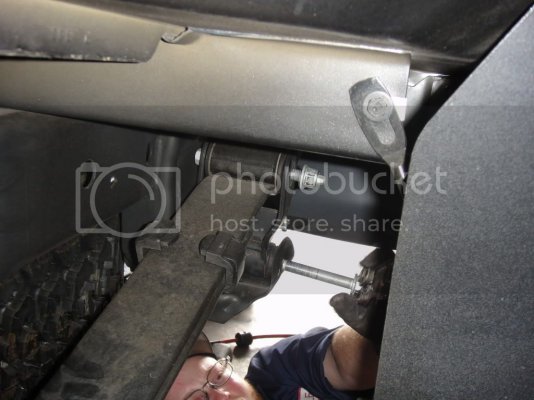
The truck can now be jacked up high enough to release the leaf spring, the easiest way is to push the spring upwards and towards the front of the truck, keep an eye out for any cables that may become entangled in the spring.
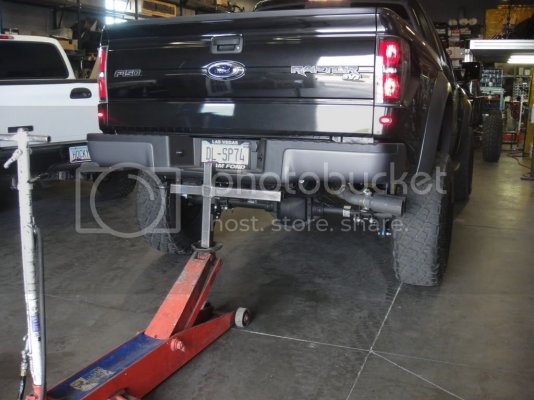
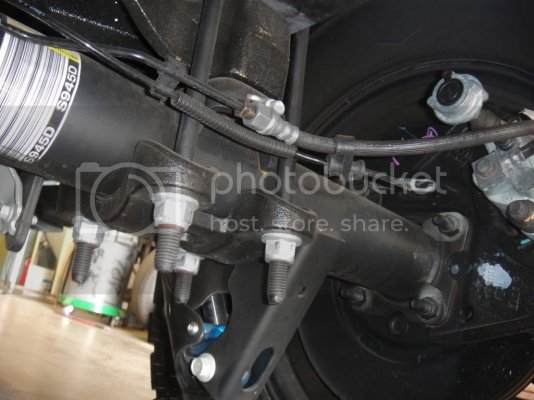
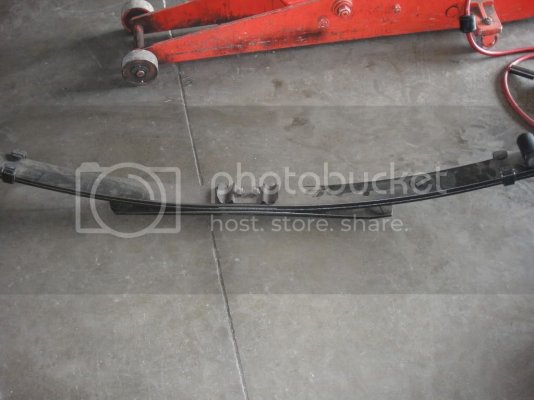
Now its time to prep the Deavers for install
Grease the bushings and insert into the eyes of the spring. The bushings with the flat side are going to go on the front of the leaf pack, which is the larger diameter end of the spring. The standard round bushings will go into the rear eye which is the single wrap side.
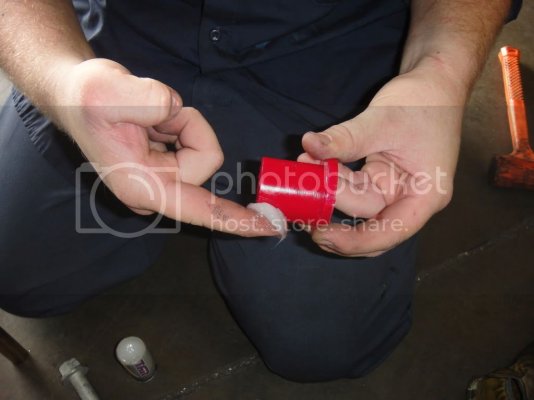
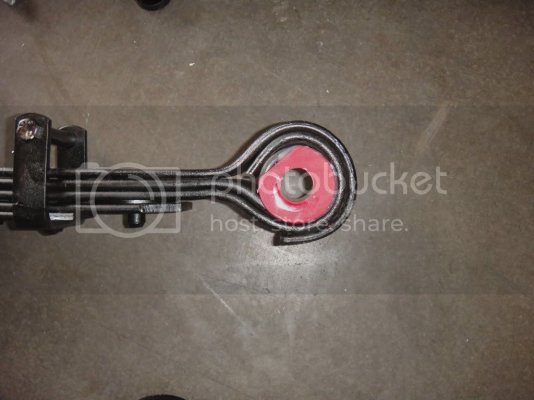
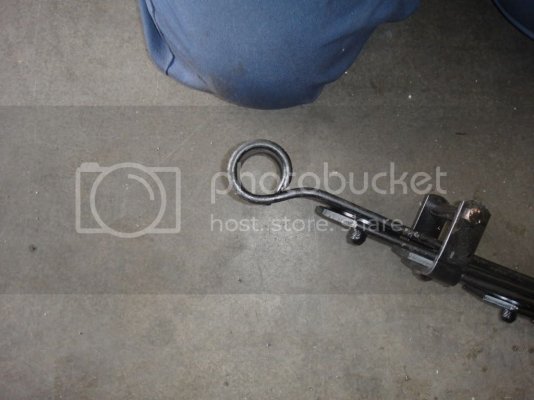
The Deavers are now ready to be installed on the truck, the truck should still be jacked up to the height of where the springs were removed.
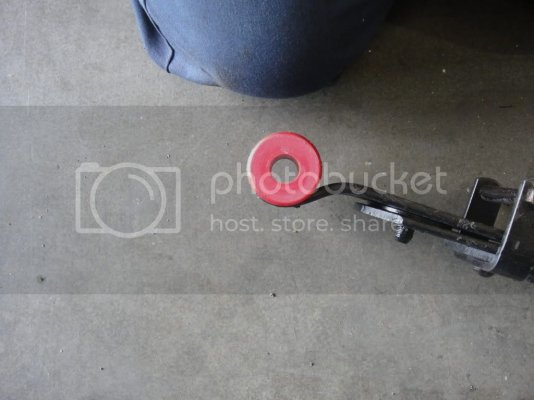
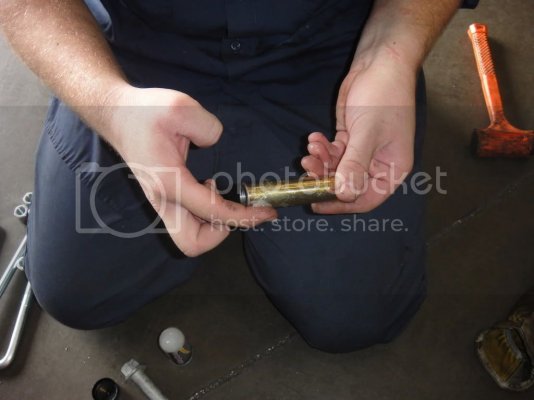
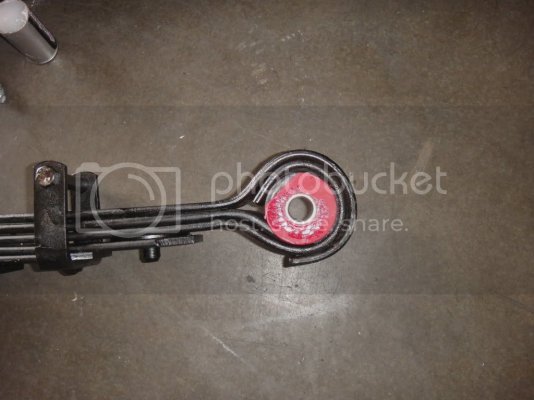
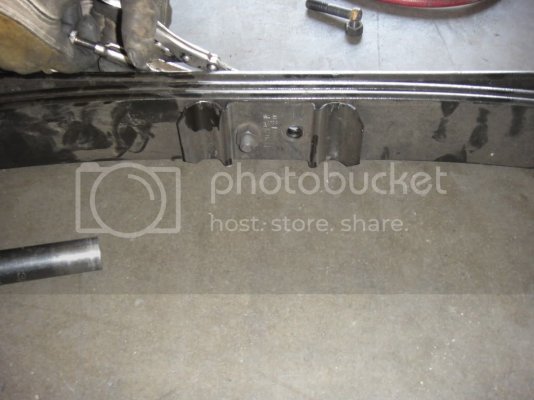
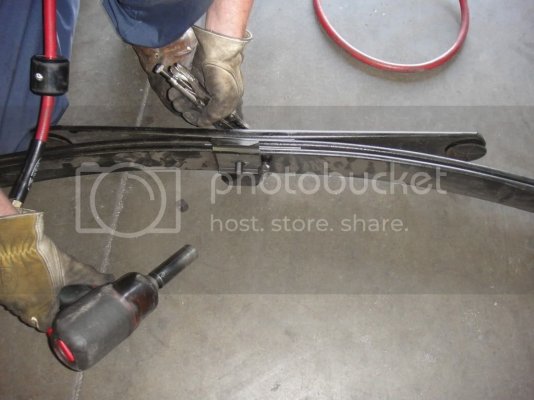
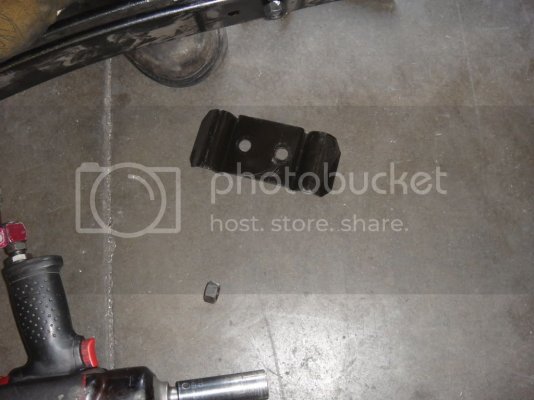
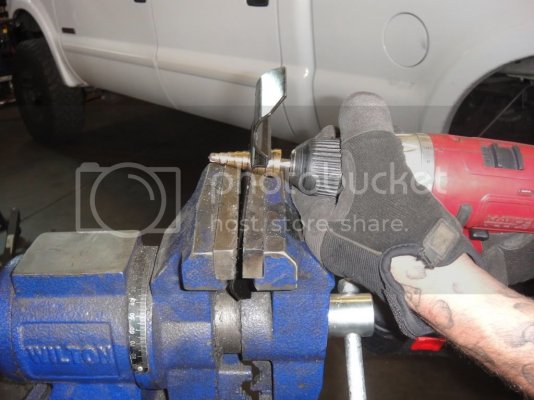
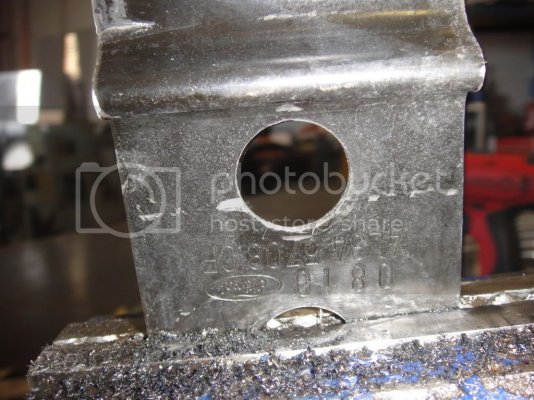
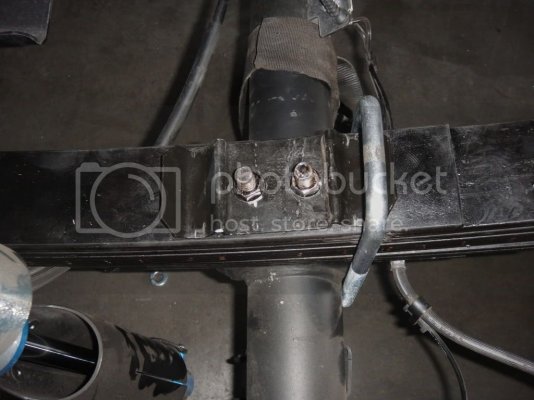
Next the u-bolt retainer needs to be removed from the stock leaf pack. The best way to do this is to loosen both the center pins but only remove one. Then oscillate the plate to the side so the pin may be reinstalled to keep the pack from falling apart, then the second pin may be removed and the u-bolt retainer is now free.
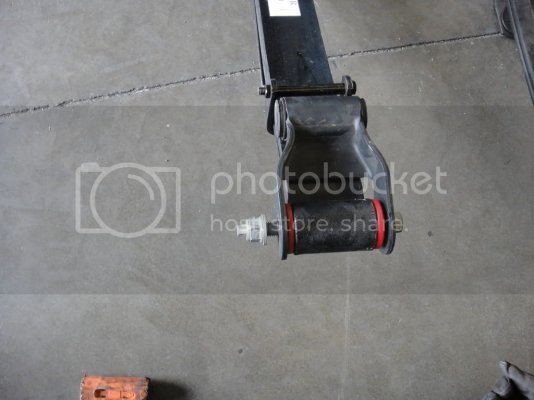
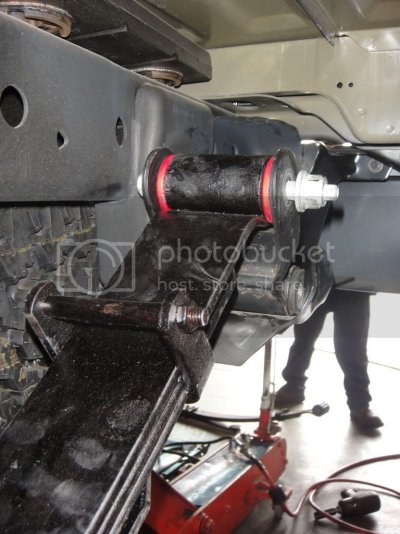
The new bolt will be utilized in the front spring mount since the stock one was cut off. ( do not completely tighten)
What you will need:
Leaf springs
U-Bolts with nuts and washers
4-Bushings with flat side
4-Standard round bushings
2-Bolts with nuts
2-Larger sleeve
2-Smaller sleeve
Lots-o-grease

With the truck on the ground the removal of the stock leaf springs and block begins.
Start by removing the lower shock mount bolt

Remove the stock u-bolts and lower u-bolt plate


Now comes the removal of the leaf spring mounting bolts
The front mount takes a little extra work to get out of there because it is so close to the fuel tank, after the bolt has been loosened and the nut removed, the head of the bolt must be cut off in order to remove it. ( Use of a torch is NOT advised) Once the head of the bolt is cut, the remainder of the bolt will need to be punched out.


On the rear mount, you are going to want to loosen but not completely remove the shackle bolt, in order to make it easier to transfer it over to the new spring once it is off the vehicle.(top bolt in pic 1) The lower bolt may be completely removed. Keep in mind that once this bolt is removed there is nothing solidly holding the leaf spring in place

The truck can now be jacked up high enough to release the leaf spring, the easiest way is to push the spring upwards and towards the front of the truck, keep an eye out for any cables that may become entangled in the spring.


Now its time to prep the Deavers for install
Grease the bushings and insert into the eyes of the spring. The bushings with the flat side are going to go on the front of the leaf pack, which is the larger diameter end of the spring. The standard round bushings will go into the rear eye which is the single wrap side.


The Deavers are now ready to be installed on the truck, the truck should still be jacked up to the height of where the springs were removed.


Next the u-bolt retainer needs to be removed from the stock leaf pack. The best way to do this is to loosen both the center pins but only remove one. Then oscillate the plate to the side so the pin may be reinstalled to keep the pack from falling apart, then the second pin may be removed and the u-bolt retainer is now free.


The new bolt will be utilized in the front spring mount since the stock one was cut off. ( do not completely tighten)


