Assassin
Active Member
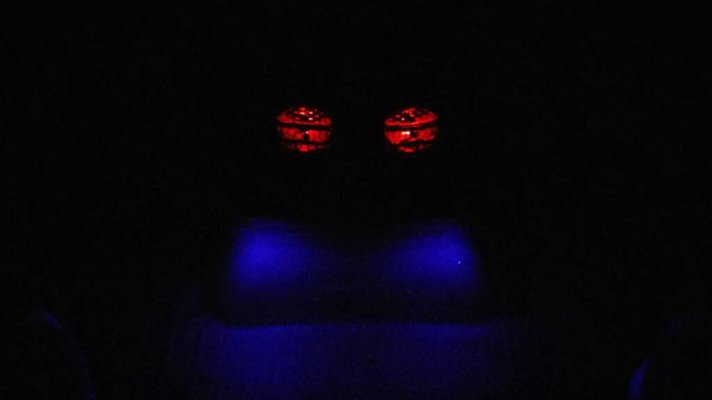
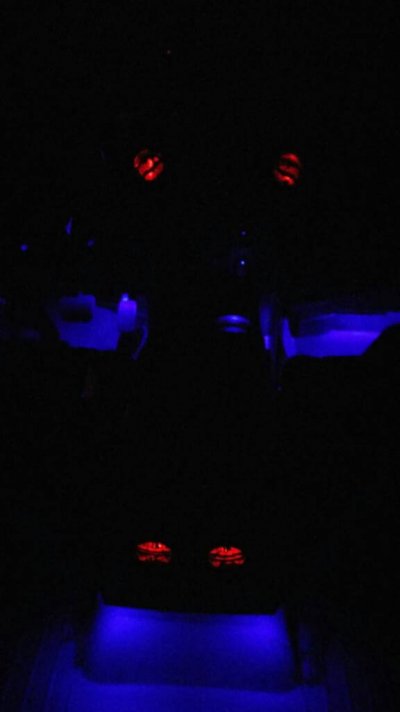
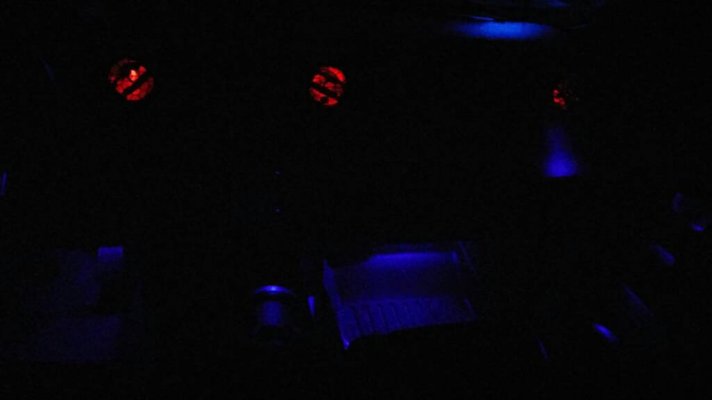
I've been wanting to do this for the longest time and finally found the time to do it today. I used 5mm pre-wired lights for this project. https://www.amazon.com/dp/B007O1X12C/?tag=fordraptorforum-20
I didn't take step by step pictures because I didnt plan on doing a write up on it, but I will do my best to give step by step instuctions.
Tools needed:
-wire strippers
-socket set
-plastic pry tools
-drill and long drill bits
-electrical tape
-18 gauge positive and negative wire
-hanger for bending to use as a hook
-(optional) Bondic liquid plastic
Remove glove box and passenger airbag. Pop out center console foot panels on drivers and passengers side.
Remove screws on both sides that hold the center console housing in place. Remove center console piece where shifter is.
Remove two bolts directly underneath the sync unit.
Slide both seats forward all the way.
Remove bolt on each side of center console housing which is located towards the rear.
Pick up center console housing and slide towards the rear of the truck to access the bolts holding the polished trim pieces on the bottom of the dash.
Remove bolt from passenger side only.
Remove the 3 brass colored bolts on the outer edge of the airbag slot.
Use pry tool to pop out the trim pieces and lay them aside.
Using the center speaker location on top of the dash to access the two main airducts, use 1/64 drill bit to drill hole for lights.
Pop in the 5mm light.
(I used bondic at this point to secure the lights but it's really just optional.)
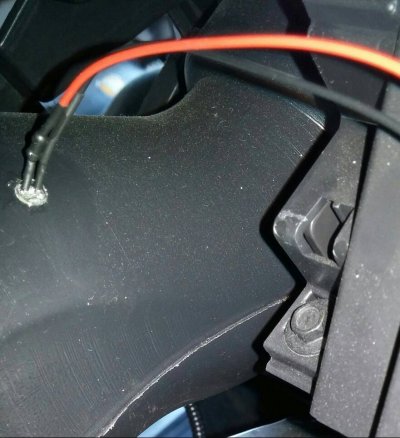
The outer air ducts are tricky to access to drill a hole in, so you will need to be creative. A long drill bit is useful, if you don't have one then you could try a very long Philips head screw driver as a makeshift drill and rotate it with pressure until it breaks through the duct.
On the drivers side there's not any bolts that hold the trim in place where the headlight knob is. All you need to do is unscrew the to bolts holding the shroud above the gauges. Pop the shroud out towards you, then use the pry tool to pop out the trim piece.
Disconnect the switches and lay that piece aside.
I used one positive, and one negative 18 gauge wire fed it through inside the top of dash from drivers to passenger side using a hanger. Tap the lights into those wires and then connect it to a switch or power source.
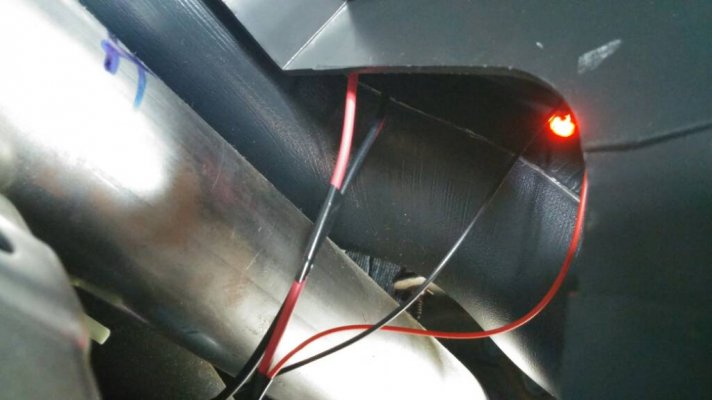
Feed positive and negative wires through and under the center console housing to the back vents and repeat what was done up front.
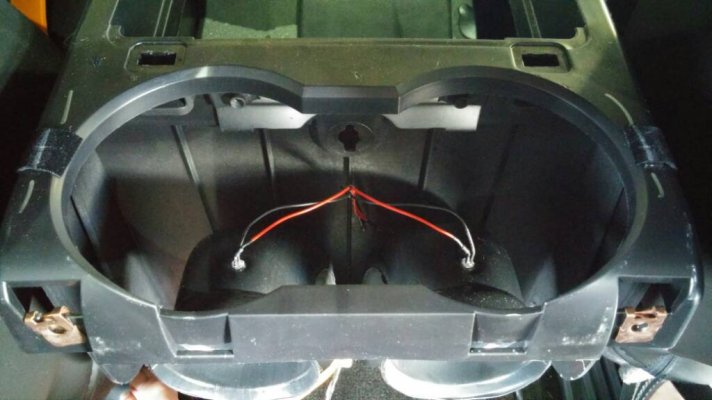
Put everything back together and call it a day.
Sorry I didn't take enough pictures. Hopefully I didn't leave something out. If you have questions let me know.

