Image Lights How To: By TheDoubleAA.com

Disclaimer: Links on this page pointing to Amazon, eBay and other sites may include affiliate code. If you click them and make a purchase, we may earn a small commission.

TheDoubleAA

Full Access Member
Joined
Oct 21, 2012
Posts
515
Reaction score
191
Location
Kemah Texas
logo.gif

WHERE TO PURCHASE:
Image Light (All Vehicles) - $99.00 : The Double AA, Corvette and Camaro Modification Products

How to Install Image lights in Ford Raptor 2011-2012 (2010 and 2013 SEE BOTTOM)

Tools Needed:
- Small pick or small allen wrench will work
- Ratchet or screw driver that that will fit your sockets
- 11 mm socket – can’t remember but I believe this is the size
- 6 mm socket – I can’t remember but I believe this is the size
- 5.5 mm socket –
- Wire strippers
- Thin bladed flat head screw driver
- Beer (Smithwick’s or Left Hand Milk Stout is best for this job)
- Good Cigar

Firs things first, let’s remove that pesky door panel.

- The major bolts are behind the door release, bolt below the door pull and lastly all the bolts at the bottom of the door panel.

Use your handy dandy pick or small allen wrench and remove the plastic panel cover over door release.
This will reveal the 11MM Bolt(I believe it’s 11MM) use you ratchet or screw driver head to remove this bolt.
Next use your thin bladed screw driver to remove the cover on the inside of the door pull to reveal the other 11mm bolt and remove it as well.
The last sets of bolts you’ll have are at the bottom of the door and I believe that they are 6mm. Remove them (3) I believe.
Now here is where it get’s tricky. DO NOT PULL BACK ON DOOR PANEL. The door panel slides up and out.
Pull up on door panel and it should be loose at this point.
On the back side of the door release you’ll see that it has push releases on either side of it. Push those in and push the door pull through the door and turn it so you can slide it out of the door panel. You shouldn’t have a problem letting it just hang there for the time being.

- Drink beer
Pull back on the black covering (it’s held into place with a gluey substance)
Now you’ll need to see where in the door you want to mount the light. You might even want to try to rehook up the windows and watch it go up and down so you can see a good spot to mount.

Once you find this spot you’ll need to drill the hole and mount the light.

- If you have mirror lights then then you can use the purple wire from the harness that is going into the plug for power and you can ground out to any bolt on the door (verify that you have a good connection.

If you do not have mirror lights then you’ll need to do a bit more.

If you remove the door sill panel (just pulls or pry it up) you’ll notice a wiring harness that runs parallel in a channel. Remove some of the tape so you can get to the wires. For this purpose we’ll be using a 2011 Raptor for instances (2010 we’ll give you the details as well). You’ll be looking for the think purple wire and black and yellow (ground) that is running through (see picture).
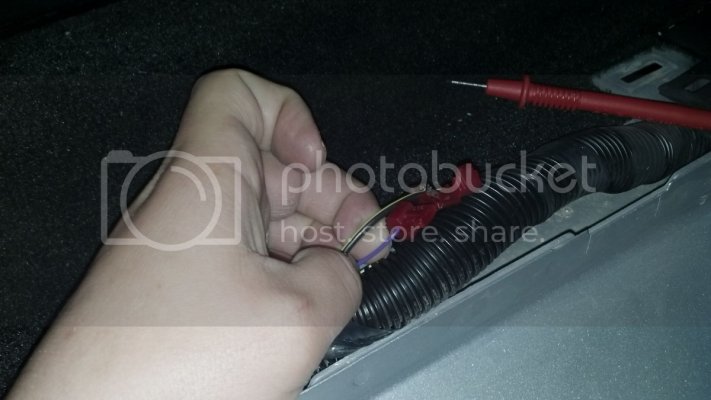
2013-04-18_18-28-15_659-1.jpg
I used t Tap connectors in the picture but you’re probably going to be better off using the red 3m fold over connectors.

The hard part here now is to run power through the door panel harness to the light. The lights aren’t generally designed to go this far so you’ll probably need a piece of wire to run from this location to the door panel.

It might also help to remove the door speakers so you have some more room that is where your 5.5 MM comes in,

After seeing this I’m sure you’ll need another beer so you can decide which way you’d prefer to run your wiring through the door panel.

Hint. I would avoid running 2 wires. Just tap your power from the purple wire in the picture and ground out through a good spot on the door.

Once you have everything hooked up test by opening another door as I’m sure the courtesy lamps have shut off. The image should be projected now if not check your connections and if day light it won’t show up well.

- To put door panel on just do a reverse order of taking off.

2010
Driver Front – Gray/Violet is your positive, (Ground to chassis)
Passenger Front – White is your positive , (Ground to chassis)
For rear doors you’ll need to run a bit more wire to these locations

2011
Driver Door – small solid Purple wire is Positive, (ground to door)
Passenger Door- small solid purple wire is positive, (Ground to chassis)
For rear doors you’ll need to run a bit more wire to these locations

2012
Driver Door – small solid Purple wire is Positive, (ground to door)
Passenger Door- small solid purple wire is positive, (Ground to chassis)
For rear doors you’ll need to run a bit more wire to these locations

2013
Driver Door – Thin yellow/green is positive
Passenger Door - Thin yellow/green is positive.
For rear doors you’ll need to run a bit more wire to these locations
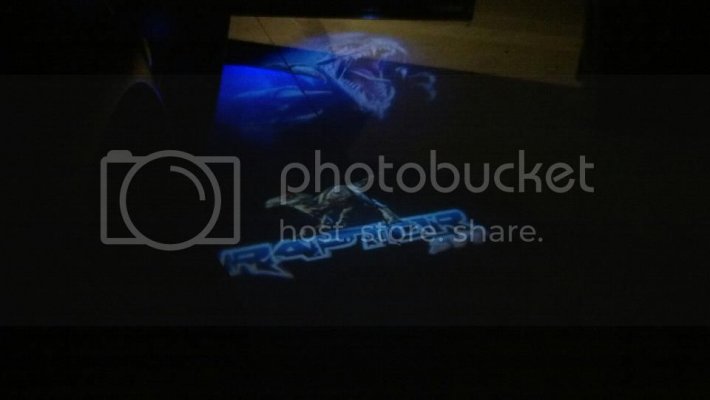
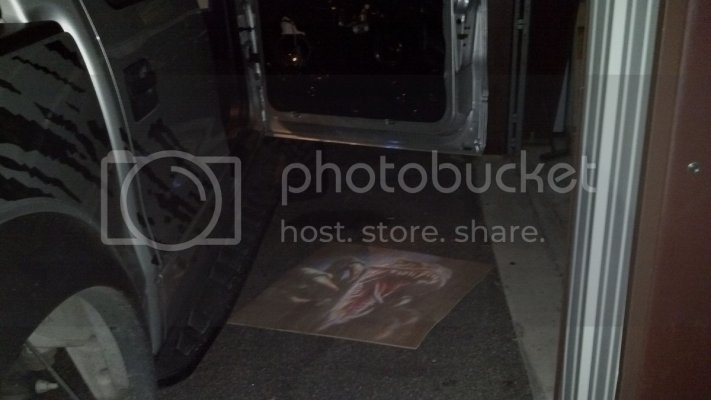
zrapt.jpg

2013-04-08_20-10-06_292.jpg
2013-04-08_20-12-38_432.jpg
photobucket-2741-1363231025088.jpg
 
OP
OP
T

TheDoubleAA

Full Access Member
Joined
Oct 21, 2012
Posts
515
Reaction score
191
Location
Kemah Texas
sorry I didn't take more pictures it was just something that I thought of after the fact than while I was doing it.
 

HarleyGuy

Full Access Member
Joined
Mar 7, 2010
Posts
59
Reaction score
0
Location
El Paso, TX
I'm probably going to do this on Monday and want to make sure I have the facts straight before diving into it. I have a 2013 with puddle lights so I should tap into the thin yellow/green wire on both the driver and passenger doors for the positive wire and then ground out somewhere on the door panel, right?

Do I need any kind of relay or will I be ok with just tapping into the yellow/green wire and grounding?

What is the yellow/green wire actually provide power for (is it the puddle light power?)

Thanks in advance for your help.
 
OP
OP
T

TheDoubleAA

Full Access Member
Joined
Oct 21, 2012
Posts
515
Reaction score
191
Location
Kemah Texas
You may still have a purple wire. I'd use a needle or something with a point and check voltage on the wire before I tapped it to verify I got the right wire. The set up for the 2013 info I posted was for the wires in the harness running along the door sill. The wires going to the puddle lamps maybe different.


I'm probably going to do this on Monday and want to make sure I have the facts straight before diving into it. I have a 2013 with puddle lights so I should tap into the thin yellow/green wire on both the driver and passenger doors for the positive wire and then ground out somewhere on the door panel, right?

Do I need any kind of relay or will I be ok with just tapping into the yellow/green wire and grounding?

What is the yellow/green wire actually provide power for (is it the puddle light power?)

Thanks in advance for your help.
 

HarleyGuy

Full Access Member
Joined
Mar 7, 2010
Posts
59
Reaction score
0
Location
El Paso, TX
You may still have a purple wire. I'd use a needle or something with a point and check voltage on the wire before I tapped it to verify I got the right wire. The set up for the 2013 info I posted was for the wires in the harness running along the door sill. The wires going to the puddle lamps maybe different.

Thanks, I don't need any kind of relay correct?
 
OP
OP
T

TheDoubleAA

Full Access Member
Joined
Oct 21, 2012
Posts
515
Reaction score
191
Location
Kemah Texas
Thanks, I don't need any kind of relay correct?

don't think it would hurt anything at all by adding one but I added a higher capacity fuse to the passenger side footwell fuse block and didn't have any issues

---------- Post added at 09:31 PM ---------- Previous post was at 09:30 PM ----------

If you do have any issues feel free to give me a call. (832) 457 9253
 

HarleyGuy

Full Access Member
Joined
Mar 7, 2010
Posts
59
Reaction score
0
Location
El Paso, TX
don't think it would hurt anything at all by adding one but I added a higher capacity fuse to the passenger side footwell fuse block and didn't have any issues

---------- Post added at 09:31 PM ---------- Previous post was at 09:30 PM ----------

If you do have any issues feel free to give me a call. (832) 457 9253

thanks, I will call if I have any issues. Thanks for your help.
 

HarleyGuy

Full Access Member
Joined
Mar 7, 2010
Posts
59
Reaction score
0
Location
El Paso, TX
Thanks DoubleAA for your help. I ended up tapping into the purple wire on the puddle lights and grounded it on a bolt right by the connector at the puddle light.

The 2nd door went a lot quicker since I took my time on the 1st one. 2nd one took about 25 minutes. Trying to adjust them to exactly where I wanted the lights and at what angle took the most time.

where do these actually get installed? in the puddle light?

They get installed in the bottom of the door.
 
OP
OP
T

TheDoubleAA

Full Access Member
Joined
Oct 21, 2012
Posts
515
Reaction score
191
Location
Kemah Texas
Thanks DoubleAA for your help. I ended up tapping into the purple wire on the puddle lights and grounded it on a bolt right by the connector at the puddle light.

The 2nd door went a lot quicker since I took my time on the 1st one. 2nd one took about 25 minutes. Trying to adjust them to exactly where I wanted the lights and at what angle took the most time.


They get installed in the bottom of the door.

Good deal, which logo did you end up going with
 

Forum statistics

Threads
93,171
Posts
1,955,304
Members
56,440
Latest member
jumpcutter
Top