How To Blend Door Actuator Replacement with Part Numbers

Disclaimer: Links on this page pointing to Amazon, eBay and other sites may include affiliate code. If you click them and make a purchase, we may earn a small commission.

OP
OP
K

killswitch engage

Active Member
Joined
Nov 8, 2013
Posts
66
Reaction score
22
Location
Earth
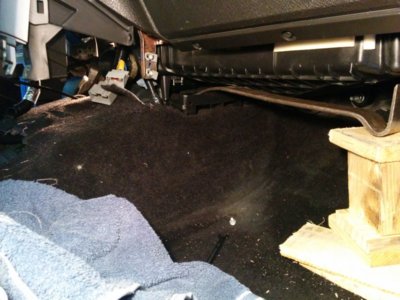
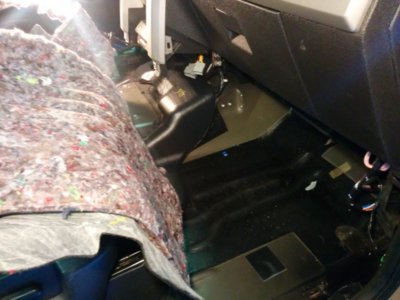
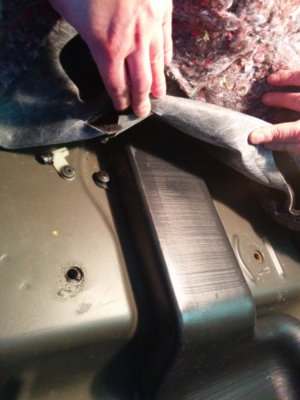
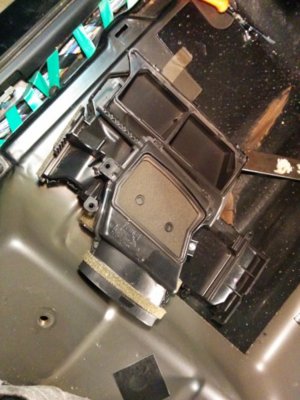
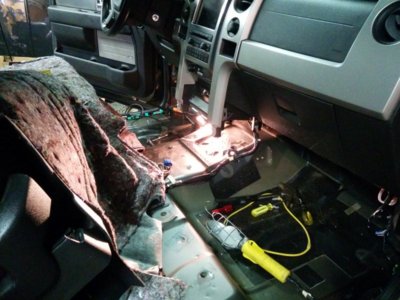
Then, I took out the two side braces and the seat bolts and leaned the seats back so I could get the carpet up to remove the floor duct. There is one screw under each seat holding the duct in place.

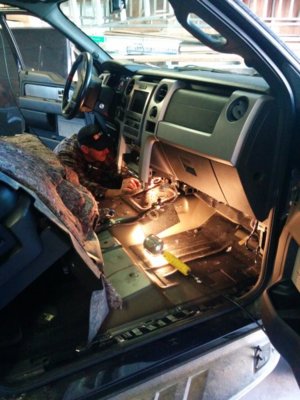
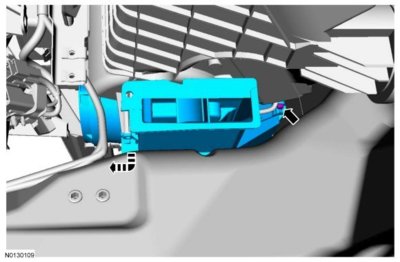
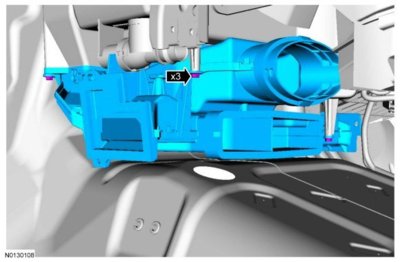
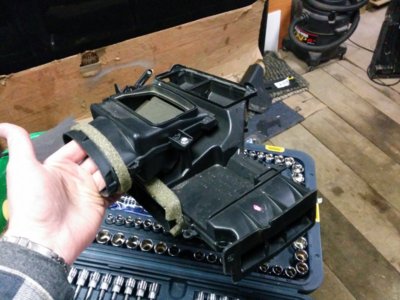
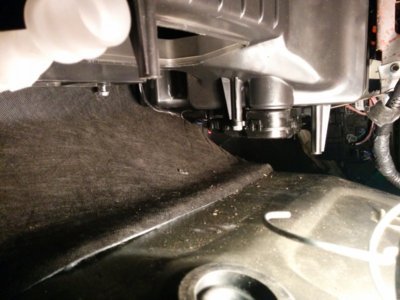
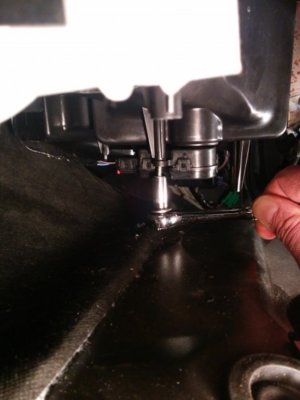
Once that is out of the way, you have access to the lower duct work that is in the way of accessing the blend door actuator. There are three bolts in the front that hold the duct work in place and one in the back that you can see from the passenger side. To see the rear bolt you’ll be contorting in ways that would make any circus freak show performer proud.
 

Attachments

  • IMG_20141101_142650.jpg
    IMG_20141101_142650.jpg
    101.4 KB · Views: 231
  • IMG_20141101_150041.jpg
    IMG_20141101_150041.jpg
    78.3 KB · Views: 216
  • IMG_20141101_151218.jpg
    IMG_20141101_151218.jpg
    52.2 KB · Views: 279
  • IMG_20141101_152835.jpg
    IMG_20141101_152835.jpg
    68.4 KB · Views: 228
OP
OP
K

killswitch engage

Active Member
Joined
Nov 8, 2013
Posts
66
Reaction score
22
Location
Earth
To remove the rear bolt, I tried cutting down an 8mm ¼” drive socket and attached a piece of ½” copper pipe to the ratchet handle but I didn’t have enough room to get the ratchet to click so I said f-it and used a chisel and broke the tab off. The rear bolt can be discarded and tape applied to the bolt hole. The two renderings are from AllDataDIY which goes through the procedure, although vaguely.
 

Attachments

  • bolt.jpg
    bolt.jpg
    39.8 KB · Views: 238
  • Bolt2.jpg
    Bolt2.jpg
    39.1 KB · Views: 343
  • duct.jpg
    duct.jpg
    39.7 KB · Views: 314
  • IMG_20141101_182419.jpg
    IMG_20141101_182419.jpg
    64.9 KB · Views: 365
  • IMG_20141101_182806.jpg
    IMG_20141101_182806.jpg
    103.5 KB · Views: 344
OP
OP
K

killswitch engage

Active Member
Joined
Nov 8, 2013
Posts
66
Reaction score
22
Location
Earth
Once that was done the duct work slide out with some coaxing and I had tons of room to access the actuator. I broke the tab off the back screw and did a bit of damage. I couldn’t really see what I was doing lol. I used some glue and tape to fix the corner of the lower duct work that you see damaged in the last picture.

Then I started reassembly. Only took maybe an hour to put it all back together. Like I said, most of the time was spend scratching my head trying to figure out what was holding the duct work in place then how I was going to remove the rear bolt once I found it.

Those are the basic steps. I didn’t bother going into detail about where every bolt is, but some of the pictures show you that and there’s plenty of articles on center console removal etc.

Everything works great now. Hope that helps the next person stuck having to deal with this. Also, the part number I used was YH1777 {#AL3Z19E616A}.

As for what I have to say to Ford ----> :flipthebird:
 

Attachments

  • IMG_20141101_182546.jpg
    IMG_20141101_182546.jpg
    88.8 KB · Views: 207
  • IMG_20141101_184003.jpg
    IMG_20141101_184003.jpg
    36.1 KB · Views: 269
  • IMG_20141101_184222.jpg
    IMG_20141101_184222.jpg
    103.5 KB · Views: 293
  • IMG_20141101_184954.jpg
    IMG_20141101_184954.jpg
    82.9 KB · Views: 199

dataustin

FRF Addict
Joined
May 3, 2011
Posts
2,314
Reaction score
839
Location
Texas
Hey Guys and Gals, I just realized that having a stock Raptor means that I have only one actuator...correct? Would anyone know if it is on the right side (5 hrs labor) or the left side (7 hrs labor) or maybe somewhere in the middle (2 hrs)? lol
 
Top