x-ray
Active Member
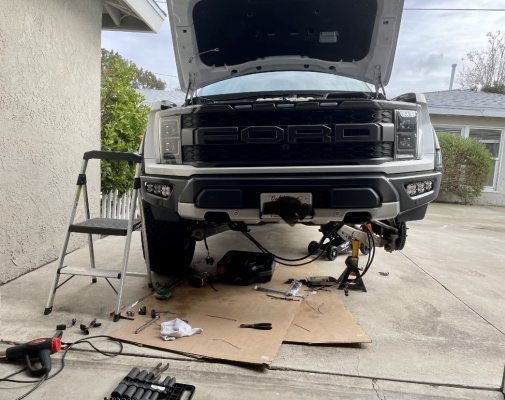
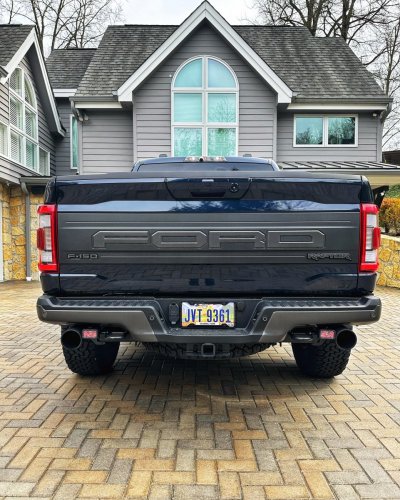
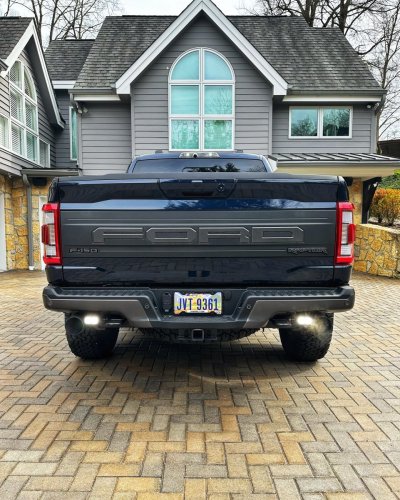
I just finished installing both the Diode Dynamics Pro Triple Fog light kit and the DD SS2 pro reverse kit from @Specialtyperformanceparts (John Trischler). I purchased the Aux wire extension kit, the Aux1 and fog relocation harness, the marker light connector adapter, and the harness for the front and rear lights. Everything came quickly and was well packaged. I waited a few weeks until I had some time off to do the installation. I wanted to take more pics of the installation as it happened but unfortunately, my iPhone camera took a poop and I had to get it replaced.
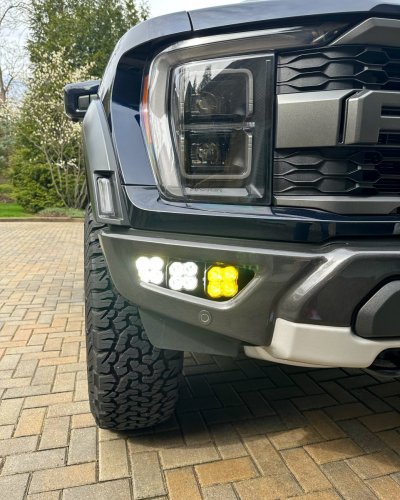
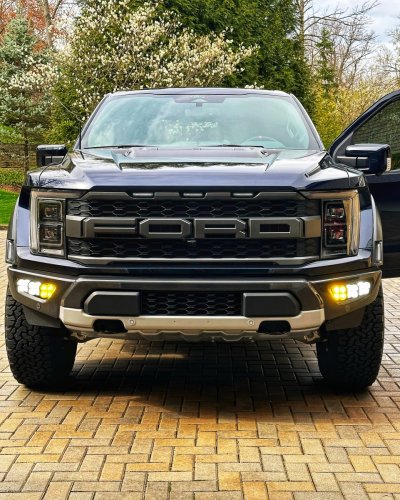
Here are a few pics after the install and some tips and tricks I think are helpful for those about to take this project on. I choose the Diode Dynamics lightest because I wanted the backlight look and the high output and thought that DD was a good compromise between price and performance.
Tools you will need:
8,10,13mm sockets
T30 and T40 torq bits (T40 for the rear and T30 for the front fogs)
Impact driver, socket wrench, 4mm Allen key (a short or cut off one will help when tightening the rear lights)
90 degree cordless driver would be really helpful for removing the front fogs and reinstalling the bracket. I couldn’t get my small impact driver to fit in some of the locations so I had to remove about half of the bolts using a socket wrench and it was tight and took forever.
Creeper to lay underneath the truck to run the harness from the rear lights to the engine bay and to work behind the bumper ($37 one from amazon worked perfect)
Coat hanger/fish rod and some tape to get wires up next to the battery.
Zip ties and cutters to trim them
Wire strippers and crimper and a heat gun to add the AUC wire extension kit.
Tips:
1. Mount all the lights to the brackets before you do anything. This can be done days in advance.
2. Remove the battery and tray to get to the Aux wires. So much easier. They are wrapped in RED tape. The Aux wire extension kit is super helpful and worth the purchase. It was the only time I needed to crimp or strip any wires. Heat gun to melt the shrink wrap.
3. Get lots of light under the bumper to help see where you are working.
4. Wear gloves and long sleeves because my hands and forearms were getting scratched up from hitting things as I worked.
5. Wear eye protection when you are laying under the truck to uninstall and reinstall the fog lights. My truck is pretty new and just washed but debris kept falling into my eyes/on my glasses.
6. John @Specialtyperformanceparts is awesome. He helped my over the phone a couple of times and sent me pics to help explains things. He is a huge resource to the raptor community.
Attachments
Last edited: