GEN 2 Pics from re-wire and lens change of Baja Designs Fog Pocket Kit

Disclaimer: Links on this page pointing to Amazon, eBay and other sites may include affiliate code. If you click them and make a purchase, we may earn a small commission.

Palmetto_Raptor

Full Access Member
Joined
Mar 17, 2019
Posts
60
Reaction score
66
Location
South Carolina
After seeing the Fog Pocket Kit on 4x4TruckLeds.com Raptor I decided to do something similar with my 2019 Raptor.

I had purchased a Baja Designs Unlimited kit about 6 months ago that comes with (2) S2 Pros in wide cornering , (2) Squadron Pro's in driving combo, and (2) Squadron Racer Editions in Spot. The kit comes with a wiring harness that has the S2 Pros on one switch and the Squadron Pro's and Squadron Racers on a 2nd switch.

I decided I wanted to change the lens on the (2) Squadron Pro's from white driving combo to Amber wide cornering and change the (2) Squadron Racer editions from Spot to driving combo.

In the process I also would change the 2 switch wiring harness that came with the original kit to over to the 3 switch wiring harness from 4x4truckLeds here http://www.4x4truckleds.com/crystal...rness-w-weather-pack-connectors-baja-designs/

I also ordered a couple Squadron Amber lens in wide cornering.

First part was removing the old harness, dropping the lights, changing the lens, the re-hanging the lights.
There's a good video on youtube of hanging these lights so I wont cover that. Here's the lights re-hung.
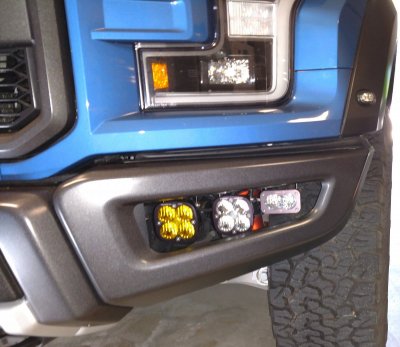
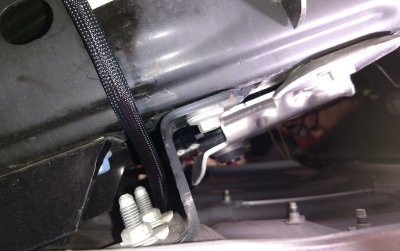
IMG01.jpg

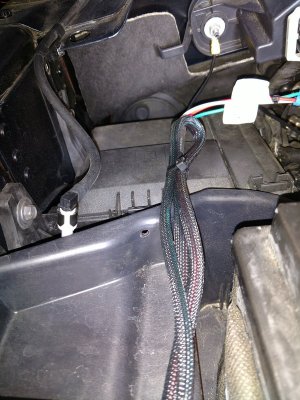
Driver's side. Wire tied wires to the support bar that is loosened during the install.
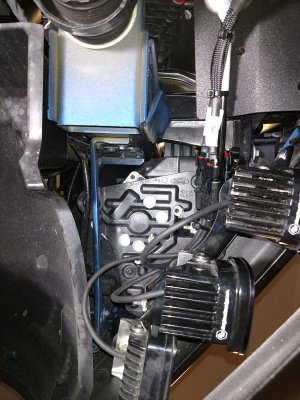
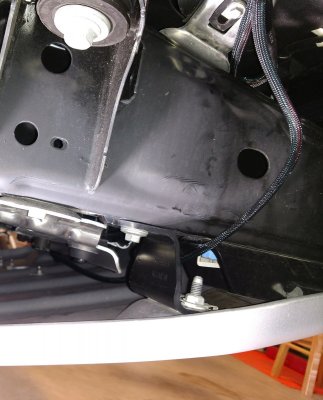
IMG02.jpg

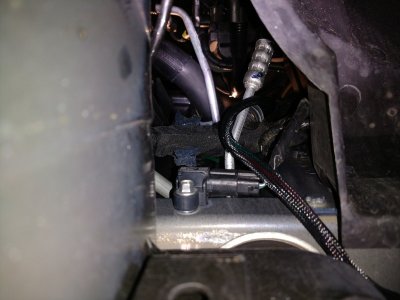
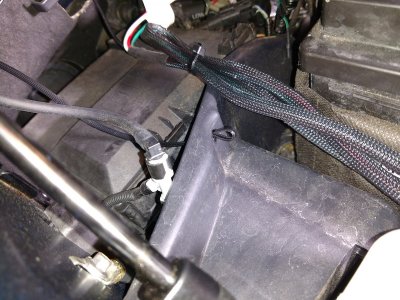
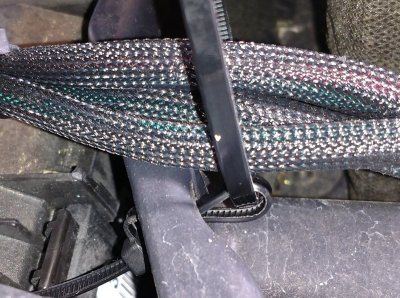
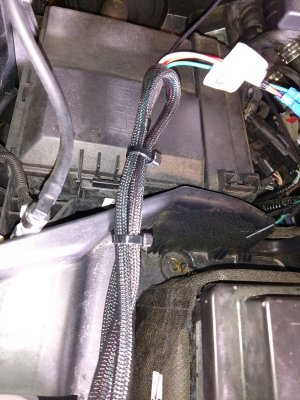
Next 3 pics show the drivers side wire being routed across the front of the skid plate.
This is where I had run the old harness with no issues.
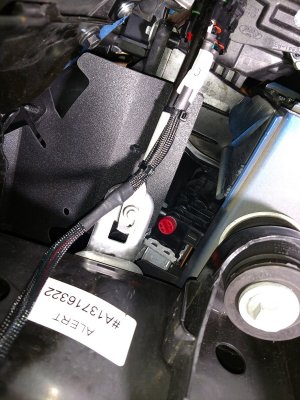
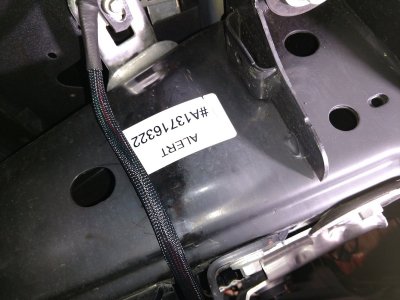
IMG03.jpg

IMG04.jpg

IMG05.jpg
 
Last edited:
OP
OP
Palmetto_Raptor

Palmetto_Raptor

Full Access Member
Joined
Mar 17, 2019
Posts
60
Reaction score
66
Location
South Carolina
This pic shows the wire coming out from the drivers side to the passenger side at the front of the skid plate. The new wiring harness was a lot less bulky than the harness that came with the kit and the new harness seemed to be cut to length for the Raptor. Used a 5' wooden dowel, taped the end of the wire to it, and pass it over the skid plate.

IMG06.jpg

Again, I tied the wires to the support bar that is loosened during the install.

IMG07.jpg

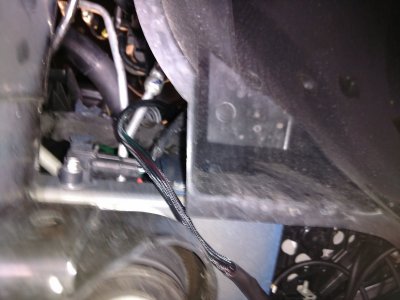
Next two pics show were I routed the wire up to the front of the battery. I used a 5' wooden dowel which can be passed down from near the front of the battery all the way down to right behind the lights. I taped the end of the wires to the dowel and then pulled then up.

IMG08.jpg

IMG09.jpg
 
Last edited:
OP
OP
Palmetto_Raptor

Palmetto_Raptor

Full Access Member
Joined
Mar 17, 2019
Posts
60
Reaction score
66
Location
South Carolina
more...

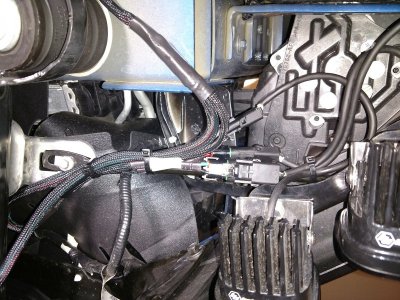
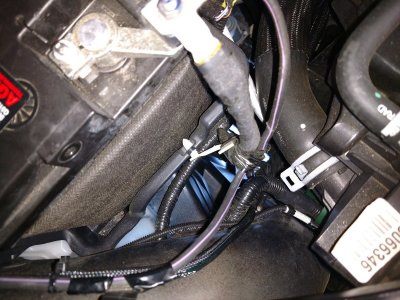
Here you can see the wire coming up next to the battery from under the truck

IMG11.jpg

I wire tied the cable to the factory harness

IMG12.jpg

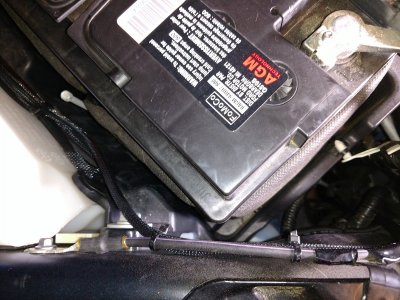
And then ran it along side the left of the battery. Here I doubled the cable a few times to take up the slack and wire tied the bundle. Just leaving the cable laying along the side of the battery unsecured concerned. Page down to see how I handled this.

IMG13.jpg
 
Last edited:
OP
OP
Palmetto_Raptor

Palmetto_Raptor

Full Access Member
Joined
Mar 17, 2019
Posts
60
Reaction score
66
Location
South Carolina
more...

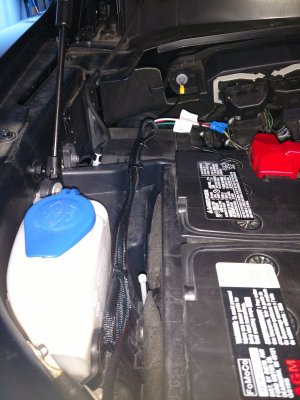
The next 4 pics show how I secured the end of the wire. I popped a small hole through the plastic battery tray and used to secure the end of the wire with a wire-tie. Probably wasn't really needed because the doubled up wire couldn't have moved much with one end bolted to the ground lug but...

Also guess I could have gone around the engine side of the battery and tied the cable to factory harness cables that run along that side of the battery but the left side of the battery seemed to be a little cleaner location.

IMG14.jpg

IMG15.jpg

IMG16.jpg

Looks pretty good I think.

IMG17.jpg
 
Last edited:
OP
OP
Palmetto_Raptor

Palmetto_Raptor

Full Access Member
Joined
Mar 17, 2019
Posts
60
Reaction score
66
Location
South Carolina
more...

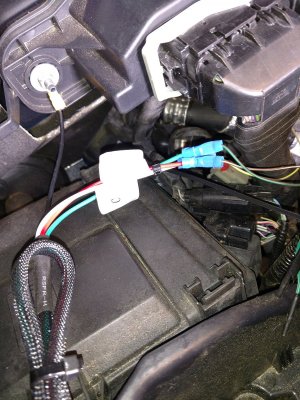
The 3-wires in the new harness are labeled A, B, and C all ends. Makes it really easy to keep the wires straight.

IMG18.jpg

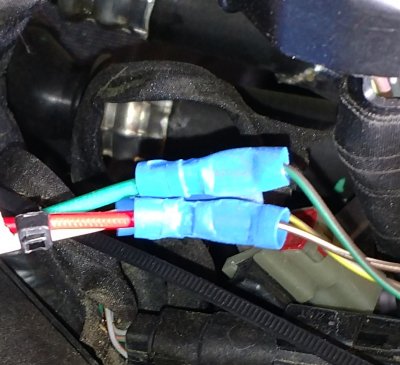
The one place I ran into a problem. For some reason Ford used extremely small wires about to tap for the lights. This makes it hard to squeeze them tight in the barrel connectors on the new harness because the barrel connectors on the harness were made for larger wire in the harness. My ratchet crimper would not crimp the barrel connector tight on the small wires even with the end of the wire doubled over. I finally got the barrel connectors on the small wires tight by using a 10" Knipex Plier Wrench. The have a cam in them that increases the squeeze force by about 3x and they did the trick.

What I would really like to be a plug-on connection but barring that I might come back and
put heat shrink over a barrel connectors.

Update: Decided to order some Weatherpack single pin connectors and a Weatherpack crimper tool and rework the connections to the upfitter wires when the stuff gets in.

IMG19.jpg

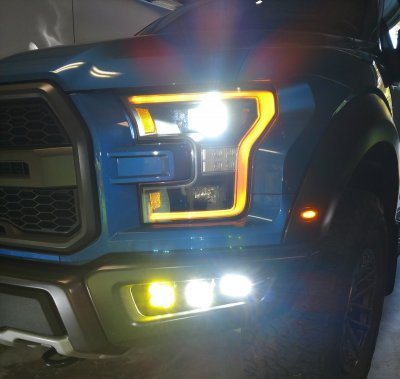
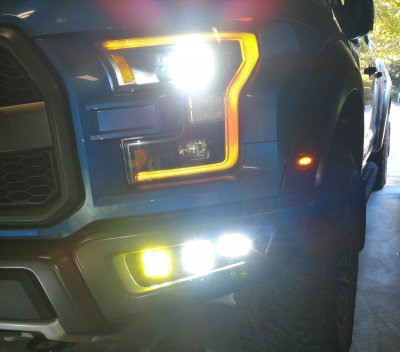
Are here the lights are lit up.

IMG20.jpg

IMG21.jpg

Update: I'm didn't get the spread I was hoping for putting the driving combo lens on the Squadron Racer's and I kinda missed the longer throw of the spots. I sent Baja Designs an email and asked them about running driving combo lens with the Racer's and they said it probably wasn't a good idea. They said the racer's have different LEDS and are made to project a more narrow focused beam, so I'll probably switch back to the spot lens on the Racers this coming weekend. The S2 Pro's cover plenty good up close and factory headlights cover OK at medium range, the Racer's with spots seemed to about double the brightness further out when combined with the factory high beams.

I'm really happy with the ambers with wide cornering lens. They throw a really well blended field of light up close and I think they will be great in fog, snow, and dust.
 
Last edited:

SD1290

Full Access Member
Joined
Oct 19, 2018
Posts
231
Reaction score
118
Location
Seattle
Nice work! Why the wide cornering on the inside and not the combo? Wouldn’t you lose more light there due to the bumper? I’m about to do something similar but was going to do combo on inside and wide cornering in the middle.
 

hj_s14

Full Access Member
Joined
Oct 8, 2019
Posts
219
Reaction score
121
Location
CA
Very nice write up. I wish you would have posted this earlier :D . 3 weeks ago, I did an installation of 3 KC foglights, bezel etc.. I could not find any detail of "how to" as well written or documented as yours. I ended up goin go the similar route like you of running the wire on the left side of the battery. I didn't run the wire in the skid plate as I was afraid it may caught something during offroad ( did some run here and there).

btw, get a cover for the back of those fog light. I went to a muddy run and mud, sands got stuck on the back of the light... looks pretty gross. The cover will help. Also it help cover up those loose wiring and connection
 

4x4TruckLEDs.com

Supporting Vendor
Supporting Vendor
Joined
Jul 18, 2017
Posts
2,853
Reaction score
1,321
Very nice write up. I wish you would have posted this earlier :D . 3 weeks ago, I did an installation of 3 KC foglights, bezel etc.. I could not find any detail of "how to" as well written or documented as yours. I ended up goin go the similar route like you of running the wire on the left side of the battery. I didn't run the wire in the skid plate as I was afraid it may caught something during offroad ( did some run here and there).

btw, get a cover for the back of those fog light. I went to a muddy run and mud, sands got stuck on the back of the light... looks pretty gross. The cover will help. Also it help cover up those loose wiring and connection

Nothing will keep mud out :) Mud will always find a way... ask me how I know :)

75424661_10215703487875628_5618063445053145088_o.jpg
 

hj_s14

Full Access Member
Joined
Oct 8, 2019
Posts
219
Reaction score
121
Location
CA
LOL, true.. I haven't done that hardcore of off road yet I guess. we did some run and mostly sandy area/ dry lake bed, and one part there were a bit of water / mud.. but nothing like your pic

Nothing will keep mud out :) Mud will always find a way... ask me how I know :)

75424661_10215703487875628_5618063445053145088_o.jpg
 
Top