Outlaw Offroad
Full Access Member
- Joined
- Apr 7, 2011
- Posts
- 624
- Reaction score
- 311
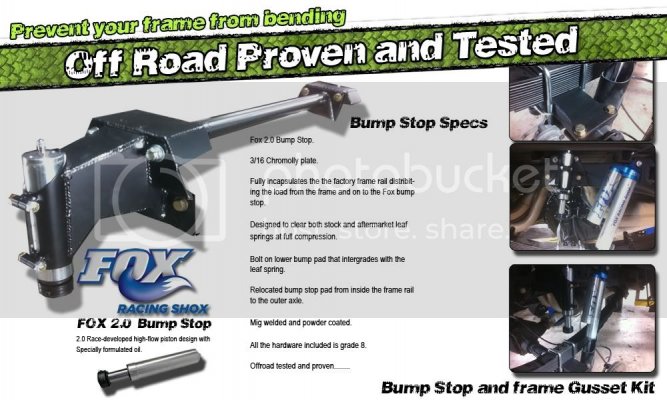
Here is a write-up for installing one of our Bump Stop kits. This kit is a simple install with basic hand tools and you don't need a lift, or remove the bed! :smile up:
And away we go:
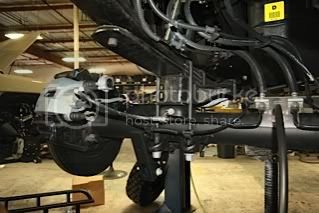
Your first going to want to pull your Raptor onto a level ground and secure the parking brake. Then using the OE spare tire tool, lower the spare tire and set aside. Block the front tires and raise the rear of the vehicle. Support the frame with jack stands forward of the rear springs and Remove the rear wheels.
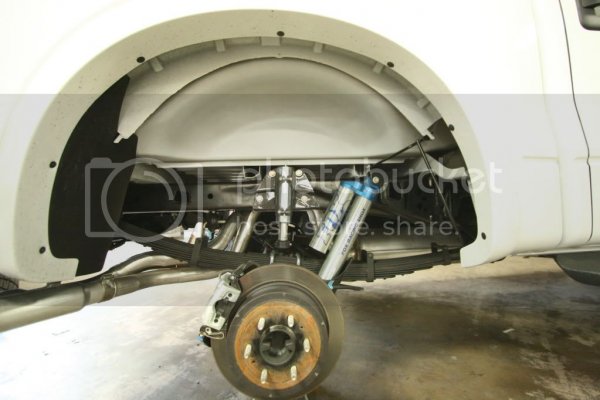
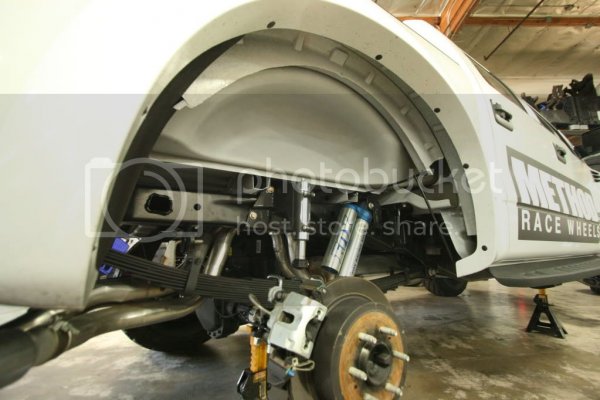
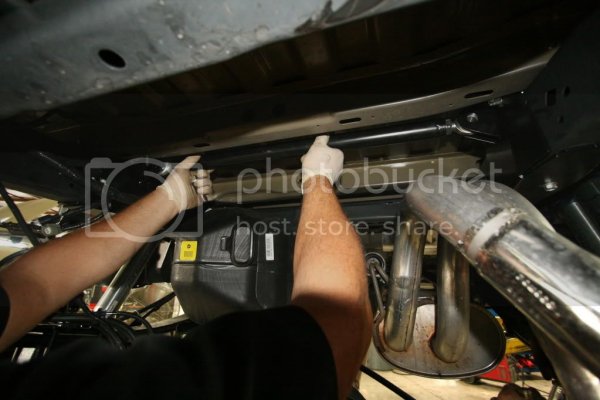
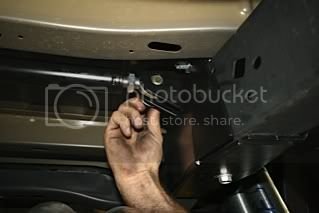
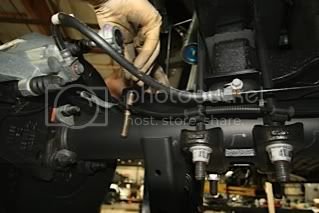
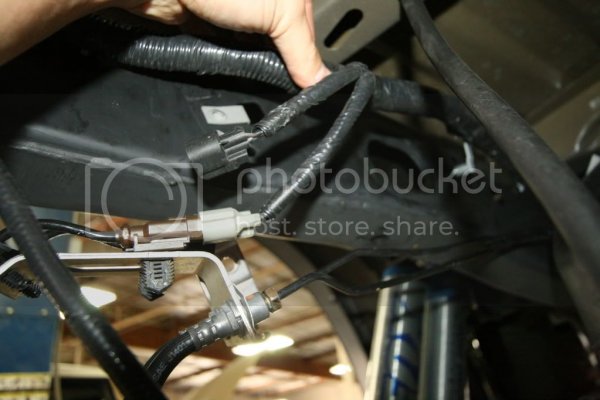
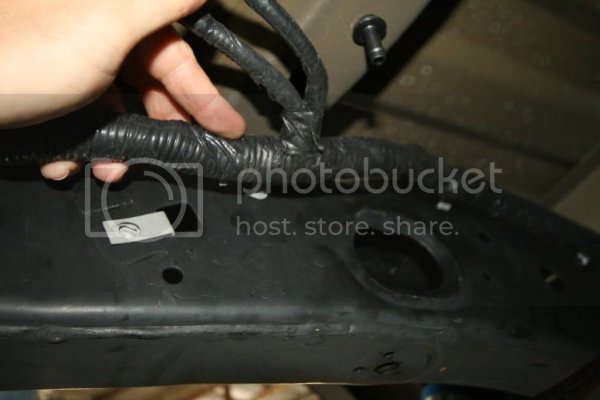
Now from underneath the truck, unplug (2) plastic push pin plugs holding the wiring harness and unbolt the brake line bracket located closest to the OE bump stops on the drivers frame. Let the wiring harness and brake lines hang.
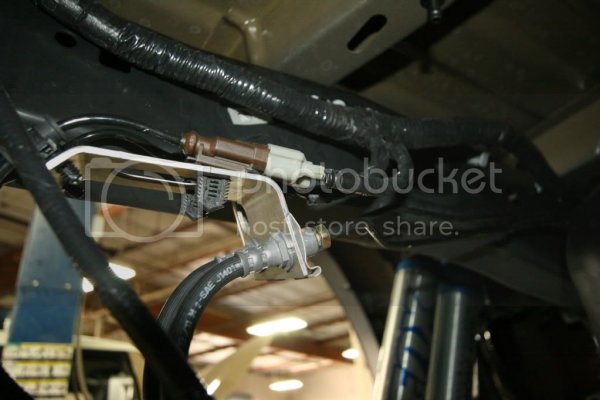
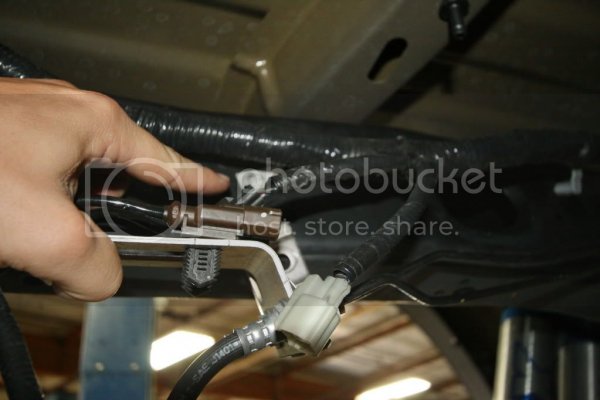
Next, unbolt the exhaust from the OE hangers (total of 3 locations)from the tail pipe to the collector and let the exhaust hang.
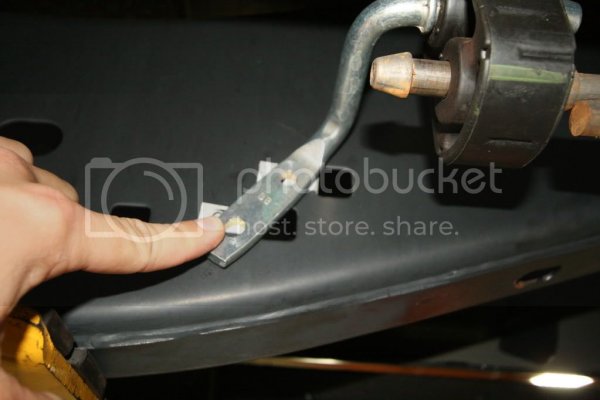
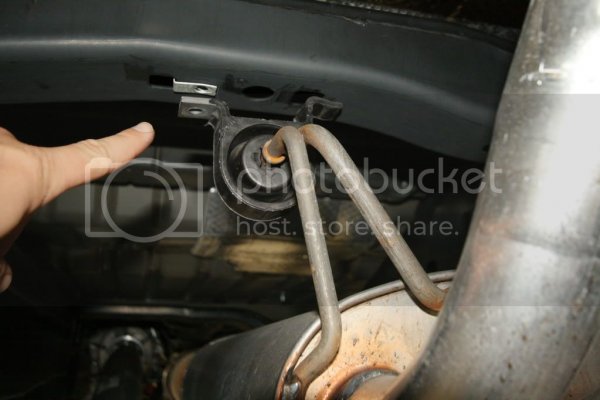
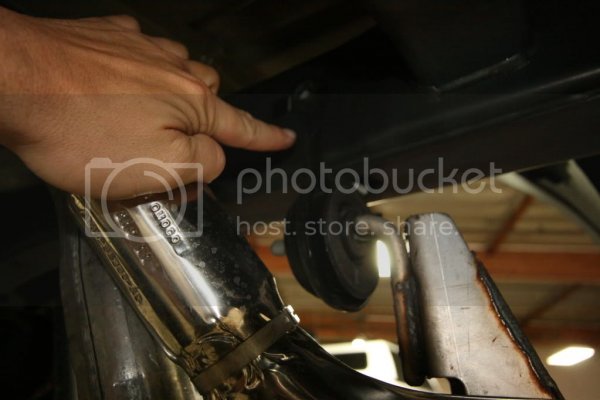
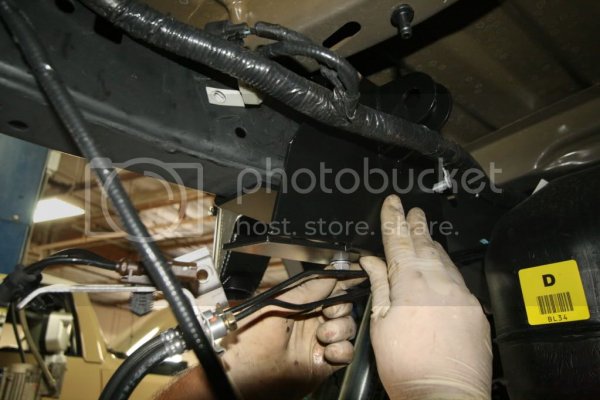
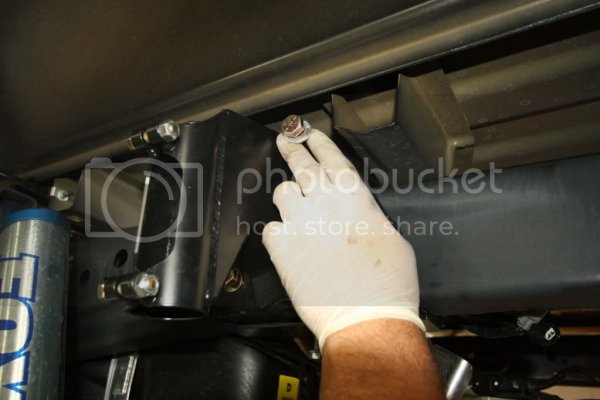
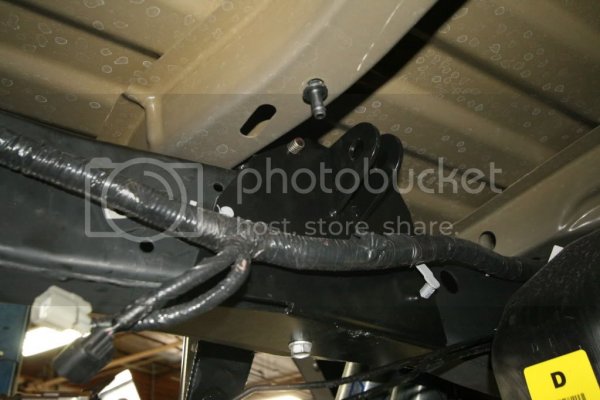
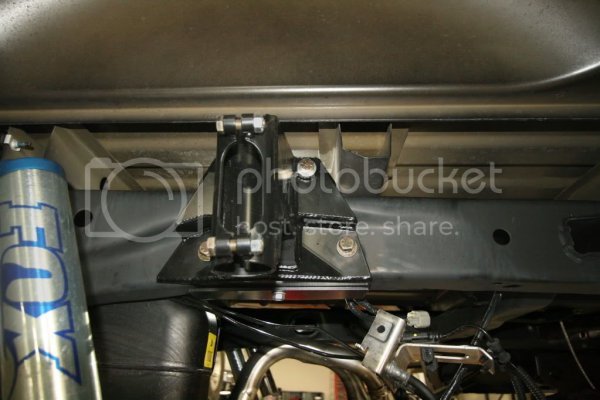
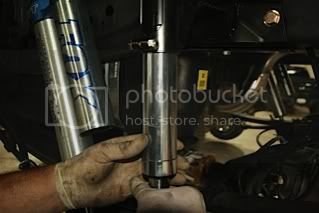
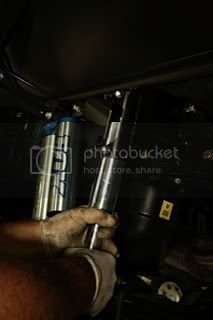
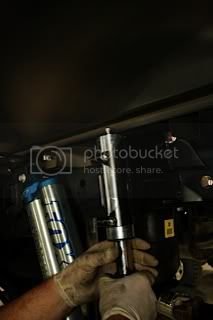
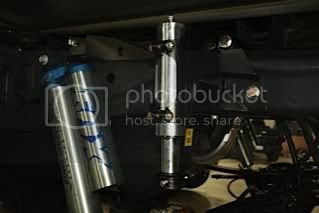
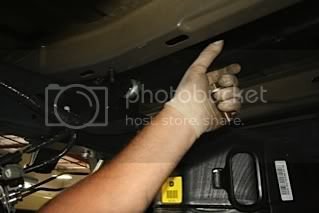
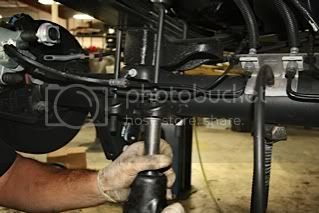
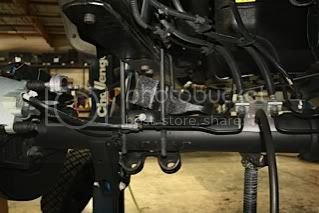
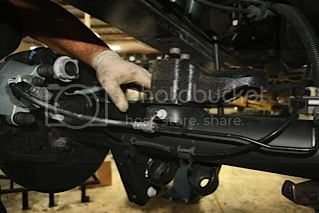
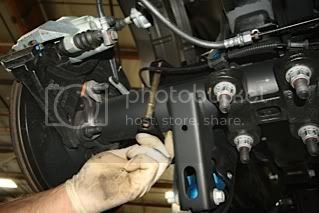
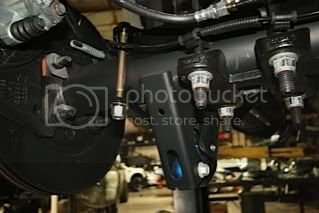
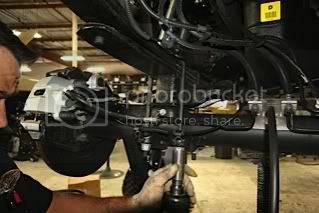
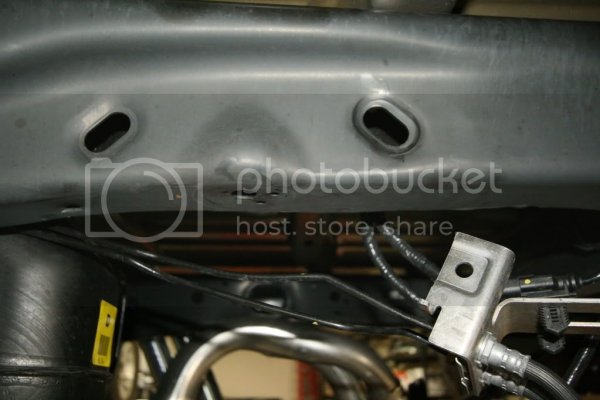
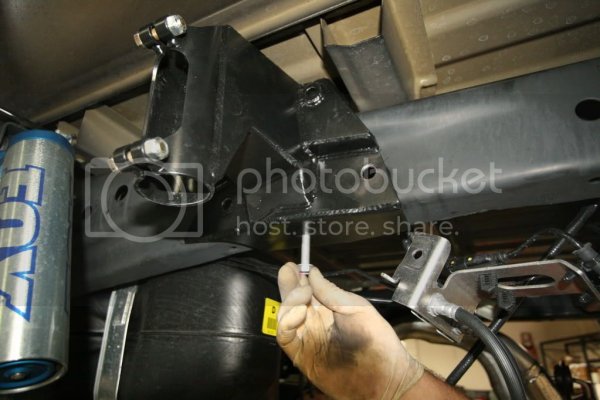
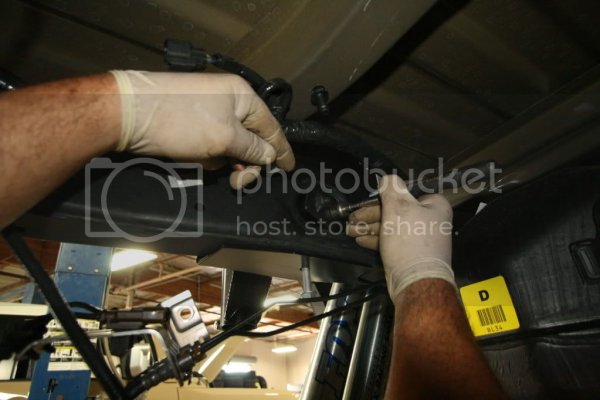
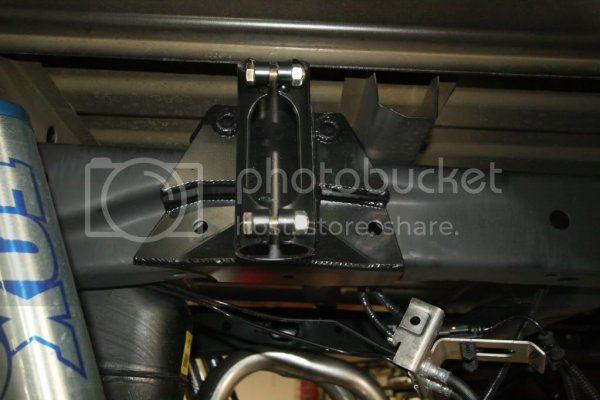
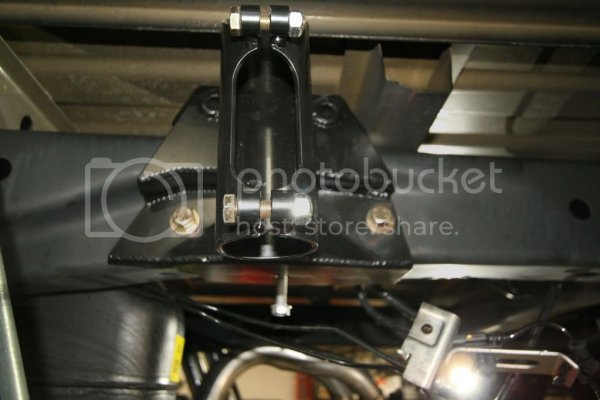
TO install the Bump mount brackets you first need to remove the OE rubber bump stops and the mount from the frame rail (oe bump pulls off and one bolt holds the mount). Then slip the Bump Mount Bracket onto the frame. Use the supplied hardware to line up the bottom of bracket to the OE bump stop hole, but do not tighten just yet. Install the Nut Retainer Plate inside frame rail by lining it up with the bottom holes of the Bump Stop Bracket. Install supplied hardware but again, do not tighten. Now remove the bottom bolt out of the Bump Mount Bracket that attaches to the OE bump mount so you can install the backing plate.

And away we go:
Your first going to want to pull your Raptor onto a level ground and secure the parking brake. Then using the OE spare tire tool, lower the spare tire and set aside. Block the front tires and raise the rear of the vehicle. Support the frame with jack stands forward of the rear springs and Remove the rear wheels.


Now from underneath the truck, unplug (2) plastic push pin plugs holding the wiring harness and unbolt the brake line bracket located closest to the OE bump stops on the drivers frame. Let the wiring harness and brake lines hang.


Next, unbolt the exhaust from the OE hangers (total of 3 locations)from the tail pipe to the collector and let the exhaust hang.


TO install the Bump mount brackets you first need to remove the OE rubber bump stops and the mount from the frame rail (oe bump pulls off and one bolt holds the mount). Then slip the Bump Mount Bracket onto the frame. Use the supplied hardware to line up the bottom of bracket to the OE bump stop hole, but do not tighten just yet. Install the Nut Retainer Plate inside frame rail by lining it up with the bottom holes of the Bump Stop Bracket. Install supplied hardware but again, do not tighten. Now remove the bottom bolt out of the Bump Mount Bracket that attaches to the OE bump mount so you can install the backing plate.


