Speeddeacon
Full Access Member
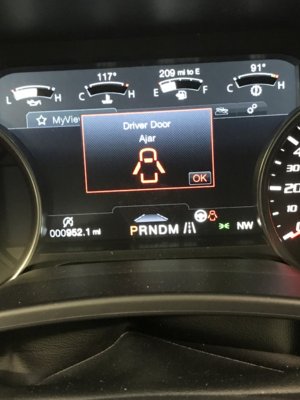
With the 1000 mi break in essentially complete and with some time on my hands on a Saturday morning, I did my post break in oil change. I know there are many who do this and just as many who think it's a waste of time and money with "they run them in in at the factory, modern manufacturing techniques, quality of today's lubricants" arguments. It may be totally unnecessary and wasteful, but for me it's a habit, not terribly expensive and provides an opportunity for me to learn the ins and outs of my new vehicle, which is a bit different on this one compared to many. And, not to knock my neighbors in the north, but it is a Ford and built in Detroit. Given the number of rubber bands hanging off hoses and wires and pieces of plastic wrapping I've already removed in and around the inner workings of the truck, I just feel better getting the break in oil out.
So I read some of the posts and watched some YouTube videos on our truck and quickly learned that there are some variances among them. My truck was manufactured in late August of 2018 for reference.
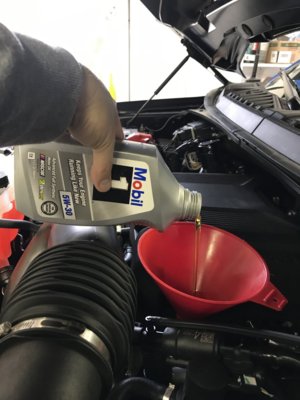
I picked up 6 quarts of Mobile 1 5W-30 and a K&N filter at the local Advance Auto because it was on sale. This will only be in the truck for 4000 miles and at that point I'll switch to Shell Rotella or Amsoil for the remaining oil changes. I may explore the Ford Performance filters or just stick with Amsoil. The oil and filter set me back just over $40 with tax with a recent sale.
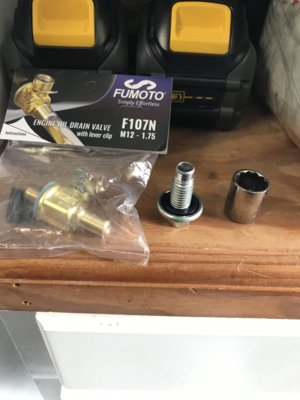
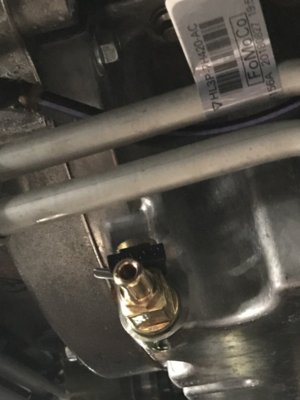
Before I fully realized that I might have a polymer oil pan, I ordered a Fumoto F107N drain plug due to the tales of gushing oil messes amongst our community. I figured I'd bathe in oil once, then have a nice controlled drain from that point on. It seems many of the oil evacuators don't have tubing long enough to reach the oil pan out of the box so I haven't purchased one yet. I won't need it for this truck now, but could use it on my wife's car. Extra tubing and a Shark Bite coupling should provide plenty of length. But for the first oil change I want to get everything out of the oil pan if possible anyway. I did not buy an extra quart for the flush, however, but in retrospect that would have been a good idea.
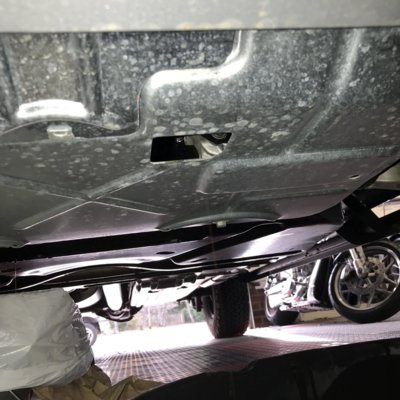
I started off by crawling under the truck to find the two plates that need to be removed, the one covering the drain plug and the one covering the access to the oil filter. The oil drain is on the passenger side, well behind the front tires and the oil filter is on the driver's side, just in front of the wheel line.
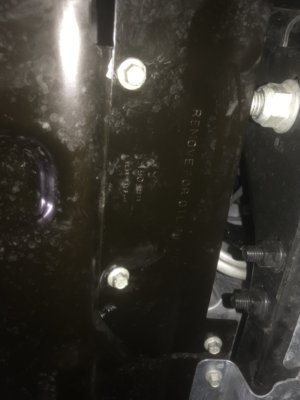
Oil drain cover.
Oil Filter cover
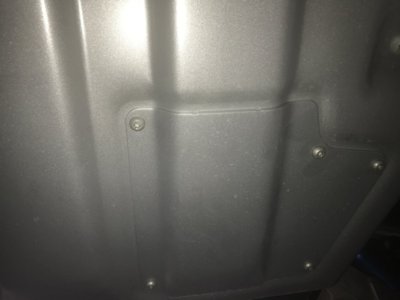
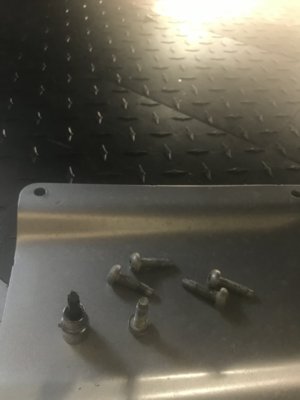
I pulled off the oil drain plug cover first, using a 10mm socket and ratchet to loosen then finishing with the socket mounted to the drill. The bolts are pretty long and have a bit of resistance so this definitely saves some time. Same for the T40 ones on the oil filter plate. I was relieved to peer up through the hole and see a nice metal drain plug and oil pan, not the infamous yellow plastic one that everyone hates.
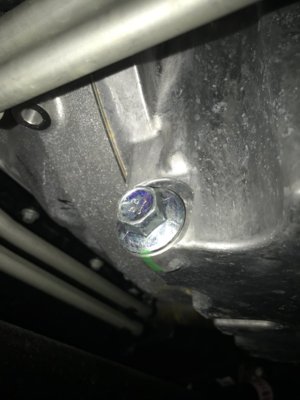
That was the first variable that was now defined. I had decided that if it was plastic, I was going to wait until I could get a spare before i did the service just in case I broke it. The metal drain plug is 15mm it turns out, so I broke it loose and tightened it back up by hand so I could get it off after letting the oil warm up.
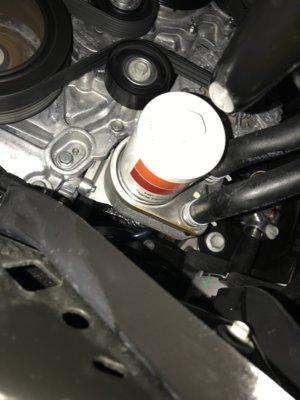
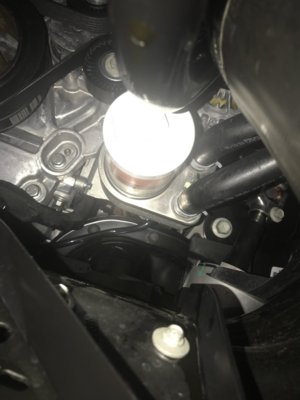
Moving on to the oil filter, I repeated the process of removing the skid plate with the T40 socket. The filter was easy to see, but is quite a way up there and when you stick your arm up through the hole it blocks your vision so everything is done by feel.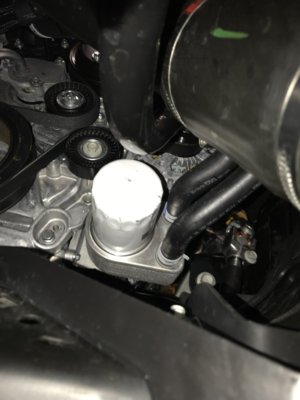
Ford supposedly is putting the filters on only hand tight, and that may very well be the case, but I couldn't get it loosened by hand. The second variable was now accounted. With expansion and heat/cool cycles, it's possible it was hand tight initially but much tighter than that now. I didn't have the right size or shape cap filter wrench, so I had to use my band wrench. It took a few tried for me to get it positioned where I could tighten the band and get leverage to loosen it, but I did eventually. Again, I tightened it to just barely hand tight so I could get it off later. I located the drain channel designed to route oil spillage from the draining process out the opening.
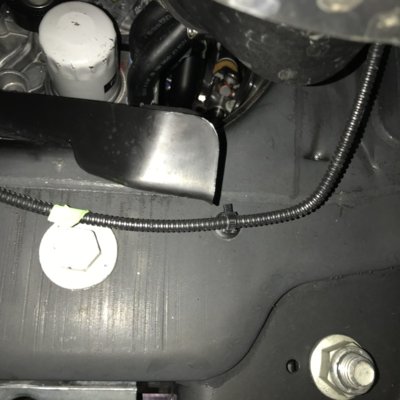
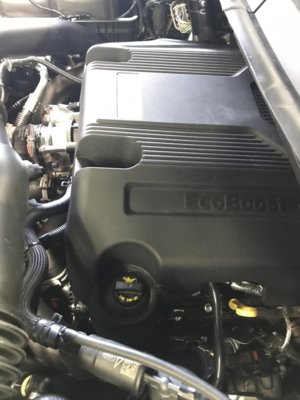
With everything accessed and loosened and my supplies at hand, I started the engine to let the oil warm up. I laid a big cardboard box, cut out flat under both drain areas to protect my floor. Since the oil reportedly gushes out and falls from pretty high up, I wanted to keep splashing to a minimum. I used a bucket instead of my normal oil catch pan for the main drain and used that pan to catch the oil filter drippings. I let the truck idle for 10 minutes, which only got the engine temp up to 140 degrees, but I figured that should be adequate and avoid scalding me with any splashes. After turning off the engine, I removed the oil fill cap and set it aside. Crawling back under the truck, I removed the drain plug, keeping my hand sort of up above and off to the side as much as possible, and out of the direction of the oil flow. The oil did come out fairly quickly, but not really that bad and I kept my hand clean and the drain plug only had a small bit of oil on it. The flow of the oil barely cleared the edge of the opening, but somehow I managed to hit the bucked and everything was perfectly dry. Once the flow slowed, it did drip onto the cover a bit, but that was easily wiped with a rag.
So I read some of the posts and watched some YouTube videos on our truck and quickly learned that there are some variances among them. My truck was manufactured in late August of 2018 for reference.
I picked up 6 quarts of Mobile 1 5W-30 and a K&N filter at the local Advance Auto because it was on sale. This will only be in the truck for 4000 miles and at that point I'll switch to Shell Rotella or Amsoil for the remaining oil changes. I may explore the Ford Performance filters or just stick with Amsoil. The oil and filter set me back just over $40 with tax with a recent sale.
Before I fully realized that I might have a polymer oil pan, I ordered a Fumoto F107N drain plug due to the tales of gushing oil messes amongst our community. I figured I'd bathe in oil once, then have a nice controlled drain from that point on. It seems many of the oil evacuators don't have tubing long enough to reach the oil pan out of the box so I haven't purchased one yet. I won't need it for this truck now, but could use it on my wife's car. Extra tubing and a Shark Bite coupling should provide plenty of length. But for the first oil change I want to get everything out of the oil pan if possible anyway. I did not buy an extra quart for the flush, however, but in retrospect that would have been a good idea.
I started off by crawling under the truck to find the two plates that need to be removed, the one covering the drain plug and the one covering the access to the oil filter. The oil drain is on the passenger side, well behind the front tires and the oil filter is on the driver's side, just in front of the wheel line.
Oil drain cover.

Oil Filter cover

I pulled off the oil drain plug cover first, using a 10mm socket and ratchet to loosen then finishing with the socket mounted to the drill. The bolts are pretty long and have a bit of resistance so this definitely saves some time. Same for the T40 ones on the oil filter plate. I was relieved to peer up through the hole and see a nice metal drain plug and oil pan, not the infamous yellow plastic one that everyone hates.

That was the first variable that was now defined. I had decided that if it was plastic, I was going to wait until I could get a spare before i did the service just in case I broke it. The metal drain plug is 15mm it turns out, so I broke it loose and tightened it back up by hand so I could get it off after letting the oil warm up.
Moving on to the oil filter, I repeated the process of removing the skid plate with the T40 socket. The filter was easy to see, but is quite a way up there and when you stick your arm up through the hole it blocks your vision so everything is done by feel.

Ford supposedly is putting the filters on only hand tight, and that may very well be the case, but I couldn't get it loosened by hand. The second variable was now accounted. With expansion and heat/cool cycles, it's possible it was hand tight initially but much tighter than that now. I didn't have the right size or shape cap filter wrench, so I had to use my band wrench. It took a few tried for me to get it positioned where I could tighten the band and get leverage to loosen it, but I did eventually. Again, I tightened it to just barely hand tight so I could get it off later. I located the drain channel designed to route oil spillage from the draining process out the opening.

With everything accessed and loosened and my supplies at hand, I started the engine to let the oil warm up. I laid a big cardboard box, cut out flat under both drain areas to protect my floor. Since the oil reportedly gushes out and falls from pretty high up, I wanted to keep splashing to a minimum. I used a bucket instead of my normal oil catch pan for the main drain and used that pan to catch the oil filter drippings. I let the truck idle for 10 minutes, which only got the engine temp up to 140 degrees, but I figured that should be adequate and avoid scalding me with any splashes. After turning off the engine, I removed the oil fill cap and set it aside. Crawling back under the truck, I removed the drain plug, keeping my hand sort of up above and off to the side as much as possible, and out of the direction of the oil flow. The oil did come out fairly quickly, but not really that bad and I kept my hand clean and the drain plug only had a small bit of oil on it. The flow of the oil barely cleared the edge of the opening, but somehow I managed to hit the bucked and everything was perfectly dry. Once the flow slowed, it did drip onto the cover a bit, but that was easily wiped with a rag.
Last edited:


