New Guy: From Gen 1 to Gen 2

Disclaimer: Links on this page pointing to Amazon, eBay and other sites may include affiliate code. If you click them and make a purchase, we may earn a small commission.
OP
OP
ayoustin

ayoustin

Full Access Member
Joined
Jul 31, 2018
Posts
162
Reaction score
252
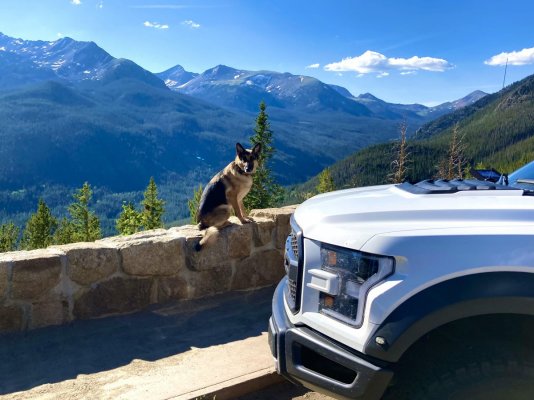
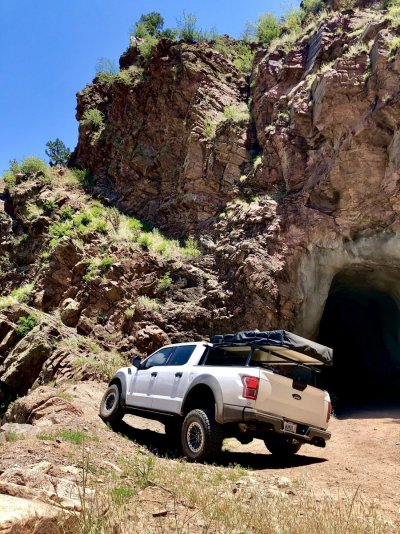
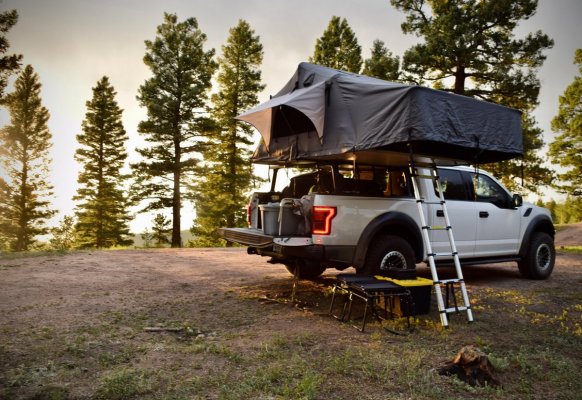
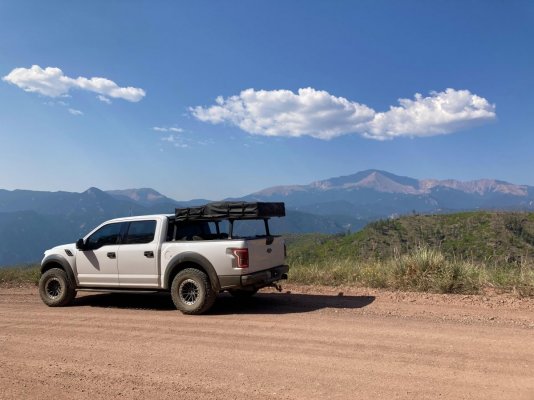
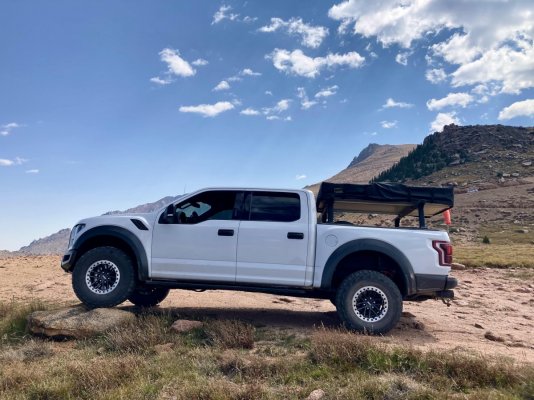
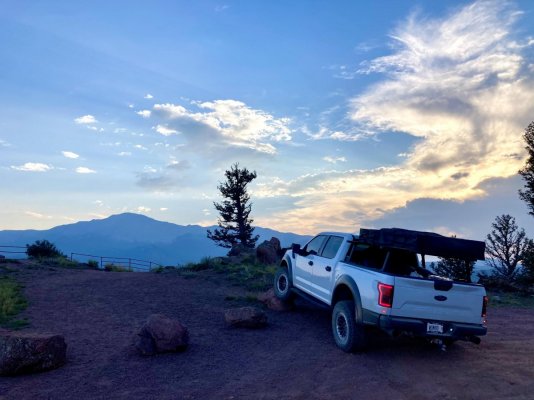
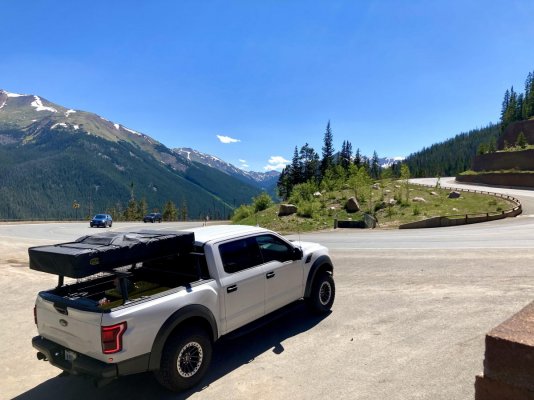
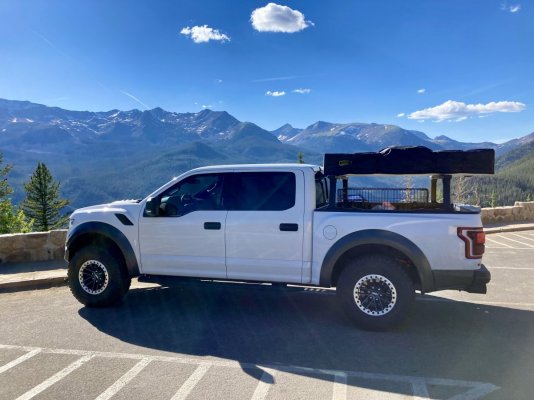
Just got back from the trip last night. Here's a couple phone photos and the last one is off my Nikon, still have more to go through on that.

Last week was awesome, got into CO and hung around Rocky Mountain national park for a couple days and then spent the rest of the time exploring around the Springs area and Canon City. Caught PPIHC which was pretty cold by the finish line but we were super happy to see the race and there not be any serious accidents this year.

We stayed at a couple campgrounds and spent about half the time doing some dispersed camping. Overall it was a great trip, weather was pretty good the whole time and we got just about everything done that we wanted to.

CO 5.jpg

CO 2.jpg

CO 1.jpg

CO 3.jpg

CO.jpg
 
OP
OP
ayoustin

ayoustin

Full Access Member
Joined
Jul 31, 2018
Posts
162
Reaction score
252
Long time no update. Not much has changed. Truck passed 32k the other week, no issues other than a small coolant leak on the passenger side turbo last winter which was fixed under warranty. Have been focusing on saving for a house so trying not to spend money that I don't have to.

Did get a Spicer rear diff cover as a Christmas gift and will likely install it around 40k when I change both diff and the transfer case fluids. Also installed a Builtright rear seat release a while ago to make it easier to get to my straps and snow brush which I keep behind the rear seat :)

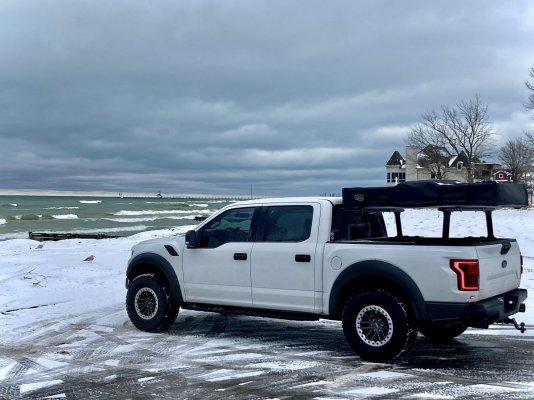
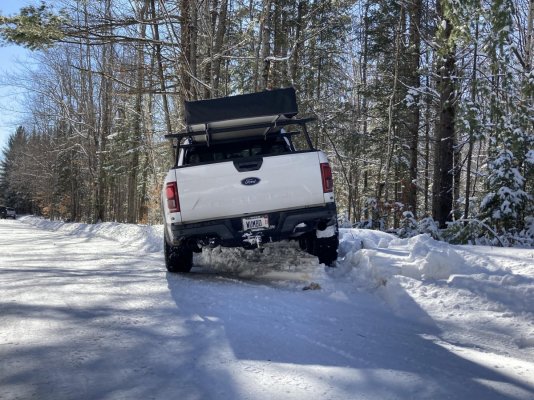
Other than that, I've just been enjoying the truck. Did a bunch more camping with it over the past year, went out to Colorado again too. Towed cars to racetracks 5 times with no issues. Last weekend I took it up to northern MI for Sno Drift which was a blast as always!


t1.jpgt2.jpgt3.jpgt4.jpgt5.jpg
 
OP
OP
ayoustin

ayoustin

Full Access Member
Joined
Jul 31, 2018
Posts
162
Reaction score
252
Just flipped 40k earlier this week. Finished up installing my Spicer diff covers last night and changing the diff fluids. Not sure if I want to wait to change the transfer case fluid when I do my first trans flush or now with the diffs. The factory fill diff oils looked pretty good actually, definitely not burned and not any concernable amount of contamination so very happy to see that.

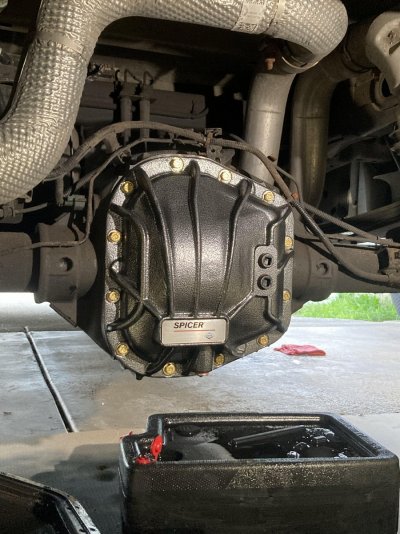
Rear cover was as straight forward as could be. Drop the spare and change it out, nothing noteworthy. I did read some guys were breaking off bolts when torquing them. I grabbed some nice zinc plated grade 9 bolts to replace the black oxide grade 8 bolts that came with the cover to give myself a bit extra peace of mind none of them would break. Used a Lube Locker gasket and noticed that I had to make a few passes to get all the bolts to 20-22ft/lbs, likely from the gasket compressing. Going higher than that felt a bit much for a 5/16" bolt so left it there. If any leaks develop I'll bump it to 25ft/lbs.

Rear Diff Cover.jpg

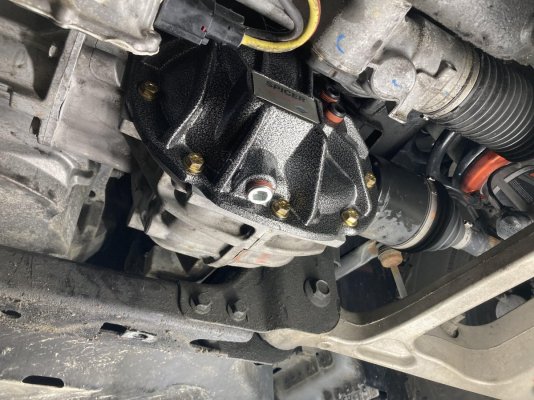
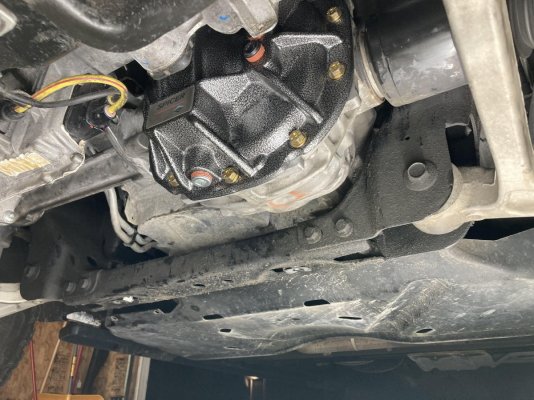
The front cover was a bit more involved and wasn't the most fun but certainly doable with a bit of dexterity. Removed the middle skid plate (the one under the front diff) and access panel on the front skid plate. Removed the oil drain gutter (2 8mm bolts). After that I could remove the factory cover, getting to the top 3 bolts requires some creative tool combos and patience but the other 7 are super easy to get to. Cover requires some angling and then it drops out, clean the RTV off the gasket surface.

Unfortunately the Spicer cover is about 1/4" taller on the outside than the stock cover so it can't slip up onto the diff. I found dropping the diff allows for enough room to get the cover on. Dropping the diff only requires removing two 18mm bolts, one on the passenger side and one on the driver side. Get a jack under the diff first to support it. The passenger side bolt is easy to get to, plenty of space for a larger ratchet. The driver side requires a bit of creativity. I used a socket on a a serpentine belt tensioner tool (basically just a long flat bar with a 3/8" drive on the end) to get the bolt loose. The bolt can be removed and reinstalled by putting your arm up through the access panel hole in the front skid plate and reaching over the frame. Once both bolts are out the jack can be removed, the diff doesn't lower much before it rests on the frame underneath it. This gives enough space to slip the Spicer cover on, get all the bolts in and torque them. From there it's all the reverse to get it all reinstalled except for the driver side diff bolt, with the cover on the only way to get a tool on it was ~12" of extensions with either a wobble extension or u joint before the socket using the same route to remove the bolt (through the access panel hole and over the frame). The nut it threads into is a 2 sided channel nut that I held in place with a magnet while I threaded the bolt into it (it'll make more sense when you look at it). The extensions will eat a lot of torque so you really need to put some muscle on the ratchet to make sure the bolt gets sufficiently tight. Oh and make sure you torque both fill plugs before installing the cover, neither are really accessible with it installed so you'll still use the factory fill port on the side of the diff.

Front Diff Cover 1.jpgFront Diff Cover 2.jpg
 
Last edited:
OP
OP
ayoustin

ayoustin

Full Access Member
Joined
Jul 31, 2018
Posts
162
Reaction score
252
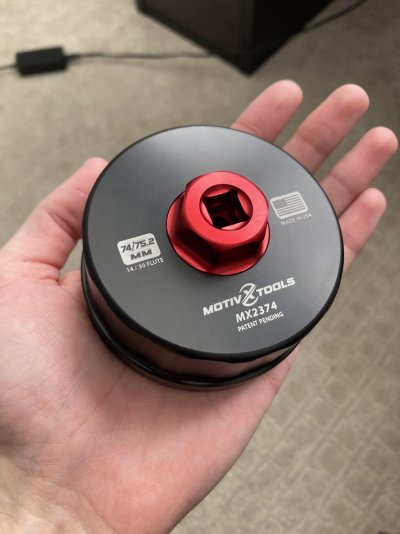
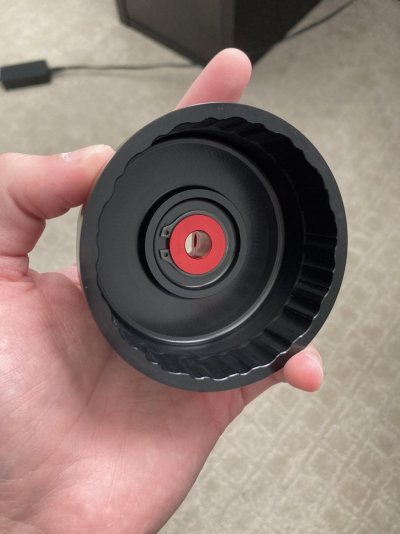
This is boring but I felt worth sharing. I saw recently the FL500S oil filter has been revised and now has 14 flutes on the end instead of the old version's 30. I've been meaning to get an oil filter wrench for a while now since it's the easiest way to get the filter loosened (have tried strap wrenches and filter pliers but both are a pain because of space) but didn't want to have to buy 2 filter wrenches. Stumbled across this Motivx filter wrench on Bezosland that fits both 14 and 30 flute filters. Construction is very high quality, has a snug fit on the filter, and I appreciate the fact it's made in USA. It's also a really nice billet aluminum construction :)


Filter 1.jpgFilter 2.jpg
 
OP
OP
ayoustin

ayoustin

Full Access Member
Joined
Jul 31, 2018
Posts
162
Reaction score
252
Another small update, picked up a Ford Performance catch can. Super quick and easy install, literally spent more time trimming the foam engine cover than installing the catch can. Didn't grab any pics, but there isn't much to see.

Changed my oil again today and got to use the MotivX filter wrench. It made removing the filter a total breeze, no more trying to awkwardly get up there with filter pliers! Between that and the Fumoto drain valve oil changes are a total breeze on this truck :)

Engine bay is definitely dirty and I'm going to try and give it a good wash before winter hits. Also need to do my annual touch up of Woolwax in the high spray areas before the cold weather really sets in.
 

Sunchild714

Full Access Member
Joined
Apr 14, 2019
Posts
272
Reaction score
269
Location
Las Vegas
The front cover was a bit more involved and wasn't the most fun but certainly doable with a bit of dexterity. Removed the middle skid plate (the one under the front diff) and access panel on the front skid plate. Removed the oil drain gutter (2 8mm bolts). After that I could remove the factory cover, getting to the top 3 bolts requires some creative tool combos and patience but the other 7 are super easy to get to. Cover requires some angling and then it drops out, clean the RTV off the gasket surface.

Unfortunately the Spicer cover is about 1/4" taller on the outside than the stock cover so it can't slip up onto the diff. I found dropping the diff allows for enough room to get the cover on. Dropping the diff only requires removing two 18mm bolts, one on the passenger side and one on the driver side. Get a jack under the diff first to support it. The passenger side bolt is easy to get to, plenty of space for a larger ratchet. The driver side requires a bit of creativity. I used a socket on a a serpentine belt tensioner tool (basically just a long flat bar with a 3/8" drive on the end) to get the bolt loose. The bolt can be removed and reinstalled by putting your arm up through the access panel hole in the front skid plate and reaching over the frame. Once both bolts are out the jack can be removed, the diff doesn't lower much before it rests on the frame underneath it. This gives enough space to slip the Spicer cover on, get all the bolts in and torque them. From there it's all the reverse to get it all reinstalled except for the driver side diff bolt, with the cover on the only way to get a tool on it was ~12" of extensions with either a wobble extension or u joint before the socket using the same route to remove the bolt (through the access panel hole and over the frame). The nut it threads into is a 2 sided channel nut that I held in place with a magnet while I threaded the bolt into it (it'll make more sense when you look at it). The extensions will eat a lot of torque so you really need to put some muscle on the ratchet to make sure the bolt gets sufficiently tight. Oh and make sure you torque both fill plugs before installing the cover, neither are really accessible with it installed so you'll still use the factory fill port on the side of the diff.

View attachment 418656View attachment 418657

Hey @ayoustin - I need to replace my front differential cover and want to put the Spicer on my 2018 Gen 2. Where did you purchase and do you have a part #? Thanks man! Your posts are really helpful.
 
Last edited:
Top