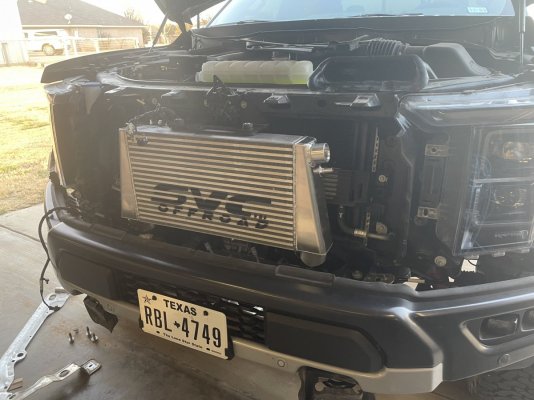
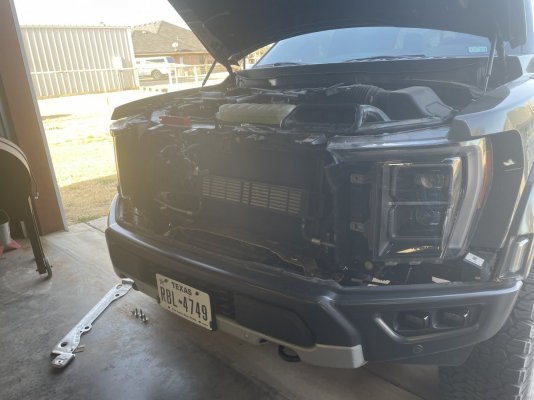
How was it pulling the front end apart? Have the intercooler sitting in my garage, but have been putting it off since seems like a pain taken the front end apart.I can confirm that the Cobb Gen 2 intercooler fits on the Gen 3 without any modifications, I just installed mine tonight! I will however clarify that it appears that Cobb just recently started including the coupler needed to make it fit on a Gen 3! Mine came with an extra coupler, which at first I thought was weird, but after watching their install video I realized that it the extra coupler was to replace the one used for the Gen 2 and made it work with the Gen 3!


Intercooler install tips
- Thread starter WTX
- Start date
Disclaimer: Links on this page pointing to Amazon, eBay and other sites may include affiliate code. If you click them and make a purchase, we may earn a small commission.
Similar threads
Members online
- ToadSmasher2K1
- DRC3
- steelmaniac
- TiFJ
- fordfreek
- GreenGoblin
- awd5906
- nikhsub1
- Raptorino
- Dxtch
- Neddy
- Raptorbert
- tjs_22807
- k3k0a808
- Tango2
- jamisonm33
- cammac50
- grleon65
- Frofan
- HORN HIGH ACES
- Keamg5
- Swifty
- kandewinn
- RaptorRobby
- peeweeman250
- XtraSpclCrspy
- Decoyman
- MajorAR
- Arizona Free
- Hambone
- Arctic
- dvm
- dsg2003mach1
- kyle117
- nelsonr103
- RJackson
- BigBlackRaptor24
- GAMike
- IDI-Charlie
- championeaster
- Gdog
- Rekkr
- MurderedOutSVT
- Bandit Raptor
- kocher93
- 24RAPTOR37
- RaptorMach3p5
- cfmistry
- Specialtyperformanceparts
- Helopilot