Flush mount BD S2 Sport Backup Lights

Disclaimer: Links on this page pointing to Amazon, eBay and other sites may include affiliate code. If you click them and make a purchase, we may earn a small commission.

duke92

Member
Joined
Feb 5, 2017
Posts
36
Reaction score
27
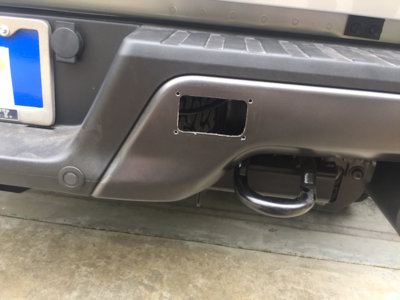
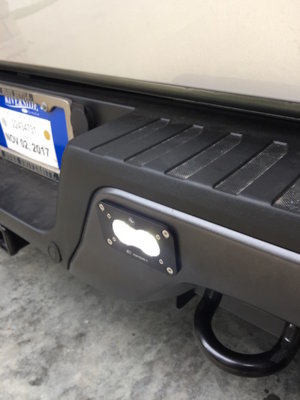
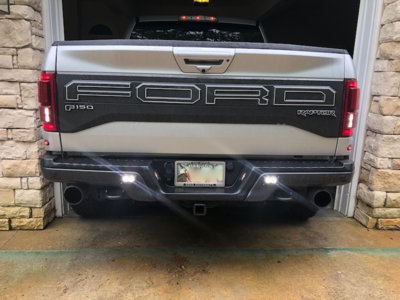
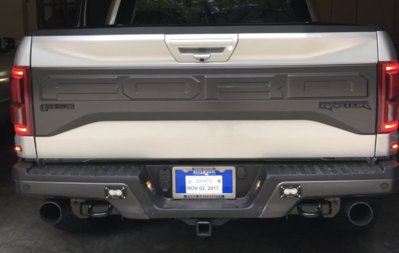
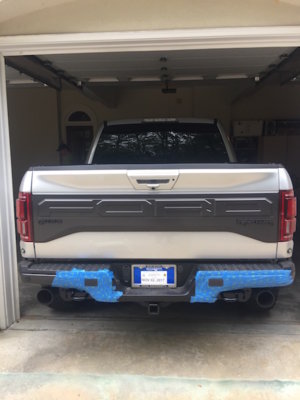
I wanted to share the install of Baja Design S2 Sport flush mount backup lights in my stock Gen 2 bumper. Several have posted that they didn't think there was enough flat surface area in the Gen 2 bumper for these to sit flush. I found that there was about 1 mm of gap on the inside lower corner but this disappeared with when the bolts were snugged tight.

The lights are powered #6 upfitter with a weather proof relay in the bumper. I tied the relay into the reverse wire from the trailer plug.

I couldn't be more pleased with the results. I have tinted windows and the extra light is essential to use my side mirrors when backing at night.

Finally, a shout out to Rick at Freedom Motorsports for hooking me up with these and my other lighting needs.
IMG_0991.jpg

IMG_0996.jpg

IMG_1003.jpg

IMG_1010.jpg

IMG_1933 (1).jpg
 
Last edited:

BangBang

Full Access Member
Joined
Apr 2, 2018
Posts
286
Reaction score
151
Nice. Mine should arrive May 8th and this is going to be a must for me. I don't like the lights mounted by the brackets dangling down around the tow hooks.
 

4x4TruckLEDs.com

Supporting Vendor
Supporting Vendor
Joined
Jul 18, 2017
Posts
2,850
Reaction score
1,317
Looks good I'm finding we sell more S2 Sport flush mounts then we do the S2 Pros. Although I like the pros better then the Sports myself, but the Sports work better with the cameras.
 

nikhsub1

FRF Addict
Joined
Mar 5, 2017
Posts
4,165
Reaction score
4,755
Location
Los Angeles
Looks good I'm finding we sell more S2 Sport flush mounts then we do the S2 Pros. Although I like the pros better then the Sports myself, but the Sports work better with the cameras.

Does that mean you can't flush mount the S2 Pro's the way the OP did the sports?

OP, looks great! Any details on what you cut with? Dremel? Any tips you may have? I'm tempted to do this now, mine are the traditional bracket way by the tow hooks, yours looks WAY better!
 
Last edited:
OP
OP
D

duke92

Member
Joined
Feb 5, 2017
Posts
36
Reaction score
27
I used a dremel with cutting wheel. Metal is remarkably thin.
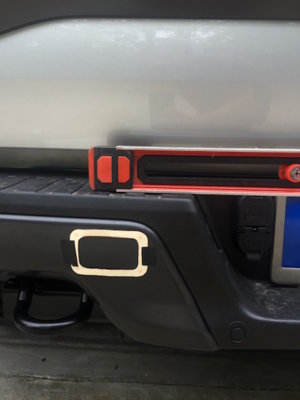
Disassemble the light and use the frame to set the left one first based on the surface area where the frame sits flush. I used a large level to get it level and marked with wax pencil. I made a template from construction paper to mark outside and drill hole locations. Then used calipers and ruler to set the right one in exactly same location.
I cut inside the lines on the first side, then had to enlarge the opening to get the light to fit (took forever to grind metal away). Second side I cut just outside lines and light went in much easier. I masked everything with multiple layers of tape to protect finish.
Measure it twice (or more). Go slow.
FWIW I think the pros and the sports are the same size. The sports offer plenty of light for what I need (to be able to backup at night and still use side mirrors despite my dark tinted windows— no more having to roll windows down when I backup). Sports don’t over power cameras.

324B129F-4BD5-43C3-A887-FE663A74D37F.jpg
 
Last edited:
Top