OP
OP
- Joined
- Jul 15, 2017
- Posts
- 1,047
- Reaction score
- 947
Actually, those 6” 360’s put out 8600 lumens which is the same as the LP6’s are rated. They just don’t have high and low beams. Though the 8600 is the high and apples to apples on paper the same.Damn it, I like that Rigid 360 light. May end up exchanging XL80s for those. A little less output but not by much though.
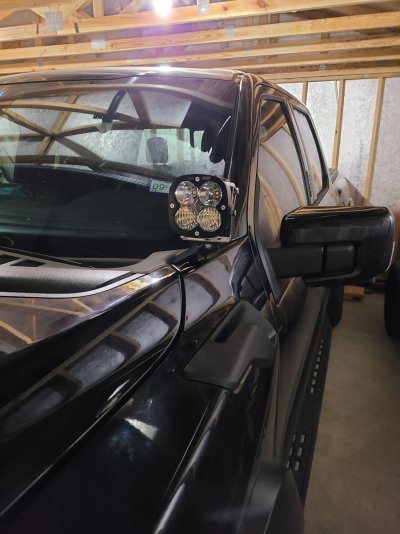
The 360’s also just come as spot or driving not a combo, where the LP6’s have a combo. So it’s all in what you like. The ones in the pics are spot, but the driving really light it up. Though many people will say they only prefer a spot up there due to reflection on the hood.
In all, I think they are all great choices, but back you your original comment, I think the XL80s are less than the 8600 lumens of the Rigid 360 and Baja LP6’s.