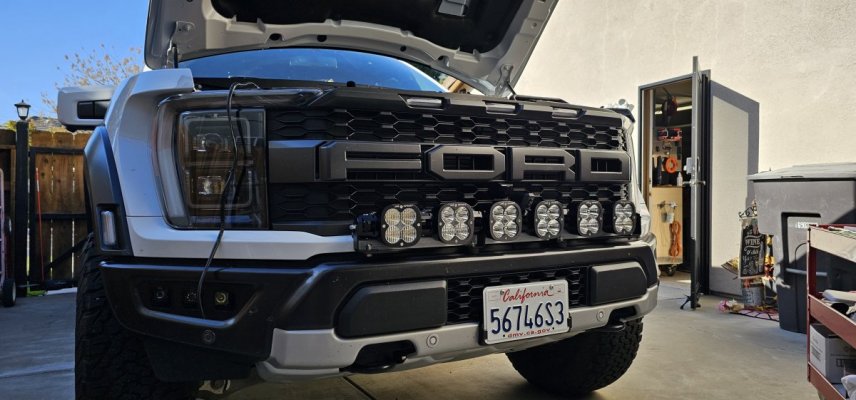
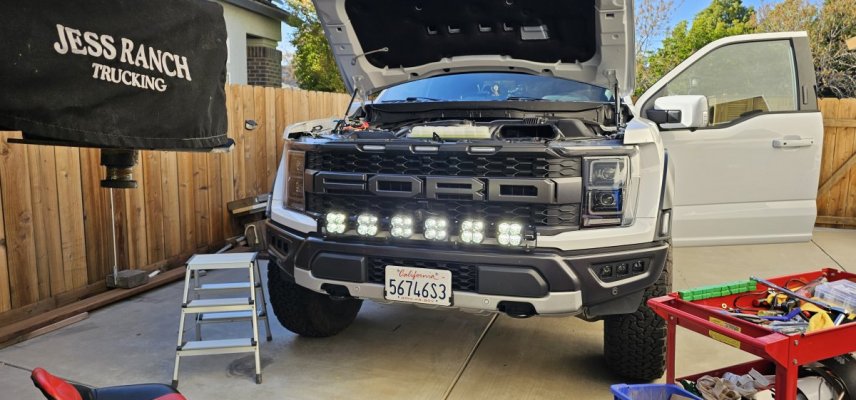
1. You can see in one of the pics of the breaker and the wire to the battery. Not much too it. I always make the wire from the breaker to the battery as short as possible.
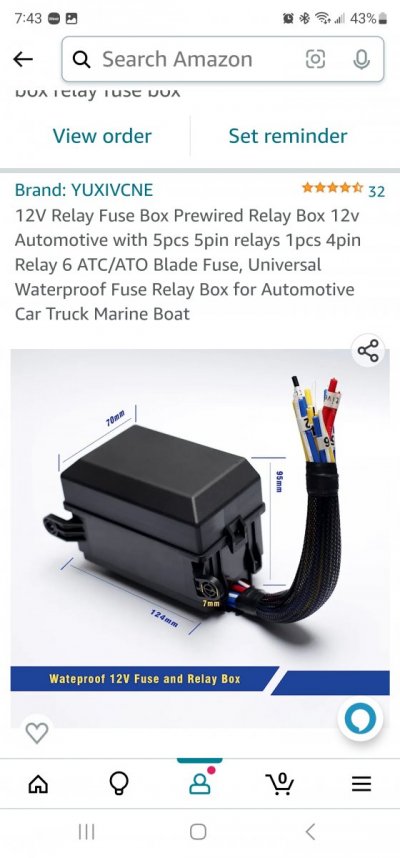
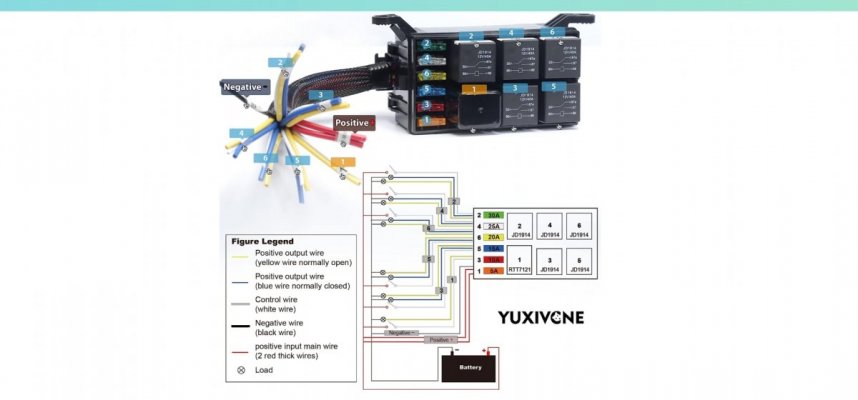
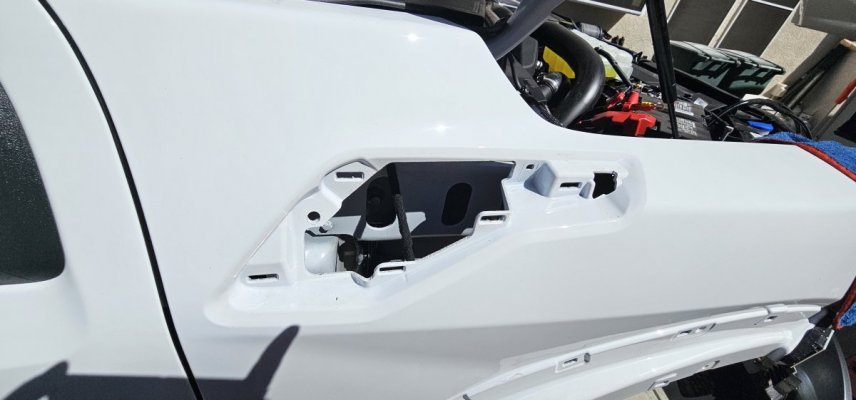
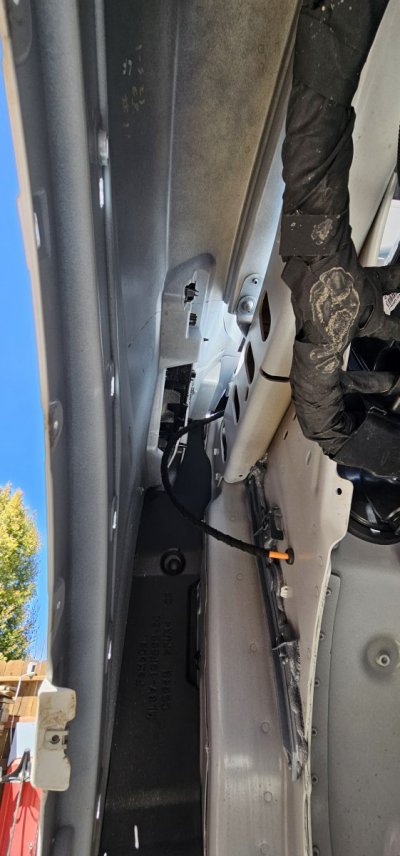
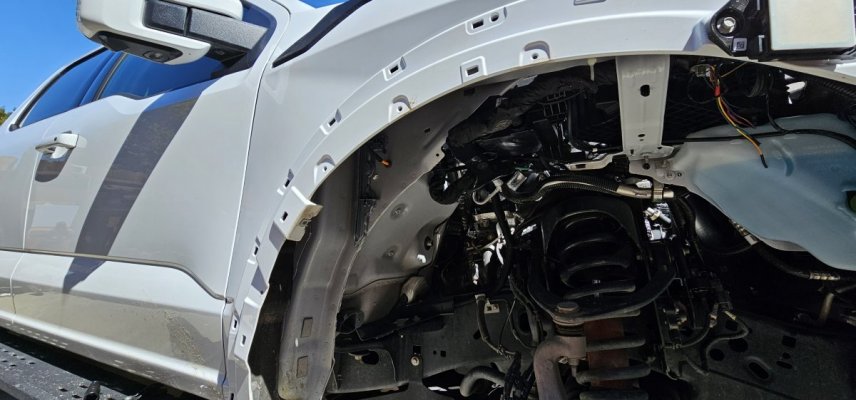
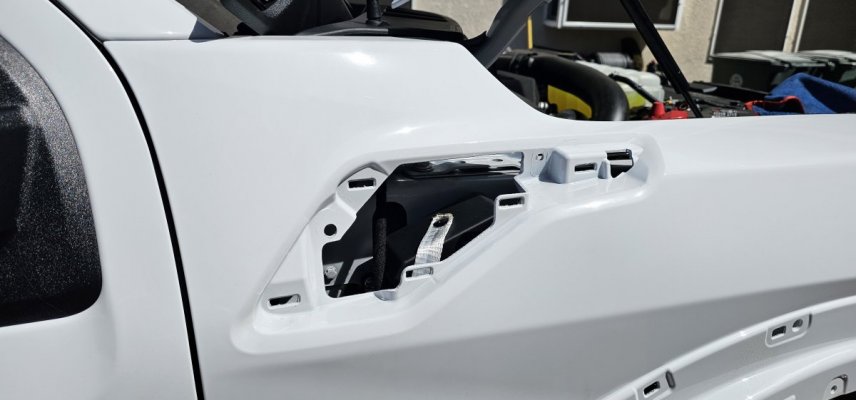
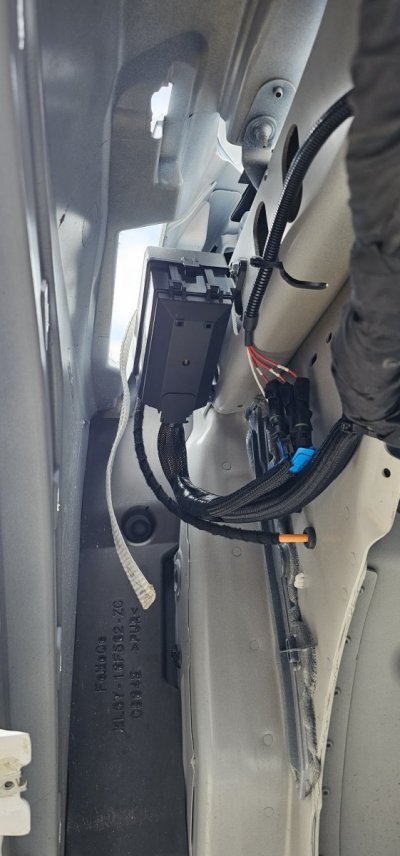
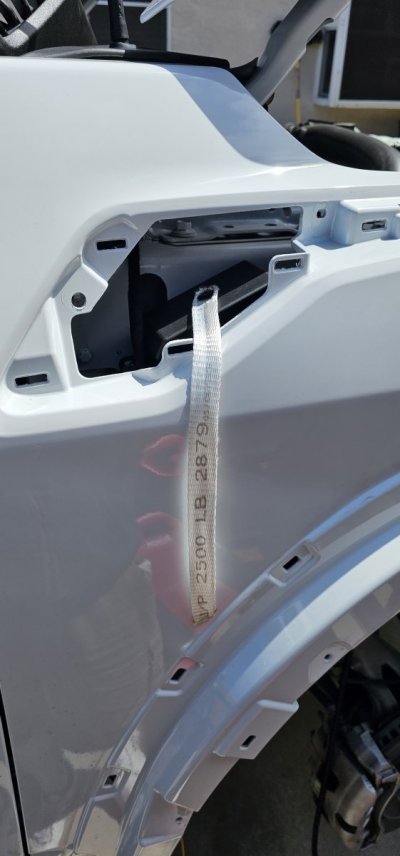
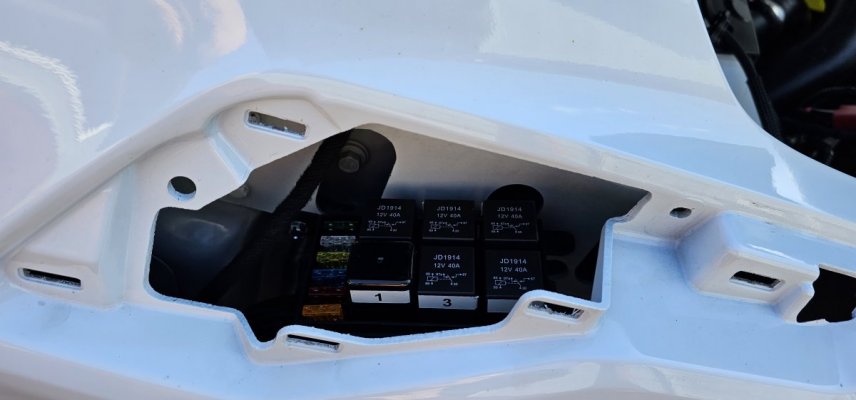
2. Relay box is pretty simple but at the same time mind boggling as you always have so many wires. I couldn't give you any written instructions other than to take your time and test fit a lot before making final cuts. With thicker gauge wire it's easy for one wire to be several inches longer than another depending on where is is in the bundle once you start making turns, etc. The upfitter wires are in the sidewall/fender next to the battery (plenty of threads on where to look for them). I always leave my battery connected and in place because with these newer vehicles just disconnecting your battery can lead to a headache of computer type issues in the truck when you reconnect that might need a dealer visit for repogramming. That made it hard to get to the upfitter wires since they are so short and hard to get to. I found it easier to remove the fender flare and wheel well guard and then get to wires from the wheel well—takes less then 10 minutes to go in through the wheel well.
Thanks this is helpful.
So to make sure I’ve got it correctly, does the wiring diagram look something like this?
Main battery —>
200A breaker —>
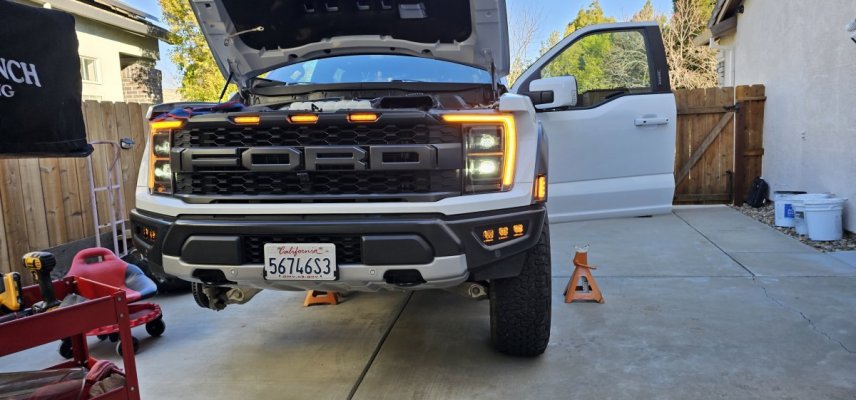
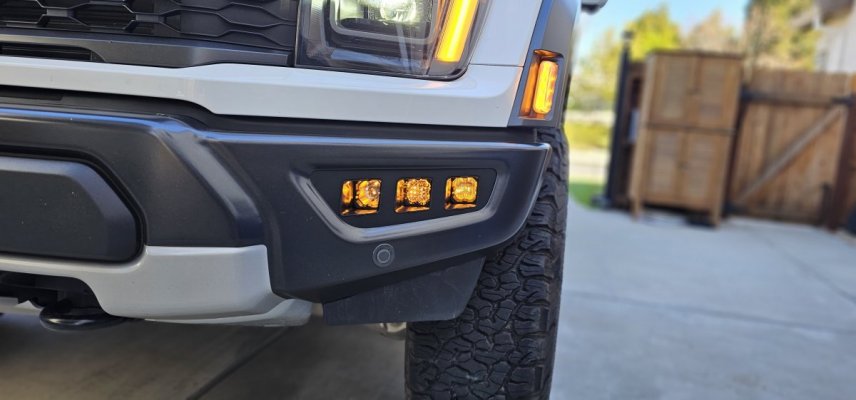
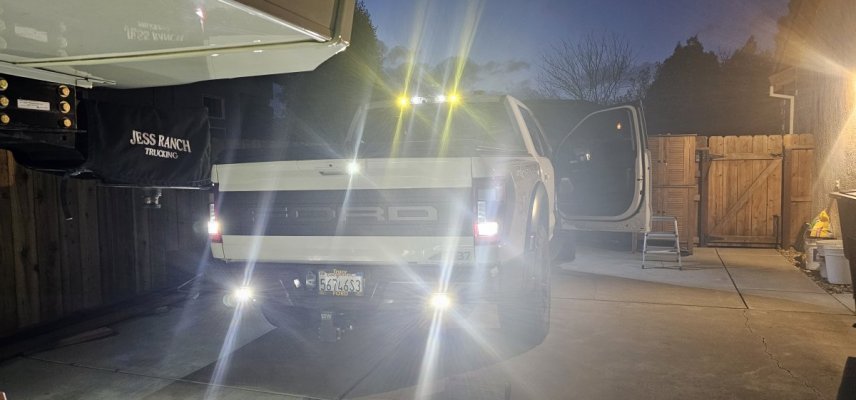
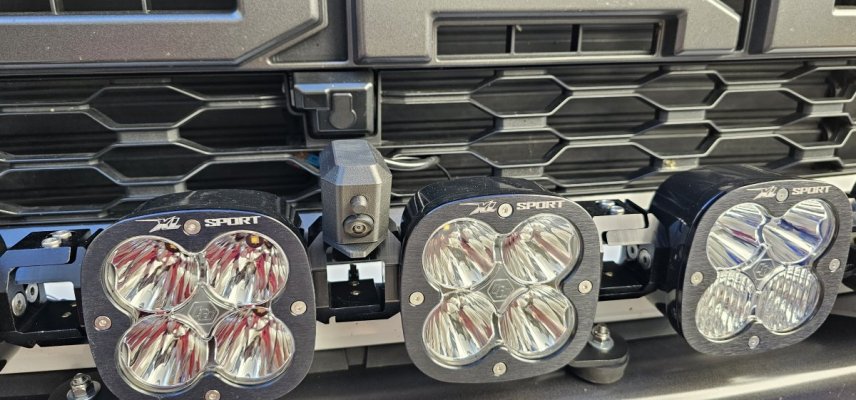
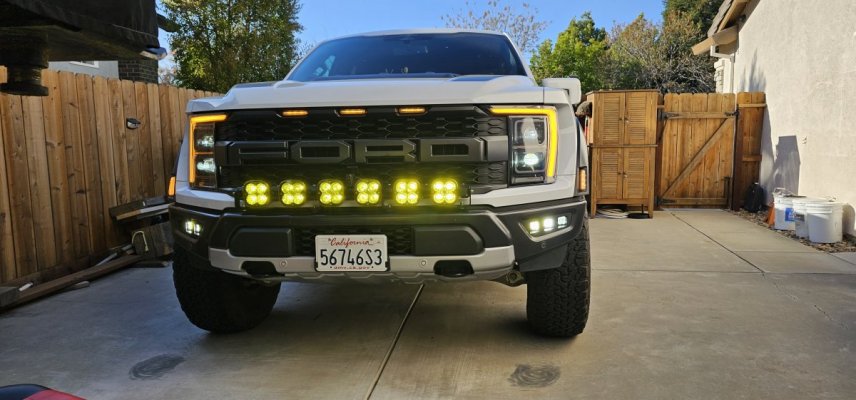
Relay #1—> one wire to lights, one wire to upfitter switch
Relay #2 —> one wire to different lights, one wire to different upfitter switch
Etc…for the rest of the relays
—> And all grounds to chassis
So all your lights first go thru a relay and associated fuse, then all of those together go thru the 200A breaker before they reach the battery?
I’m also curious what your custom mount to the existing fuse box looks like.
Thanks again for the help