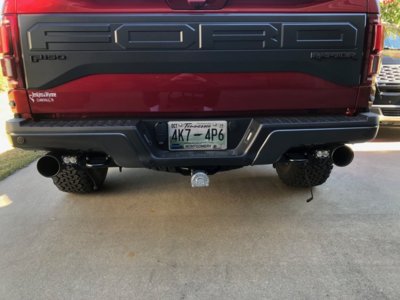
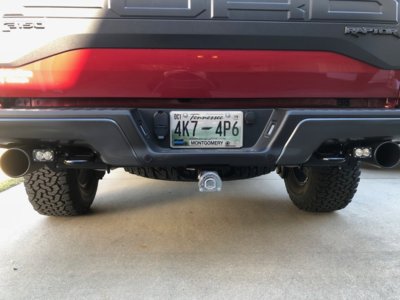
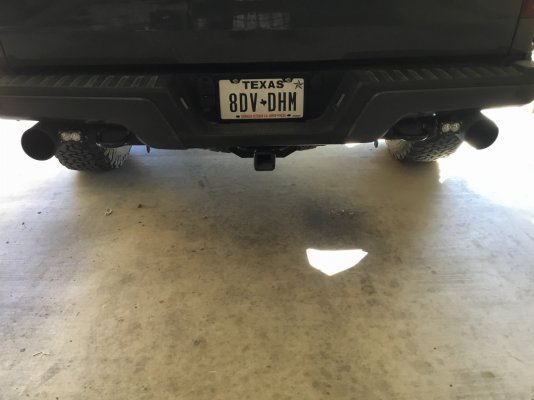
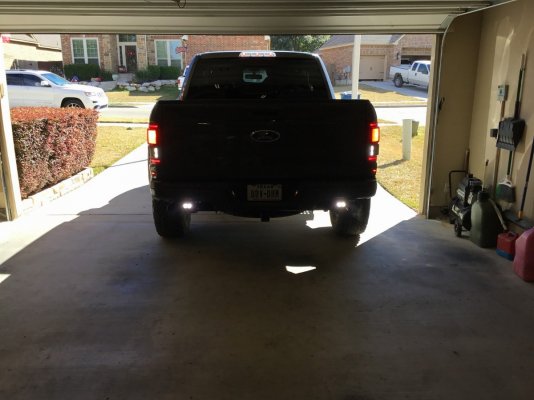
Looking for some reverse lights for my 2018 Raptor, this is my 4th F150 and was never happy with the amount of light that the tail lights put out.
Picked up the BD S2 kit from 4x4 TruckLEDS.com, they had the best price I could find, I did not upgrade to the Pros and stayed with the Sports.
There are a few threads that discuss the kit, and I took some info and pictures from them to help with my install.
I found the included instructions leaved something to be desired, but also found that there were different ways they could be installed, so it might have been intentional.
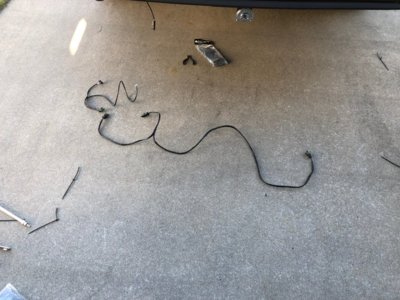
The kit included two lights, two brackets, the harness to connect the two lights, and another harness to the tail light. I elected to wire up only to the reverse lights, not the Upfitter switch, I may do that later.
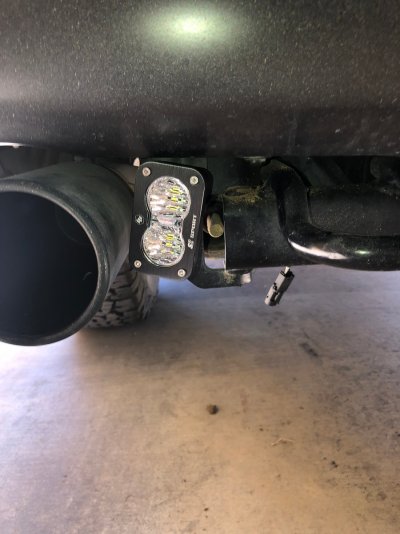
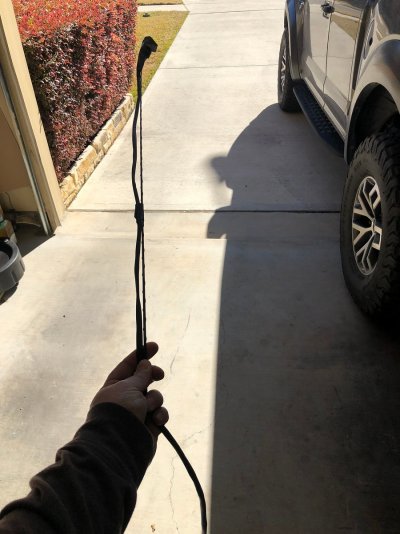
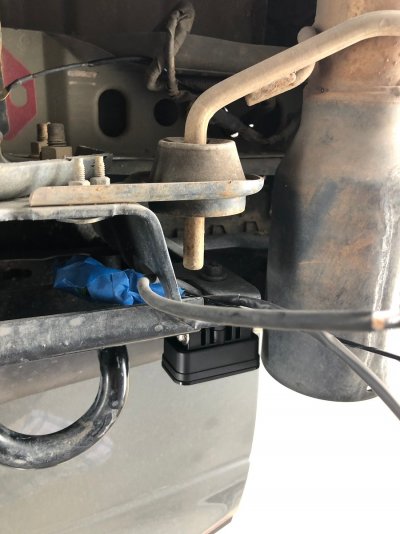
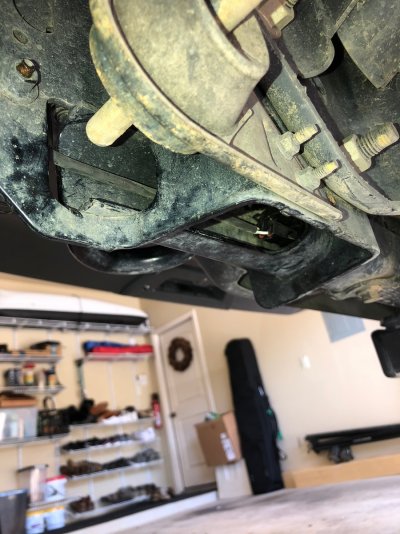
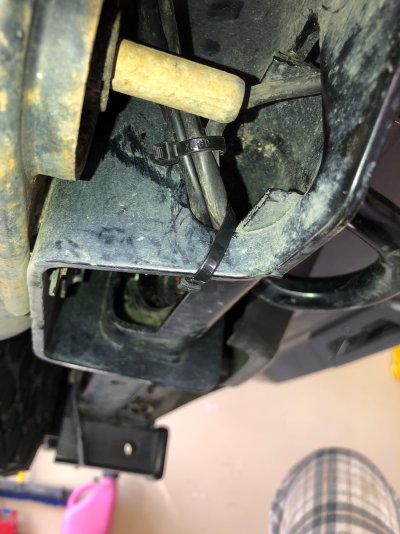
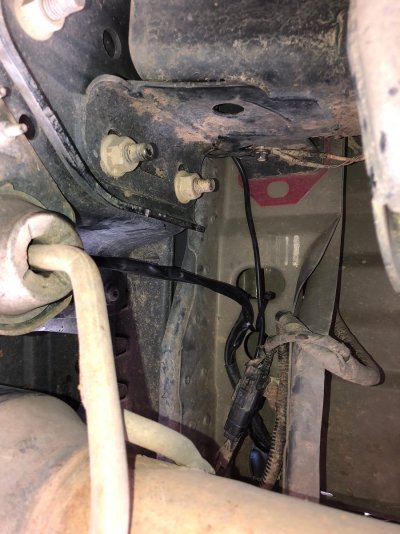
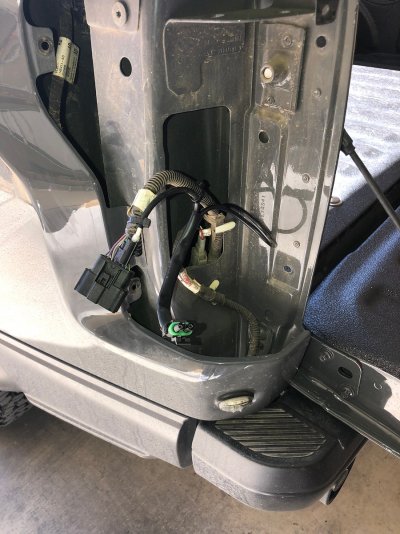
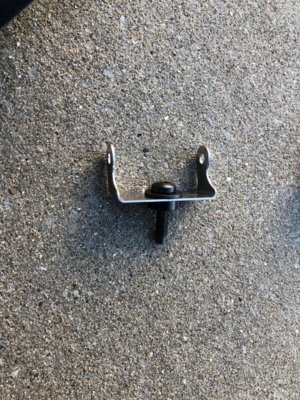
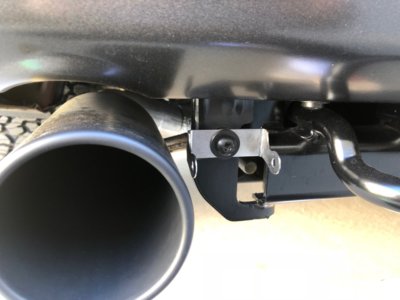
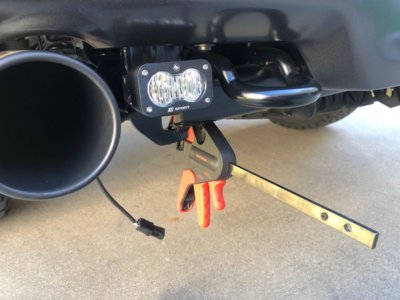
Started with the passenger side for no particular reason and removed the bolt that the bracket attaches too, first issue is the orientation of the bracket, which way is up? I ended up installing the bracket with the bolt holes on the bottom as opposed to the top, with the bolt holes on top the light itself contacted the bumper, and the light cord rubbed the bracket. When installing the bracket I used the included thick spacers to move the light further out from the mount point and avoid the little bendout in the mount point. Now the tricky part, installing the light into the bracket. The inner bolt holes facing the license plate side were easy, the included lock washers go between the light and the bracket, then wiggle the bolt and fingertight while trying to keep the washer from falling out. The hole facing the tailpipe side is the pain. Someone suggested a 4 MM long ball allen, didn't work for me, not even close. I ended up cutting down a 4 MM allen and using that to tighten the exhaust side bolts. I removed the exhaust mount double bolts, pulled the exhaust away and clamped it down while getting the bolt in, even doing this there was very little space to work in. Did the other side the same way. I laid out the harness connecting the two lights and ran along with a harness already near where I wanted it and zip ties it place. I then ran the other harness up to the drivers side tail light and used the supplied splitter to tap into the green brown wire, I had to trim a little of the plastic of the tail light wire as I didn't get good contact the first time I tried. Double checked all the connects and finished zip tying the harness up. Had my S/O start the truck, put it in reveres and had lights. Bolted the tail light in and done. Took about the three hours start to finish trying to figure out which way to mount the bracket, cut down an allen wrench and how to get the bolts in. Knowing what I know now it would probably take an hour or so to do depending on how long you have to fiddle with the bolts to get them in.
Next project is the Baja Designs Ford, Raptor 2017+ OnX6 Hi-Power Lower Grille LED Kit. Waiting for a sale.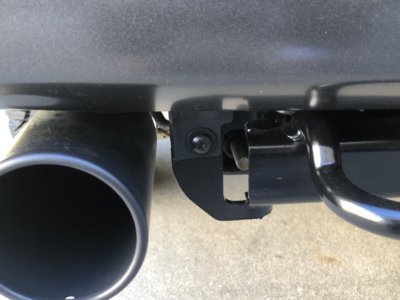


