2018 Leadfoot "Decade Long Build"

Disclaimer: Links on this page pointing to Amazon, eBay and other sites may include affiliate code. If you click them and make a purchase, we may earn a small commission.
OP
OP
LF LandShark 2818

LF LandShark 2818

Full Access Member
Joined
Sep 8, 2013
Posts
228
Reaction score
196
Location
MT
Here's a quick clip of just how tough it was making my way up. Throttle to the floor and barely moving through 3ft of snow.

 
OP
OP
LF LandShark 2818

LF LandShark 2818

Full Access Member
Joined
Sep 8, 2013
Posts
228
Reaction score
196
Location
MT
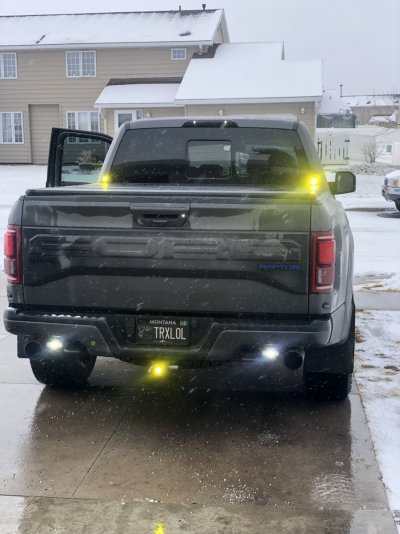
Rear Lighting:

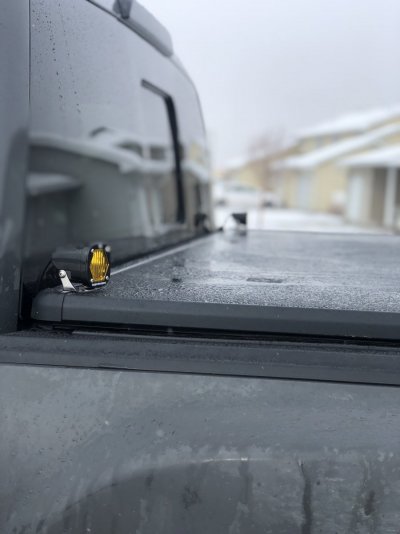
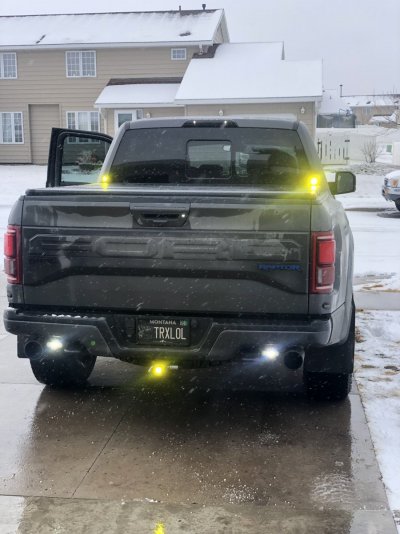
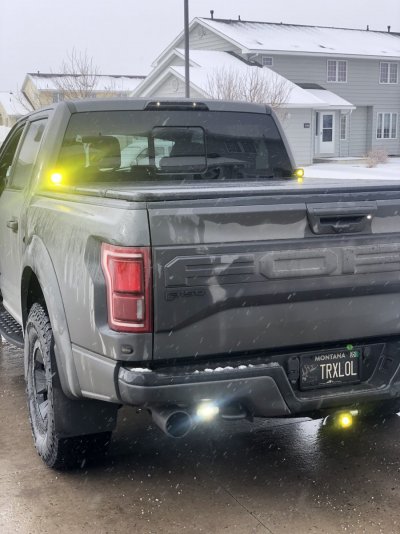
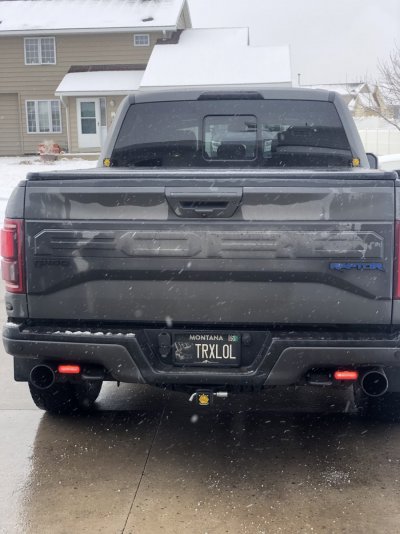
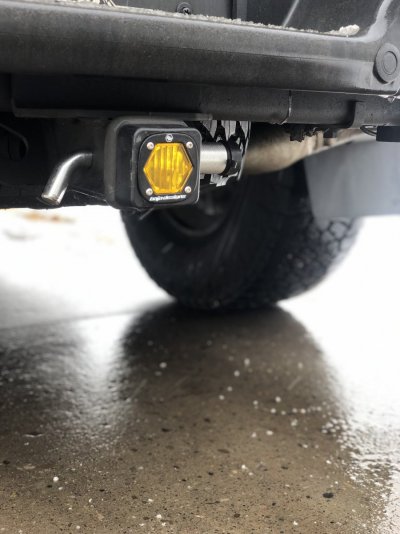
For the longest time I have been dead set on the GJ Motorsports Third Brake Light. To this day i still believe its the best option out there and I love the look. The price and install have always made me shy away and look for alternatives though. When the opportunity came up, I took what had and made the best of it. I wanted ambers for chase/safety lights not only on off-road runs but also for the driving i do through the mountain passes locally. There are many times when I'm driving through "white out" conditions and would like to make the drivers coming up behind me aware that even though they can't see me, I'm there. I used 3x Baja S1's that i had and developed an improvised mounting set up using a plastic trailer hitch receiver and some washers mounted on the underside of my OEM bed cover. I can honestly say i don't know if this would have worked without having a bed cover that was so easily removable. I wanted the lights mounted so i could flip my bed cover back without it resting on the lights and in order to do so i had a very narrow margin for error. I uninstalled the bed cover on either side as i drilled through and filled the holes with silicone sealant. Is this a perfect solution? Maybe not for everyone. But this gave me exactly what i needed and its secure.

tempImageXmTVfR.jpg

46120548-3F9E-40CD-A869-2CBDE114D045_1_201_a.jpeg

F748DF5D-109A-4CCA-811C-5C7016C92D67_1_201_a.jpeg

tempImagedmQNIP.jpg

tempImage1akwTY.jpg
 
OP
OP
LF LandShark 2818

LF LandShark 2818

Full Access Member
Joined
Sep 8, 2013
Posts
228
Reaction score
196
Location
MT
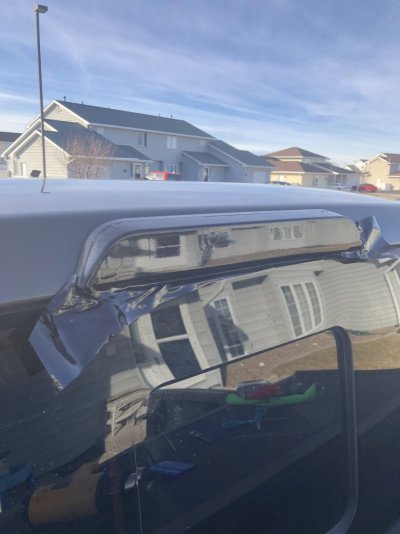
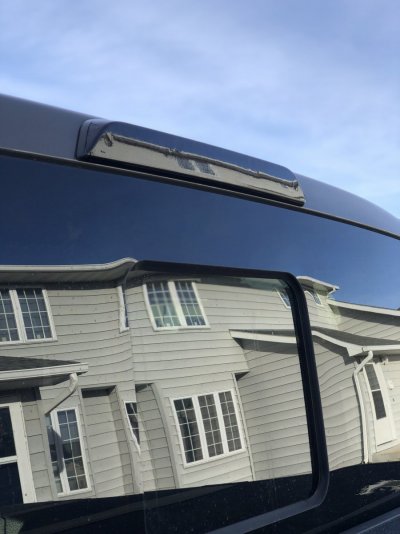
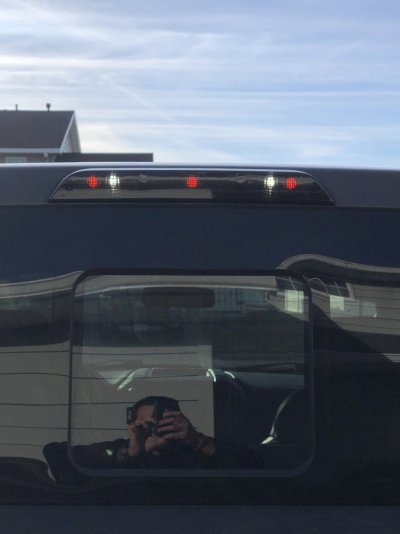
Tinted Third Brake Light:

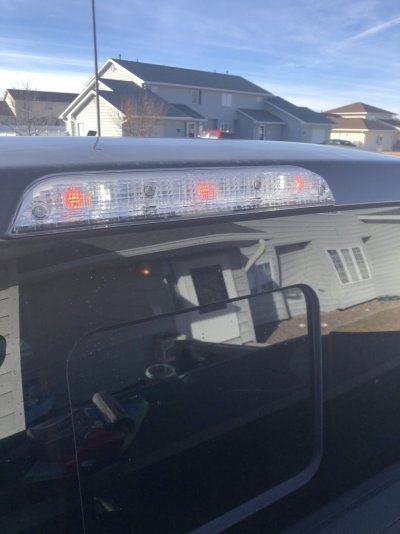
In my quest to remove any obscure chrome from the Raptor I've wanted to tackle the third brake light for a while. As i mentioned earlier my plan was always to go with the GJ option. I just could never make it happen and then looked into a suitable alternative. In the end i opted to install Vivid Air Release tint. I did not remove the third brake light at all. I used CMR surface prep to wipe down the surface first and then applied a sheet of tint over the light. It is a very malleable medium and i was able to form it to the third brake light very easily. I took my time and used a heat gun to make sure it looked good. It was a very easy install and took me about 15 minutes. The light output was not significantly diminished and because of the backlight options I've added I'm not concerned with any loss of light other than the 3 DOT red marker lights , which still shine through just fine, even in the daylight.

Before:
tempImagejUCimt.jpg

After:

tempImage3rVSfP.jpg

379010C2-2956-4475-86D6-5A147563409A_1_201_a.jpeg

tempImagejUKlmh.jpg

tempImagejcOieO.jpg
 
OP
OP
LF LandShark 2818

LF LandShark 2818

Full Access Member
Joined
Sep 8, 2013
Posts
228
Reaction score
196
Location
MT
Baja Design LP4 Blinders Mod:

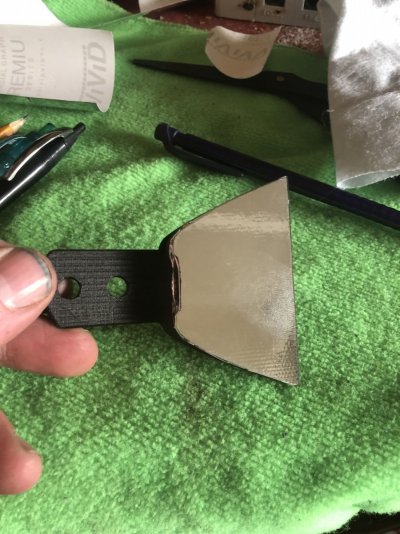
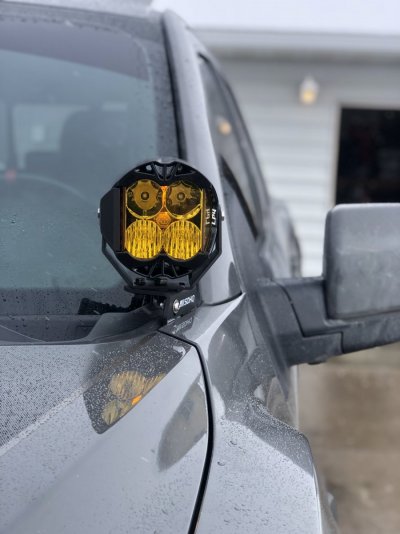
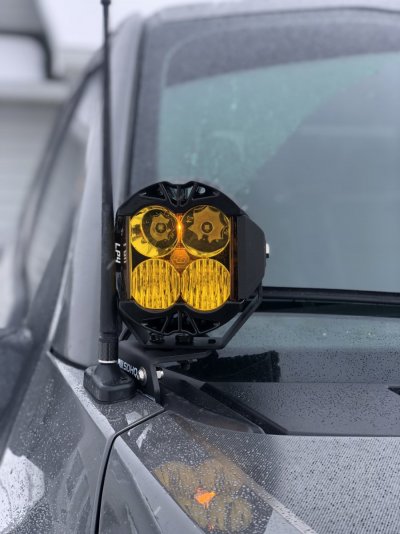
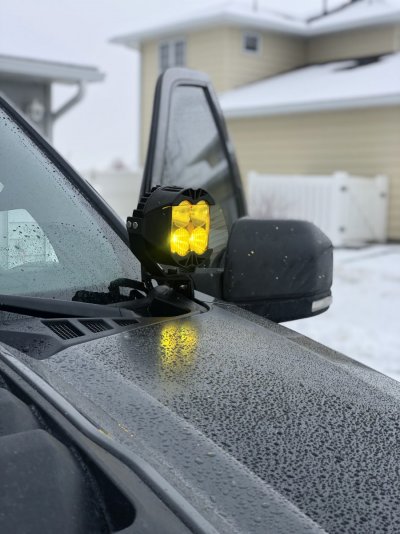
I decided to go a little overboard when it came to using the blinders on the LP4's. I used some VIVID dry release mirror tint to line the inside of the blinders which keep the inside IPT lights from blinding me or the passenger. A key thing with this tint is that couldn't get it to truly stick without proper prep. I tried to be lazy and simply trace out the outline and stick it on but it didn't stay. I then went back with CMR surface prep, 93% isopropyl alcohol and applied the heat gun to "set" the film. I'll be the first to admit it probably does nothing other than make me feel like I'm smart enough to have redirected the lost lumens, but i like it.

tempImageV9KaWp.jpg

4EB33E72-A743-4F08-9B49-29821396D99E_1_201_a.jpeg

63DE897C-A75C-4FD8-93EB-AE5872867662_1_201_a.jpeg

2D3A34B1-A4A4-491B-BB7A-AB88462046AA_1_201_a.jpeg
 
OP
OP
LF LandShark 2818

LF LandShark 2818

Full Access Member
Joined
Sep 8, 2013
Posts
228
Reaction score
196
Location
MT
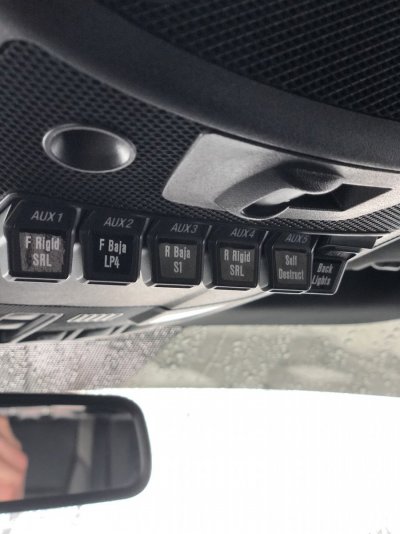
AUX Switch Labels:

When i got this final round of lights i knew i was going to re-do all my wiring. With that i could label my switches which was never a super big issue for me but absolutely something my OCD wanted. I used a Cricket label maker to print these out and simply cut the background to fit the AUX switches. Switch 5 is obviously the most important.

tempImageK7JQPE.jpg
 
OP
OP
LF LandShark 2818

LF LandShark 2818

Full Access Member
Joined
Sep 8, 2013
Posts
228
Reaction score
196
Location
MT
Here is a few short video clips of the lights during the day and at night.

Daytime Backlights and Parking Lights:


Nightime Backlights and No Parking Lights:


Nightime Backlights with Parking Lights:

 
Top