smurfslayer
Be vewwy, vewwy quiet. We’re hunting sasquatch77
- Joined
- Dec 16, 2016
- Posts
- 16,264
- Reaction score
- 23,936
Any of you running the Alternative Offroad A pillar mounts -
are you seeing fitment issues, particularly the mount impacting the rear of the hood area?
I was going to install some new lights on the a-pillars when I hit a couple snags.
First was the getting the doggone thing affixed to the hood hinge bolts. got past that and uncharacteristically I thought I’d better check fitment before slamming the hood closed.
So far, so good:

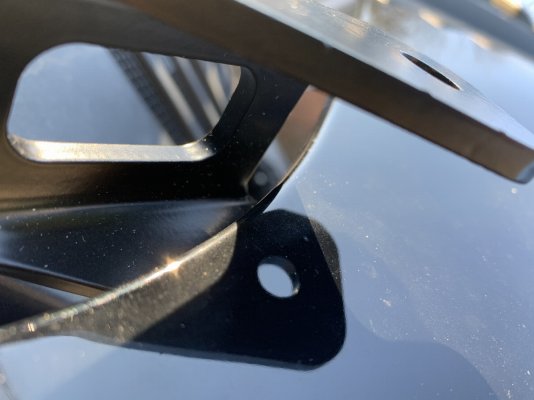
That’s about 1/4” , maybe 5/16” clearance.
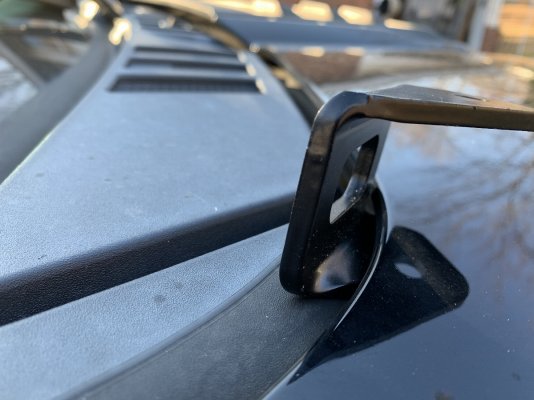
This, however, is not so good. When I close the hood, unlatched - mind you, the gap is non existent. This picture is with the hood closed, but not latched. You can see the hint of a gap, and I’m not willing to close it further.
Checking fitment, I noticed it’s already scuffed the cowl. Wonderful.

Frustrated, I manipulate the mount some more, hoping there really is a secret ingredient in the secret ingredient soup.

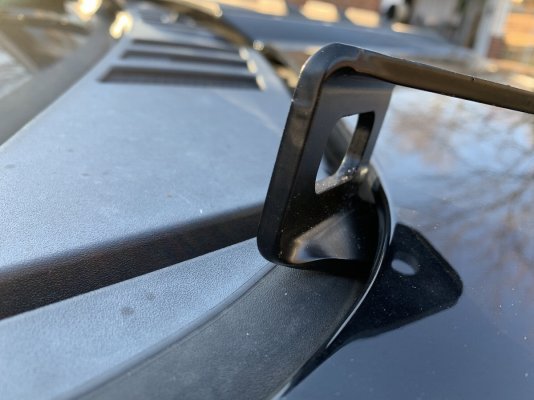
This is the best gap I get, again, hood closed, but not latched.
What’s happening is the mount smashes down on the cowl as the hood gets closed.
This looks to me like it’s going to be a problem, so I pulled them.
I hit up @Skyline who has them on his truck and he was kind enough to send some pics. I definitely cannot run the mounts oriented like his. To get the gap shown above, this mount was almost fully seated on the front, but, as far inboard on the rear mount as the mount will allow. Even so, I’m concerned about the minimal gap that will exist and significantly ******** up the paint on the hood.
anybody have experience installing / running them?
are you seeing fitment issues, particularly the mount impacting the rear of the hood area?
I was going to install some new lights on the a-pillars when I hit a couple snags.
First was the getting the doggone thing affixed to the hood hinge bolts. got past that and uncharacteristically I thought I’d better check fitment before slamming the hood closed.
So far, so good:

That’s about 1/4” , maybe 5/16” clearance.
This, however, is not so good. When I close the hood, unlatched - mind you, the gap is non existent. This picture is with the hood closed, but not latched. You can see the hint of a gap, and I’m not willing to close it further.
Checking fitment, I noticed it’s already scuffed the cowl. Wonderful.

Frustrated, I manipulate the mount some more, hoping there really is a secret ingredient in the secret ingredient soup.

This is the best gap I get, again, hood closed, but not latched.
What’s happening is the mount smashes down on the cowl as the hood gets closed.
This looks to me like it’s going to be a problem, so I pulled them.
I hit up @Skyline who has them on his truck and he was kind enough to send some pics. I definitely cannot run the mounts oriented like his. To get the gap shown above, this mount was almost fully seated on the front, but, as far inboard on the rear mount as the mount will allow. Even so, I’m concerned about the minimal gap that will exist and significantly ******** up the paint on the hood.
anybody have experience installing / running them?


