91Eunos
Full Access Member
Hi all,
I’m still a new member and a new Raptor owner, but already getting intimate with the guts of my truck! Have done the tailgate release upfitter switch (documented in Ruby’s switch thread down in the classified forum), where I got far more intimate with my truck’s wiring than necessary. Have also cleaned the engine sensors/about to install a catch can, and have finally assembled all the parts for the tailgate swap.
The initial stages of the swap/tail gate purchase were documented in my new member intorduction thread: https://www.fordraptorforum.com/threads/new-owner-in-texas-hill-country-with-a-proposal.64152/
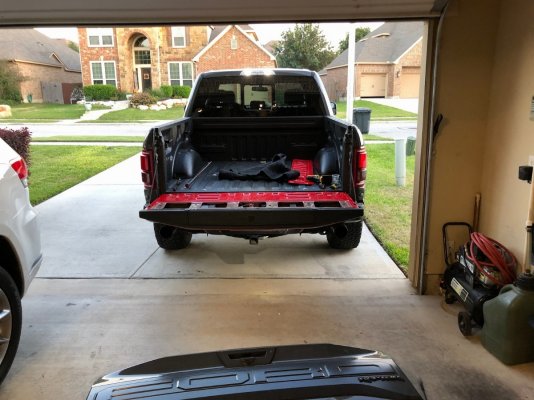
Test fit in this pic, before a complete dissasembly:
...and got the new-to-me ‘17 tailgate back from paint two days ago, then Line-X yesterday:
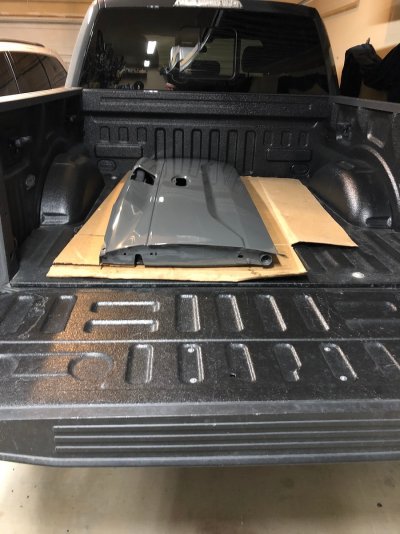
Most of the parts in this pic (Step is out of the frame):
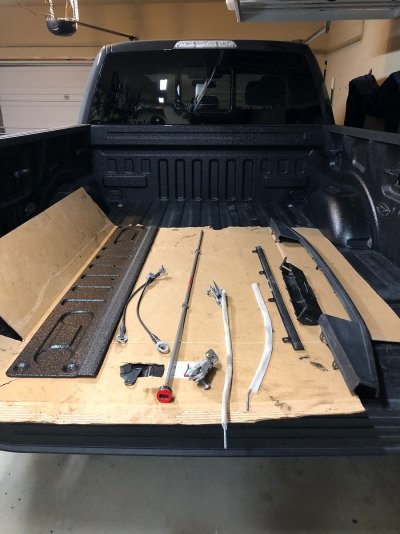
First step was to reattach the latches and support cables:
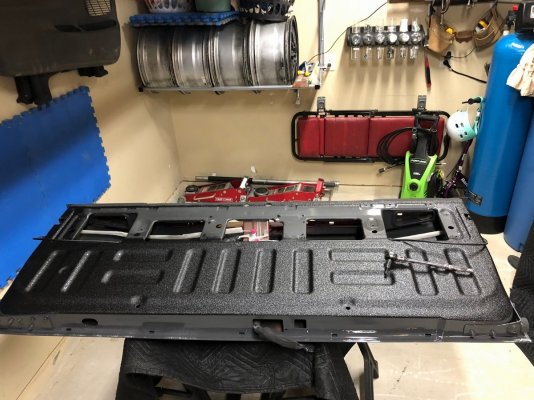
I managed to get the torsion rod installed correctly on my first attempt! Hooray!
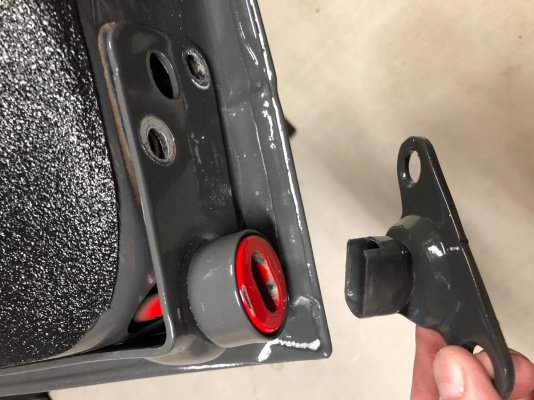
However, anyone else see the problem?
Yep, I ordered the wrong hinge roller...this one’s too wide by about a mm... Yes, I’m a *******...always test fit before paint (more on that later too):
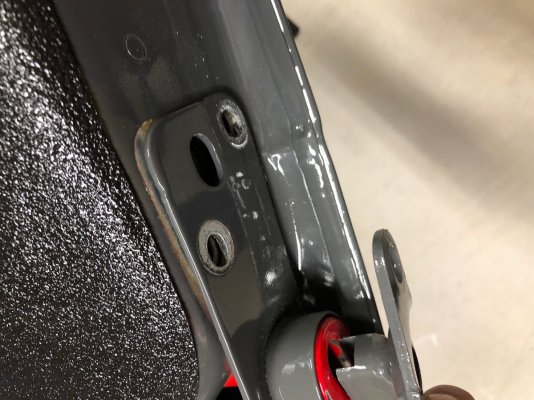
So out came the rod, and I just put in a new plastic hinge cup for now:
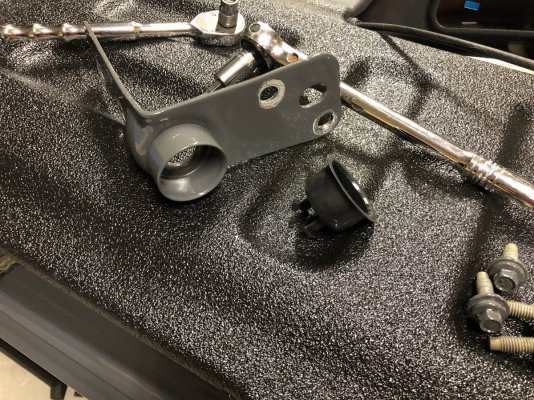
At least this mistake only cost me $8 or so...as I tell my son “Stupid should hurt”... this one hurt a lot less than other mistakes I’ve made! New hinge roller on order...will update when fitted.
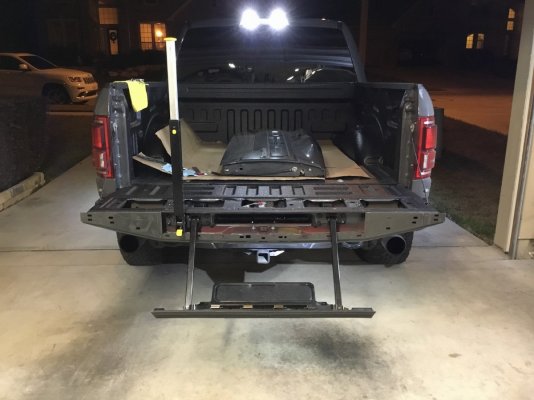
Regardless, reassembly was pretty straightforward. In place on truck:
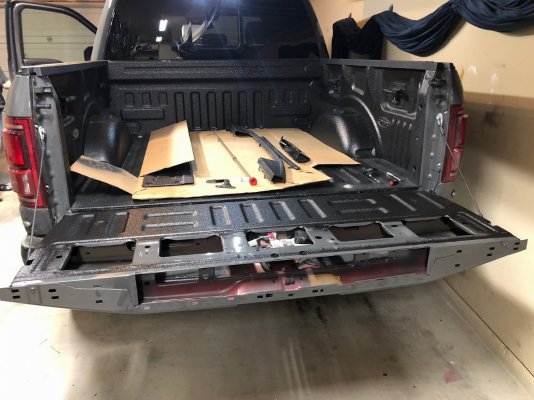
Plastic cup/bin for the flex step itself...complete pain in the ass to remove with the tabs all the way around, but very easy to reinstall:
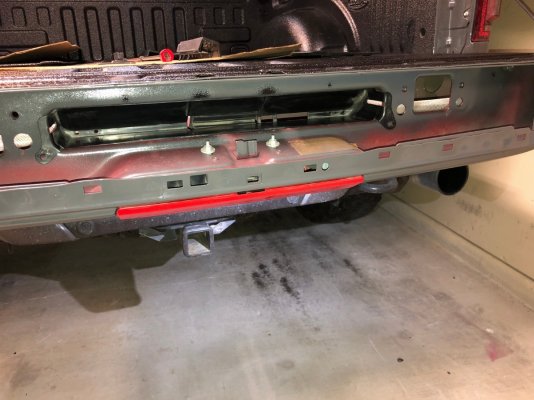
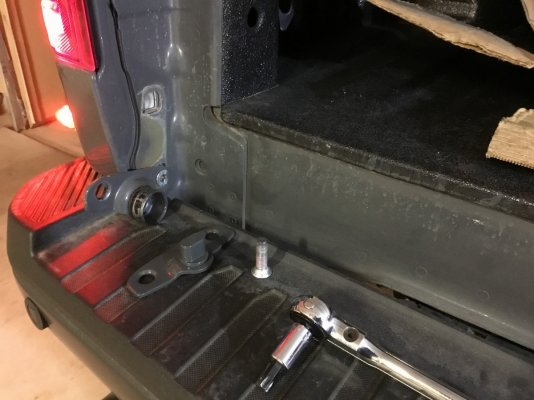
The only recommendation I have is to ensure you put these little alignment bolts in first when bolting in the step (T30 torx bit and 10mm socket):
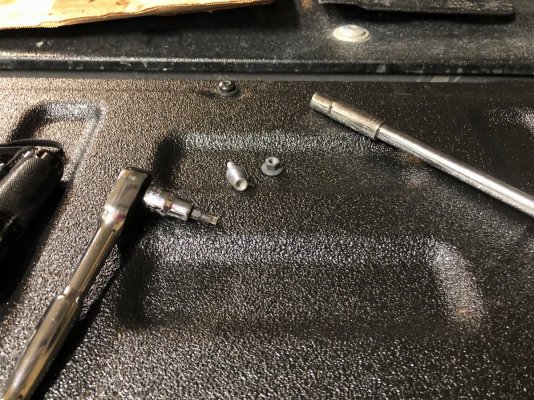
...they actually go through the mounting plate to align the steps for installation. As you can see in this pic, I’d already installed the other bolts...though loosely. Would have been easier to have the alignment “bolts” in first:
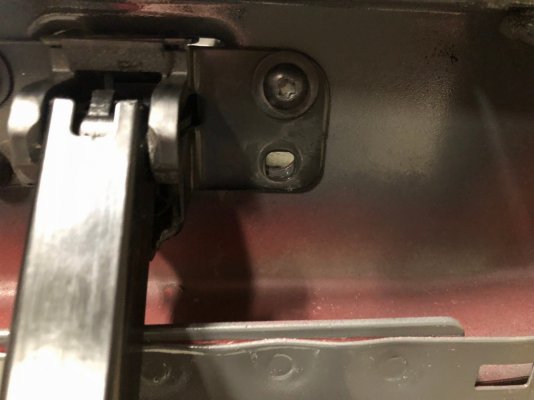
...and success!
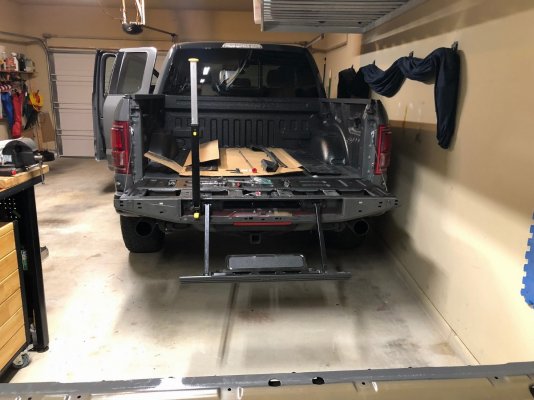
Only thing left from this point is trim. However...
Keen eyed observors will have noticed that bit of red on the tailgate in the pic with the tailgate lowered.
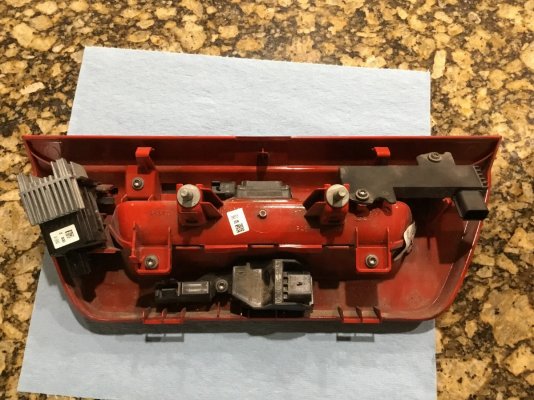
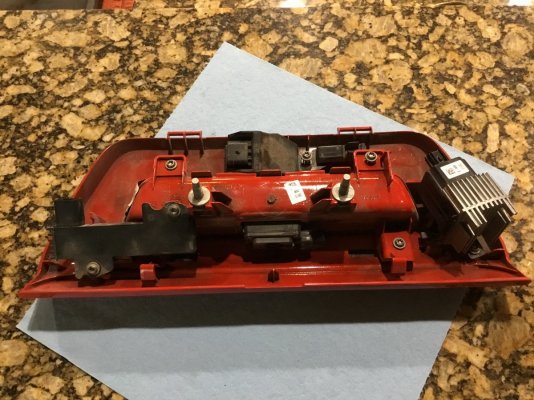
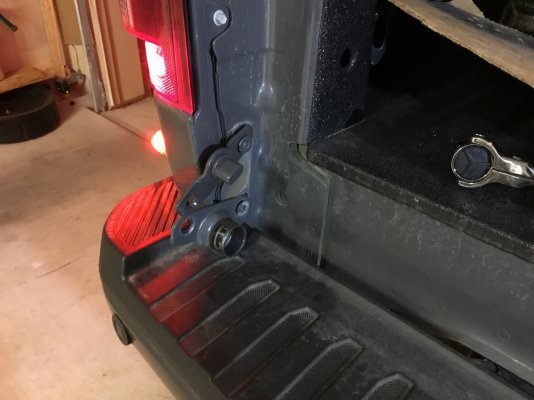
Turns out that the latch/camera is very slightly different from my tailgate vs. this one from a ‘17 model. I don’t know if the difference is from the model year or because one is a a non-step tailgate, (suspect the latter), but after about 20 minutes of trying to figure out why I couldn’t get the latch to fit noticed the different mounting tabs and very slightly different shape:
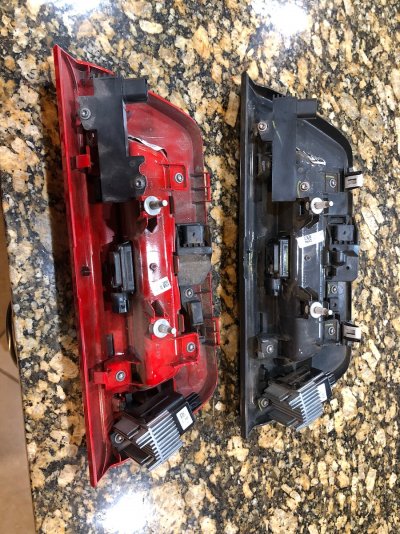
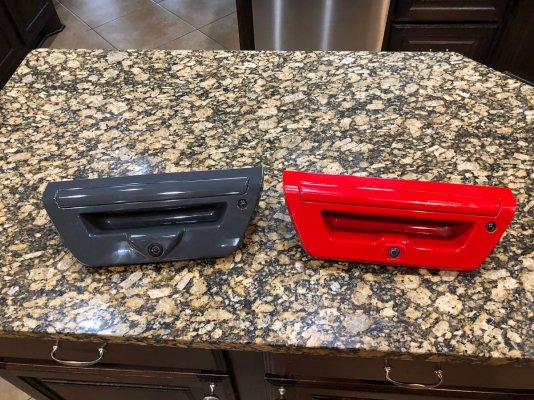
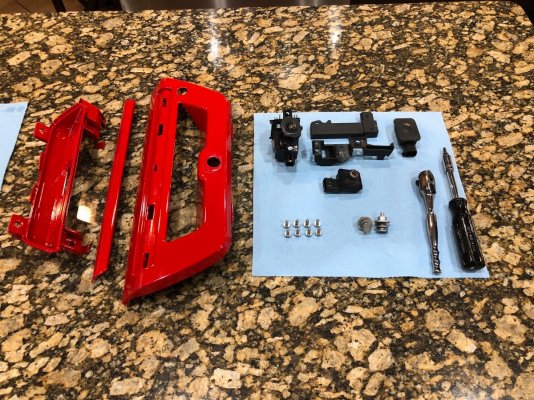
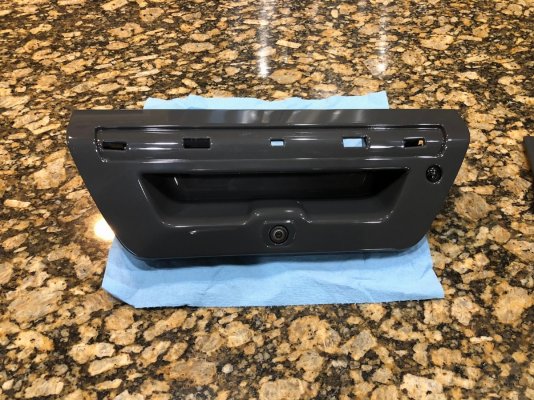
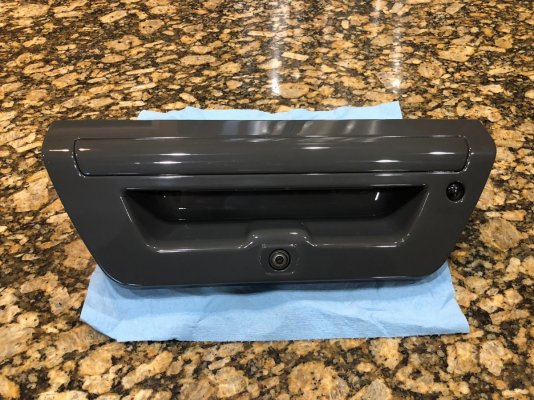
So my clever idea to save a few bucks and some time by just swapping latches wasn’t so clever after all. Will dissasemble the latch/camera system and take it in for paint on Monday. Bonus for whoever winds up with my old tailgate...everything will be the sme color!
Temporarily installed:
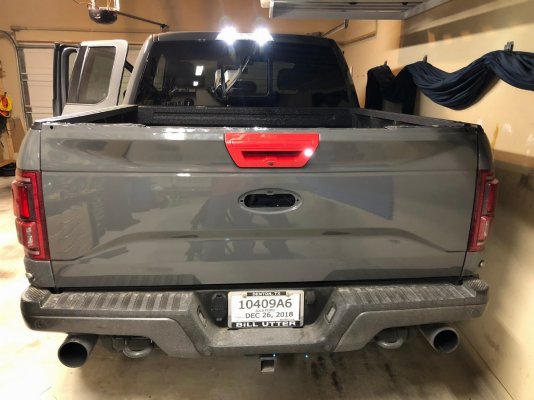
And after checking solenoid function BEFORE closing the tailgate, it works just fine...though with the step installed (not installed in the video), it drops pretty hard without the torsion rod installed to take up the extra weight:
Video won’t embed: https://photos.smugmug.com/photos/i-ZNLQbgD/0/2a4fc887/1920/i-ZNLQbgD-1920.mp4
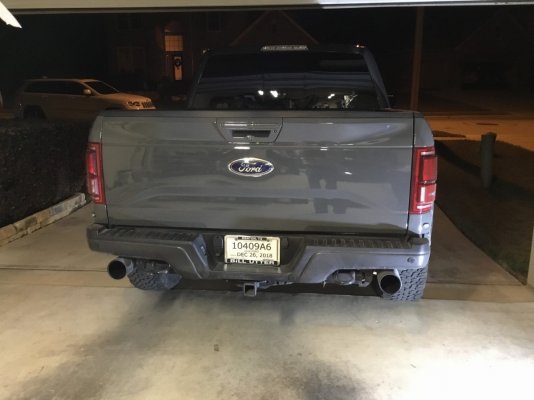
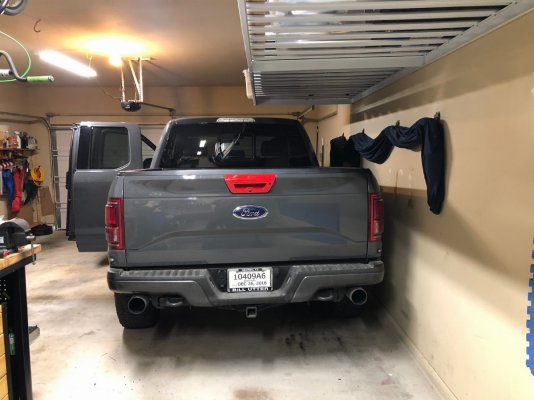
...more to follow after the latch is painted and when the new hinge roller gets here, and definitely when the custom billet aluminum badge shows up. Until then...
I’m still a new member and a new Raptor owner, but already getting intimate with the guts of my truck! Have done the tailgate release upfitter switch (documented in Ruby’s switch thread down in the classified forum), where I got far more intimate with my truck’s wiring than necessary. Have also cleaned the engine sensors/about to install a catch can, and have finally assembled all the parts for the tailgate swap.
The initial stages of the swap/tail gate purchase were documented in my new member intorduction thread: https://www.fordraptorforum.com/threads/new-owner-in-texas-hill-country-with-a-proposal.64152/
Test fit in this pic, before a complete dissasembly:

...and got the new-to-me ‘17 tailgate back from paint two days ago, then Line-X yesterday:

Most of the parts in this pic (Step is out of the frame):

First step was to reattach the latches and support cables:

I managed to get the torsion rod installed correctly on my first attempt! Hooray!

However, anyone else see the problem?
Yep, I ordered the wrong hinge roller...this one’s too wide by about a mm... Yes, I’m a *******...always test fit before paint (more on that later too):

So out came the rod, and I just put in a new plastic hinge cup for now:

At least this mistake only cost me $8 or so...as I tell my son “Stupid should hurt”... this one hurt a lot less than other mistakes I’ve made!
Regardless, reassembly was pretty straightforward. In place on truck:

Plastic cup/bin for the flex step itself...complete pain in the ass to remove with the tabs all the way around, but very easy to reinstall:

The only recommendation I have is to ensure you put these little alignment bolts in first when bolting in the step (T30 torx bit and 10mm socket):

...they actually go through the mounting plate to align the steps for installation. As you can see in this pic, I’d already installed the other bolts...though loosely. Would have been easier to have the alignment “bolts” in first:

...and success!

Only thing left from this point is trim. However...
Keen eyed observors will have noticed that bit of red on the tailgate in the pic with the tailgate lowered.
Turns out that the latch/camera is very slightly different from my tailgate vs. this one from a ‘17 model. I don’t know if the difference is from the model year or because one is a a non-step tailgate, (suspect the latter), but after about 20 minutes of trying to figure out why I couldn’t get the latch to fit noticed the different mounting tabs and very slightly different shape:


So my clever idea to save a few bucks and some time by just swapping latches wasn’t so clever after all. Will dissasemble the latch/camera system and take it in for paint on Monday. Bonus for whoever winds up with my old tailgate...everything will be the sme color!

Temporarily installed:

And after checking solenoid function BEFORE closing the tailgate, it works just fine...though with the step installed (not installed in the video), it drops pretty hard without the torsion rod installed to take up the extra weight:
Video won’t embed: https://photos.smugmug.com/photos/i-ZNLQbgD/0/2a4fc887/1920/i-ZNLQbgD-1920.mp4
...more to follow after the latch is painted and when the new hinge roller gets here, and definitely when the custom billet aluminum badge shows up. Until then...

Last edited:


