mpk1996
Full Access Member
- Joined
- Mar 5, 2013
- Posts
- 255
- Reaction score
- 153
I know there has been a lot of VHF radio install threads, but I did a few things different and didn't find a lot of info in one place for how I wanted to install it. So here it goes.
I got my radio from an online retailer (and ebay sales) place named Gallad Group Inc. They have a website and sell everything from their or ebay. The owner was awesome. I had a bunch of questions and he answered them super fast (like in minutes) even on a Sunday. So I highly recommend them. He offers up to 16 channels programmed. I had wanted more and he emailed me the software to do it myself, and also provided a link to a USB programming cable. He tests the radios before they go out, so its not like ordering from a DRMO place where they have been pulled from fleet vehicles and you have no idea whats going on with them. It comes with new power wires, tested remote head wires. Basically ready to go. Oh and about 1/3 of the price of some of the other places. Its really a no brainer to get one here.
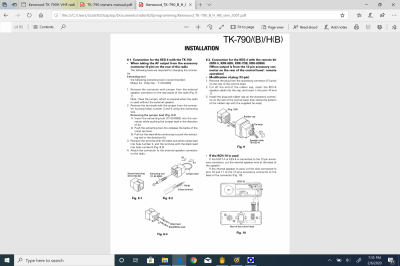
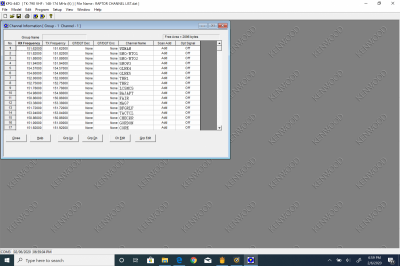
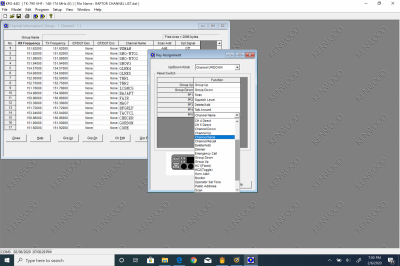
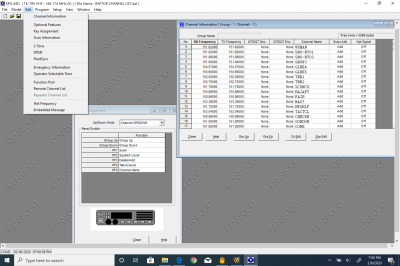
For those of you who are worried about programming and think you need to buy these radios from somewhere that programs them for you, you are worried about nothing. I copied the list from the "only VHR radio thread" and just typed everything in. Super easy. The other cool thing by doing things this way is you can custom name the channels and program the buttons to do whatever you want. Again super easy. Once the radio was in the truck and powered (didn't have a 12v power source to do it before) it literally took 2 min to program. I couldn't believe it was that easy. Here are a couple of screen shots of what the program looks like. you just type in the freqs and save it.
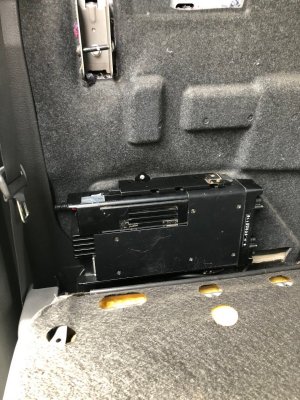
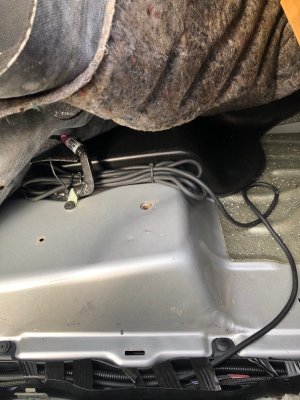
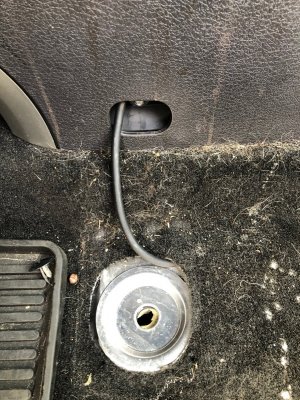
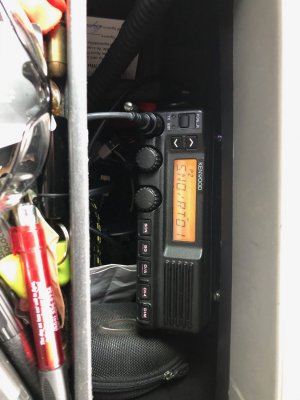
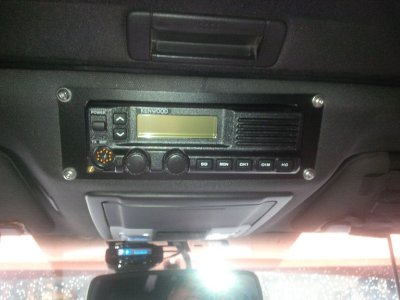
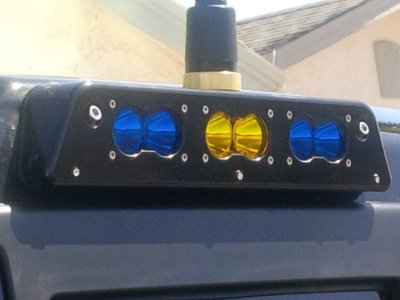
I was hoping to put the main radio body under the passengers seat, but it wont fit. Luckly I have the builtright industries rear seat hooyas that make getting behind the seat a breeze. I decided to put it behind the rear seat since it was going to be easy to route the antenna wires that way. I am running a GJ 3rd brake light. Plenty of install threads on those, so i won't go into that here
I do have to say once again that the Tom at GJ is awesome. I had orig purchased the light without the ant mount. So I called and asked if he could send what they use to install it and i would just drill the holes and mount it. He also sent the terminal ends loose (the ones that mount to the antenna side at the light) so i could cut the coax cable to the proper length. Once I got it I had a quick question about wiring. He emailed a pic right away (like while we were talking), i pulled it up (still on the phone) and it answered all of my questions. I would never hesitate to use those guys and frankly, would pay more for a similar product knowing its coming from them.
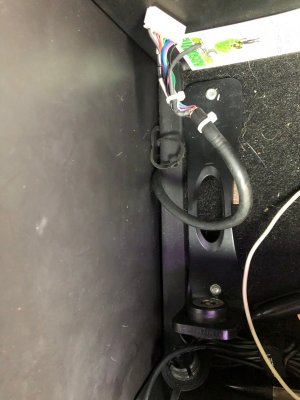
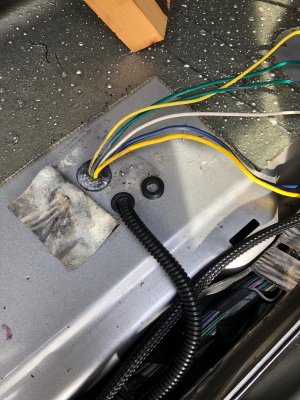
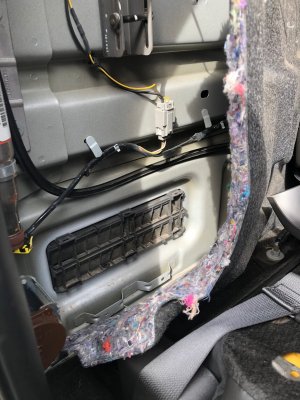
Anyhow, I found this spot that had some raised areas and a bracket that I figured would be a good spot to mount the radio bracket to and not have to go through the back of the cab.
If you look, the left hole on that lower bracket is where the trim piece for the C pillar mounts to. I used a small 1/4-20 bolt and nut to mount one of the bracket mounts in the right hand hole. The bracket lined up so that I was able to use two other self tapping screws to mount it and not go through the cab. I could have pulled the rear seat and gotten another in, but this seemed pretty solid. And the rear of the seat is there as well.
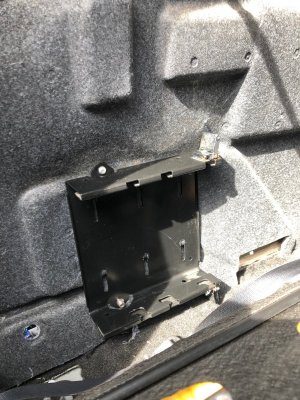
mounting the bracket through the back panel does crush some of that vent space in the back panel, but I think it will be ok.
I got my radio from an online retailer (and ebay sales) place named Gallad Group Inc. They have a website and sell everything from their or ebay. The owner was awesome. I had a bunch of questions and he answered them super fast (like in minutes) even on a Sunday. So I highly recommend them. He offers up to 16 channels programmed. I had wanted more and he emailed me the software to do it myself, and also provided a link to a USB programming cable. He tests the radios before they go out, so its not like ordering from a DRMO place where they have been pulled from fleet vehicles and you have no idea whats going on with them. It comes with new power wires, tested remote head wires. Basically ready to go. Oh and about 1/3 of the price of some of the other places. Its really a no brainer to get one here.
For those of you who are worried about programming and think you need to buy these radios from somewhere that programs them for you, you are worried about nothing. I copied the list from the "only VHR radio thread" and just typed everything in. Super easy. The other cool thing by doing things this way is you can custom name the channels and program the buttons to do whatever you want. Again super easy. Once the radio was in the truck and powered (didn't have a 12v power source to do it before) it literally took 2 min to program. I couldn't believe it was that easy. Here are a couple of screen shots of what the program looks like. you just type in the freqs and save it.


I was hoping to put the main radio body under the passengers seat, but it wont fit. Luckly I have the builtright industries rear seat hooyas that make getting behind the seat a breeze. I decided to put it behind the rear seat since it was going to be easy to route the antenna wires that way. I am running a GJ 3rd brake light. Plenty of install threads on those, so i won't go into that here
I do have to say once again that the Tom at GJ is awesome. I had orig purchased the light without the ant mount. So I called and asked if he could send what they use to install it and i would just drill the holes and mount it. He also sent the terminal ends loose (the ones that mount to the antenna side at the light) so i could cut the coax cable to the proper length. Once I got it I had a quick question about wiring. He emailed a pic right away (like while we were talking), i pulled it up (still on the phone) and it answered all of my questions. I would never hesitate to use those guys and frankly, would pay more for a similar product knowing its coming from them.
Anyhow, I found this spot that had some raised areas and a bracket that I figured would be a good spot to mount the radio bracket to and not have to go through the back of the cab.
If you look, the left hole on that lower bracket is where the trim piece for the C pillar mounts to. I used a small 1/4-20 bolt and nut to mount one of the bracket mounts in the right hand hole. The bracket lined up so that I was able to use two other self tapping screws to mount it and not go through the cab. I could have pulled the rear seat and gotten another in, but this seemed pretty solid. And the rear of the seat is there as well.

mounting the bracket through the back panel does crush some of that vent space in the back panel, but I think it will be ok.

Last edited:


