

I was looking for ways to free up some of my Aux Switches and came across this thread: http://www.fordraptorforum.com/f170/install-f150-headlight-switch-fog-driving-lights-20586/
All of my information for this write-up comes from that thread. I just want to condense it and add some useful pictures.
I have 4 Rigid Duallys for my fog lights that I moved from Aux switch 1 to my new headlight switch. I have a relay mounted on the driver side near the Aux switch relays. The way I set them up, if you have the headlights on auto and the switch pulled out, the fogs will turn on when you unlock the truck or remote start because I used the hood ambers as a source for the relay. All of this is explained with pictures later on.
Here's the main stuff you'll need:
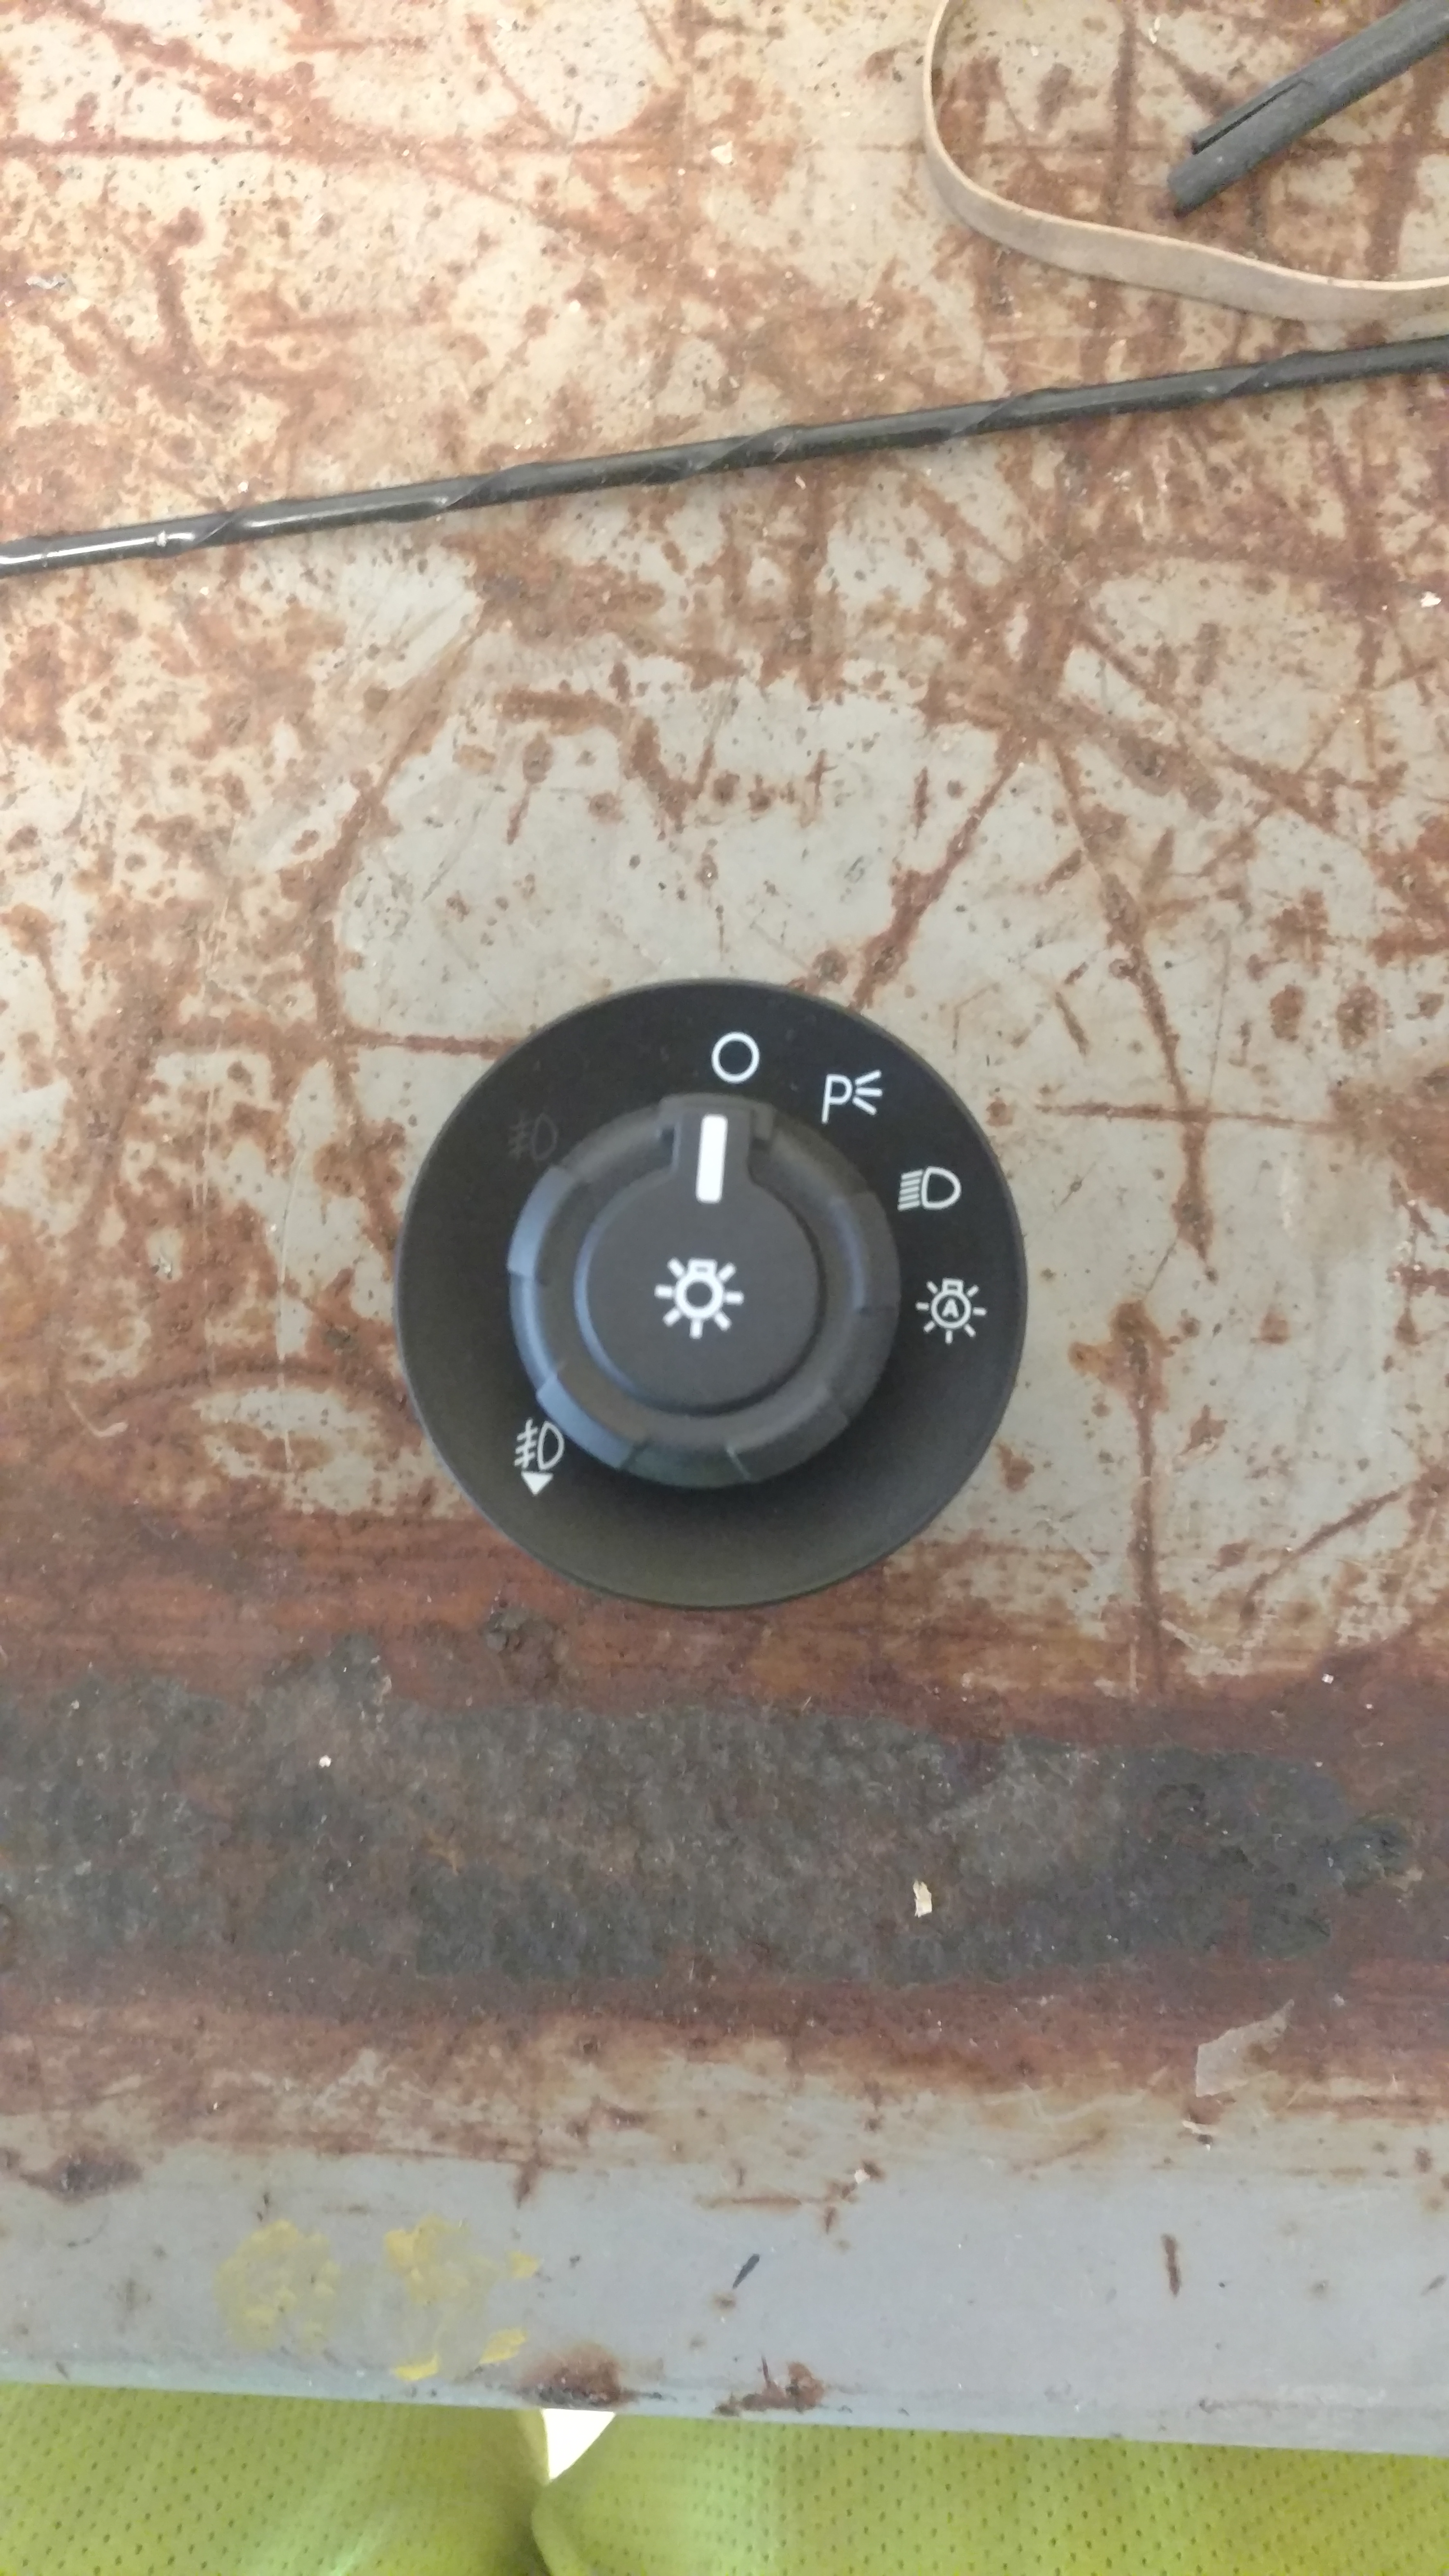
Ford 9L3Z-11654-CA - SWITCH ASY
You can order this for ~$60 on amazon or try to get lucky at a junkyard.
https://www.amazon.com/gp/product/B0031BX03Y/?tag=fordraptorforum-20
Absolute USA 1 In-line ATC Fuse Holder, 1 Relay RLS125 12 VCD Automotive Relay SPDT 30/40A and 1 SRS105 12 VDC 5-Pin Relay Socket
https://www.amazon.com/gp/product/B007XLDREU/?tag=fordraptorforum-20
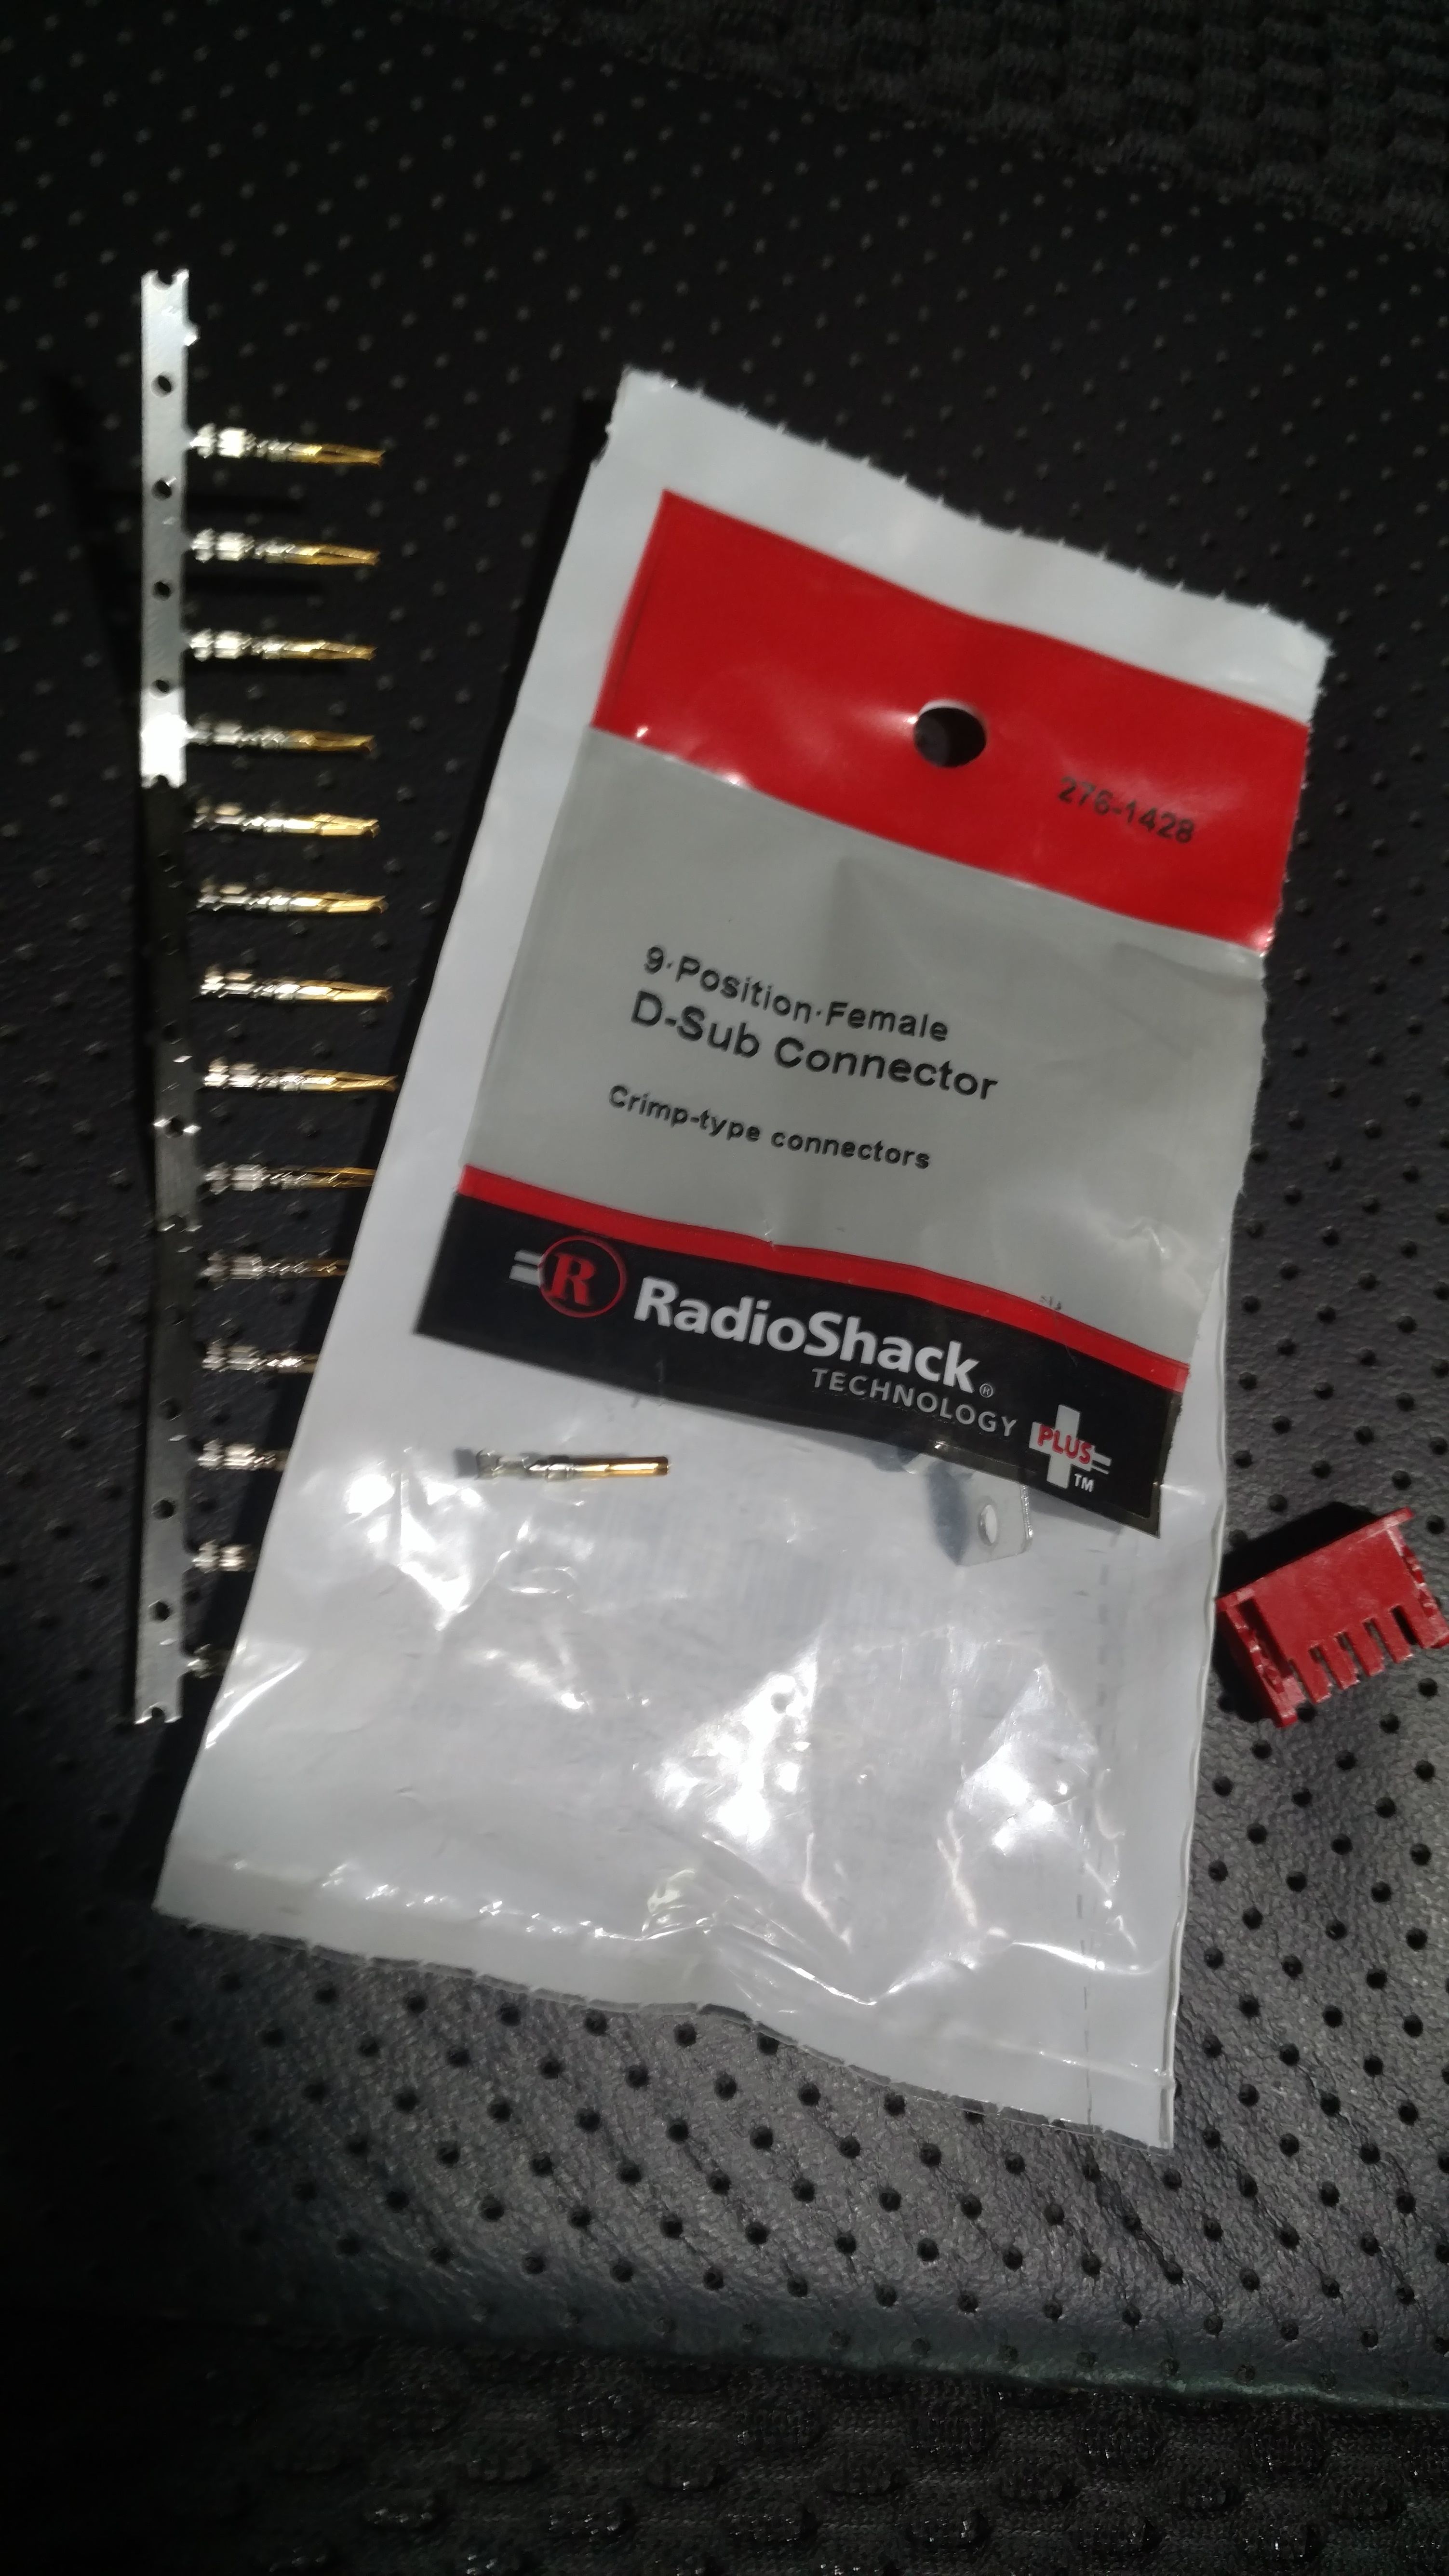
9-Position Female D-Sub Crimp Type Connector (276-1428)
Radioshack
The Install
Start with disconnecting your battery. If you don't, when you take the plug out of the switch all of your lights will just turn on and stay on.
I had a lot of wire left over from other light installs, so I didn't have to go buy anymore wire, but I would recommend getting some wire smaller than 20awg for the plug on the switch.
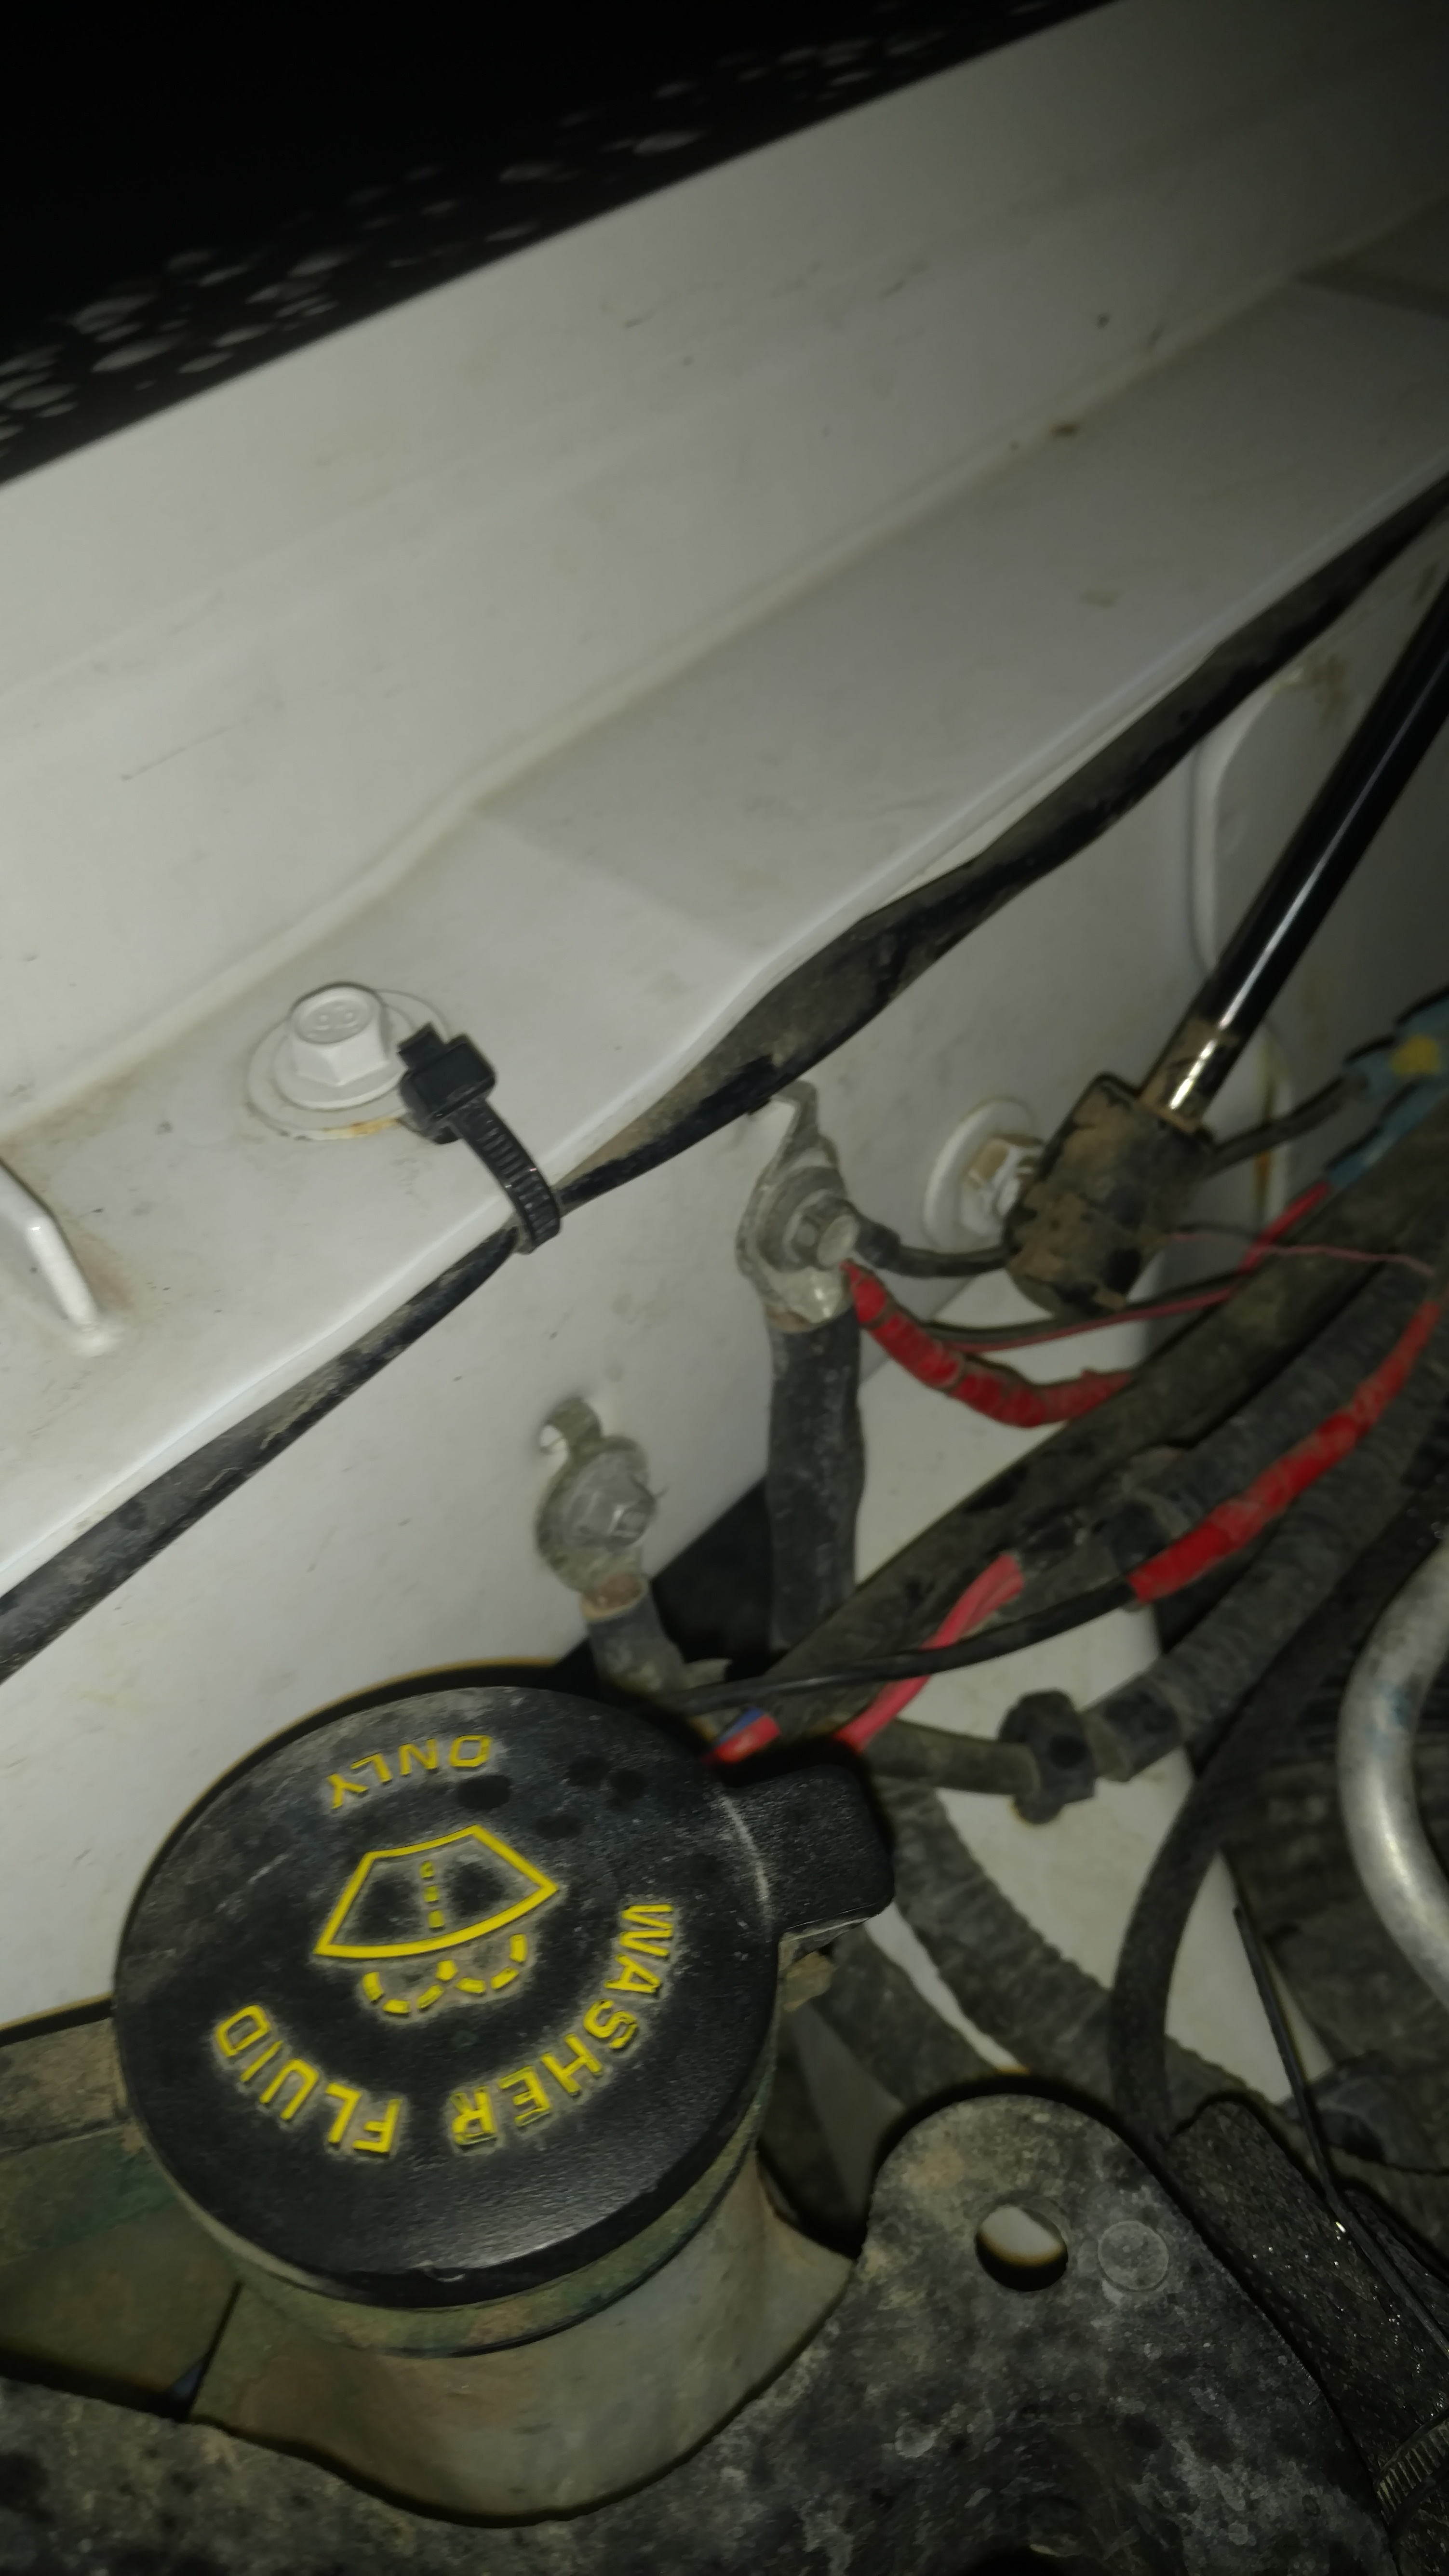
We'll start with the power source. I used the battery. I was using some left over Rigid wiring so it had an inline fuse and a ring for the battery bolt, but the relay kit I used will come with a fuse holder so you can splice it in. I put a 10amp in there. Tried a 5amp but it blew it. One of the red wires here is for my VHF radio.


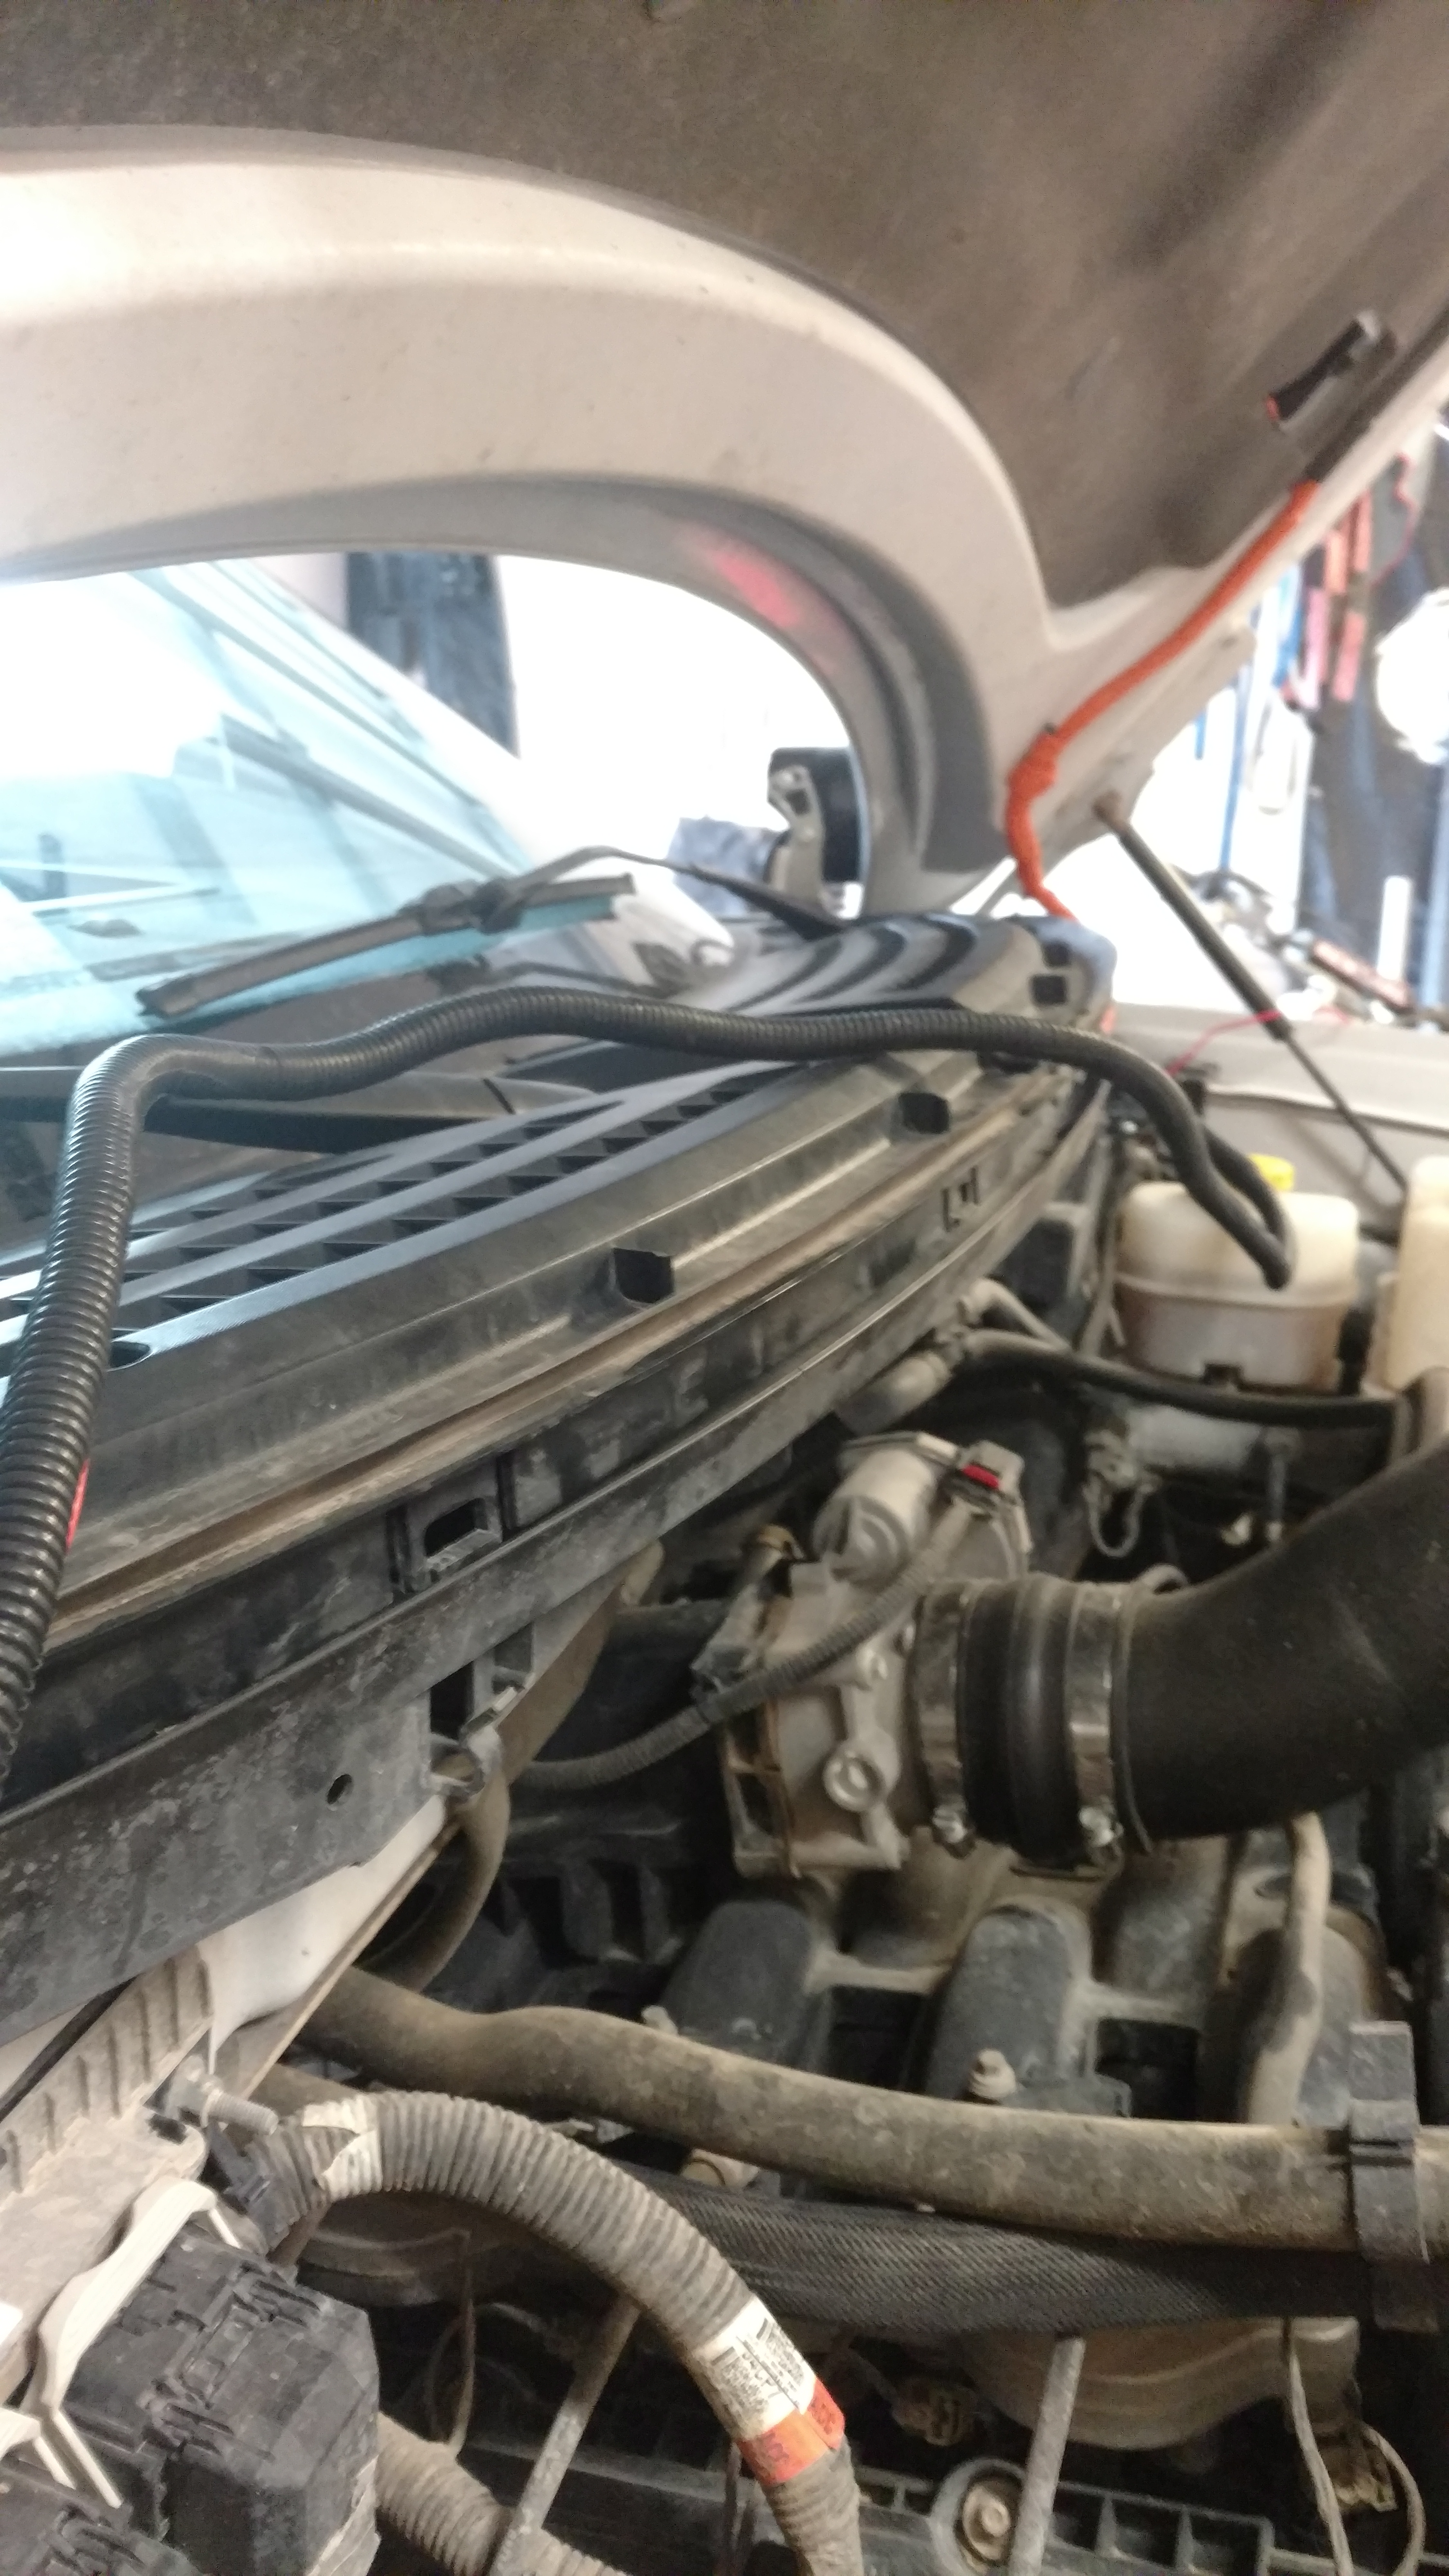
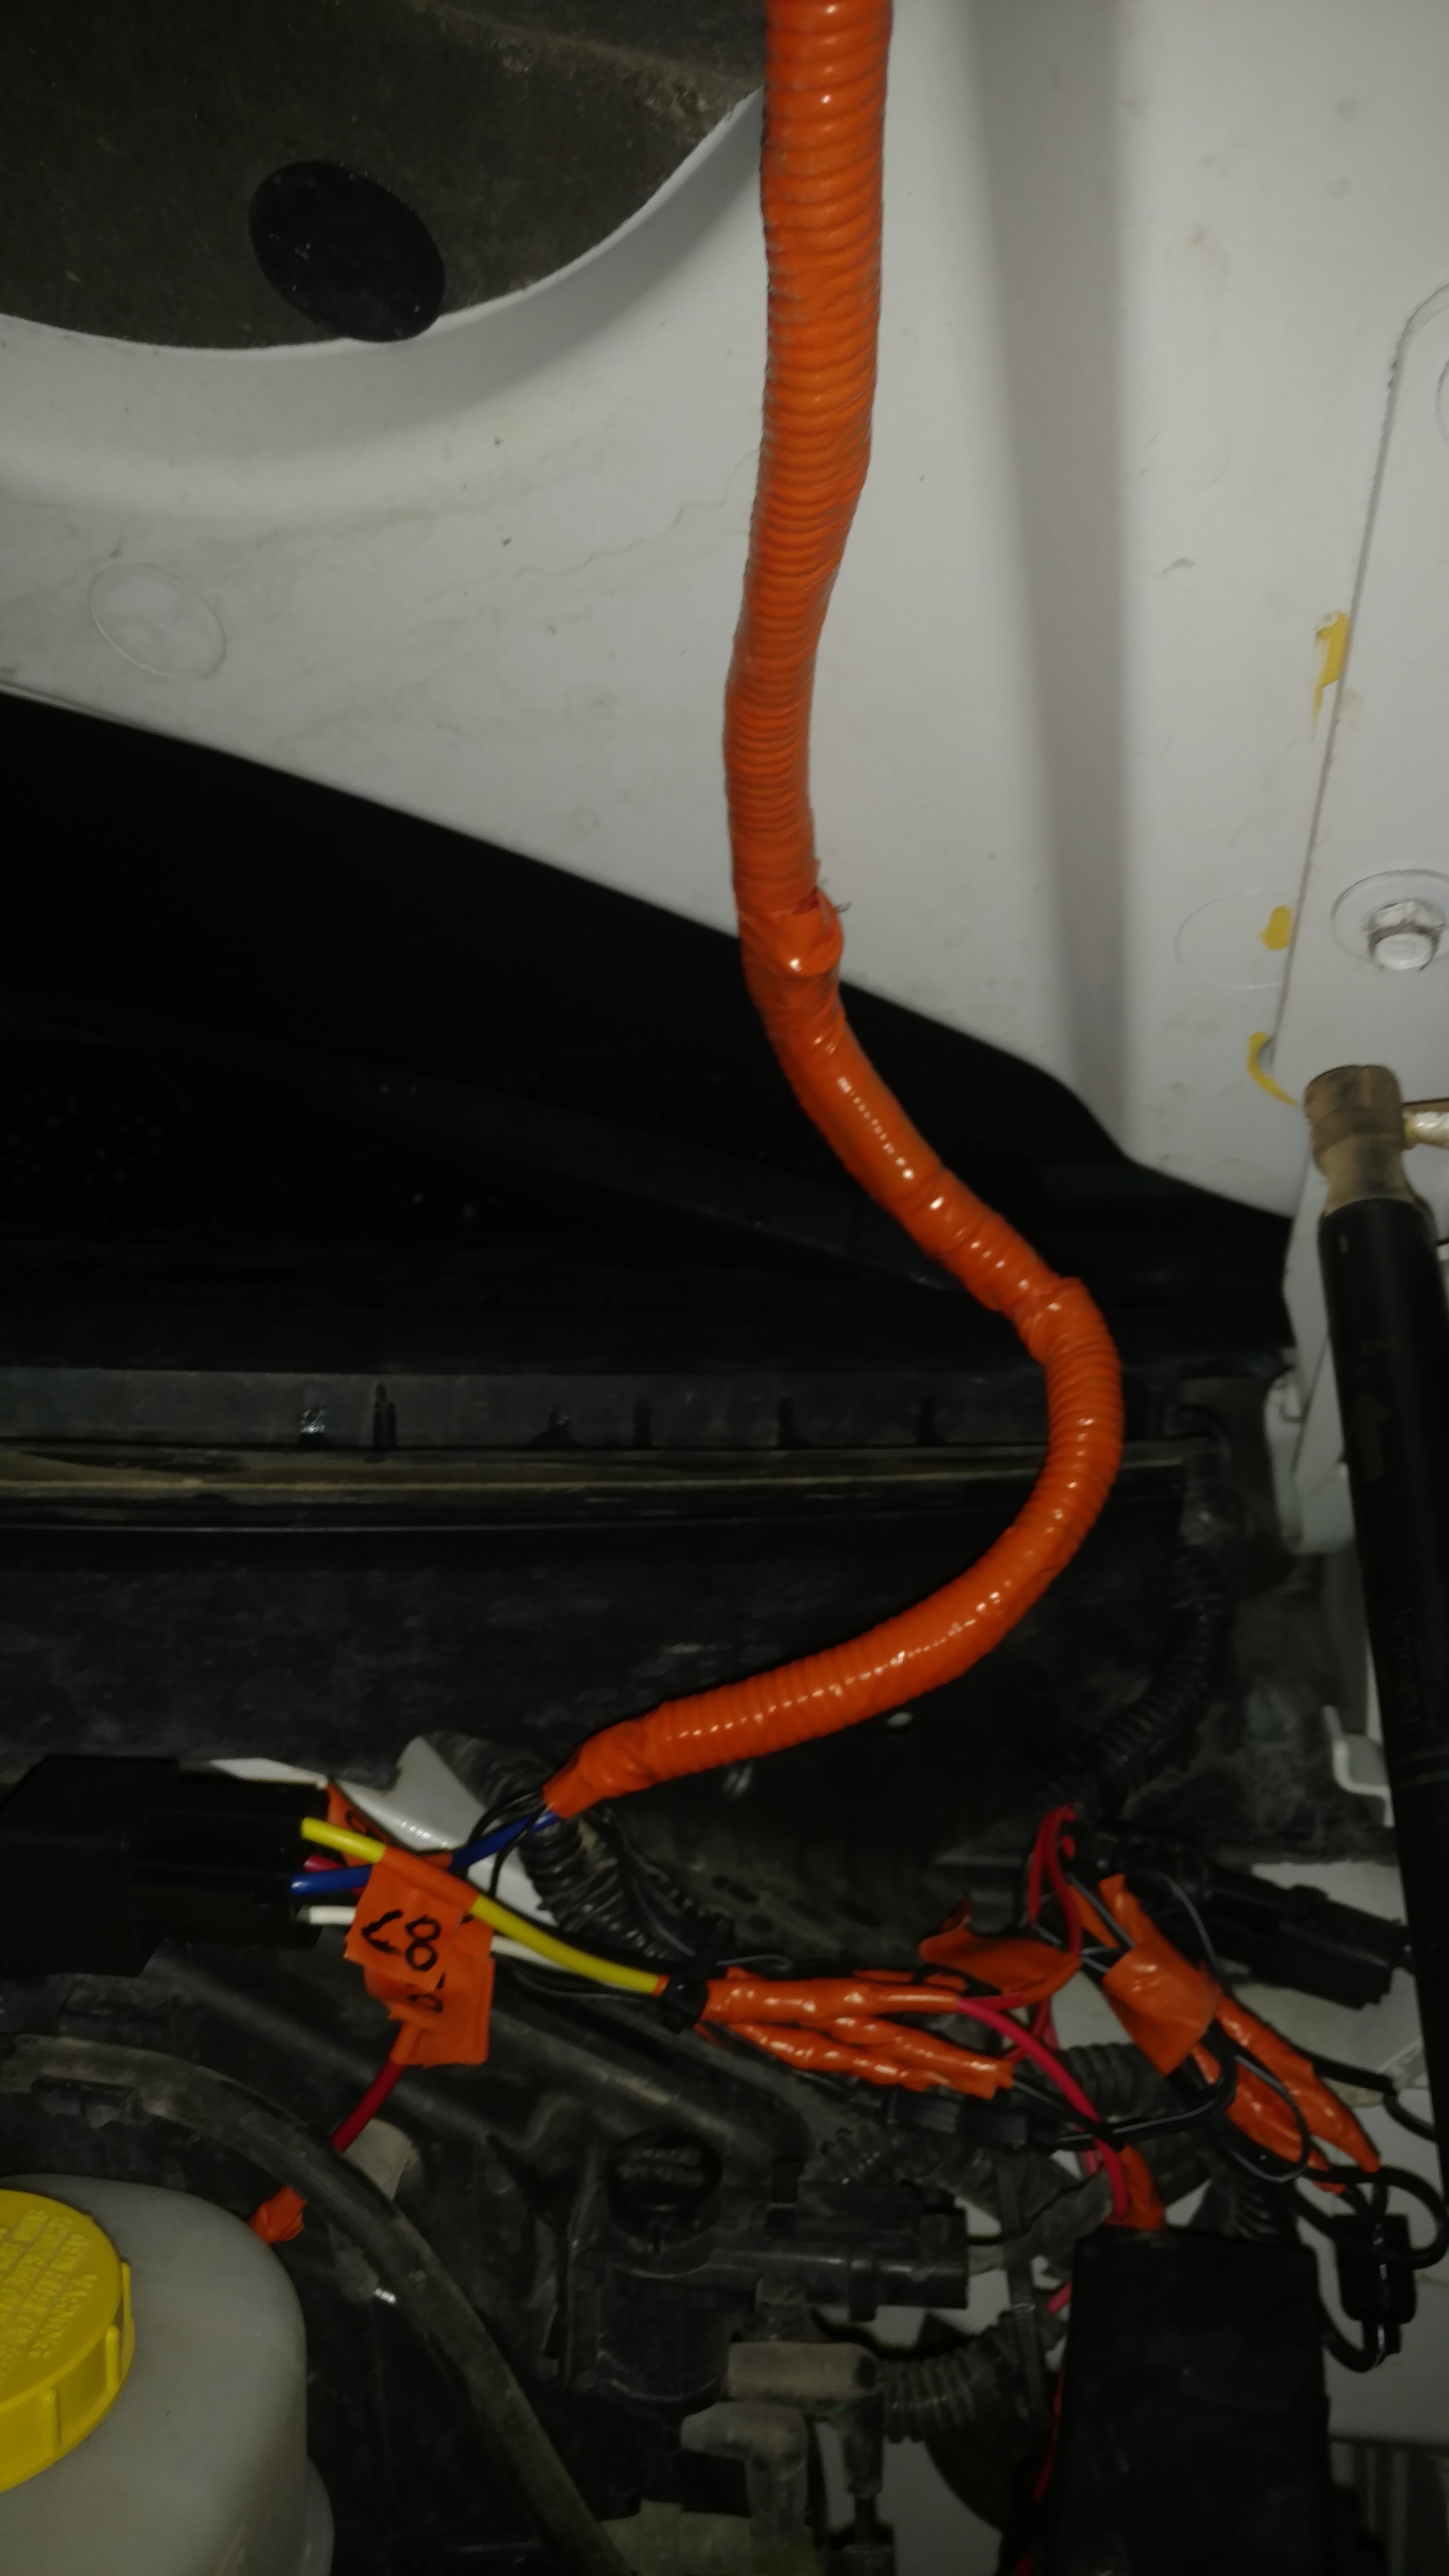
Then I ran the power wire under the plastic vent in plastic flex tube stuff with all my other aux light wires that needed to cross the engine bay. Since I was using a Aux switch for my fogs before, my wiring for them is setup on the passenger side of the truck so I had to run another wire back across here to power the lights. The lights were already grounded near the battery.
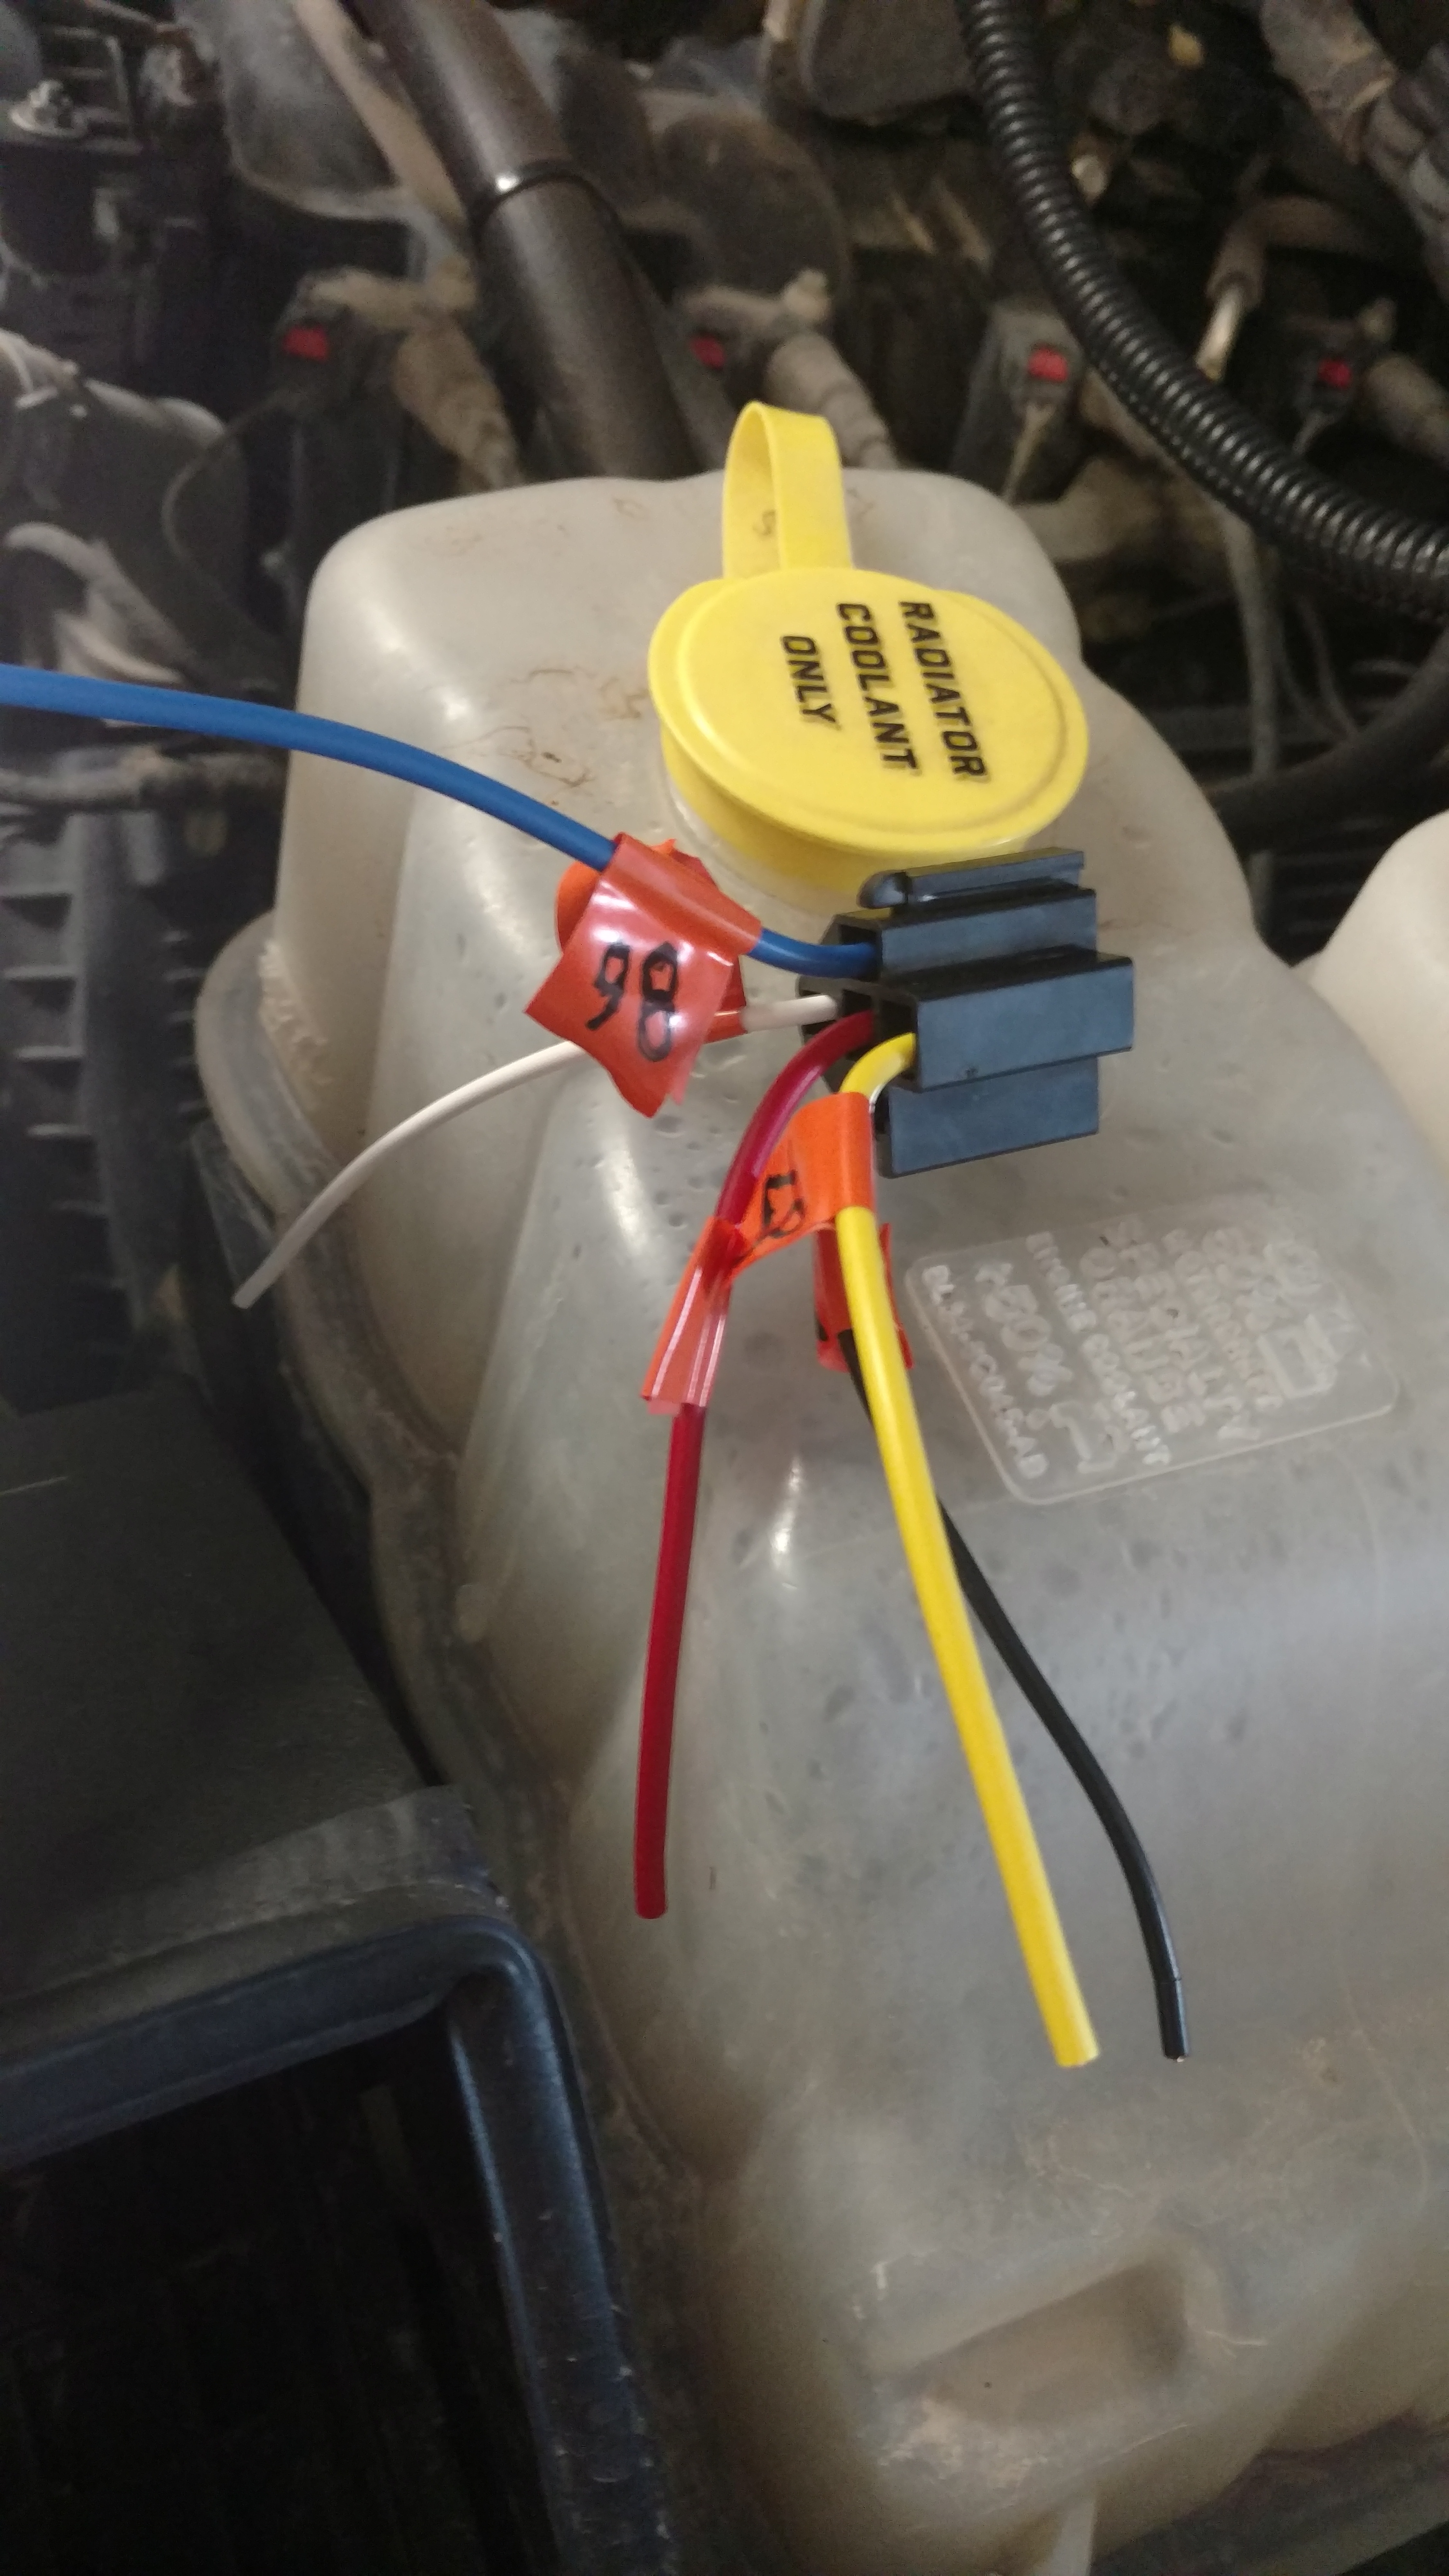
Here you can see where I mounted the relay. The relay has a tab with a hole for mounting and there's a perfect hole in the plastic to mount it to here.

For the relay plug I went ahead and labeled all my wires to make it easier while joining the wires together.
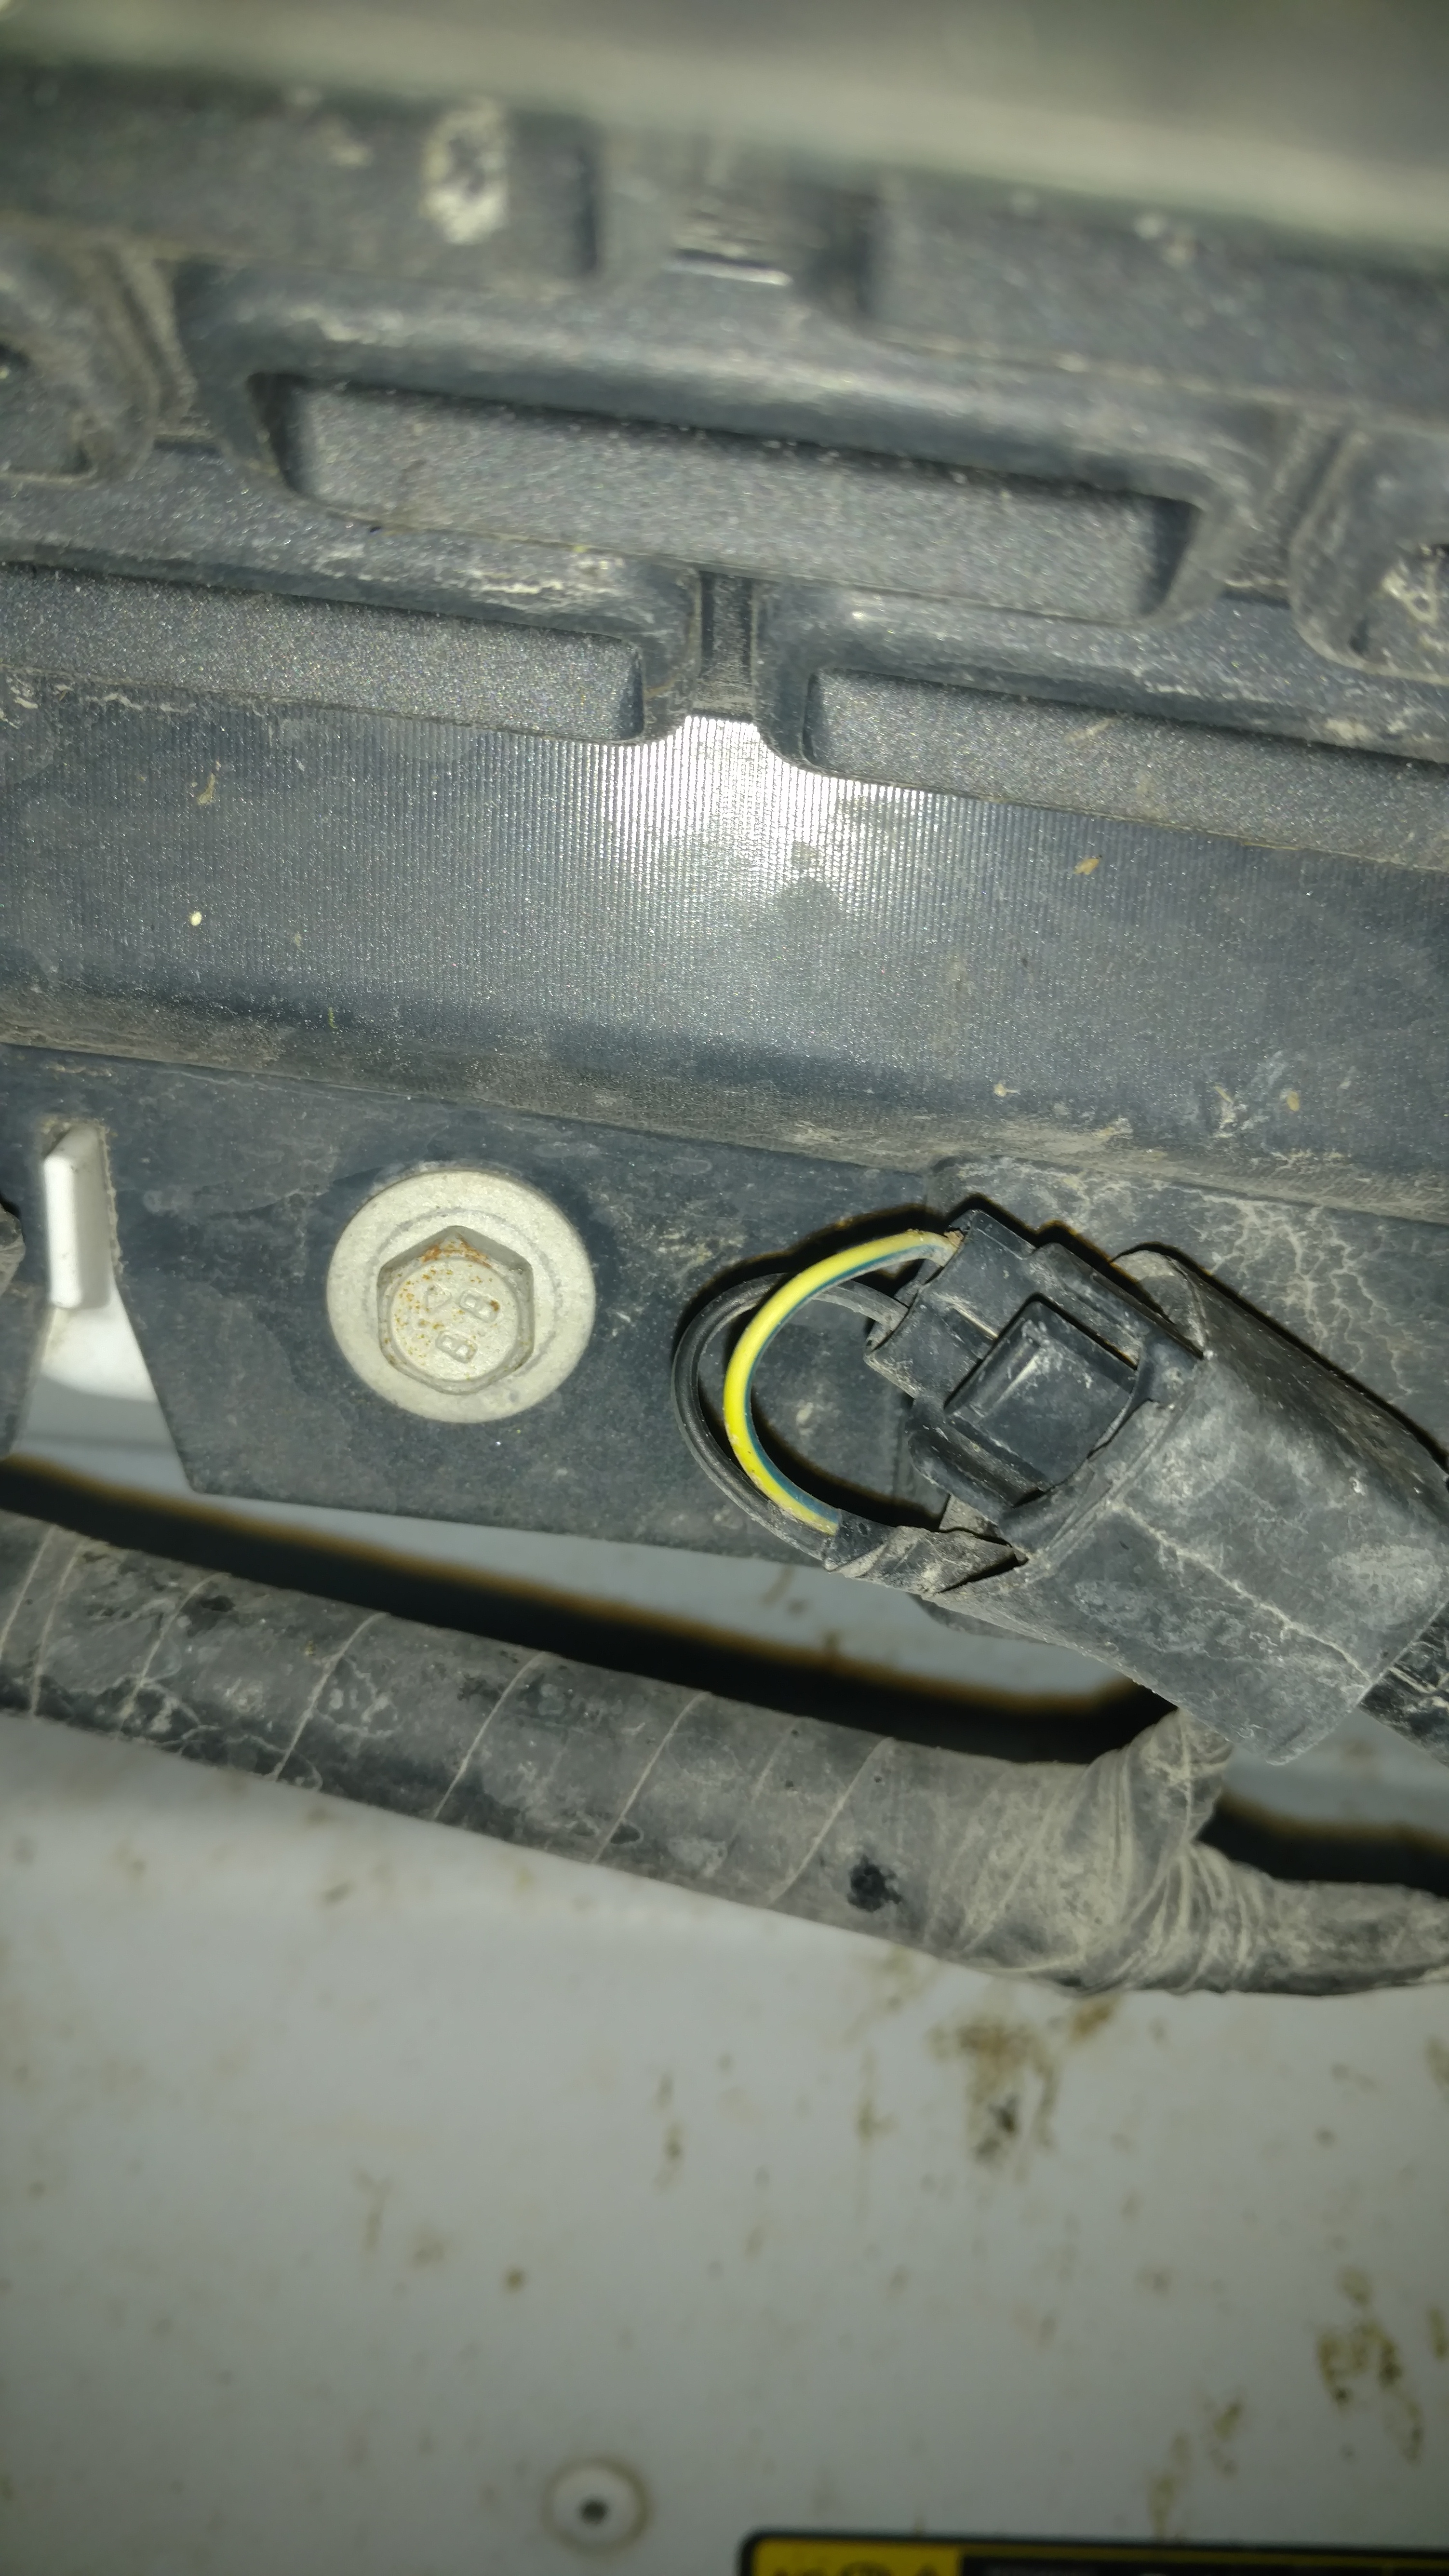
This is the relay "schematic" I put together (very useful thing I found in the other thread). I color coded everything to the actual relay and wires I used. Should be pretty straight forward here. To illuminate the little orange light on the switch when your fogs are on, you'll need to send power to it. I spliced in with my power directly to the lights. To get power from the ambers, undo some the electrical tape going up the flex tube stuff on the hood then find the Yellow and Green wire. You can also see this wire in the plug connected to the ambers on the grill.

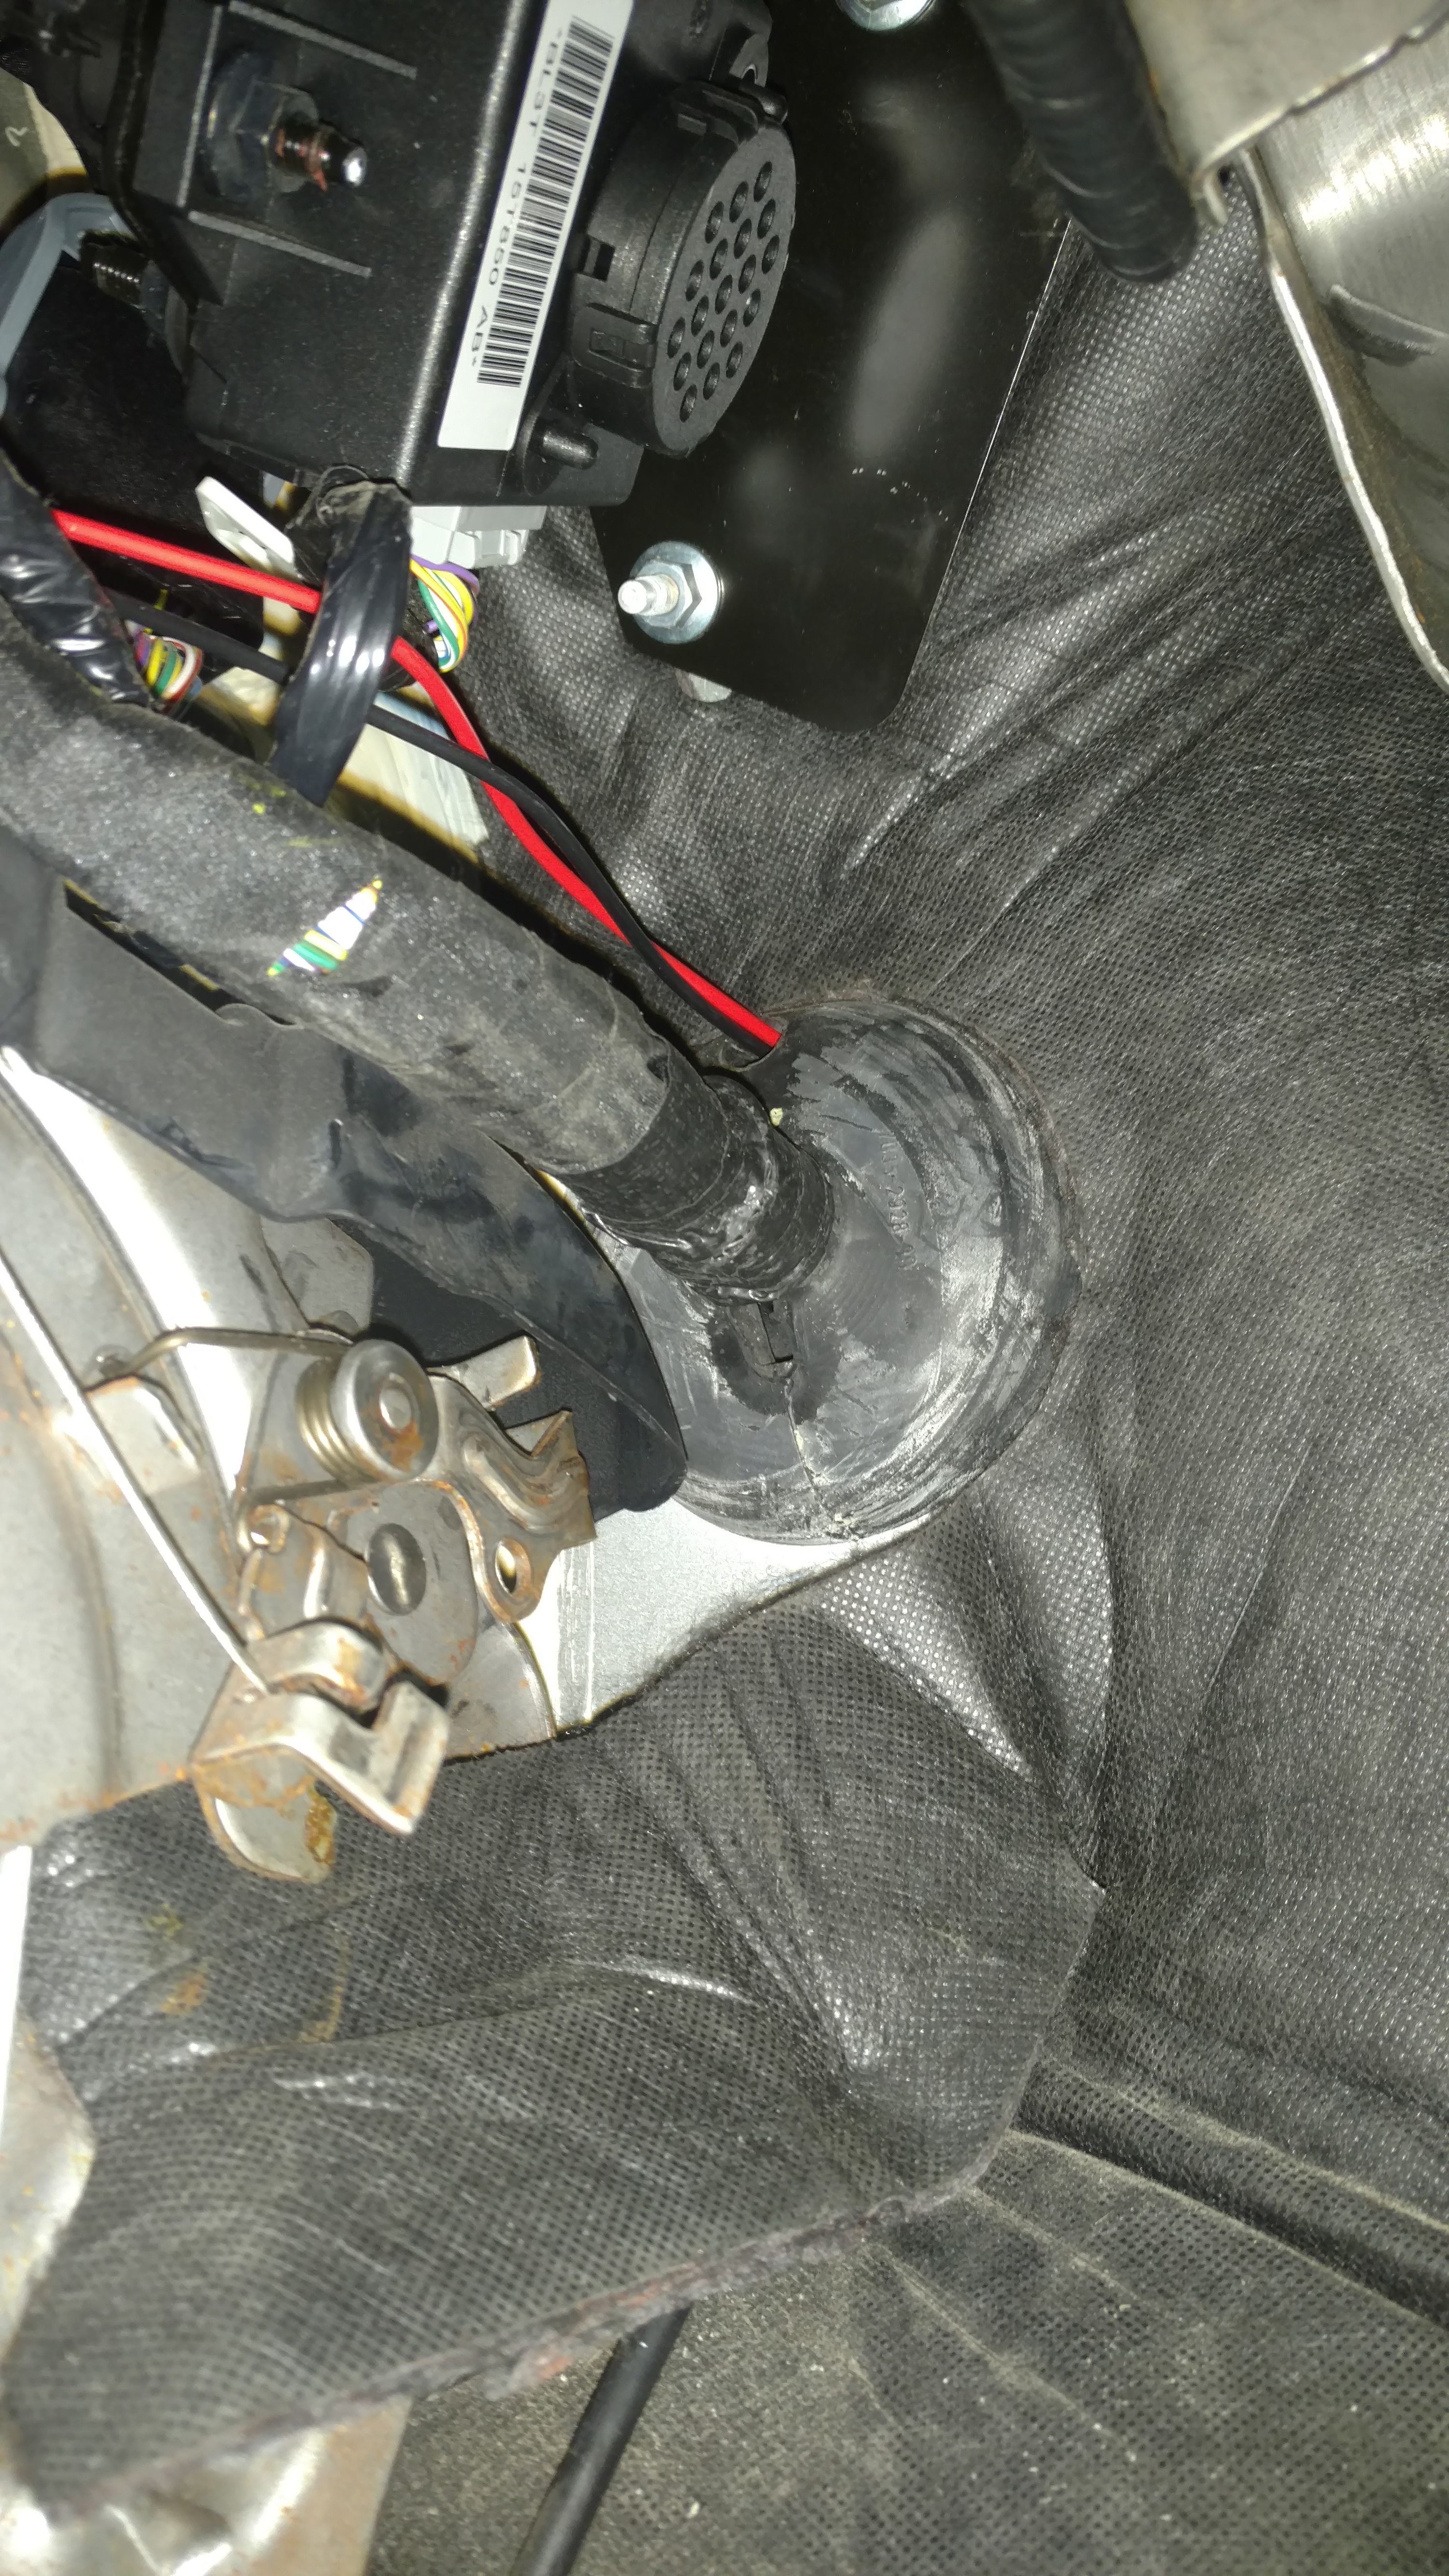
There's two wires that are going to the switch through the fire wall. Here's a good place I found to send them through. There's a fat rubber nipple on the top of this large rubber grommet that you can cut a slice into to feed your wire through. On the inside of the truck, it's just a hole already.

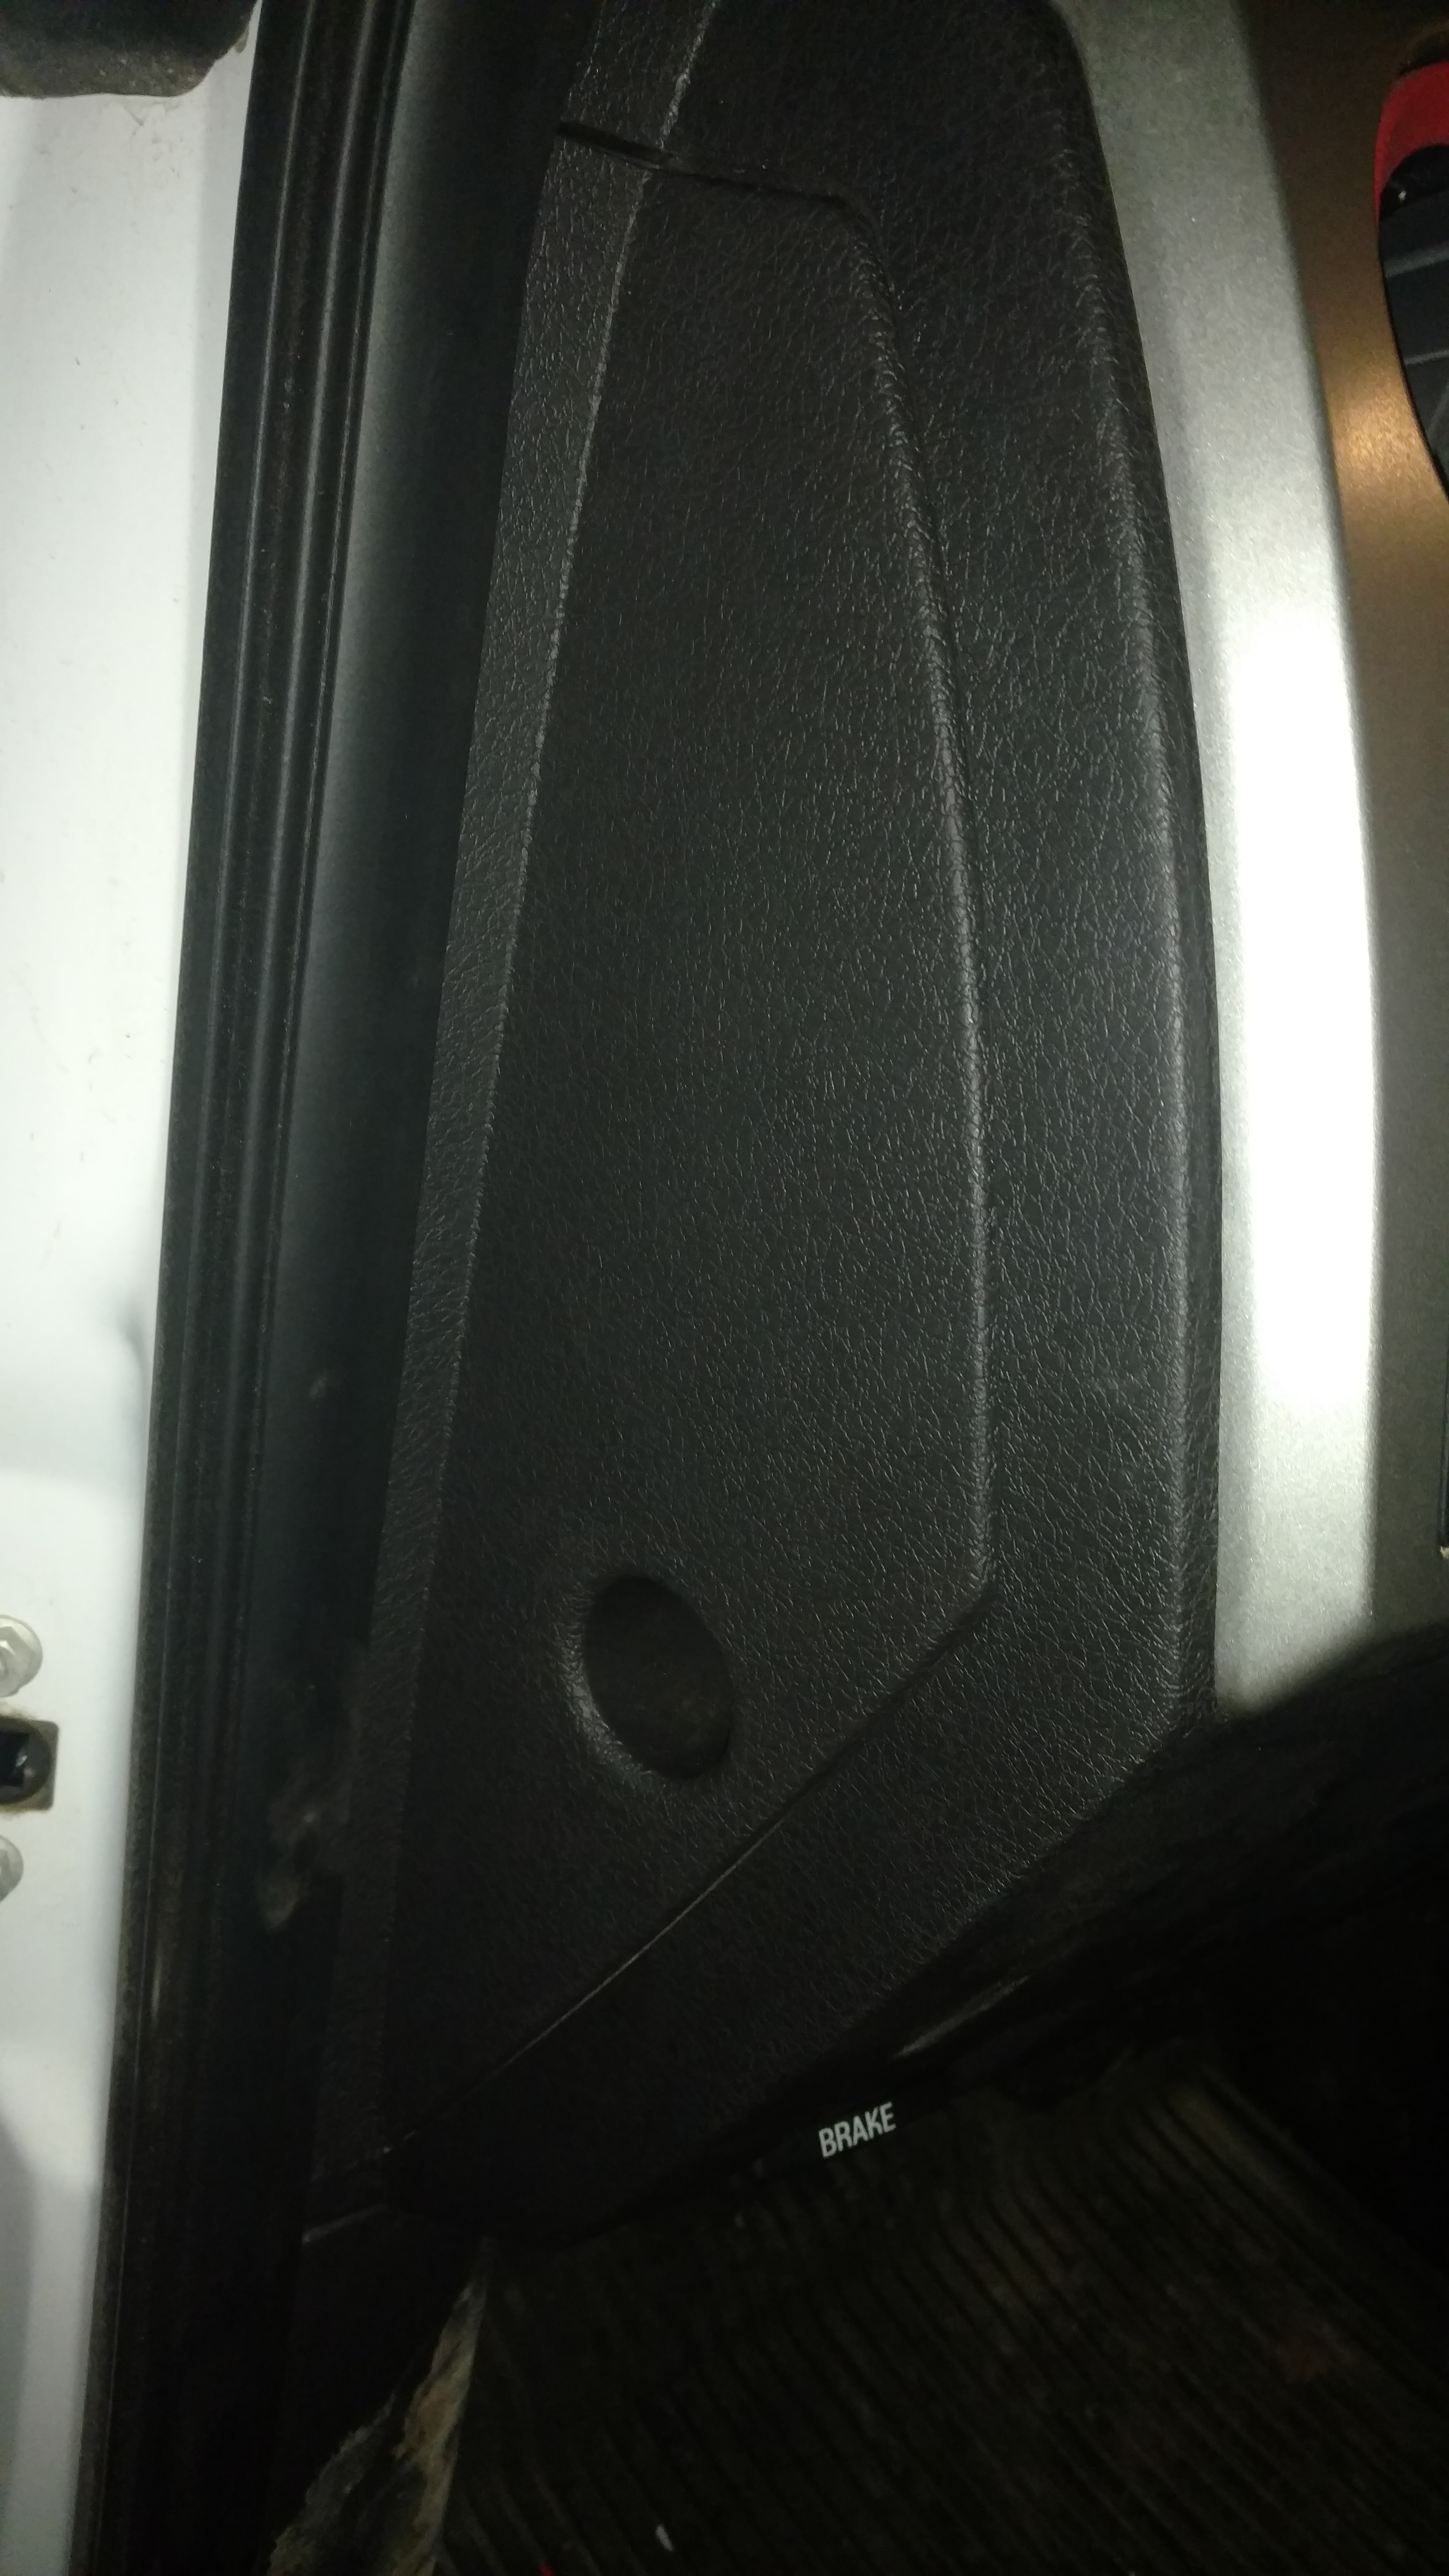
Now for the actual switch install. There's 3 tabs holding the switch into the panel. With the door open pull that side panel off with the hole in it to be able to reach back there easily.

Here's the switch from the back. The red and black wires are the ones I added and they also follow the color code on the relay picture.
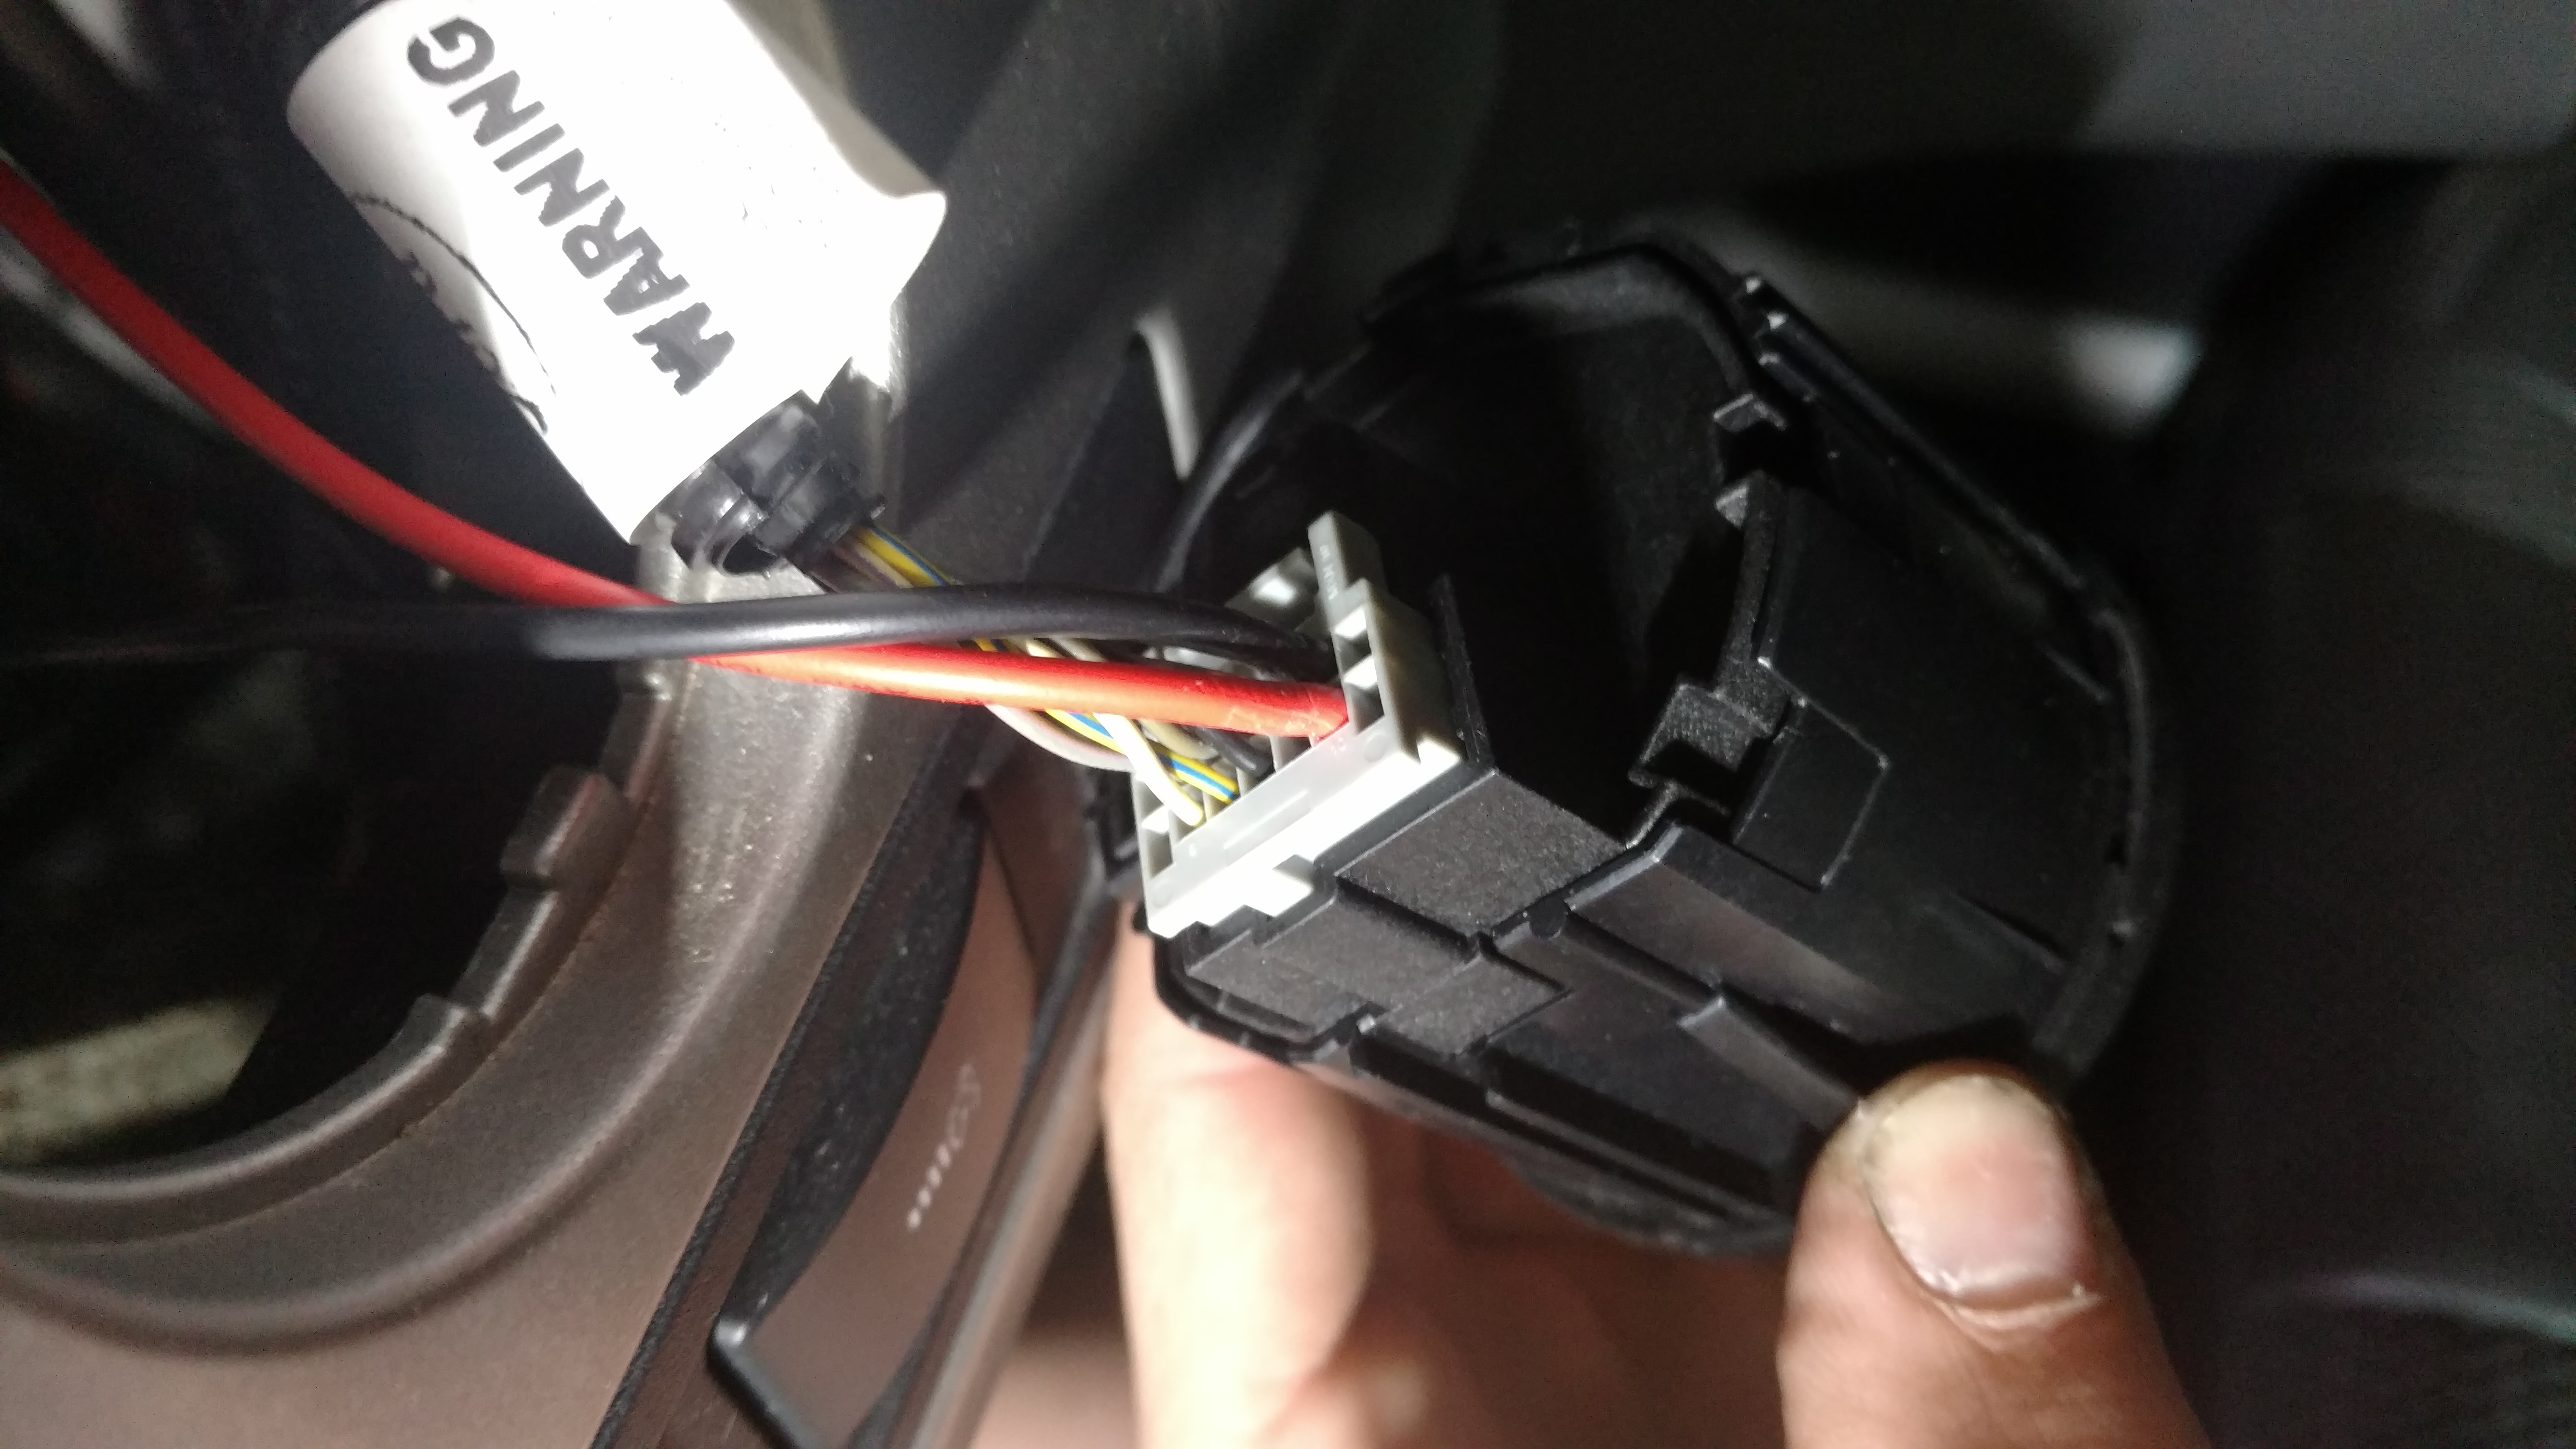
Pull the plug out and you can pop the red cover off it from the side edges. Pulling the red off may not be necessary but it helps to see if your new pins went all the way in.Now you can crimp or solder the D-Sub pins to the two wires you sent through the firewall. Shove them into the plug like pictured above (this is why I recommend smaller wires here).

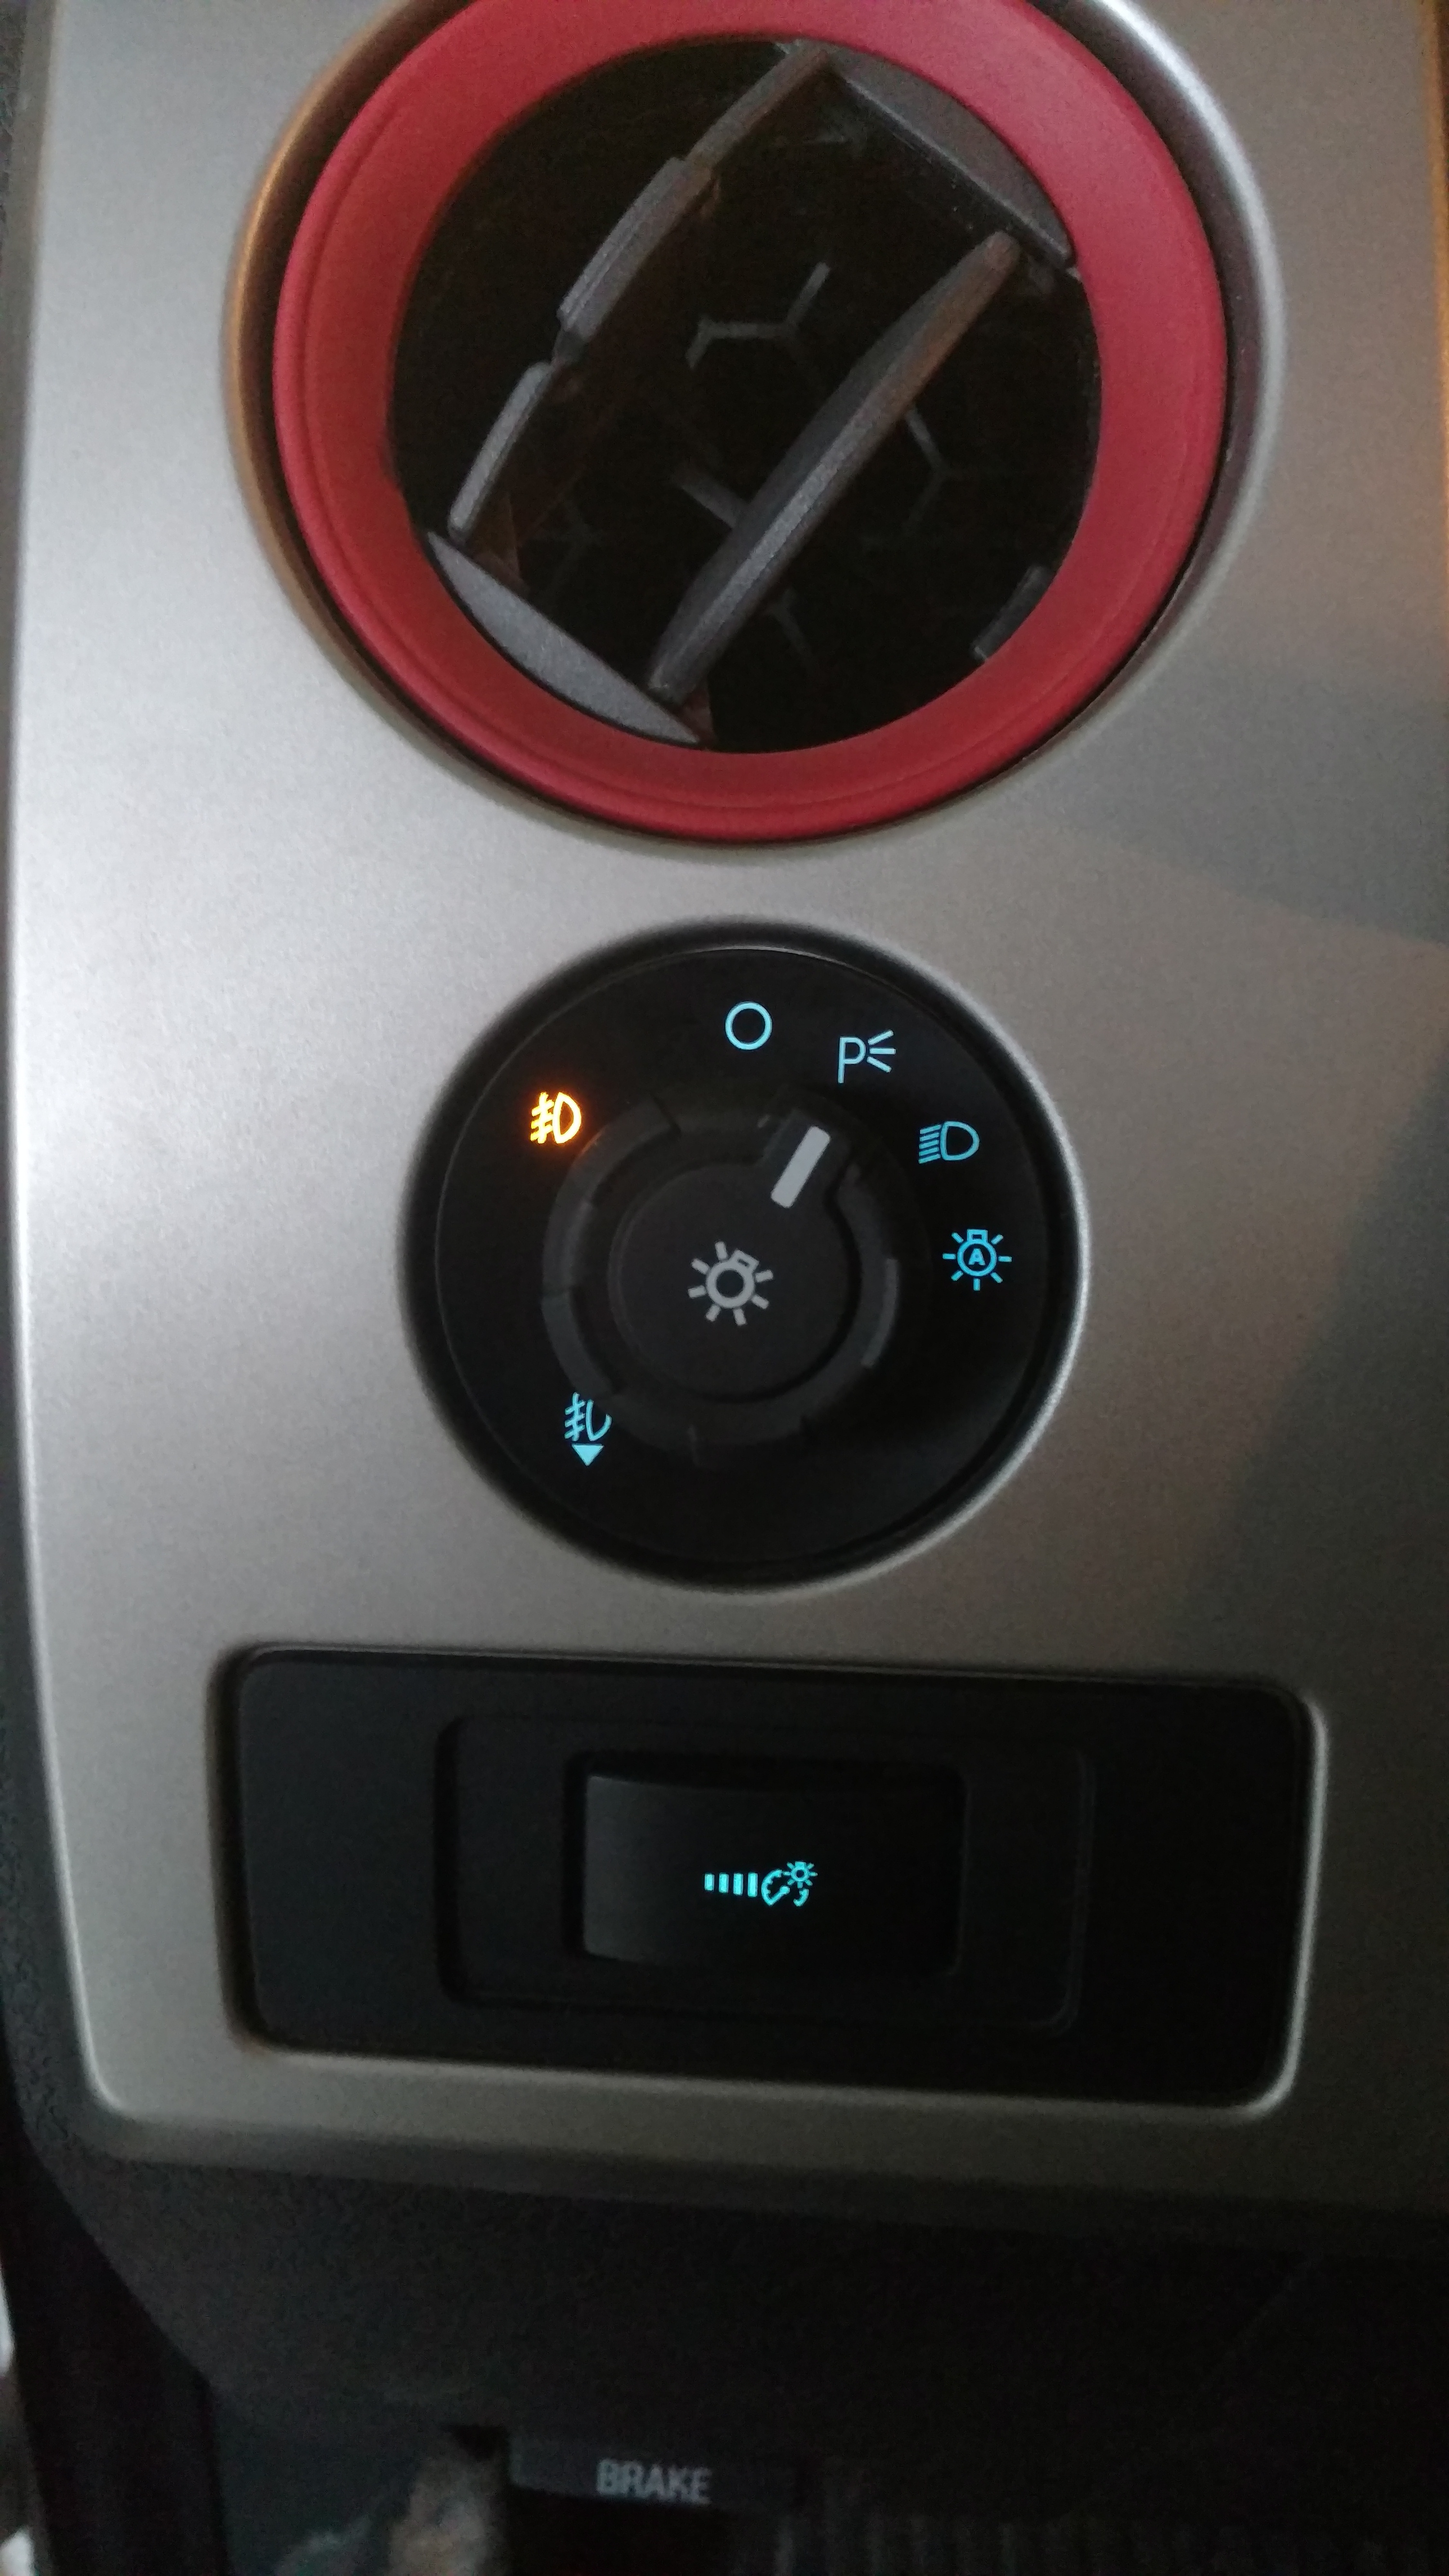
Now put the plug back in, stick the switch back into its slot, and give it a try. And don't make fun of my overusage of buttconnectors and electrical tape, I know it looks terrible
Let me know if you have a better idea or if I seem to have missed somethng, I'll add it in.
All of my information for this write-up comes from that thread. I just want to condense it and add some useful pictures.
I have 4 Rigid Duallys for my fog lights that I moved from Aux switch 1 to my new headlight switch. I have a relay mounted on the driver side near the Aux switch relays. The way I set them up, if you have the headlights on auto and the switch pulled out, the fogs will turn on when you unlock the truck or remote start because I used the hood ambers as a source for the relay. All of this is explained with pictures later on.
Here's the main stuff you'll need:
Ford 9L3Z-11654-CA - SWITCH ASY
You can order this for ~$60 on amazon or try to get lucky at a junkyard.
https://www.amazon.com/gp/product/B0031BX03Y/?tag=fordraptorforum-20
Absolute USA 1 In-line ATC Fuse Holder, 1 Relay RLS125 12 VCD Automotive Relay SPDT 30/40A and 1 SRS105 12 VDC 5-Pin Relay Socket
https://www.amazon.com/gp/product/B007XLDREU/?tag=fordraptorforum-20
9-Position Female D-Sub Crimp Type Connector (276-1428)
Radioshack
The Install
Start with disconnecting your battery. If you don't, when you take the plug out of the switch all of your lights will just turn on and stay on.
I had a lot of wire left over from other light installs, so I didn't have to go buy anymore wire, but I would recommend getting some wire smaller than 20awg for the plug on the switch.
We'll start with the power source. I used the battery. I was using some left over Rigid wiring so it had an inline fuse and a ring for the battery bolt, but the relay kit I used will come with a fuse holder so you can splice it in. I put a 10amp in there. Tried a 5amp but it blew it. One of the red wires here is for my VHF radio.
Then I ran the power wire under the plastic vent in plastic flex tube stuff with all my other aux light wires that needed to cross the engine bay. Since I was using a Aux switch for my fogs before, my wiring for them is setup on the passenger side of the truck so I had to run another wire back across here to power the lights. The lights were already grounded near the battery.
Here you can see where I mounted the relay. The relay has a tab with a hole for mounting and there's a perfect hole in the plastic to mount it to here.
For the relay plug I went ahead and labeled all my wires to make it easier while joining the wires together.
This is the relay "schematic" I put together (very useful thing I found in the other thread). I color coded everything to the actual relay and wires I used. Should be pretty straight forward here. To illuminate the little orange light on the switch when your fogs are on, you'll need to send power to it. I spliced in with my power directly to the lights. To get power from the ambers, undo some the electrical tape going up the flex tube stuff on the hood then find the Yellow and Green wire. You can also see this wire in the plug connected to the ambers on the grill.
There's two wires that are going to the switch through the fire wall. Here's a good place I found to send them through. There's a fat rubber nipple on the top of this large rubber grommet that you can cut a slice into to feed your wire through. On the inside of the truck, it's just a hole already.
Now for the actual switch install. There's 3 tabs holding the switch into the panel. With the door open pull that side panel off with the hole in it to be able to reach back there easily.
Here's the switch from the back. The red and black wires are the ones I added and they also follow the color code on the relay picture.
Pull the plug out and you can pop the red cover off it from the side edges. Pulling the red off may not be necessary but it helps to see if your new pins went all the way in.Now you can crimp or solder the D-Sub pins to the two wires you sent through the firewall. Shove them into the plug like pictured above (this is why I recommend smaller wires here).
Now put the plug back in, stick the switch back into its slot, and give it a try. And don't make fun of my overusage of buttconnectors and electrical tape, I know it looks terrible
Let me know if you have a better idea or if I seem to have missed somethng, I'll add it in.
Last edited:


