Assassin
Active Member
Door Panel Ambient Lighting Installation
First off I want to say if you want to do this project, go to Oznium.com to get your leds. They have it all, from lights to switches. Also, I want to apologize in advance because I can't do a step by step instructional for the whole project ergo no pictures were taken since I didn't plan on posting my project on here as an instructional.
This is mostly just for the panels, but I will include what I can.
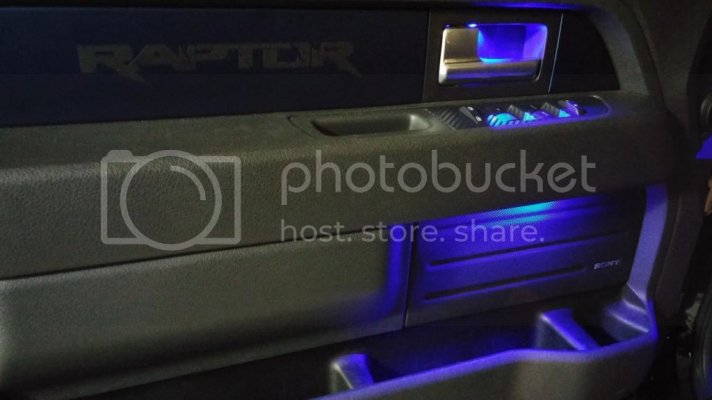
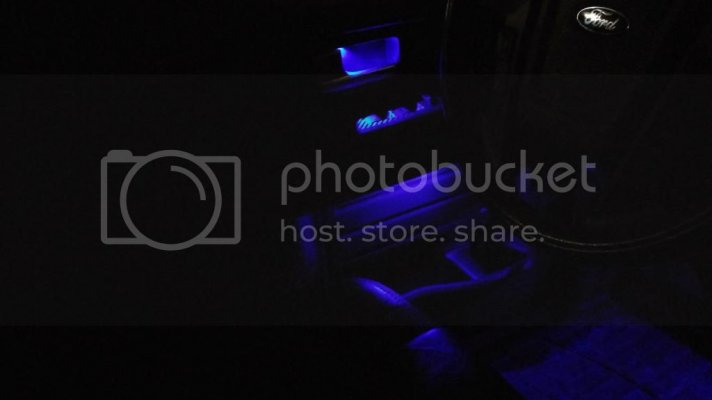
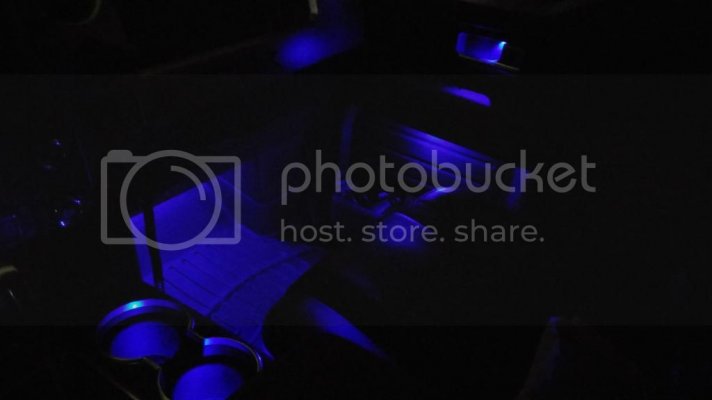
These are the tools I used not just for the panels, but for the whole project:
-Electrical Tape
-18 or 20 Gauge Wire
-Wire Stripper
-Electric Drill
-9/16 and 7/32 Drill Bits
-Panel Removal Kits ( Amazon.com: HDE 12 Pcs No Scratch Car Vehicle Stereo Radio Receiver Dash Panel Removal/Installation Tool Kit: Automotive )
And ( Astro Pneumatic 4524 Auto Fastener and Molding Removal Tool Set, 11-Piece - Air Tool Maintenance Kits - Amazon.com )
-Liquid Tape
-Bondic Liquid Plastic Bonder ( Amazon.com : Bondic® (Starter Kit) The World's First Liquid Plastic Welder! Bond, Build, Fix and Fill Almost Anything in Seconds! Your Hard Fix For Sticky Situations. (Bondic® Starter Kit) : Office Products )
-Wago, PosiTap, and Various Other Types of Connectors
List of LEDs:
-2835 Surface Mount ( Tiny Prewired Super Bright Surface Mount LEDs - 12V DIY Plug and Play SMT LED )
-6mm Flush Mount LED Bolt ( Flush Mount LED Bolt )
-LED Dimmer Knob ( LED Dimmer Knob - panel mount )
Alright, first off remove the door panel. For those of you that don't know how to do this, you can watch this video on Youtube. ( https://www.youtube.com/watch?v=yhdZIQ2x3rM )
Once Panel is removed, set it aside out of the way. Remove the kick panel,
then the next thing you need to do is unplug the big connector in between the door and truck, and pull out the rubber loom seal from the door.
This next part is the biggest pain in the ass and the hardest part for the whole project only because there's hardly no working room. Once you complete this, it's smooth sailing from there.
Twist the connector housing counter clockwise (or clockwise depending which side you're on) and push on the bottom. It should come loose and just hang inside the door frame. Take the 9/16 drill bit and drill a hole on the bottom of the housing in between the blue seal, and the plastic clip. Once completed, poke the wires through that hole, then pull them out through to the other side behind where your parking break is using either a wire or small fingers (another PITA).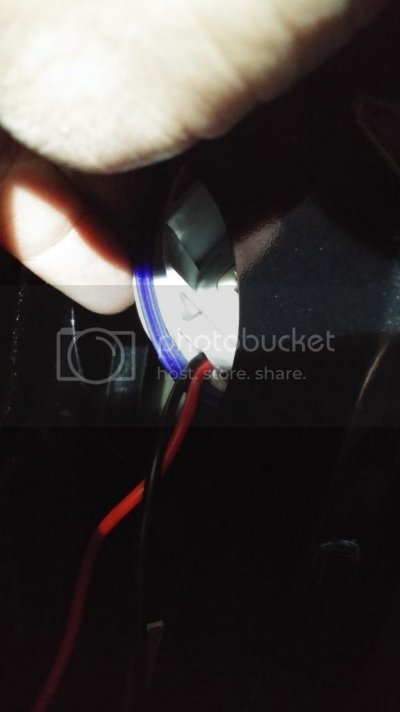
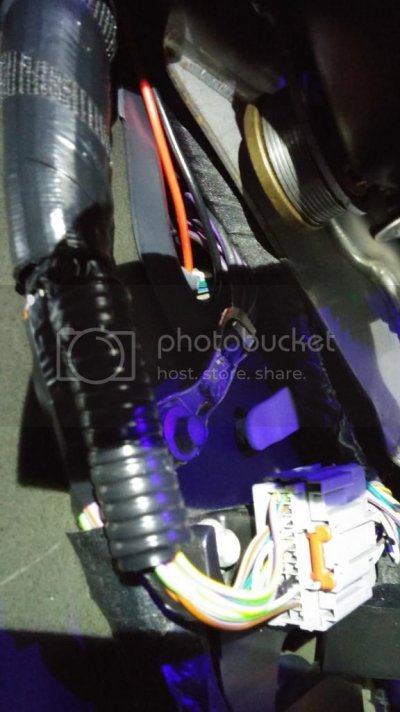
Poke a hole through the rubber door wire loom and feed the wires through it, then into the door itself.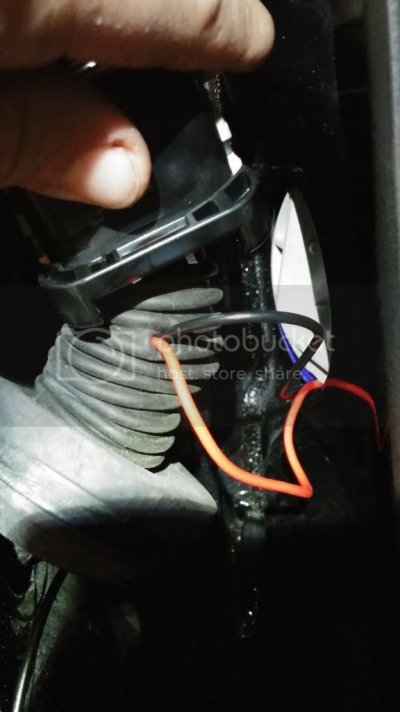
Pull the slack out of the wires and make sure you have enough length to splice or connect the wires behind the dash before reinstalling the plug harness. (I used Liquid tape to cover the hole around the wires on the housing and the loom just as an extra precaution.)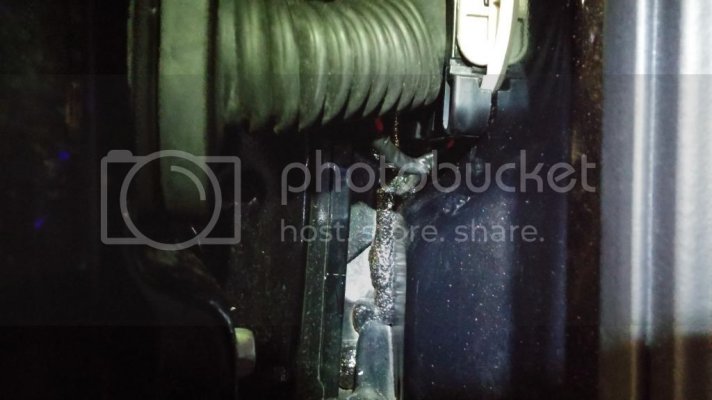
If you've completed this part then congratulations, the hard part is over.
This is how I routed my wires on the door.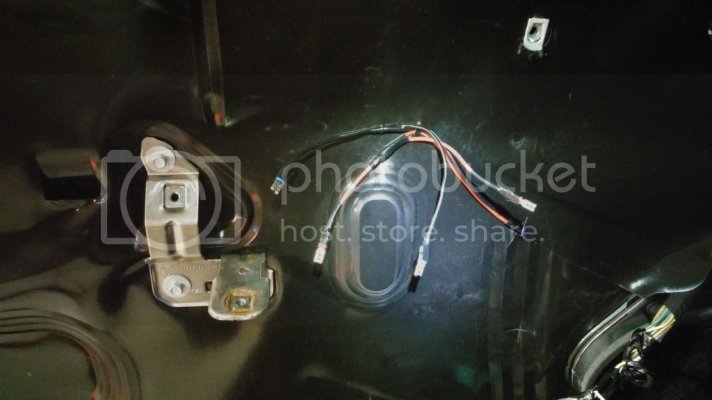
Now the lighting placement begins. This part is totally personal preference so you can ad more lights or use different placing options than I did, it's up to you.
I drilled a small hole on the door handle housing just big enough for the 2835 surface mount led to shine through.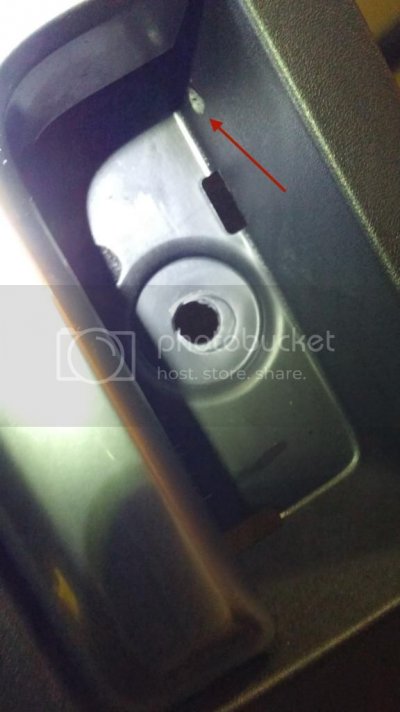
This next tool I used is called Bondic. It's a liquid plastic that stays liquid form until exposed to UV light. This stuff makes wiring and led projects a lot easier. Simply squirt the plastic where you want it, turn on the light and hold in on the liquid for 4 seconds, then it instantly bonds like a super glue.
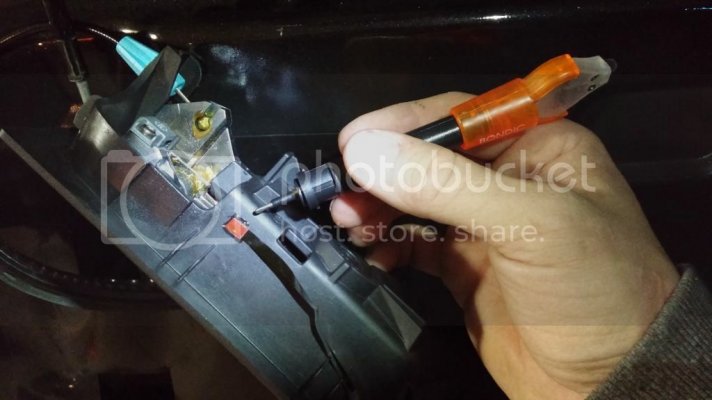
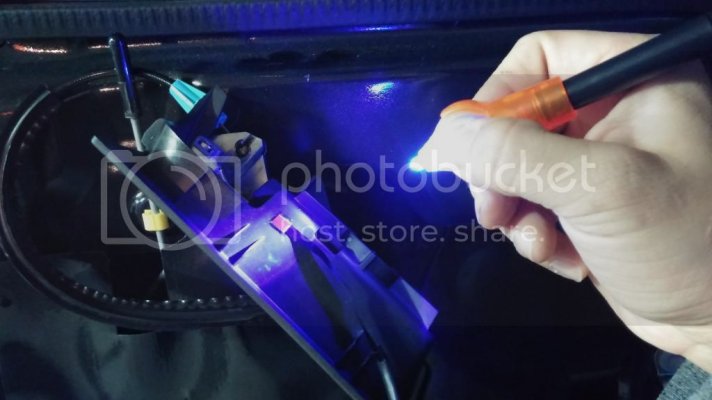
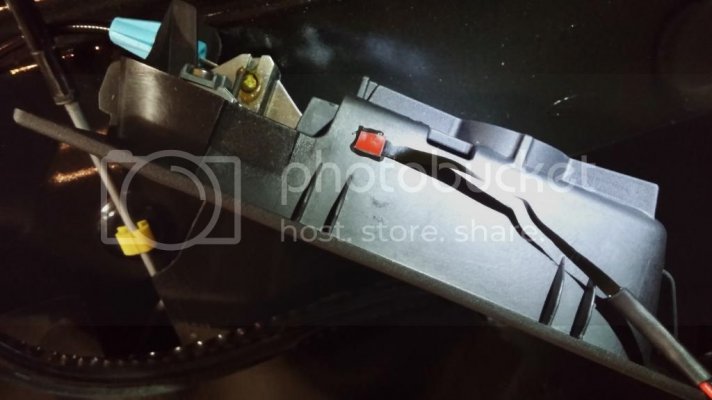
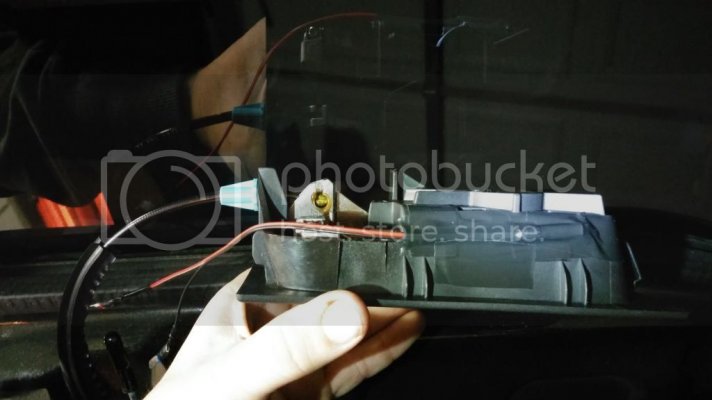
I drilled a whole using the 9/32 bit on the panel under the window switches for the LED bolt.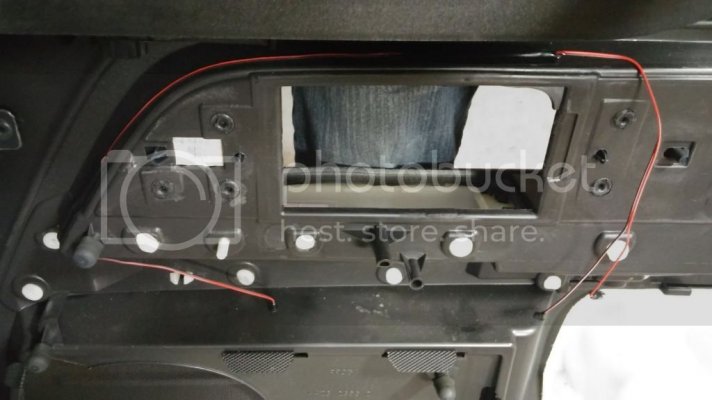
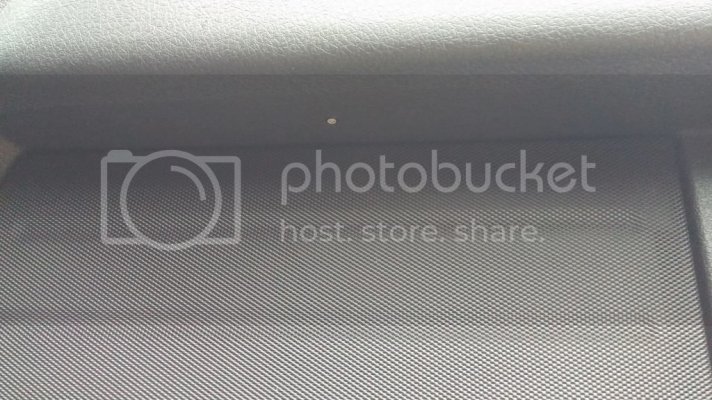
This is what my connections looked like before re-installing the door panel.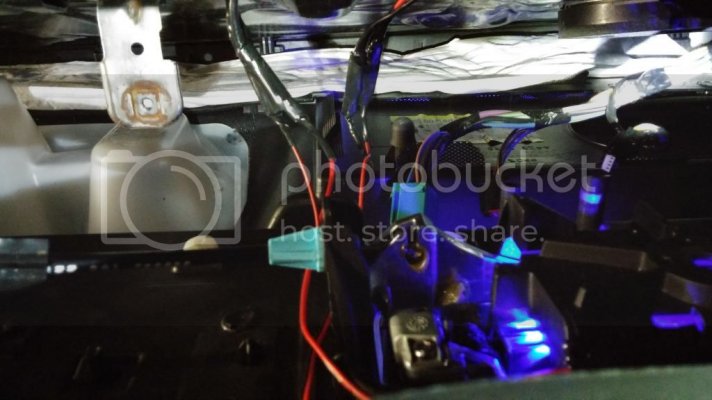
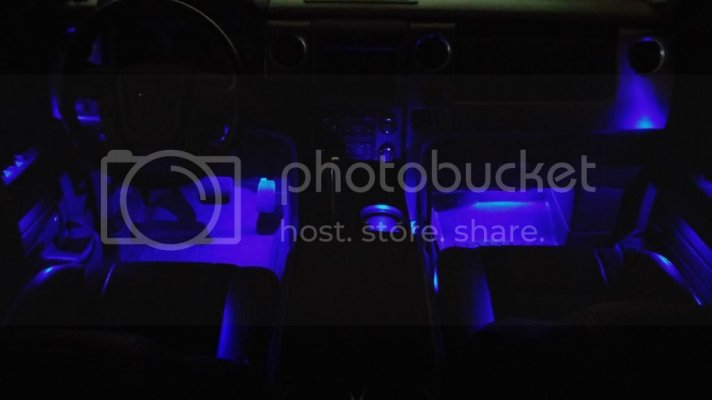
Now, finished project.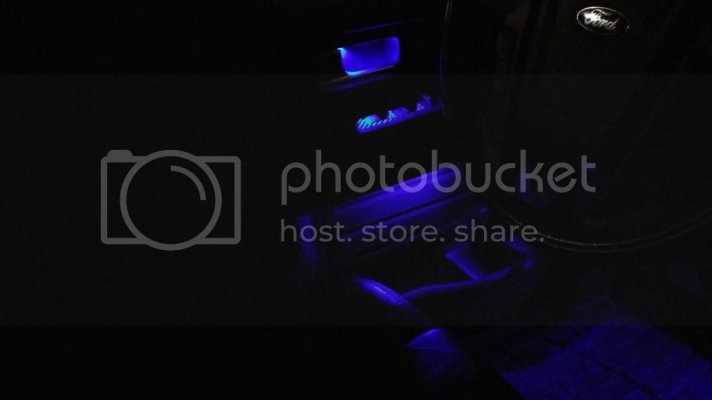
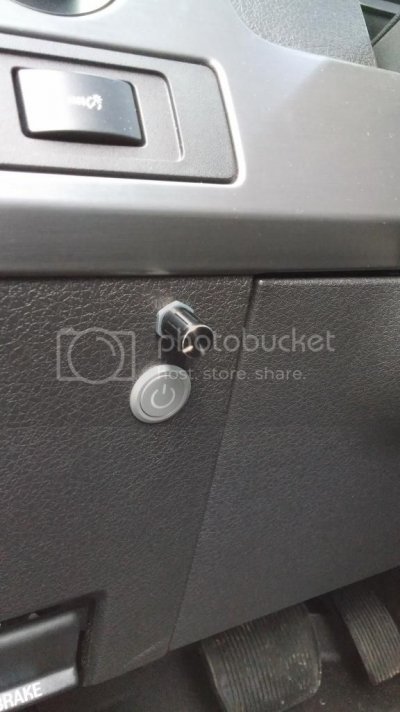
This is the dimmer switch. It's an on/off low to bright and I recommend it. (the silver push button switch is connected to the outside red accent lights, unrelated to the interior)
Let me know what you think.
First off I want to say if you want to do this project, go to Oznium.com to get your leds. They have it all, from lights to switches. Also, I want to apologize in advance because I can't do a step by step instructional for the whole project ergo no pictures were taken since I didn't plan on posting my project on here as an instructional.
This is mostly just for the panels, but I will include what I can.


These are the tools I used not just for the panels, but for the whole project:
-Electrical Tape
-18 or 20 Gauge Wire
-Wire Stripper
-Electric Drill
-9/16 and 7/32 Drill Bits
-Panel Removal Kits ( Amazon.com: HDE 12 Pcs No Scratch Car Vehicle Stereo Radio Receiver Dash Panel Removal/Installation Tool Kit: Automotive )
And ( Astro Pneumatic 4524 Auto Fastener and Molding Removal Tool Set, 11-Piece - Air Tool Maintenance Kits - Amazon.com )
-Liquid Tape
-Bondic Liquid Plastic Bonder ( Amazon.com : Bondic® (Starter Kit) The World's First Liquid Plastic Welder! Bond, Build, Fix and Fill Almost Anything in Seconds! Your Hard Fix For Sticky Situations. (Bondic® Starter Kit) : Office Products )
-Wago, PosiTap, and Various Other Types of Connectors
List of LEDs:
-2835 Surface Mount ( Tiny Prewired Super Bright Surface Mount LEDs - 12V DIY Plug and Play SMT LED )
-6mm Flush Mount LED Bolt ( Flush Mount LED Bolt )
-LED Dimmer Knob ( LED Dimmer Knob - panel mount )
Alright, first off remove the door panel. For those of you that don't know how to do this, you can watch this video on Youtube. ( https://www.youtube.com/watch?v=yhdZIQ2x3rM )
Once Panel is removed, set it aside out of the way. Remove the kick panel,
then the next thing you need to do is unplug the big connector in between the door and truck, and pull out the rubber loom seal from the door.
This next part is the biggest pain in the ass and the hardest part for the whole project only because there's hardly no working room. Once you complete this, it's smooth sailing from there.
Twist the connector housing counter clockwise (or clockwise depending which side you're on) and push on the bottom. It should come loose and just hang inside the door frame. Take the 9/16 drill bit and drill a hole on the bottom of the housing in between the blue seal, and the plastic clip. Once completed, poke the wires through that hole, then pull them out through to the other side behind where your parking break is using either a wire or small fingers (another PITA).


Poke a hole through the rubber door wire loom and feed the wires through it, then into the door itself.

Pull the slack out of the wires and make sure you have enough length to splice or connect the wires behind the dash before reinstalling the plug harness. (I used Liquid tape to cover the hole around the wires on the housing and the loom just as an extra precaution.)

If you've completed this part then congratulations, the hard part is over.
This is how I routed my wires on the door.

Now the lighting placement begins. This part is totally personal preference so you can ad more lights or use different placing options than I did, it's up to you.
I drilled a small hole on the door handle housing just big enough for the 2835 surface mount led to shine through.

This next tool I used is called Bondic. It's a liquid plastic that stays liquid form until exposed to UV light. This stuff makes wiring and led projects a lot easier. Simply squirt the plastic where you want it, turn on the light and hold in on the liquid for 4 seconds, then it instantly bonds like a super glue.


I drilled a whole using the 9/32 bit on the panel under the window switches for the LED bolt.


This is what my connections looked like before re-installing the door panel.

Now, finished project.


This is the dimmer switch. It's an on/off low to bright and I recommend it. (the silver push button switch is connected to the outside red accent lights, unrelated to the interior)

Let me know what you think.
Last edited:

