

Been working on new bumpers for some time now, which should be finished soon... so thought I’d start a build thread as well
Current (03/16):
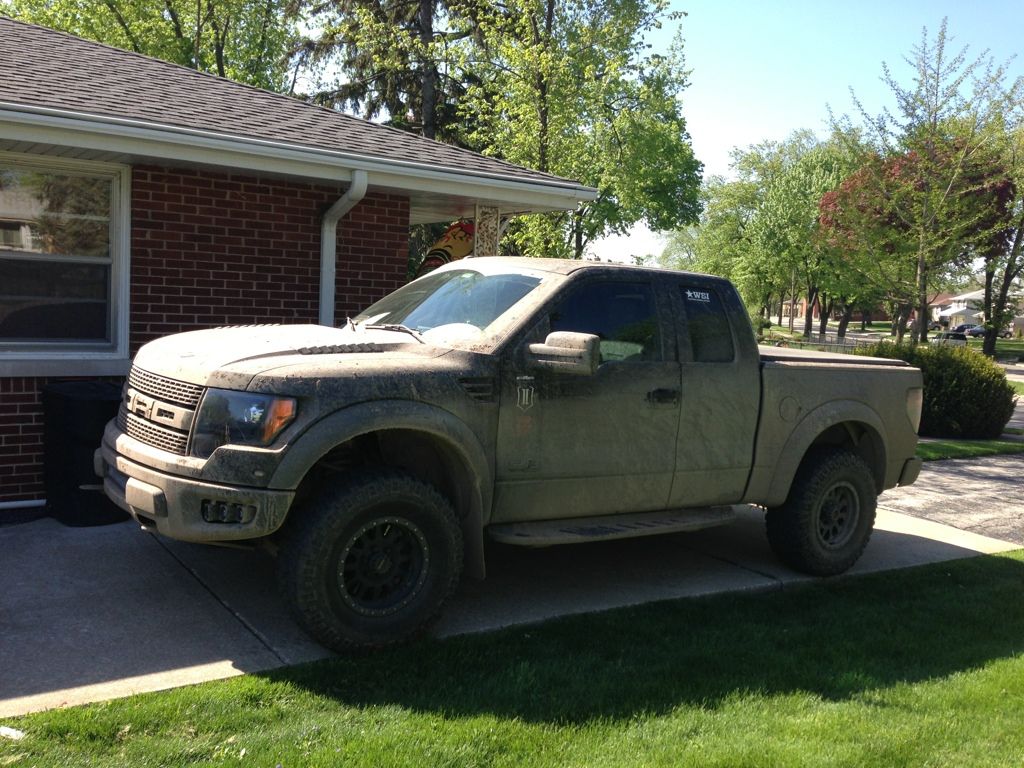
2012 Scab
'14 Screw Fox Takeoffs
Deaver +3s (powdercoated)
Geiser Bro Coils
SDHQ Bump Stop
Homebrew Bumpers
Homebrew Bed Rack & Rear Hoop
Homebrew 3” Exhaust
Fiberwerx Fenders
WSI Partridge Tail
5Star & SVC Tunes / Volant CAI
Method Standards / Toyo 35’s / Custom OMF Rings / Vince’s Flush Billet Caps
Anthracite Grey hood & Metallic Black fender wrap
Raptor Retrofit FX-R 50w HID Projectors
Vision X Xmitter Extreme 18” Bar
Vision X Xmitter Extreme 5” Bars w/ AltOffroad Hood Mounts
Vision X Xmitter 5” Amber Bars (Front & Rear)
Vision X Light Canon Pods
RSI’s 30” Cree Bar (vX evo prime knockoff)
Rigid Diffused Duallys (rear bumper)
NAVTV/Allsync & Icom 5201
And a whole lotta wire and switches…


*****************************************************
Day1

Like most others, had parts on order before I took possession of the truck, the usual progression:
5star Tune
aFe CAI
Methods Double Standards & Mickey Thompson MTZs
Mid Perch
5star

Never gonna look like this again...

Perch

MTZs n Method DS

Wanting a front camera and liking the lockout rear camera feature, I picked up a NAVTV & Allsync. Lil nerve racking tearing open my week old truck. Despite some write-ups I was able to get the center stack out without removing the driver side dash bezels


In prep for the 2013 Snoball 500, I solicited a friend to help build a race rack. Wanted it to be quick and easy to remove by myself, fit under my tonneau, and accommodate space for day to day misc items.
It uses quick release style, slip fit bed connections. Raised up from the bed, I can accommodate lumber, hockey sticks, etc. underneath. Both scepter fuel jug holders used up the wasted corner space at the cab end of the bed. The fuel door side took some pretty meticulous angles to get right, with some super tight clearances. The front mounted toolbox also sports a slip on quick release connection, to make room for larger bed items. It holds much of the bulky recovery and repair essentials, including an aluminum floor jack.


Beefy y bar, and even beefier plate...


Mocking up cans


Was short on time before snoball and still had not sourced my block of poly, so made the next best thing… “Made of Wood, Real Sturdy!!"


Finally sourced material for my y-bar chock… if anyone is looking to build one, ebay “Delrin Rod”. Drilled her out and onto the lathe… Woulda been much easier ordering tiregate’s version, but this is much beefier.


Added another slip fit connection off the front to mount my toolbox


Since then we've capped off the tube ends and the rack has served me well over several runs and lots of abuse.... My alum floorjack fits inside the toolbox perfectly with the other recovery gear. Considering moving that elsewhere in the bed though, and add my hi lift jack to somewhere along the bedside.
An impromptu trip to the drive-in was the perfect removal test, had everything out transformed into a bed lounger in short time.
Current (03/16):
2012 Scab
'14 Screw Fox Takeoffs
Deaver +3s (powdercoated)
Geiser Bro Coils
SDHQ Bump Stop
Homebrew Bumpers
Homebrew Bed Rack & Rear Hoop
Homebrew 3” Exhaust
Fiberwerx Fenders
WSI Partridge Tail
5Star & SVC Tunes / Volant CAI
Method Standards / Toyo 35’s / Custom OMF Rings / Vince’s Flush Billet Caps
Anthracite Grey hood & Metallic Black fender wrap
Raptor Retrofit FX-R 50w HID Projectors
Vision X Xmitter Extreme 18” Bar
Vision X Xmitter Extreme 5” Bars w/ AltOffroad Hood Mounts
Vision X Xmitter 5” Amber Bars (Front & Rear)
Vision X Light Canon Pods
RSI’s 30” Cree Bar (vX evo prime knockoff)
Rigid Diffused Duallys (rear bumper)
NAVTV/Allsync & Icom 5201
And a whole lotta wire and switches…
*****************************************************
Day1
Like most others, had parts on order before I took possession of the truck, the usual progression:
5star Tune
aFe CAI
Methods Double Standards & Mickey Thompson MTZs
Mid Perch
5star
Never gonna look like this again...
Perch
MTZs n Method DS
Wanting a front camera and liking the lockout rear camera feature, I picked up a NAVTV & Allsync. Lil nerve racking tearing open my week old truck. Despite some write-ups I was able to get the center stack out without removing the driver side dash bezels
In prep for the 2013 Snoball 500, I solicited a friend to help build a race rack. Wanted it to be quick and easy to remove by myself, fit under my tonneau, and accommodate space for day to day misc items.
It uses quick release style, slip fit bed connections. Raised up from the bed, I can accommodate lumber, hockey sticks, etc. underneath. Both scepter fuel jug holders used up the wasted corner space at the cab end of the bed. The fuel door side took some pretty meticulous angles to get right, with some super tight clearances. The front mounted toolbox also sports a slip on quick release connection, to make room for larger bed items. It holds much of the bulky recovery and repair essentials, including an aluminum floor jack.
Beefy y bar, and even beefier plate...
Mocking up cans
Was short on time before snoball and still had not sourced my block of poly, so made the next best thing… “Made of Wood, Real Sturdy!!"
Finally sourced material for my y-bar chock… if anyone is looking to build one, ebay “Delrin Rod”. Drilled her out and onto the lathe… Woulda been much easier ordering tiregate’s version, but this is much beefier.
Added another slip fit connection off the front to mount my toolbox
Since then we've capped off the tube ends and the rack has served me well over several runs and lots of abuse.... My alum floorjack fits inside the toolbox perfectly with the other recovery gear. Considering moving that elsewhere in the bed though, and add my hi lift jack to somewhere along the bedside.
An impromptu trip to the drive-in was the perfect removal test, had everything out transformed into a bed lounger in short time.
Last edited:


