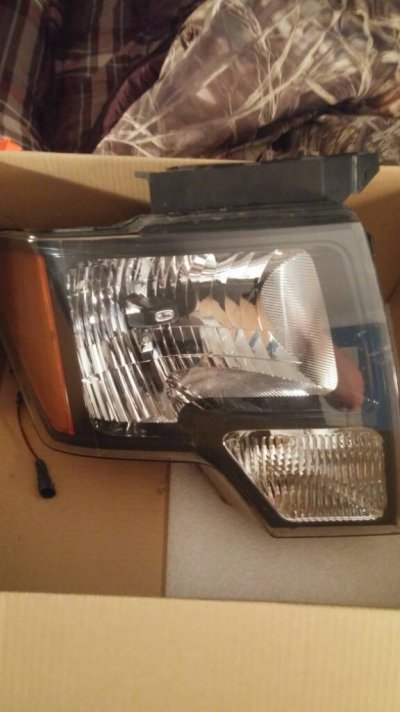
Raptor Embroidery's Anzo Headlight Build

Disclaimer: Links on this page pointing to Amazon, eBay and other sites may include affiliate code. If you click them and make a purchase, we may earn a small commission.

TexasBob

Full Access Member
Joined
Jul 8, 2015
Posts
53
Reaction score
20
Location
Dallas, TX
I saw that. Coming together slowly. Tires are in, got Discount to order Method NVs for $150 ea, and should be ordering bedsides tomorrow. Full-race intercooler comes in tomorrow or Friday and then the little things that need to be line-xed. Would love to replicate your retrofit so take lots of pics because I'm a dummy when it comes to projectors and doodads, lol
Btw, that IG account is just for the truck. My other one is tanksniper1.
 
OP
OP
Raptor Embroidery

Raptor Embroidery

aka <b><font color='darkorange'>Raptor_Al_41</font
Joined
Jan 23, 2012
Posts
3,959
Reaction score
1,432
Location
Scottsboro, Alabama
Okayyyyyy. Here we go.

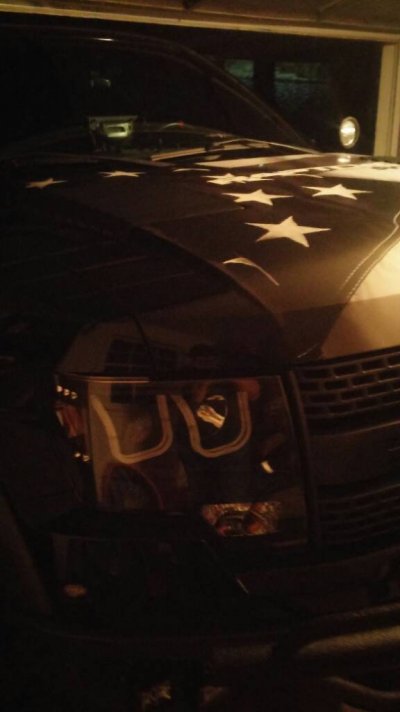
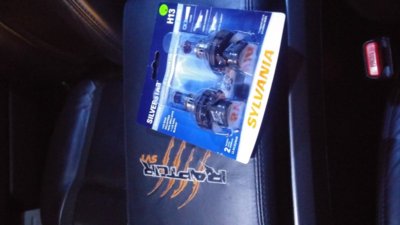
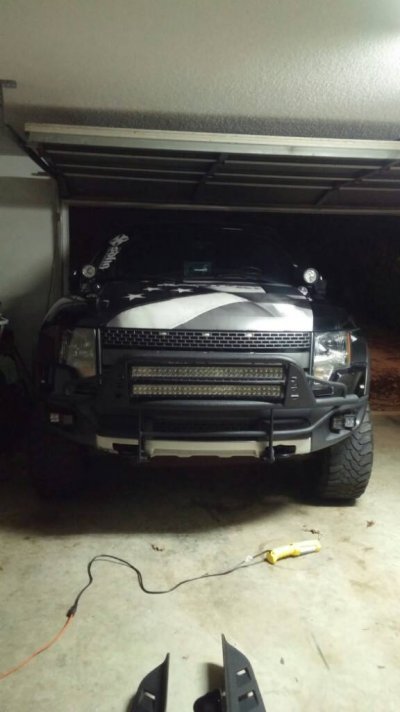
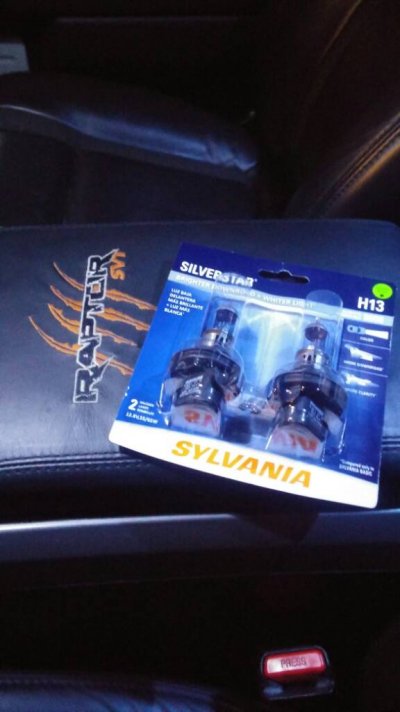
Just pulled the raptor into the garage. Went down to auto zone first and picked up Sylvania silverstars. Stock headlights are gonna suck but they are temporary. Atleast I have my Rigid DOT approved dually fog lights to run in the meantime!

4a402542a80aa0ddcd4223ce517bf449.jpg

60% moisture. No standing water At least. Drivers side

b533da9142b4f4ff73dcba4e904fb205.jpg

Passenger side is still going strong

2187e53daaea67f4aa570c2957c7fadc.jpg

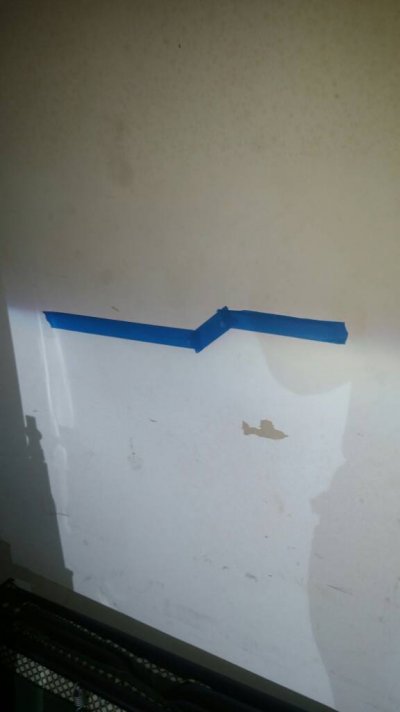
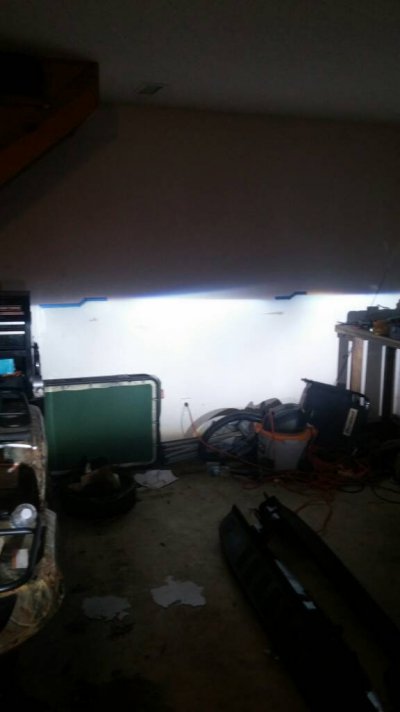
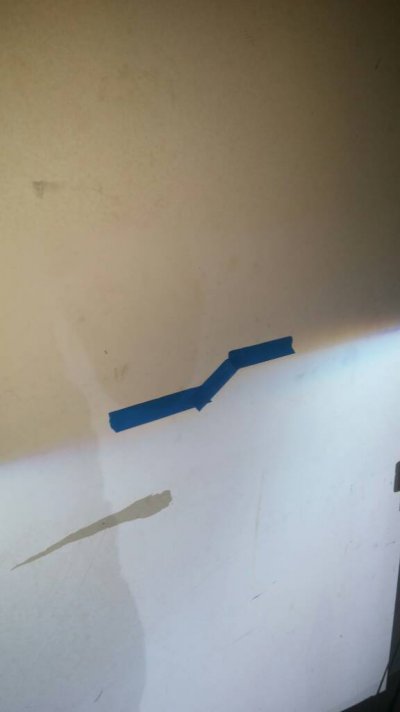
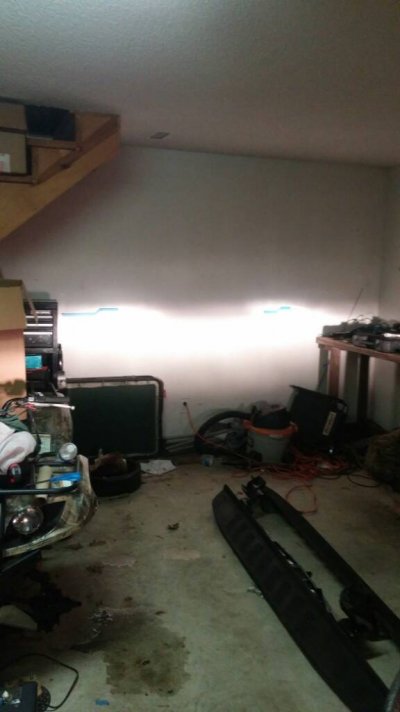
Marked the stock projector cut offs on the wall. It won't be exact but it'll help during the retrofit.

c1e6cbf881e3a651d1ecd9515454ec18.jpg

3b5909a2cd040a28f57366ae26b7aea2.jpg

d083e5d5af831e6bc3777b16a10b1a97.jpg

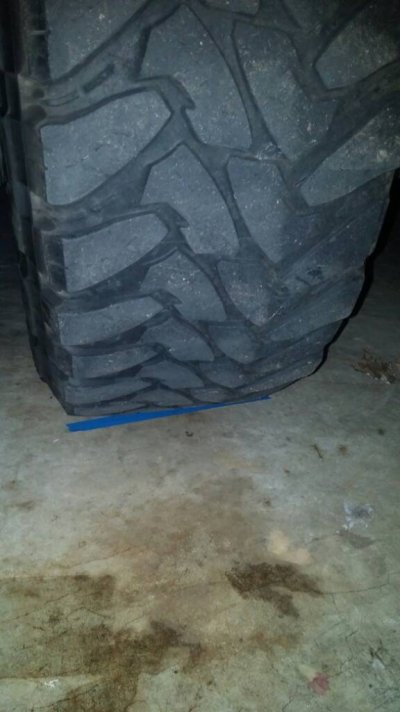
Also put tape in front of my tires to mark where I need to park the truck during each test fit. Its going to be hard to keep these intact pulling in and out of the garage daily.

0989af43973fb7d826a9f4dfea7b0c35.jpg

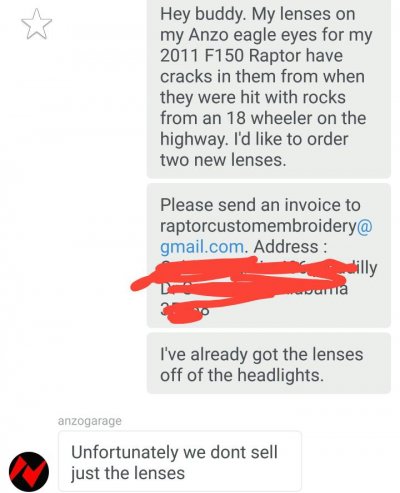
I forgot to call anzo to order 2 new lenses. One has a crack and the other has permanent bug remains from a trip to Michigan where I didn't have access to a car wash.

Anzo will be called tomorrow!

Tonight -

-remove headlights, reinstall factory halogen headlights
-place headlights in oven, open them up
-build a parts list and order projectors, led strips needed for build
-draw up a few diagrams for projector mounting brackets
-draw up wiring diagrams for bi-xenon harness
-take measurements on the halogen high beam reflectors to see if I can mount a rigid dually in there
-etc. etc. (things always get more complicated when I start into a project)

Stick around fellas

Sent from my VS985 4G using Tapatalk
 

Attachments

  • uploadfromtaptalk1449100799865.jpg
    uploadfromtaptalk1449100799865.jpg
    51.9 KB · Views: 84
OP
OP
Raptor Embroidery

Raptor Embroidery

aka <b><font color='darkorange'>Raptor_Al_41</font
Joined
Jan 23, 2012
Posts
3,959
Reaction score
1,432
Location
Scottsboro, Alabama
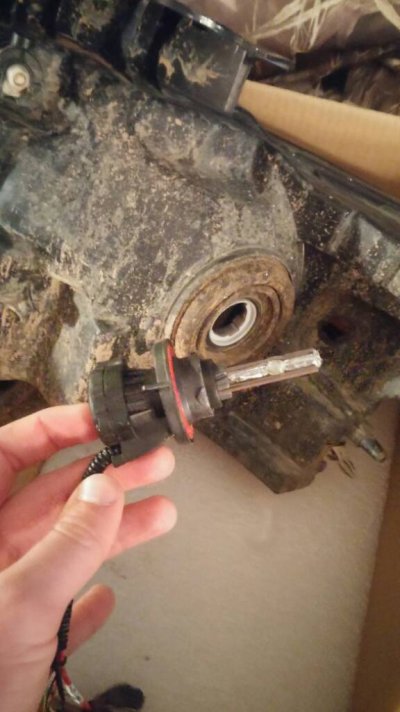
Lookie what I found digging through my crawl space.

4983a07f2270f57abdf6df74f926ad12.jpg

This brings me to an important point during this retrofit that I thought I might share. Back before I knew much about lighting, I ordered an HID pnp kit. What a mistake. I kept getting high beamed and I didn't know why.

HID bulbs should only be installed in HID projector housings. There are even projectors out there that are only designed to run halogen bulbs, not xenon.

Running xenon bulbs in a halogen reflector housing (like the ones that come stock on a raptor) will blind oncoming drivers. This is due to the fact that xenon bulbs have a way more intense output. A projector has a shield and lenses that direct the light into a flat pattern that does not spill into oncoming drivers eyes. Halogen reflector headlights do the same thing kinda. They don't cut off the light very well and a little of it will spill into oncoming driver's eyes. Most have a reflector and a bulb shield. The shield covers the bare bulb and helps direct most of the light onto the road. Installing a xenon bulb can actually disrupt the placement of the filament under the cover. If the arc of the xenon bulb is back, the light can Hit the top of the reflector and simulate a high beam, which is basically the same intensity as an Offroad light. Even if the arc is under the bulb cover, it can still create light spill that will blind other drivers.

Another point is that HIDs will disrupt the intended pattern of light that the headlight was originally intended to produce. Placing an HID bulb into a halogen reflector will create hot spots and dark spots in your pattern of light as well, decreasing your visibility.

If you're going to upgrade your headlights, do it right.

Sorry about the long post, seeing these bulbs in the stock housings reminded me.

ece844ad89d82de74fe1aec4aeb31edc.jpg

Sent from my VS985 4G using Tapatalk
 
OP
OP
Raptor Embroidery

Raptor Embroidery

aka <b><font color='darkorange'>Raptor_Al_41</font
Joined
Jan 23, 2012
Posts
3,959
Reaction score
1,432
Location
Scottsboro, Alabama
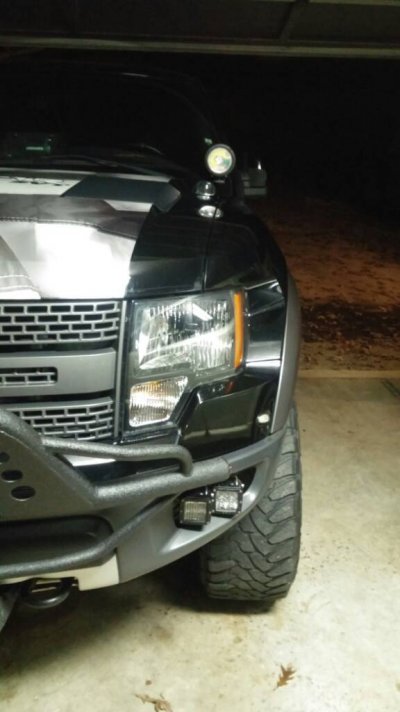
Okay! Stock headlights are back in. I already miss the anzos. Don't worry though, they'll be back in soon!

e4b79c30f906d4bf8441bb619391b2fb.jpg

c9779410aee3411f043d10980555b24c.jpg

Oem halogen reflector headlight output

5d9f0cfe7ca123164f0cf46854b832ea.jpg

Sent from my VS985 4G using Tapatalk
 
OP
OP
Raptor Embroidery

Raptor Embroidery

aka <b><font color='darkorange'>Raptor_Al_41</font
Joined
Jan 23, 2012
Posts
3,959
Reaction score
1,432
Location
Scottsboro, Alabama
Headlights are apart!!

Instructions to bake open :

1. Clean the headlight lenses. I used GooGone - Window Cleaner - and finished off with alcohol to remove everything and leave a very dry surface. (you don't want to bake any sediment on the lenses. It will be there for good)
2. Remove as many parts as possible. Bulbs, wires, rubber grommets, etc.
3. Preheat oven at 275°
4. Unclip the clips around the perimeter of the headlight. (don't touch the lenses)
5. Put on mechanic's gloves and place in oven. They will expand a tiny bit so allow for it (mine did a little bit)
6. After 7 minutes, remove headlight from oven.
7. Start prying the lens off of the housing with a flat head. Don't worry if you bend the housing, once you heat it up after you're done on the inside, you'll be able to bend the plastic back.
8. The black housing piece (below) is attached to the lens. It will come with the lens when you pull it off. Remove 4 Phillips screws and the the bezel comes off
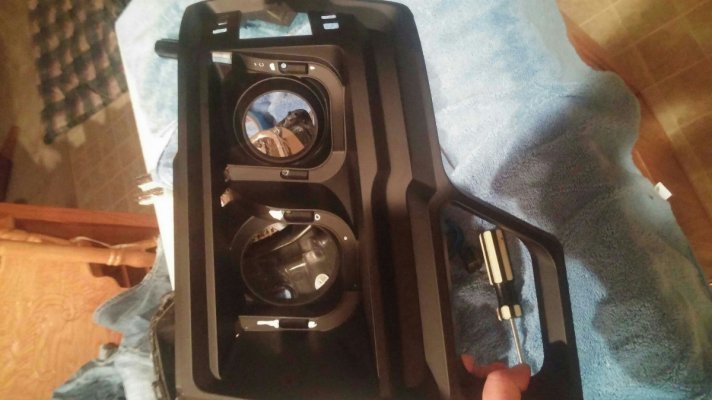
1b139d7e85f27e9eb4ec8519cec2426e.jpg

Inside of the headlight
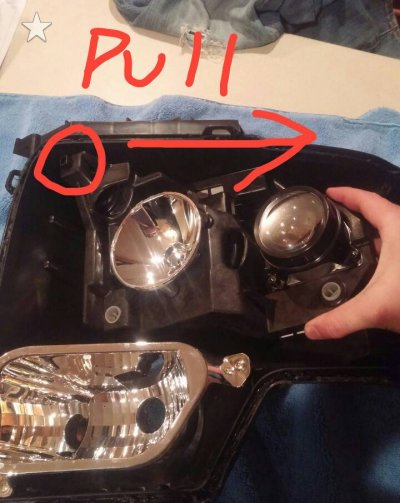
Once the lens is off and the bezel out of the way, you can remove the mount for the projector and high beam. On the bottom of the piece, you'll see two pop tabs. Click those in and lift up. On the top, the adjustment screw basically sits against the back of the housing. Turn it, it adjusts the piece. Slide the mount towards the outside of the headlight.

The tabs are the white pieces
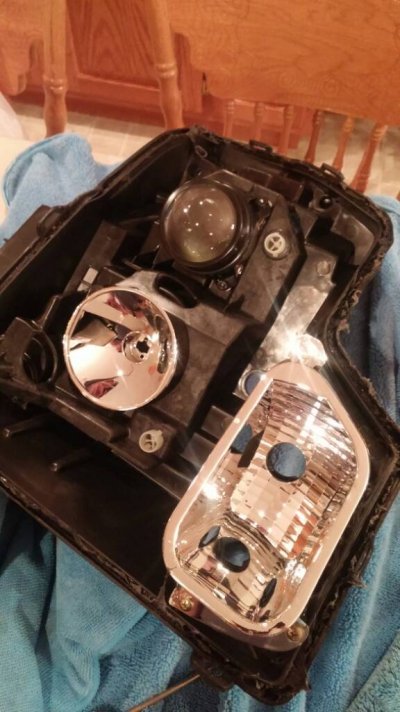
fcbed50e10168fd99a047caaf6cb40fc.jpg

Grab like this and slide this way

0b833e54c7fc4f9d2caac23f9fa9a89d.jpg

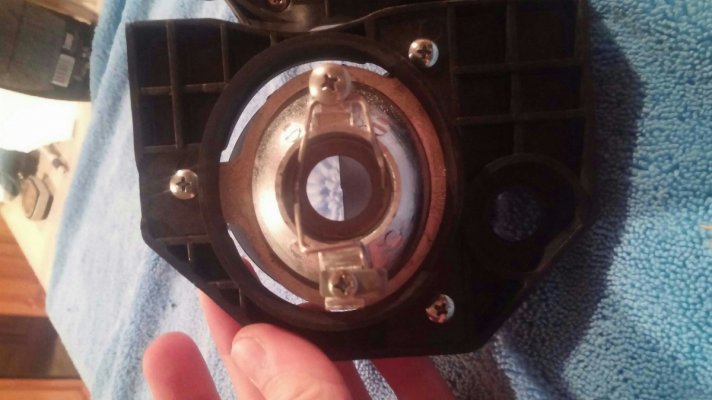
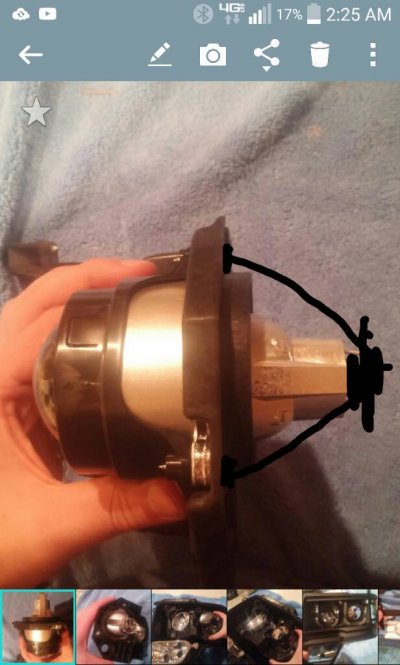
Once that's out, you'll see the projector is held in by 3 screws. It will be very easy to mount a mini H1 lucky for me.

Basically, the Mini H1 has a threaded mounting shaft on the back. Since this projector mounts with 3 screws, all I'll have to do is make a mount with 3 legs and a base in the middle with a hole in the middle. Simple simple simple. I just have to make sure it's the same depth. There's not much room around the projector lens up front. I'd recommend getting it closer to the front of the headlight to add a bit more side lighting.

Anyway, here is the bracket I'm talking about. Notice the lines going up to the flat piece. Those run from the projector mounting screws to a piece where the Mini H1 will screw in. No cutting required!!
7a89949ad3cbabe219bf3572f36768aa.jpg

Back of the anzo projector ce38a3a85f513f66bbdf62fbd570f5c6.jpg


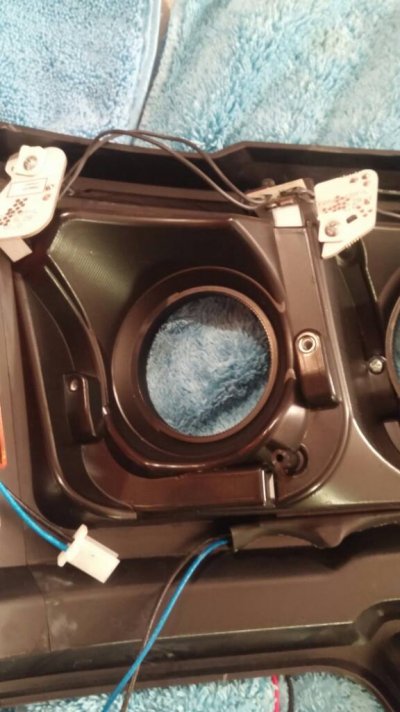
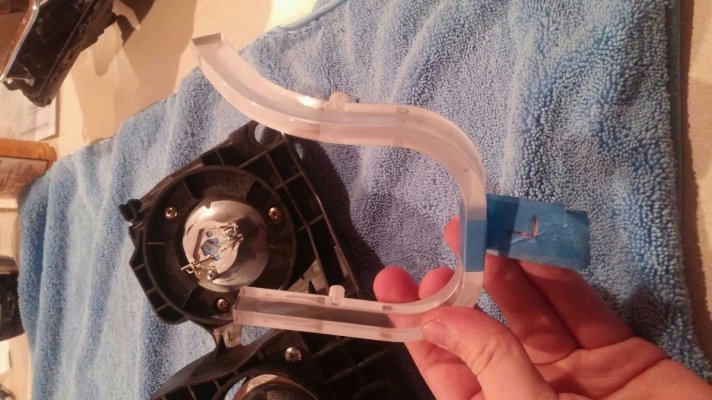
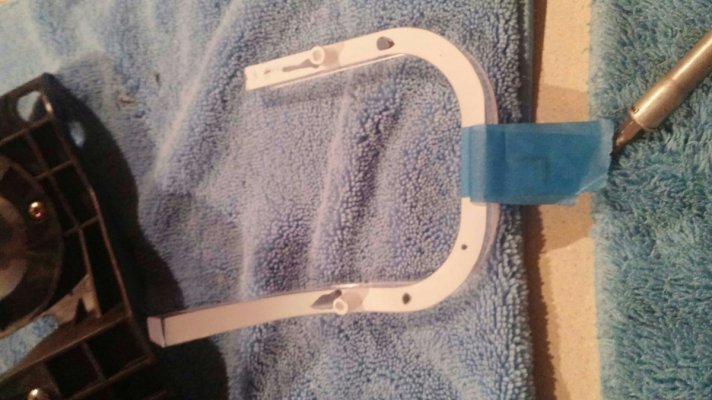
Next - U bars. Making them switchback. I was hoping they would be clear all the way through but they've actually got white paint or something on the back. Hopefully I'm able to remove it with a polishing wheel on my dremel. The stock leds are on top of the U bars behind the bezel.

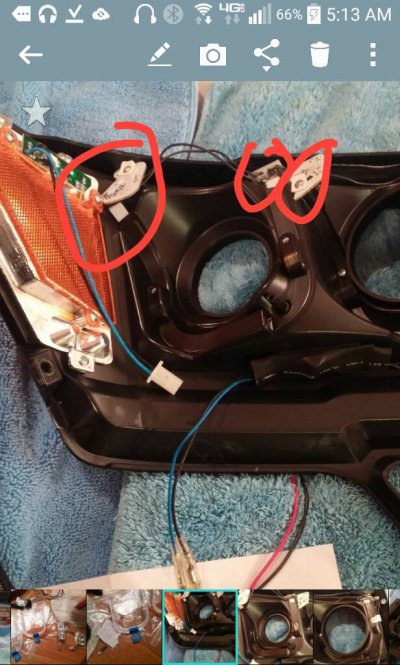
See the circuit boards? There are 2 per bar.
31206ee85b59c812abfcf84b061d38a1.jpg

Here's what the U bar looks like taken out of the headlight.
0ff8b57c176164f4f0875aa2308dd53c.jpg

Here's the paint I need to remove. The new led strips will mount under the U bars. Hopefully they'll be twice as bright. The stock ones in the headlights are already very bright.
e0089adcb15bb771bade089c07db35f6.jpg

Where the LED strips are going. Behind these U bars.
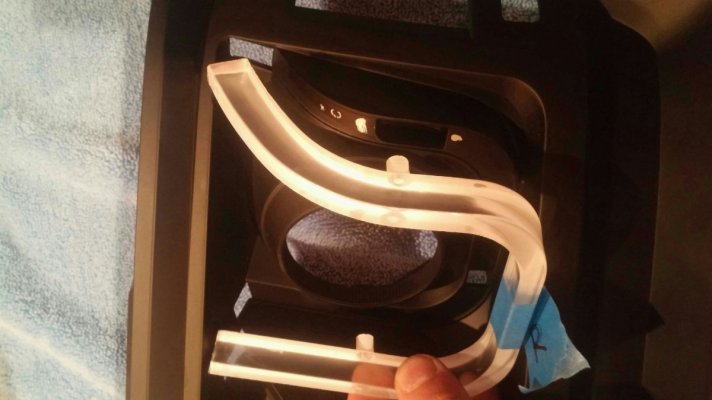
33b1e4ca7a2a3d07bb4ffa02d111de5b.jpg

Stock LED chips for illuminating the U bars
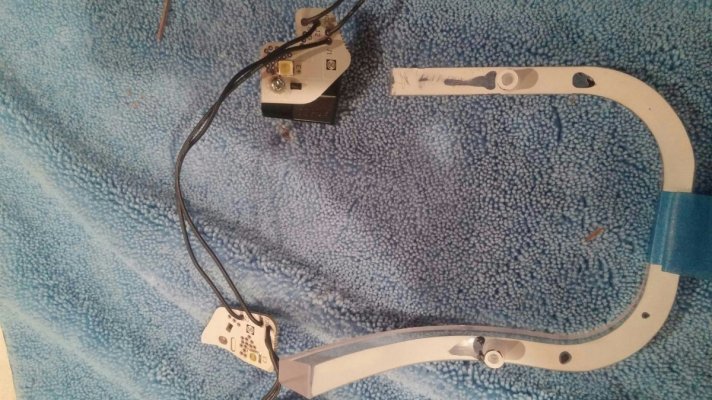
ab06c39c83e4187f00f81f6e7b085488.jpg


Time to start ordering parts!

Sent from my VS985 4G using Tapatalk
 
OP
OP
Raptor Embroidery

Raptor Embroidery

aka <b><font color='darkorange'>Raptor_Al_41</font
Joined
Jan 23, 2012
Posts
3,959
Reaction score
1,432
Location
Scottsboro, Alabama
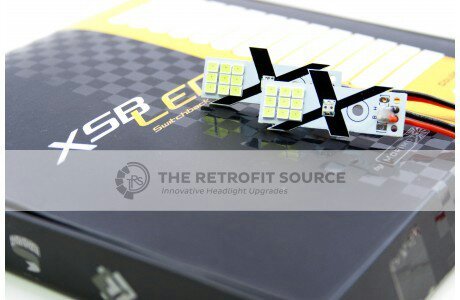
So, right before I ordered the 18" white/Amber switchback LED strips for illuminating the Halos, I found these bad boys:

These are White/Amber switchback LED chips. They come with the controller.

7a325453cac3c8fd765d8d946795eb33.jpg

These will replace these chips that are built into the anzo headlight. All I have to do is build a mount bracket.

7ef2f9ccd2fff7ff0eef166788d49ea1.jpg

What I have ordered

-Morimoto Mini H1 7.0 projectors
-Morimoto 6500k H1 HID bulbs
-White/Amber switchback LED chips for U-Bars

Still to be ordered
- RGB demon eyes for projectors
-80mm housing caps
-butyl glue
-rubber wire pass through grommets
-4 x 3" Amber strips to use as side markers
-1/4" conduit to make for a clean looking install
-aluminum tape

Painting
-I'm having a close friend of mine that's in the body work business paint the bezels ebony black to match my factory paint
-tint the Amber side marker
-re-paint the back of the halos white to assure no light is spilled out of the halos

Laser engraving
-etch raptor logo into projector lenses

Brackets
I've got another friend that is in the metal working business. He's an excellent welder/fabricator.
-Brackets for Mini H1 projectors
-Braces to keep the plastic mounts from cracking
-brackets for the 8 switchback leds for the halos
-brackets to mount the ballasts, RGB controller, Switchback controller and LED driver for the high beams

Wiring (oh lord)
-build bi-xenon harness
-wire all 4 switchback LED chips together (per headlight)
-wire 2 3" led strips together and power from the side marker bulb socket (pics of that to come)
-run all wires out of headlight. When all said and done, I should have about 9 wires to run out of the headlight. Not too bad. Low beam, high beam, ground, switchback positive/negative, and Red, green, blue and ground for the RGB demon eyes.

Stay tuned....

Sent from my VS985 4G using Tapatalk
 
OP
OP
Raptor Embroidery

Raptor Embroidery

aka <b><font color='darkorange'>Raptor_Al_41</font
Joined
Jan 23, 2012
Posts
3,959
Reaction score
1,432
Location
Scottsboro, Alabama
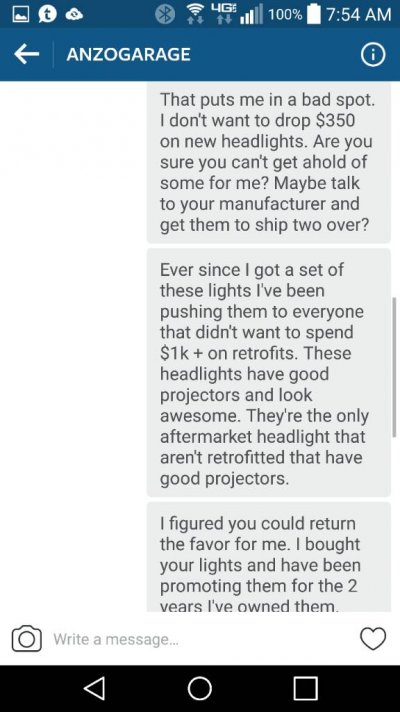
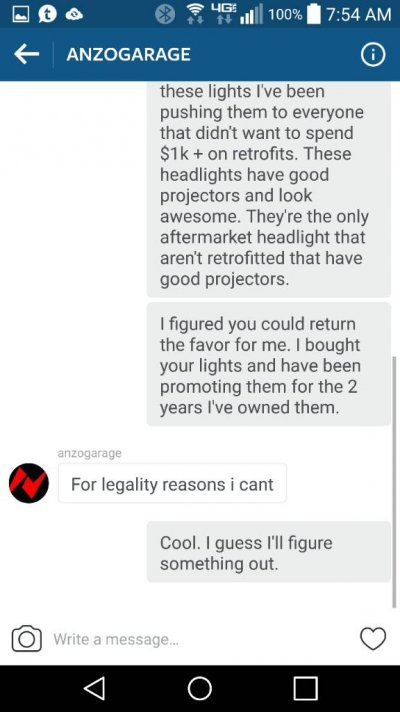
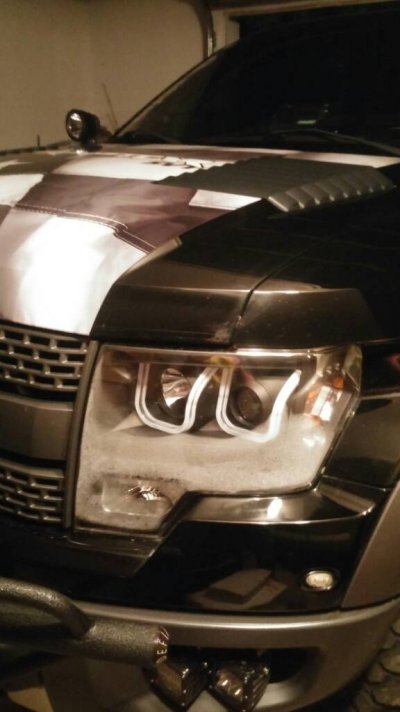
Looks like I'll be buying another set of lights after I get the internals done. I don't get it though? They sell their lights that they design and have manufactured and they can't get just lenses for their lights? Someone that knows more about legality of manufacturing needs to chime in....

599ff84112dce5679db2129af81947f8.jpg

70596e083da627194d04ae2b98b5fac0.jpg

0a08d40b1d305cc526dcf6e4598a36e9.jpg

Sent from my VS985 4G using Tapatalk
 
OP
OP
Raptor Embroidery

Raptor Embroidery

aka <b><font color='darkorange'>Raptor_Al_41</font
Joined
Jan 23, 2012
Posts
3,959
Reaction score
1,432
Location
Scottsboro, Alabama
Top