Hello everyone,
I was thinking about making this build up post long time ago, but the fact that I dont own a proper camera and mostly taking pictures with my iPhone made me hesitate... but here it is anyways until I buy me the small black box with lenses people call "Camera"
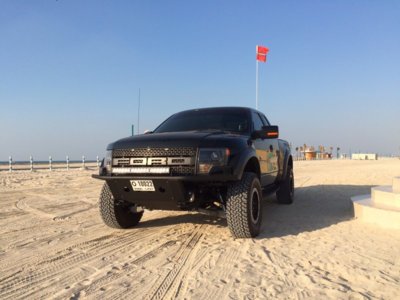
Mods I got so far on my brand new Raptor (about 4k KM as I wrote this) dammit Raptor why cant you stay stock!
I will update the list as I go
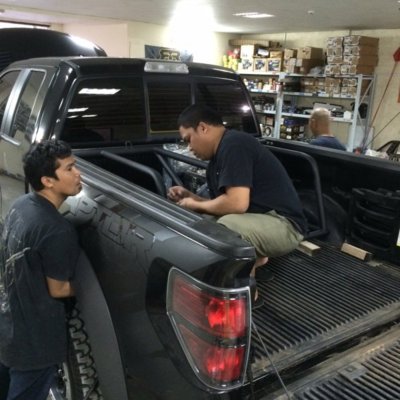
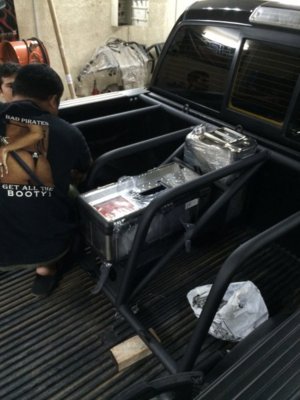
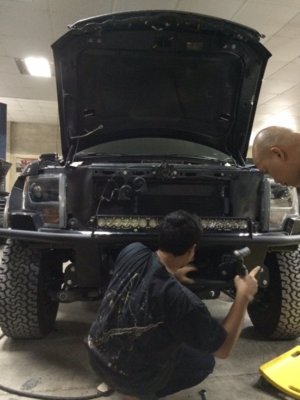
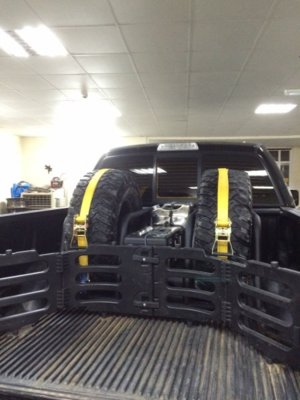
The first patch of pictures has the stock look of the truck without the mods and the mid perch adjustment pic, the wheels spacer, the Safeglo Whip waiting to be installed and the bed tire rack and front bumper in the early stages before the powder coat.
I was thinking about making this build up post long time ago, but the fact that I dont own a proper camera and mostly taking pictures with my iPhone made me hesitate... but here it is anyways until I buy me the small black box with lenses people call "Camera"
Mods I got so far on my brand new Raptor (about 4k KM as I wrote this) dammit Raptor why cant you stay stock!
- SCT x4 tuner with 5 star 93 Daily Driver tune
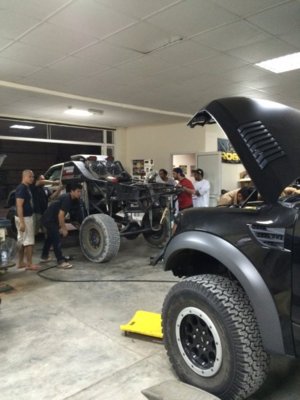
- Middle Perch adjustment done in a local offroad shop, you can check them up on Instagram @speed_technology
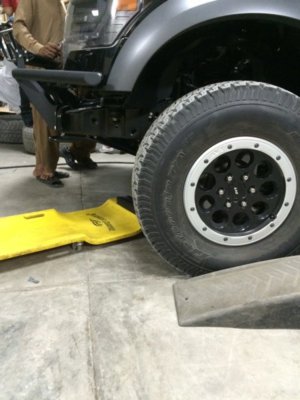
- H&R wheel Spacers
- Roush cat-back exhaust system with resonator weld in to reduce drone in cabin
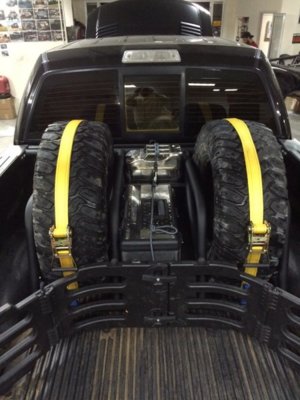
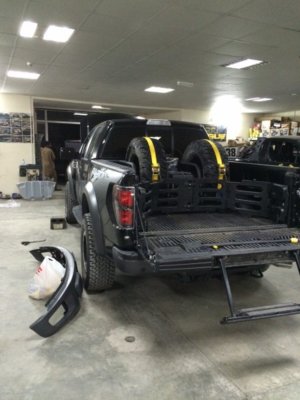
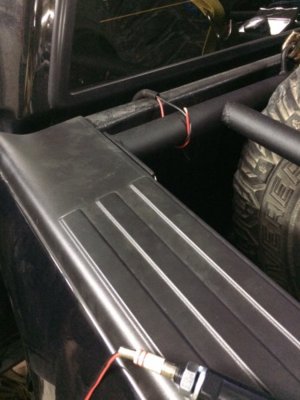
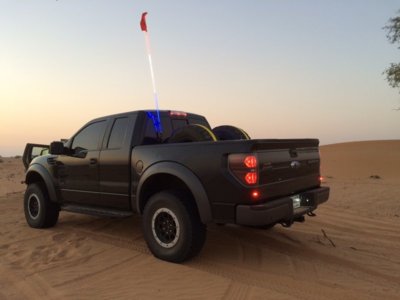
- Custom built bed rack that hold 2 spare tires, a tool box, and a 20 gallons steel can. (done by @speed_technology)
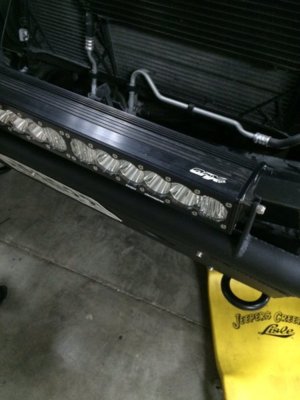
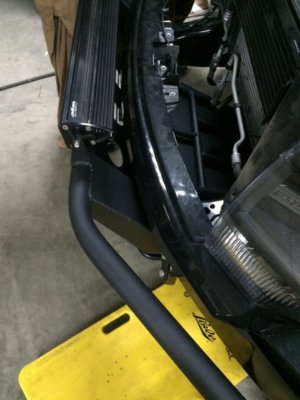
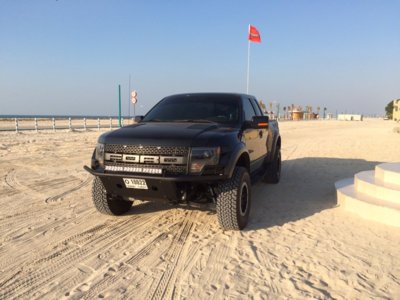
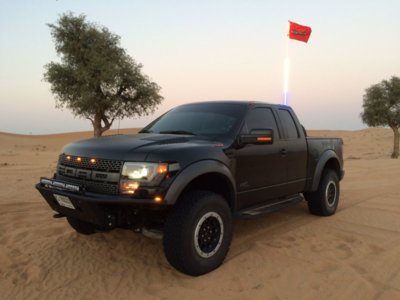
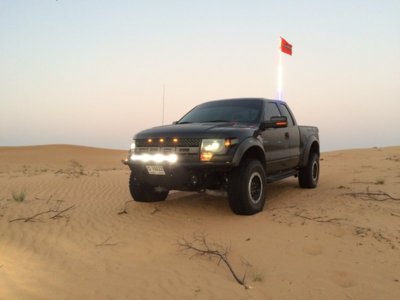
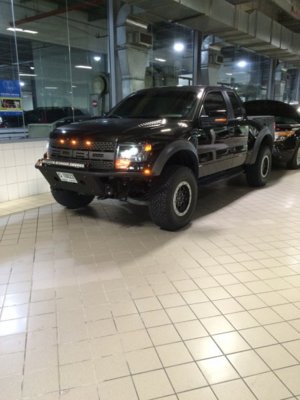
- Custom built front bumper equipped with 30" BajaDesign light bar with flasher. (done by @speed_technology)
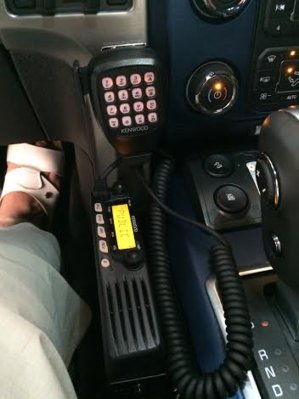
- Kenwood - TM-281 VHF radio
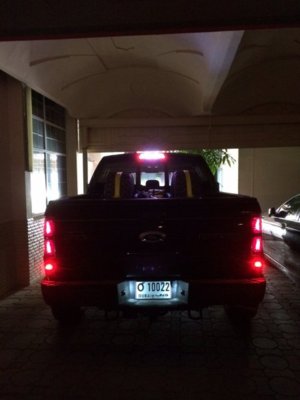
- Safeglo 6" LED illuminated whip with suction cups mount bought and shipped from @AlternativeOffroad
- Brushed aluminium bed side graphics installed by a local shop called @FoilX you can check them on instagram.
I will update the list as I go
The first patch of pictures has the stock look of the truck without the mods and the mid perch adjustment pic, the wheels spacer, the Safeglo Whip waiting to be installed and the bed tire rack and front bumper in the early stages before the powder coat.
Attachments
-
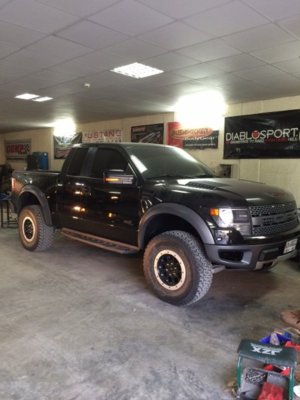 image1.jpg51.9 KB · Views: 90
 -
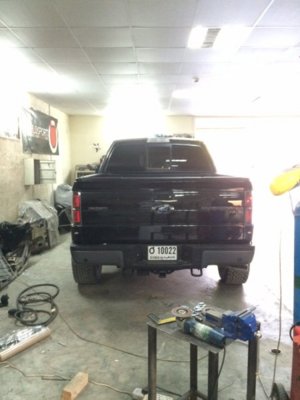 image5.jpg44.2 KB · Views: 90
 -
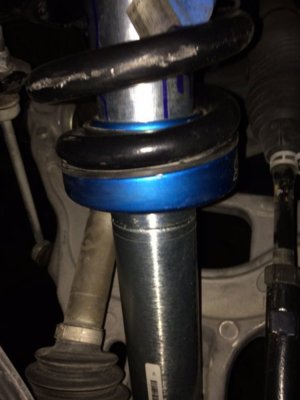 image8.jpg38.2 KB · Views: 76
 -
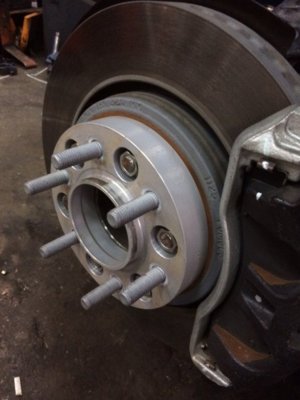 image9.jpg45.9 KB · Views: 84
 -
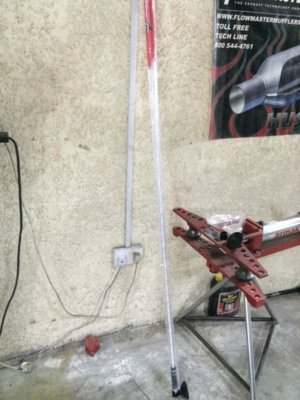 image13.jpg64.1 KB · Views: 77
 -
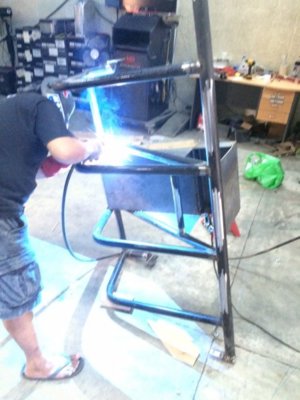 image2.jpg54.8 KB · Views: 78
 -
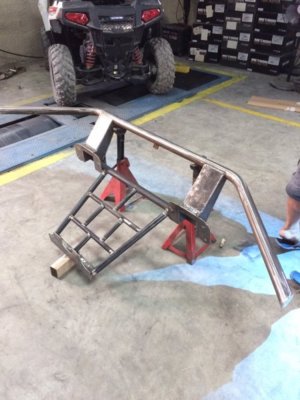 image3.jpg60.2 KB · Views: 90
 -
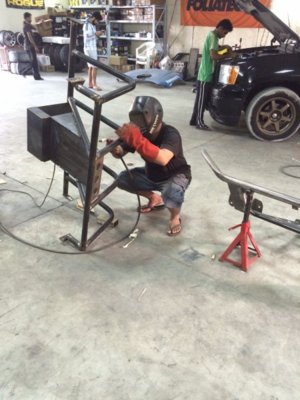 image4.jpg63.6 KB · Views: 91
 -
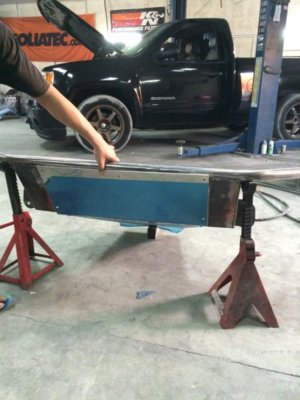 image6.jpg56.5 KB · Views: 88
 -
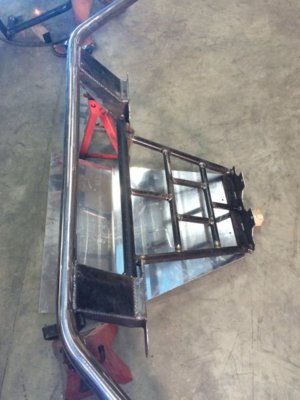 image7.jpg53.1 KB · Views: 85
Last edited: