Welp, everything is on! I got the call from the dealership that she was done, I ran over and picked her up and we got 'er done. Total install time for all four parts (2 sliders and 2 skids) was somewhere around 2.5hrs, with the skids taking maybe 1/2hr tops. You'll need a couple buddies to hold the sliders in place while you tack them on, unless you've got some special jack or some such. Otherwise everything else can be a solo project, and can be done in your driveway or garage, with the only special tools needed being a grinder and MIG welder for the sliders.
Okok enough chit chat, lets get to work!
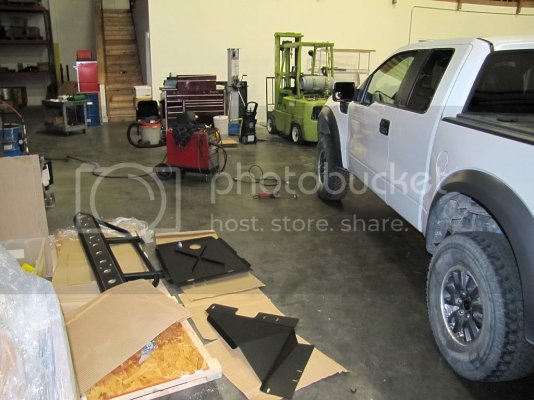
Setting up
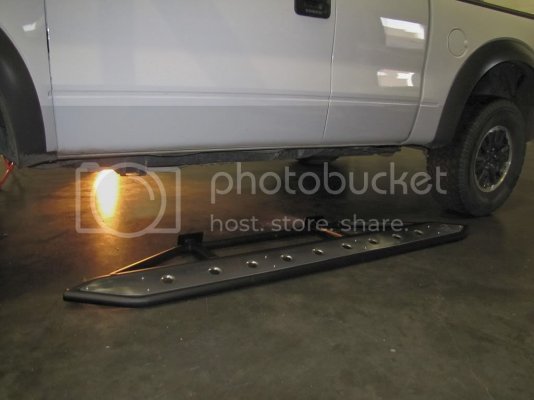
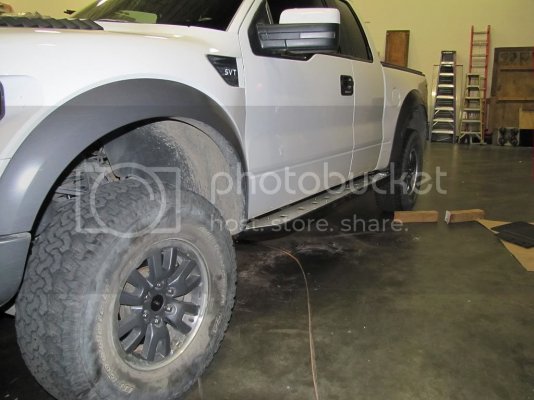
Ground down, paint, powder and dirt stripped away.
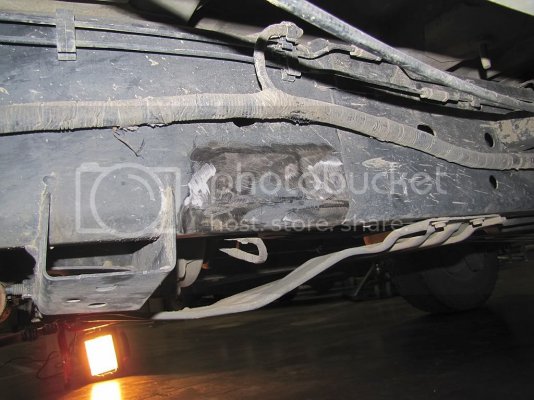
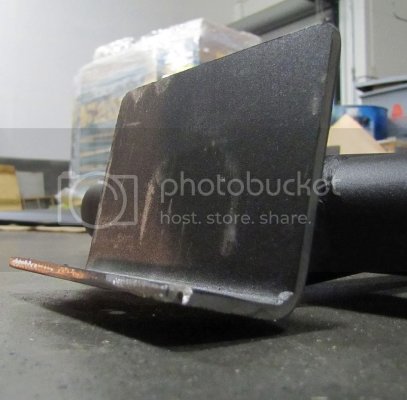
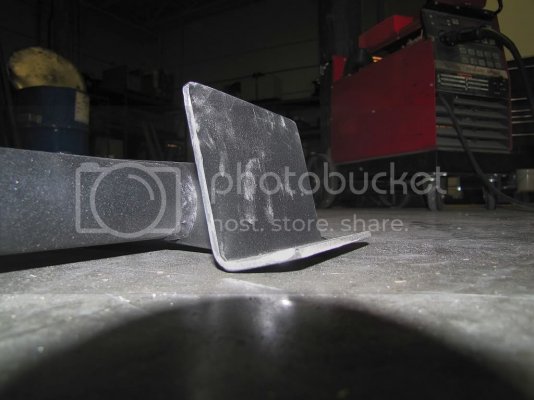
The rear mount of these sliders are designed to fit perfectly between the bracketing on the frame. This made it really easy to line stuff up and ensure stuff stayed centered while tacking them in place.
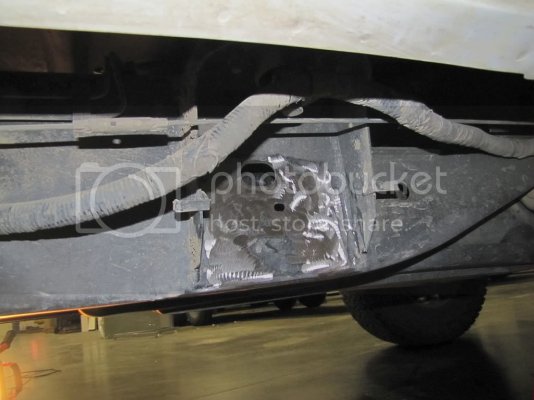
Tacked in place just to be sure all looked good and stuff cleared. It all did. I tried to get a pic but it didnt turn out; there's about 1/2 inch between the body and the main arms of the slider. No rubbing!
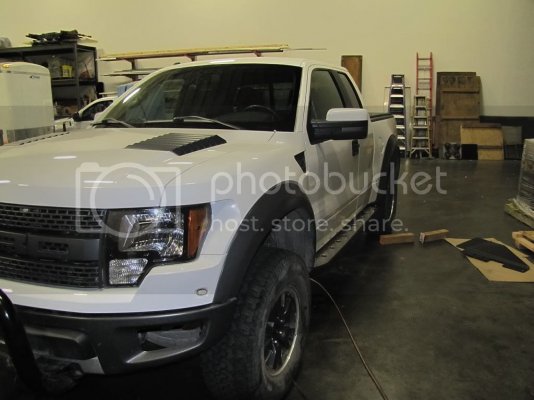
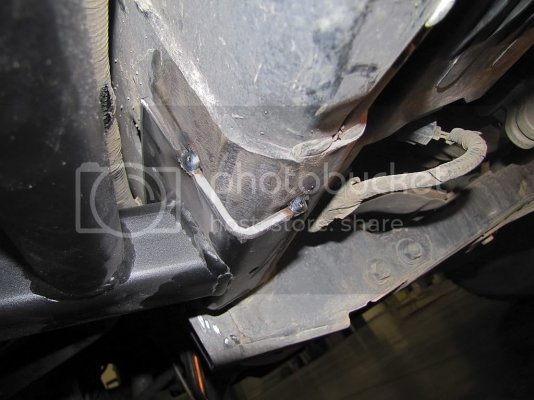
Locking 'em down. Damn I really need a lift! PS: We used a 75/25 mix of CO2 and Argon gas in the MIG, as suggested by Chris of Hefty.
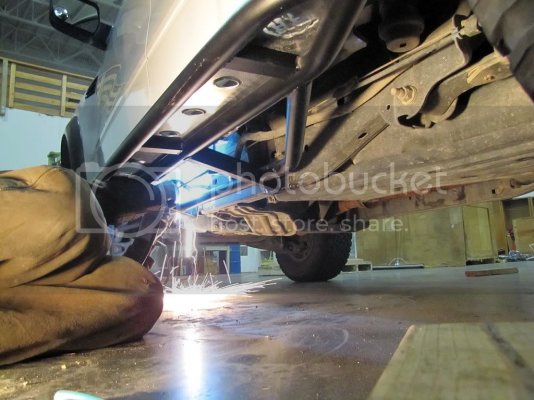
And one is done!
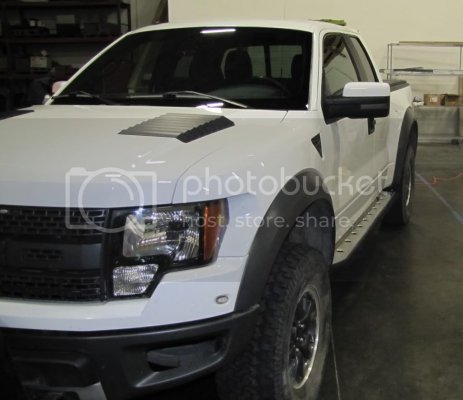
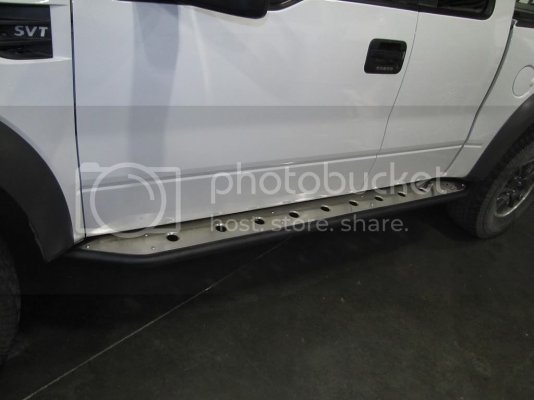
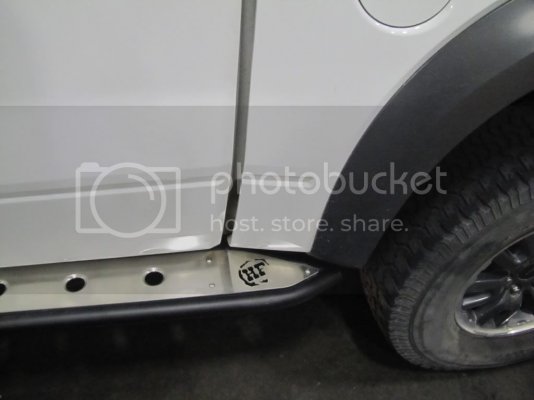
The first thing the wife did was look from this view and say "These don't stick out as far as the stock ones!" And she's right. Going off memory alone, I think these stick out maybe 1-1.5" less?
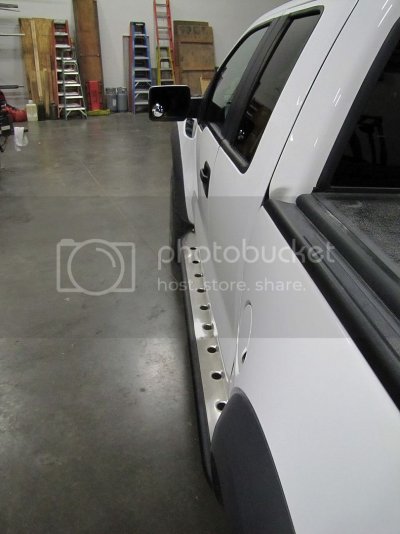
And the passenger side.
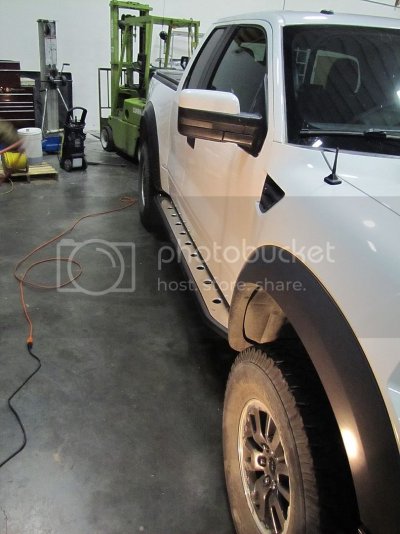
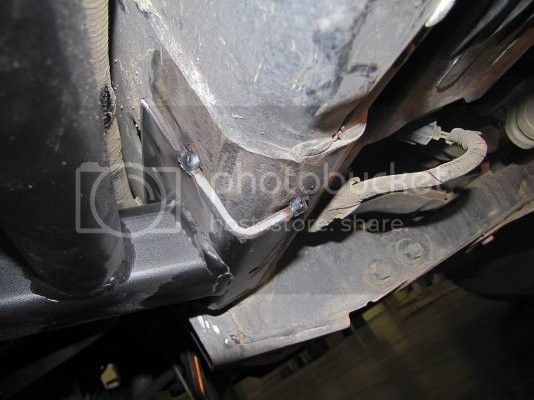
Some underside shots
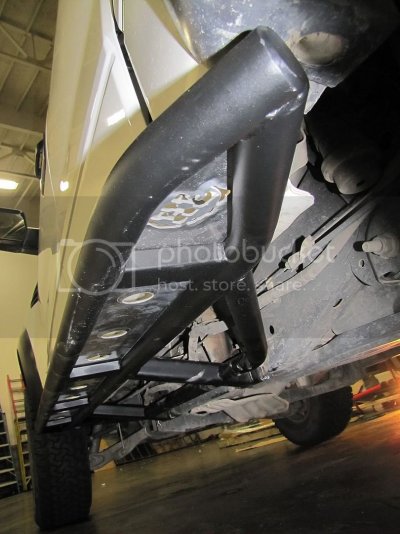
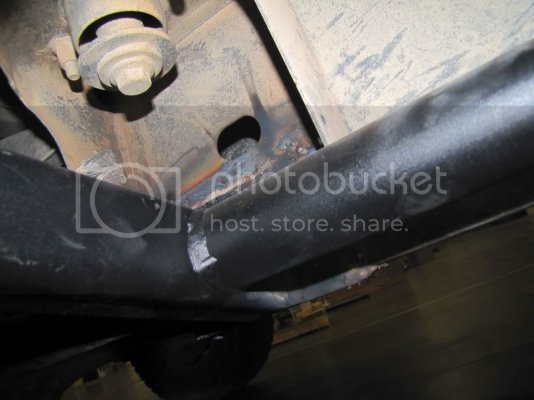
(Gonna spray paint those welds tomorrow when its warmer and the paint will stick)
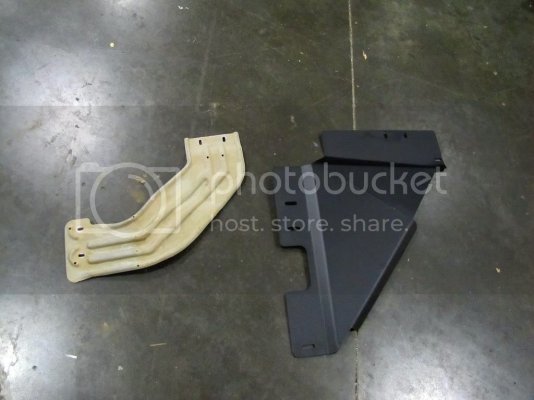
Now on to the skids. Here's a shot showing the stock transfer case skid to the HF skid. There really is no comparison in terms of coverage or strength.
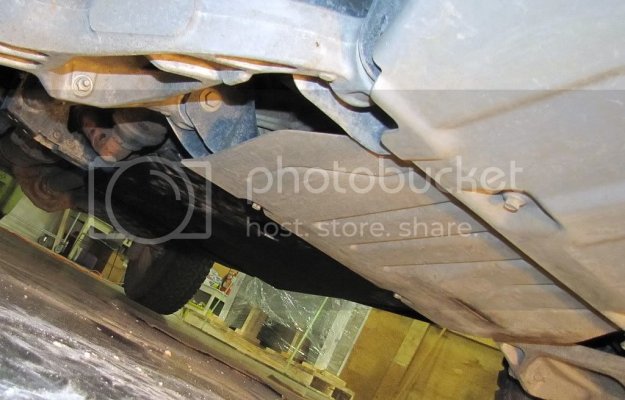
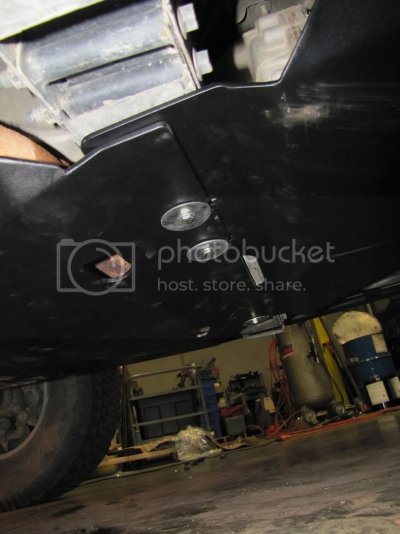
Here I'm trying to get some shots of both skids installed. Total coverage.
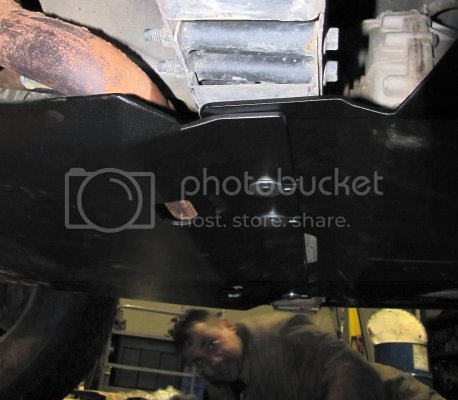
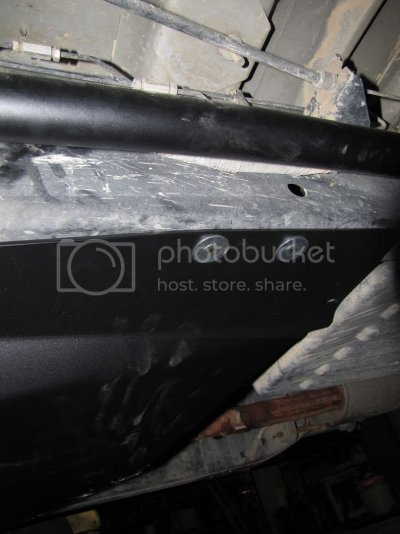
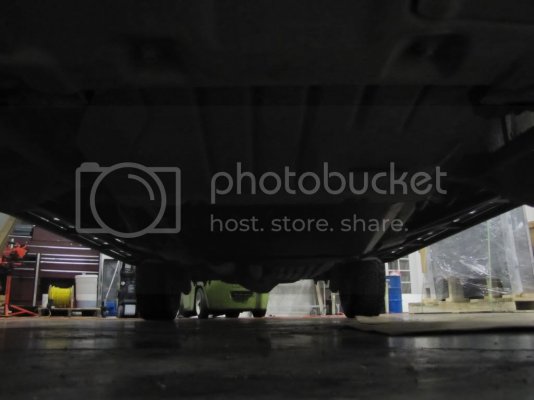
Now here's where I get knitpicky. The supplied hardware includes flush mount allen head bolts. I'm sure these are plenty strong and won't be any problem, but I'm kinda crazy when it comes to hardware. So I dumped these in favor of some grade 8 hex head bolts. Why? Three reasons: 1) I didn't want to worry about ever needing to dig caked up dirt/mud/rocks out of the small allen hole 2) no doubt in my mind the allen heads will strip after a few uses and 3) if I ever need to drop a plate 'out there' I want to be able to use my socket set, and not have to worry about carrying an allen specific socket. Your mileage may vary, and I understand that using these recessed bolts allow for a very low profile slidable surface (no hex head for the rock to grab onto) but if Hefty was looking for suggestions, shipping grade 8 hex head bolts would be mine.
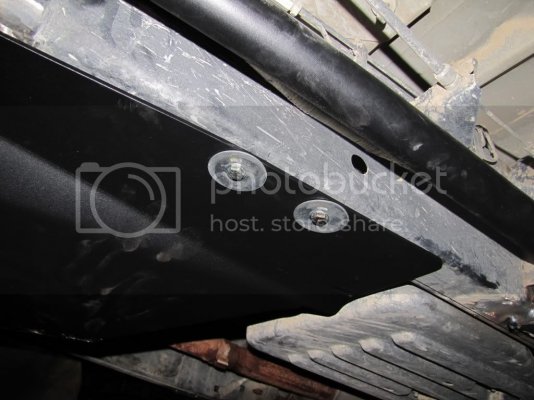
Another knitpick: the aluminum plates that bolt to the sliders... they rattle against the tubes when whacked. If you take your fist and bang it against a tube, that plate will rattle like loose change in a tin can. Nothankyou. Now to be fair, I didn't hear them rattle once on the drive home, so maybe its a non issue, but I think I'll pull the plates and add some body molding strips around the edge, to provide a soft interface between the two materials. I cannot stand rattles, even if they rarely present themselves.
And one more: I think the aluminum is going to be slippery when wet. Not a problem for me and my size 15 boots, but for my wife who sometimes trades her boots for heals, that might present an issue. I plan to add grip tape (like the stuff used on skate boards) in strategic places to make sure she doesn't have any problems.
Those very minor gripes aside, I can't be happier with this stuff. Everything literally matched right up, fell right in line, bolted right on and fit like a glove with zero finagling. These are some seriously strong parts and I have every confidence they'll perform if (when) needed.
Oh and as for the looks of those aluminum plates... if there's one thing about the Raptor's aesthetics I've never liked its that machined aluminum ring on the wheels. Nothing else on the truck is machined aluminum, so those always stuck out as out of place to my eye. But, guess what? Now there's some brushed aluminum down there. Hot damn if that doesn't tie those wheels into the rest of the truck now!
Can ya tell I'm happy about all this?


