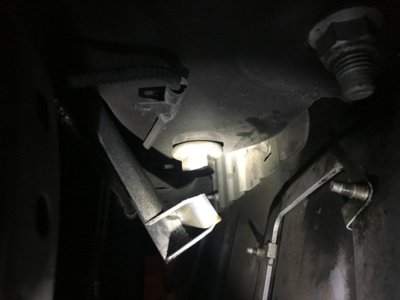
Because the oil filter in the 6.2L engine is mounted horizontally on the engine, it takes a couple of simple tricks to remove the filter in a way that doesn't make a mess. Professional mechanics may know those tricks and employ them on their own vehicles, but work for pay in the shop is all about throughput and the extra steps aren't used in that environment. So, the consumer pays good money and comes home with something new to worry about.
All you really need to do is get under your truck (it's not hard - you don't need a jack or a creeper) and wipe down the area around and under the oil filter with a paper cloth or rag with some solvent or Simple Green on it. This is the equivalent of wiping a toddler's chin for him at feeding time - easy to do, and good results are immediately realized.
Now if you want to prevent this from ever happening again, you might consider changing your own oil. The tricks I alluded to are:
- Drain the crankcase. Be advised that the standard 6 quart drain pan will be too small for an engine with 7 quarts of motor oil. Get a big drain pan or clean up a big mess. Replace the drain plug finger tight.
- While the crankcase is draining, pull the front skid plate. (It's 6 bolts - not a challenge.) This will enable you to do a very clean oil change with no busted knuckles.
- Go to the kitchen, get a piece of aluminum foil, and make a tray for the oil to flow down when you pull the filter. Put your aluminum foil tray under the filter and push it into shape inside the plastic factory oil drain tray. This little trick makes for a nearly antiseptic oil change.
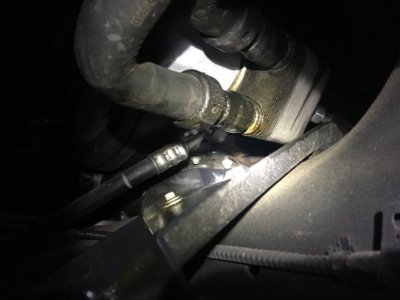
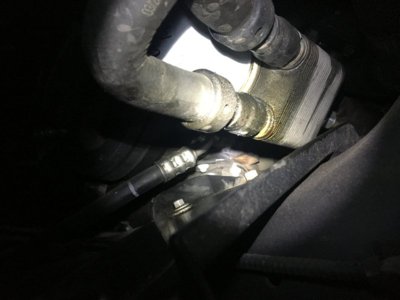
- Crack the seal on the filter and let it and the gallery above it drain, then carefully remove the filter and let the engine drain some more.
- After the filter mount finishes dripping (it doesn't take long), wipe the surfaces clean in preparation for the installation of the new filter.
- Prime the new filter about half-full with new oil. This little trick minimizes the amount of time the engine will run without oil pressure when you first start it up after the oil change. Roll the filter around so that the filter element gets saturated with oil. Don't FILL the filter because it's mounted horizontally and some new oil will uselessly spill out if it's too full. Be sure to wipe some new oil on the filter gasket and on the filter's mounting threads - just a little to wet the gasket and the threads.
- Screw the filter onto the filter mount. Take note of when the gasket just touches down on the filter mount, and turn the filter another 3/4 turn after that to seat it. More is not necessary, may cause the filter gasket to bind and leak, and will only make it more difficult to remove the filter at the next oil change.
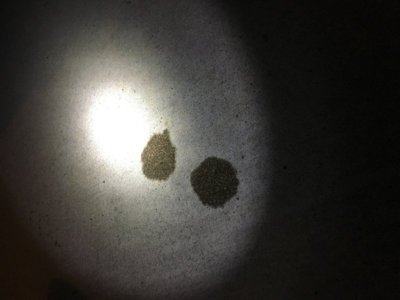
- Slide your big oil drain pan back under the oil drain plug, and pull the plug again. (This is why you only needed it finger tight.) Low and behold, another 4 to 6 ounces of dirty motor oil will drain out of your engine! Now where did that come from? From oil galleries in the engine that were released when you pulled the filter! Failure to do this little step means that you will spend $50 or $60 to do your own oil change and will still have dirty oil when you're done. This is almost never done in a shop, and it's another reason why you should do oil changes yourself.
- Replace the drain plug in the crankcase, tighten it down well (but don't strip it), and put the new oil in the engine. Start it up, visually inspect for leaks underneath, then replace the front skid plate.
While under the truck take the opportunity to look around. Familiarize yourself with what your truck is supposed to look like when it's healthy so that you will immediately recognize when it's not. Look for frayed wires, loose fasteners, frayed brake lines, broken SV joints, etc.
There is satisfaction in doing the job well - better than it'll get done at a shop - and in knowing that everything under your truck is A-Okay for whatever comes next.