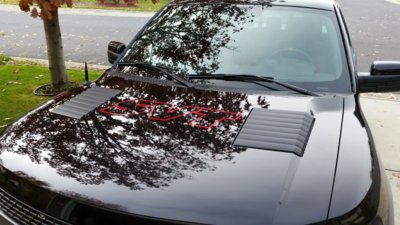
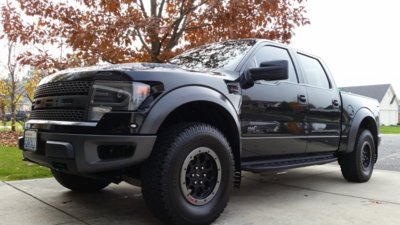
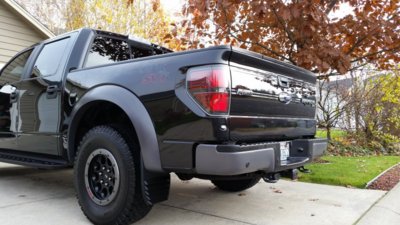
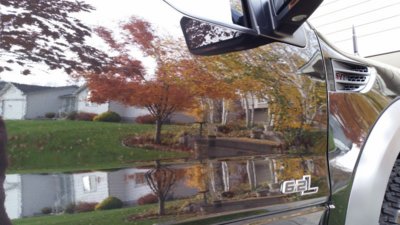
It was time for the Fall Detail to add some fresh layers of protection before it starts to snow. While there were a some very minor scratches and scuffs, I did not do any paint correction as I plan to only do that for the Spring Details. With the snow, ice, road sand and deicing chemicals, there will be some inadvertent paint damage that will need to be addressed next time. Also, since I did the wheels a few weeks ago and did a full interior detail last weekend, the steps shown only addressed the exterior body of the truck.
FALL DETAIL AND WINTER PROTECTION
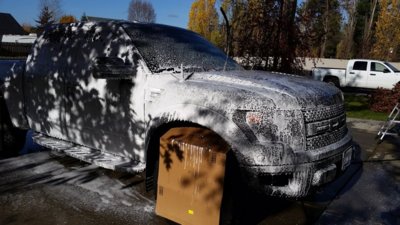
1. Strip washed the truck with pressure washer and foam cannon containing 4oz Car Wash Shampoo and 2oz All Purpose Cleaner, used a wool wash pad and rinsed it in the grit guard bucket between panels, thorough rinse with DI water.
2. Clay bar treatment with Detail Spray.
3. Rinsed off residue with pressure washer, wiped down with 50% All Purpose Cleaner dilution and wash mitt, DI rinse and then dried with Metro Sidekick. Finish drying with Great White Drying Towel.
4. Applied Glass Sealant to the windows. I did this first to make is easier to remove residue when I put Quick Sealant on the window trim.
5. Applied Quick Sealant to all plastic and trim, leveled with foam applicator and wiped residue with Singe Soft Towel.
6. Polished with Revive, using the Cyclo and White Foam Finishing Pads. Removed residue with Double Soft Towels.
7. Used the Metro Sidekick to blow off the polish dust that collects in the nooks and crannies.
8. Wipe down paint with 50% Isopropyl Alcohol dilution and Single Soft Towels. Sprayed the towels rather than the paint to keep from stripping the Quick Sealant off the trim.
9. Applied another coat of Quick Sealant to the trim to add additional protection from staining and to seal the paint right next to the trim.
10. Liquid Paint Sealant with Black Machine Sealant Pads on the Cyclo, removed residue with Double Soft Towels.
11. Americana Paste Wax with Black Machine Waxing Pads on the Cyclo, removed residue with Double Soft Towels.
Since I did not want to strip the sealant off the wheels, I covered them with cardboard to keep the foam off
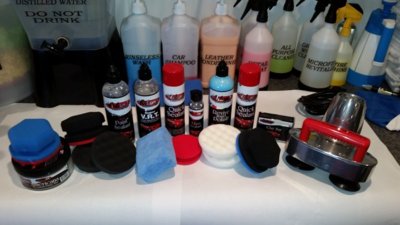
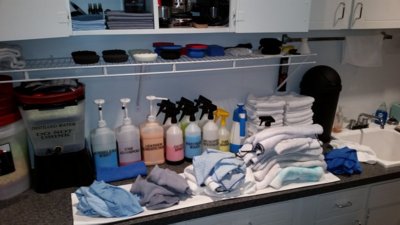
Here's the lineup.
Since I rinsed with DI water, I did not have to dry or worry about water spots before using the clay bar.
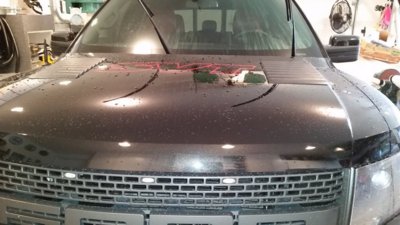
And some Revive Polish to clean the paint so the sealant gets a good bond.
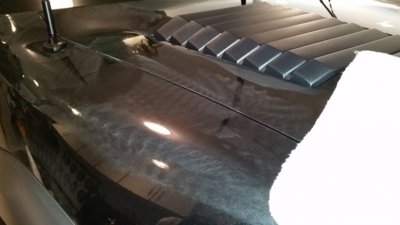
The towel on the right removed the residue from the Revive, but the two towels on the left show additional residue removal with a wipe-down using the Isopropyl Alcohol dilution. I think having the paint as clean as possible is important for the longevity of the sealant.
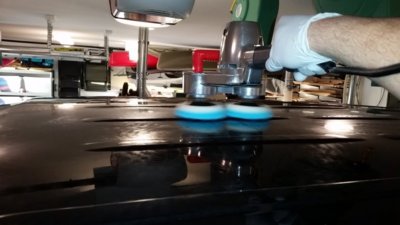
One big benefit to the Cyclo on a truck this big is that I can reach the middle of the roof without having to lean against the side.
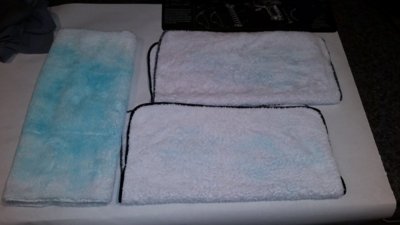
I will give these towels a rinse and then presoak them overnight in a wash bucket with 3oz of MFR&B. Then I will run them through the washer and dryer.
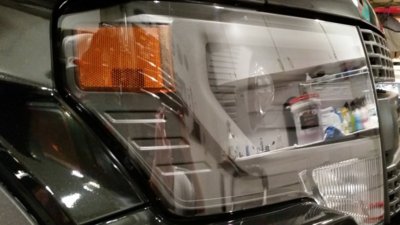
And the "Product Reflection Photo".
Photos of the final results to follow...


