ChevTillNow
Full Access Member
Took me way longer than 2 hours....but I am OCD.
Yup... that be me too...
I even went so far as to put black silicone behind the plastic inserts to eliminate all and any light that I could see when I held them up after I shaved them and snapped them in LOL
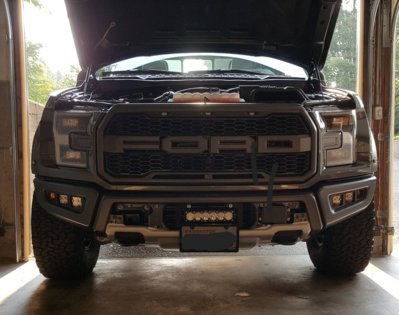
Once I get my harness correct I'll finish my install. The lights and brackets are in just not wired up.
I'm going to move on to my onx6 and get that working first I guess, because that has the right connectors.
But eventually... it'll be done...
But this kit of Jeffs is a well-thought-out quality piece of kit that's for sure.


") Lesson learned, BUY THE REAL STUFF (that's my lesson learned, I bought the no-name cheap ones)
Lesson learned, BUY THE REAL STUFF (that's my lesson learned, I bought the no-name cheap ones)