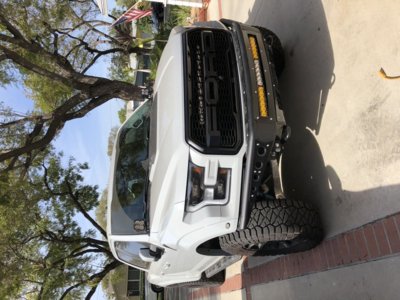
I finally got around to installing mine last night - here’s some shots of the install.
When removing the windshield wipers be careful as there is a tiny notch piece that may come out and you’ll have to go find where it falls.


Definitely use a towel to fill the void next to the bolts you’re removing.


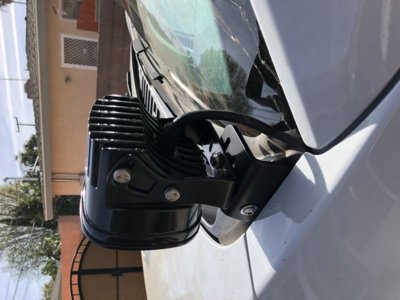
I drilled a couple 1/4” holes in the plastic to insert wire loom fasteners to keep the wires clear of the windshield wiper driving arm area. You can kind of see it below. (This is the wire loom holder clip I used
https://www.amazon.com/dp/B00QWUHJVK/?tag=fordraptorforum-20)

In that area I ran the wires in a loom for more protection and it hold better with the wire loom holds. It’s worth noting I had to extend the long end of the wiring kit that came with the BD XL80s so it would be able to reach across the front.

Here’s the wires looking down from the passenger side.

There is a gutter that I ran the wires out from the cowling into the engine bay on the passenger side. There is a similar gutter on the drivers side should you want to use that side.

I ran to a relay off AUX 3 and that’s basically it.


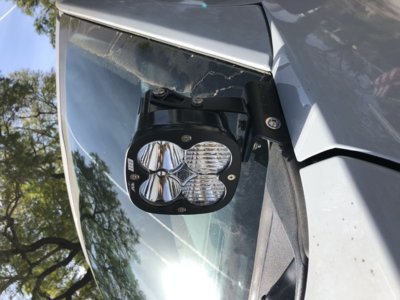
These lights are way brighter than I thought they would be! I’m super happy with them and as always Nick at Apollo Optics got them to me quick!
Sent from my iPhone using Tapatalk