


It begins...
Quick rundown of equipment:
Zapco DC1000.4 (x2)
Dynaudio 162GTs
AudioMobile Eliite 2208 8" Subs (x4)
Audience A3 Wideband drivers
RF 3Sixty.3
---------- Post added at 09:42 PM ---------- Previous post was at 09:39 PM ----------
Sub-box build is on tap first. Also… full res images can be found on my crappy blogger account. Dad on the Run
Couple of things I have discovered since the G35 build that has made my life so much easier.
Jasper Perfect Circle Jig:

Bessy 90 Degree Corner Clamps:

I have absolutely no idea why it has taken me this long to spend the 50 bucks on these things. Dumb. Dumb. Dumb.
So… here’s the plan. The box is going to go under the rear bench. Very similar in design to this box from SuperCrewSound.com: Ford F-150 Supercrew Cab 09-13 Dual Subwoofer Box
Now that I look back on it… I question my decision to build this myself. I mean… sure. My box is custom build. It’s over-built. I have the satisfaction of doing it myself, but… the SCS.com box is only $150. Cost/Benefit analysis is a negative on this, I think.
OK… so here’s the initial design. Made a template of the space, and started filling it in. And I quickly realized that I wouldn’t have enough volume. So, I scrapped this and started over.

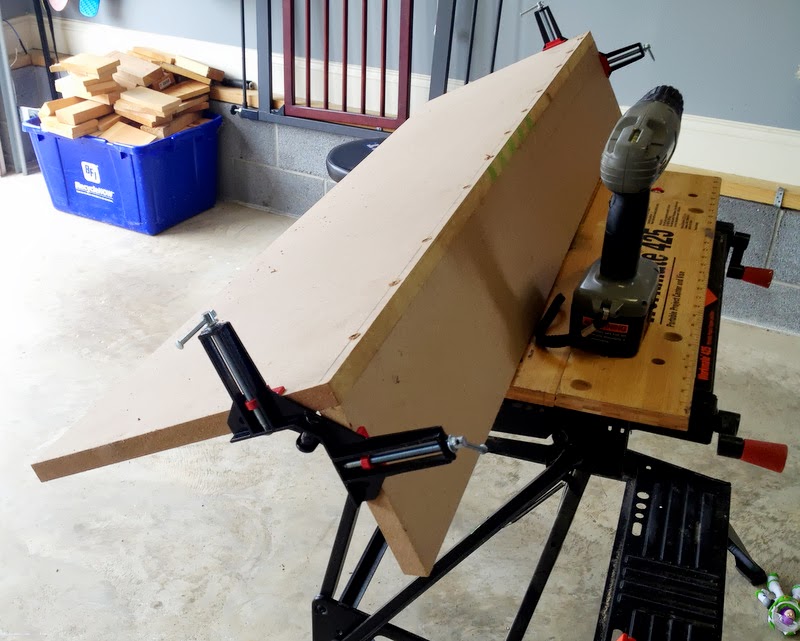
After working up another template and design, I felt comfortable breaking out the saws and the MDF.
Here’s the aftermath:

Moved on to dry fitting and test fitting (the one by shims are classy, eh?):
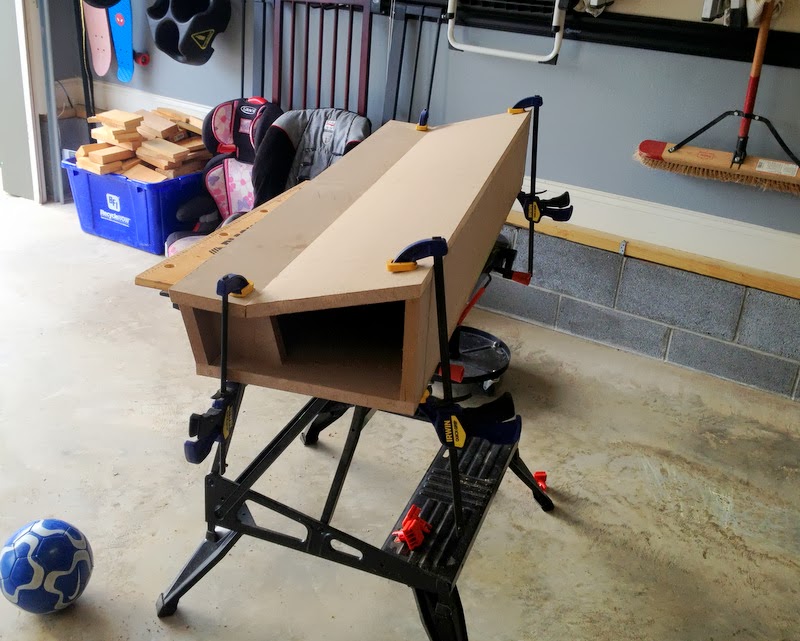


I was pretty satisfied with how things were shaping up at this point. So I decided to break out the glue and resin and get her put together.
Resin applied to all interior and exterior joints:

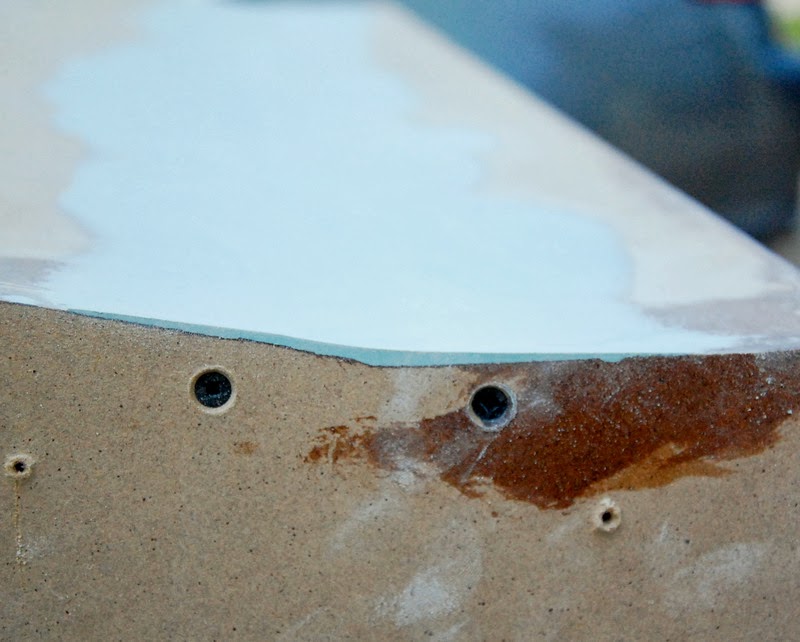
Close up view. Notice the fitment isn’t perfect. Not worried about it. The sander helped clean things up after I took this picture, and this box will be carpeted. Won’t telegraph through.

Next up was body filler. I wanted the top of the box to have a smooth transition between the two panels on the top. So… I wrapped some scrap in wax paper and attached it to the ends of the box to act as a dam. In this pic you can see one of the “dams” attached on the left side of the box. You can also see my “Official Lagunitas IPA” transition template on the work-mate:

Mixing up the Rage:

Applying the Rage:
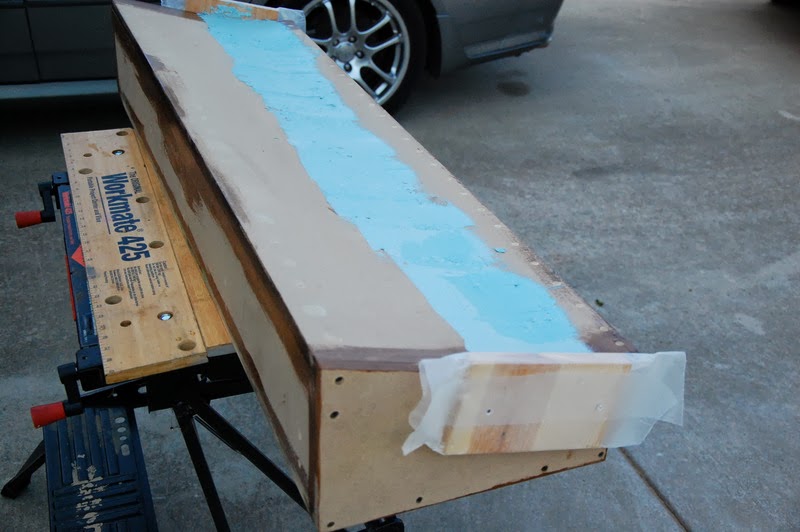
And after some sanding we have a smooooooooooth transition… well… smooth enough for carpet:
Jack and “Dusty” approve:

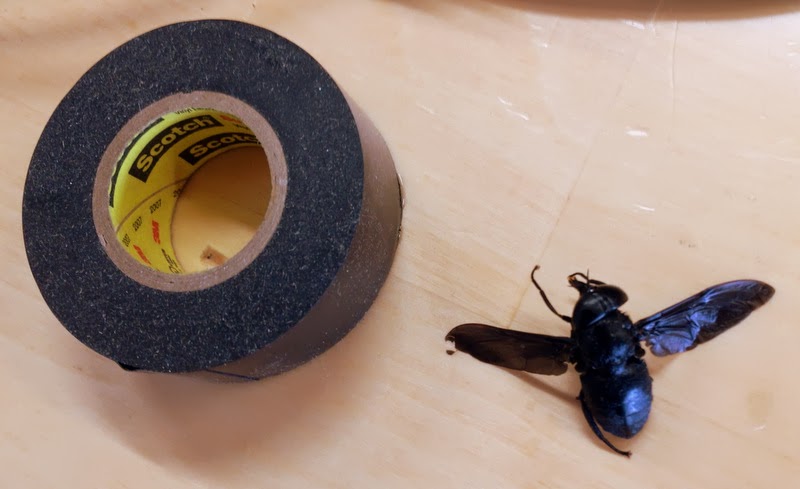
This *thing* doesn’t. Therefore, it must die:
And finally I fabbed up the end trim panels, used a .5 roundover and did a final test fit.

At this point, we are ready for upholstery… Which is going to wait until we get a lot closer to final installation. I don’t want to worry about the carpet getting all dusty while I work on the rest of the build.
All in all I am pretty pleased with this. Could have done a better job on a couple of items, but the thing is braced to the max and built like a tank. Just like our trucks.


