Icom ic 7000 install

Disclaimer: Links on this page pointing to Amazon, eBay and other sites may include affiliate code. If you click them and make a purchase, we may earn a small commission.

the yeti

Full Access Member
Joined
Jan 8, 2012
Posts
134
Reaction score
71
Location
Edmond, ok
Let me first say the forum has made the install painless as there are many great post to gain ideas and how-to.

There will be many pictures and more to come as the installation continues.

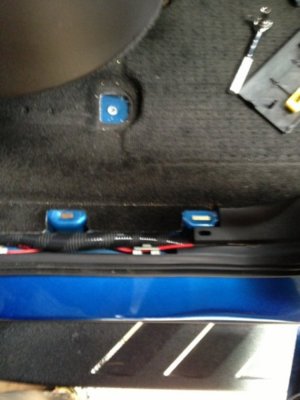
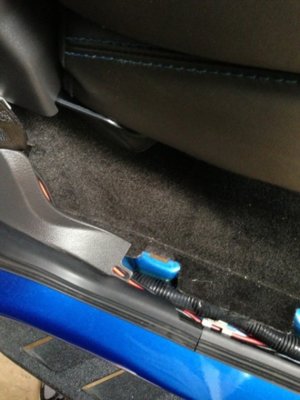
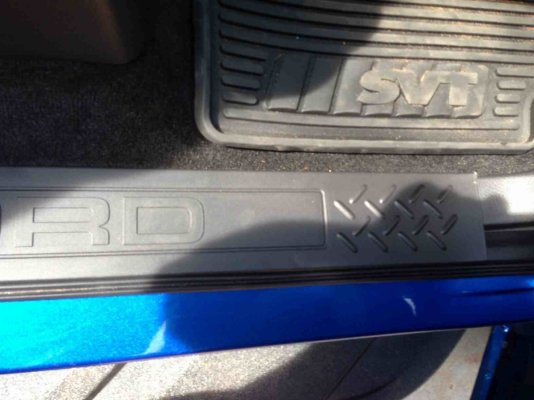
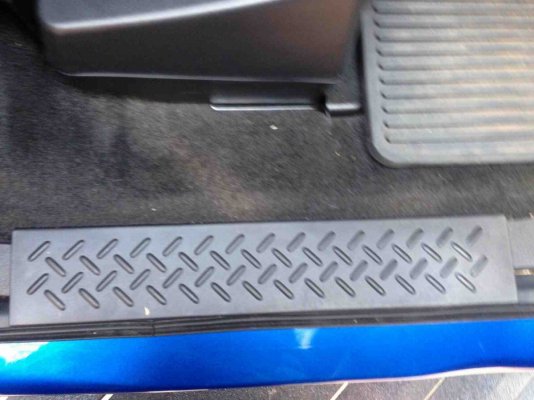
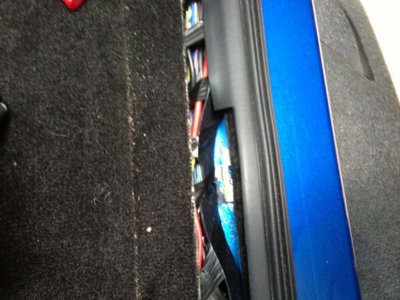
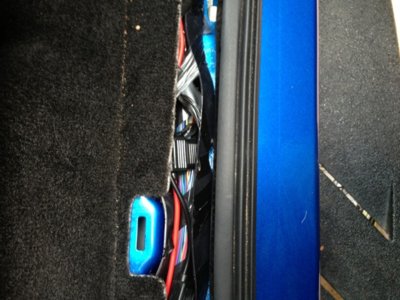
I started by running a fish through the firewall after removing the grommet as reported on the forum. I cut out the center of the plug/grommet so there was just enough room to run two 10 awg wires through (a little spray of silicone lubricant really helps.). Next Iran this under the fuse box. Then elevated the passenger front and back door sills.
ImageUploadedByTapatalk HD1374434775.629287.jpg
ImageUploadedByTapatalk HD1374434950.389837.jpg
ImageUploadedByTapatalk HD1374435005.003334.jpg

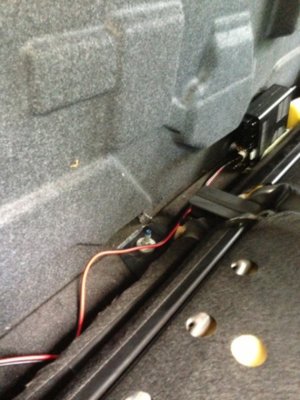
Then ran it behind the back seats
ImageUploadedByTapatalk HD1374435090.433554.jpg
(later tucked it under the plastic

ImageUploadedByTapatalk HD1374435165.830744.jpg
Sent from my iPad using Tapatalk HD
 
Last edited:
OP
OP
the yeti

the yeti

Full Access Member
Joined
Jan 8, 2012
Posts
134
Reaction score
71
Location
Edmond, ok
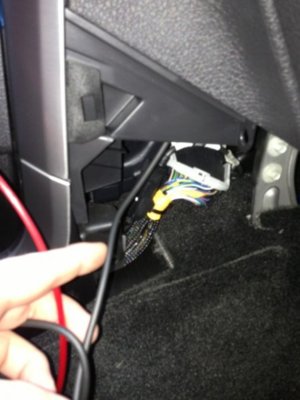
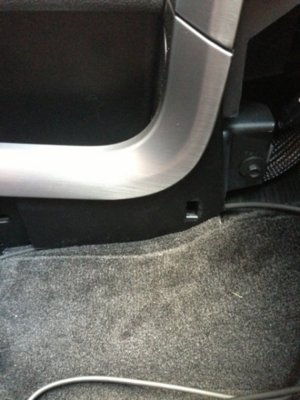
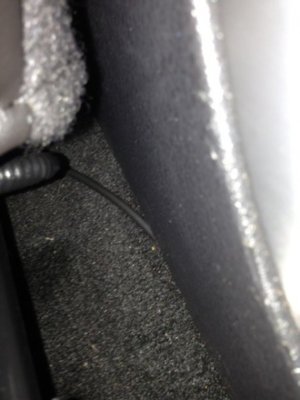
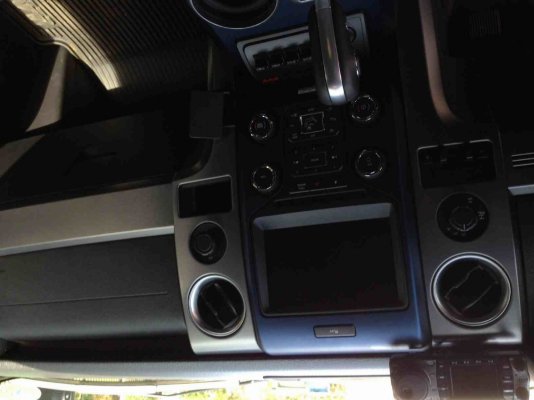
Next I removed the dash center speaker and tray as well as the passenger center console kick plate. I then ran the separator cable with a fish down.


ImageUploadedByTapatalk HD1374435378.664546.jpgPicture from above showing cable going down right bottom side of picture

ImageUploadedByTapatalk HD1374435447.293882.jpg
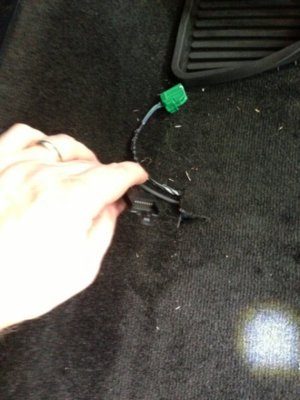
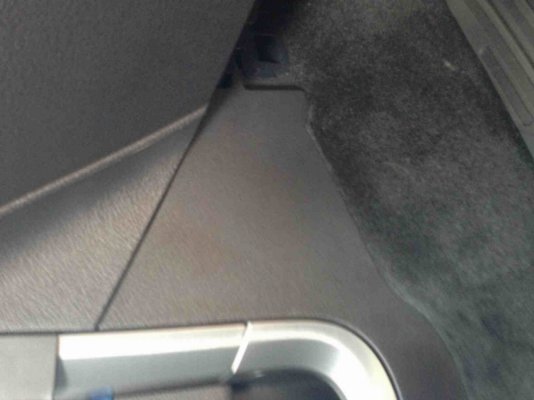
This is where it comes out by the kick plate

ImageUploadedByTapatalk HD1374435521.611882.jpg ImageUploadedByTapatalk HD1374435722.075147.jpg
Then tuck it under edge of center console until mid seat.

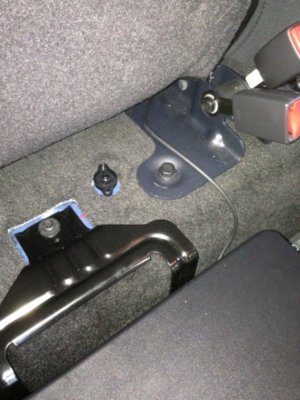
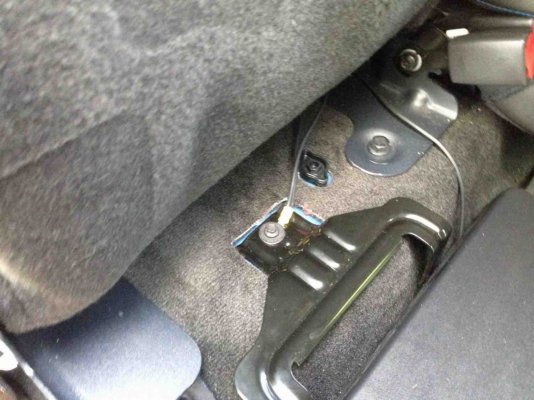
Subwoofer was removed next. Then through this area fish rod was run to under the passenger seat. Where a small cut made and the separator cable run to the back. There is a depression in the floor that they run in fairly well.
ImageUploadedByTapatalk HD1374435771.345513.jpg

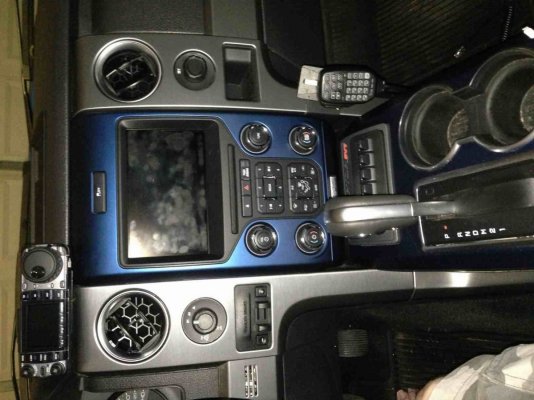
Then ran it to the the radio and reinstalled the subwoofer.
ImageUploadedByTapatalk HD1374435911.922951.jpg


Sent from my iPad using Tapatalk HD
 
Last edited:
OP
OP
the yeti

the yeti

Full Access Member
Joined
Jan 8, 2012
Posts
134
Reaction score
71
Location
Edmond, ok
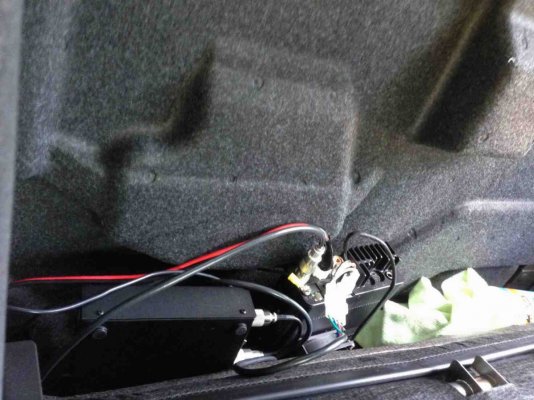
Next the radio was connected to the hf antenna tuner .
a9enasub.jpg
Next they were grounded together to where the subwoofer screws into the cab(may change this).
yta7ujy5.jpg

Reinstalled the trim and the subwoofer.
myva6u8e.jpg

a3eqedag.jpg
a3ejezy9.jpg

Next another proclip mount was used to hold the mic.
usepypu7.jpg
uhezy2ed.jpg
(may convert to button mount on the proclip to get it higher.)
 
Last edited:
OP
OP
the yeti

the yeti

Full Access Member
Joined
Jan 8, 2012
Posts
134
Reaction score
71
Location
Edmond, ok
Next waiting on mic extension to run it back to the radio.

Need to attach the radio mounts

The nmo roof mount is being installed this week as well


Sent from my iPad using Tapatalk HD
 

SwampKing

FRF Addict
Joined
Apr 7, 2012
Posts
1,938
Reaction score
266
How r u running the antenna and securing the TX amp, ect.. to the back cab wall?

Method NV/37's
Boatec front and Rear fenders
Rigid dually's in fogs
FOR NOW!
usageda3.jpgysazahu6.jpg
se8y8aba.jpg
 
Last edited:

All The Way

FRF Addict
Joined
Sep 18, 2011
Posts
1,878
Reaction score
1,080
Location
Lockport, NY
I hate to say this... You may want to take that antenna tuner out of there. From what I can see it looks like a LDG antenna tuner? Does it have a single push button on the front?
 
Last edited:
OP
OP
the yeti

the yeti

Full Access Member
Joined
Jan 8, 2012
Posts
134
Reaction score
71
Location
Edmond, ok
How r u running the antenna and securing the TX amp, ect.. to the back cab wall?

Method NV/37's
Boatec front and Rear fenders
Rigid dually's in fogs
FOR NOW!
usageda3.jpgysazahu6.jpg
se8y8aba.jpg

Antenna for VHF/UHF. Nmo roof mount comet as for hf I'm playing with Wilson 1000. I am going to attach it to the back carpet but haven't decided on a method. Ian also running an auxiliary cooling fan.


Sent from my iPad using Tapatalk HD

---------- Post added at 09:30 PM ---------- Previous post was at 09:29 PM ----------

I hate to say this... You may want to take that antenna tuner out of there. From what I can see it looks like a LDG antenna tuner? Does it have a single push button on the front?

Yep it's a ldg 100 just for the hf


Sent from my iPad using Tapatalk HD
 
Last edited:
All The Way

FRF Addict
Joined
Sep 18, 2011
Posts
1,878
Reaction score
1,080
Location
Lockport, NY
Yep it's a ldg 100 just for the hf

Sent from my iPad using Tapatalk HD


Do you plan on wiring a remote switch for the tuner? I have version for my FT-857d, and in order for it to tune you have to push the button on the tuner. Being behind the seat like that is gonna make that difficult.
 

All The Way

FRF Addict
Joined
Sep 18, 2011
Posts
1,878
Reaction score
1,080
Location
Lockport, NY
Good catch on his tuner. Is this an HF only rig??? What are we running for the antenna....

the 7000 is like my 857 UHF/VHF and all HF bands. If you look close at the pics it has two separate antenna ports. HF on one and UHF/VHF on the other.

yeti, are you a ham to?
 
Top