bigrig
Full Access Member
Chase Rack Build
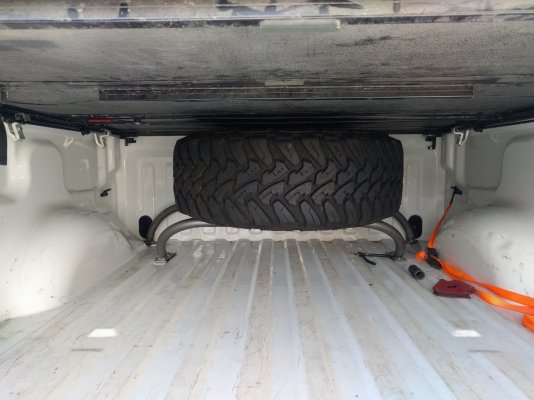
I was inspired when I saw the Krazy House Customs undercover rack to build one of my own. I should say it was part inspiration, part seeing how much shipping costs are to CA, and part just needing a new project. I put the rack to the test last weekend in Ocotillo Wells for the Tierra Del Sol Desert Safari. The weekend was a mix of high speed runs through the washes and some technical crawling through the surrounding eroded mountains. The rack held up great and kept everything secure.
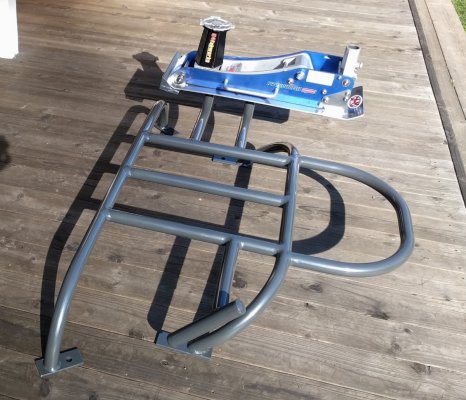
Tools I used:
The caveat here is I used just about every tool I own. But here is a list of things that made the job a lot easier:
Materials I used:
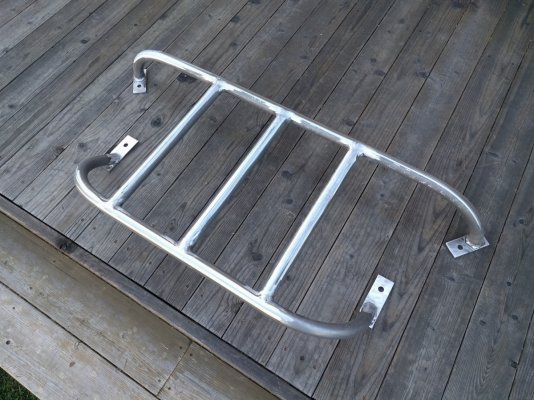
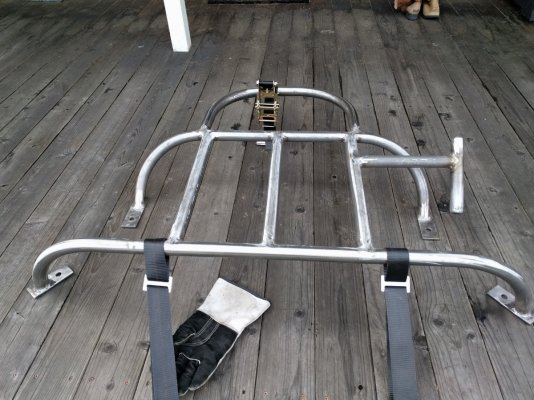
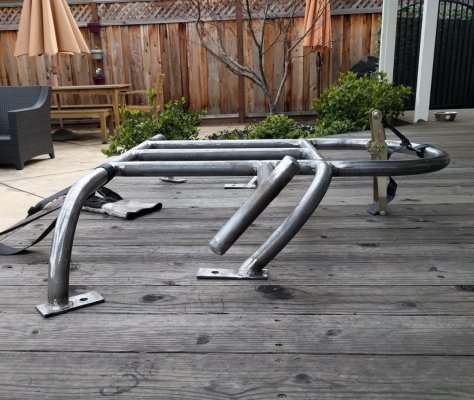
The core structure of the rack:
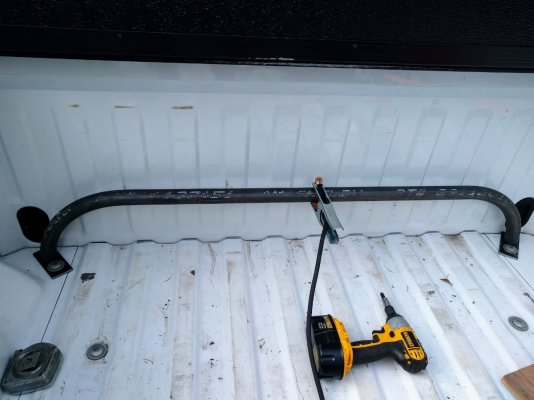
Getting everything lined up right in the beginning makes a big difference down the road (at least I think it would), which is why I was very deliberate and took time to measure everything and fit it before welding it together.
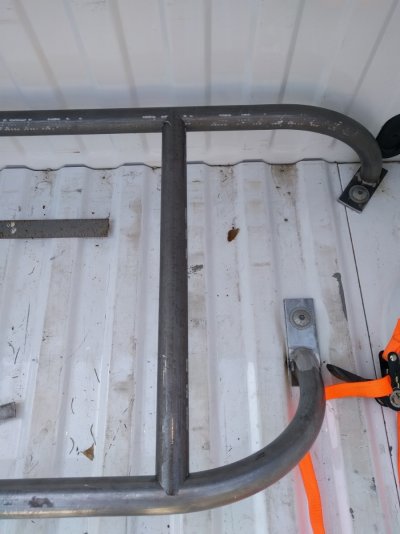
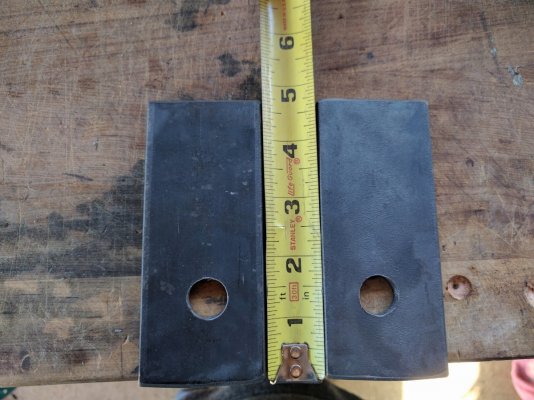
First I started with the feet. I cut them to size and drilled out the holes to support the bed bolts. I drilled a ⅝" hole for each of the feet.
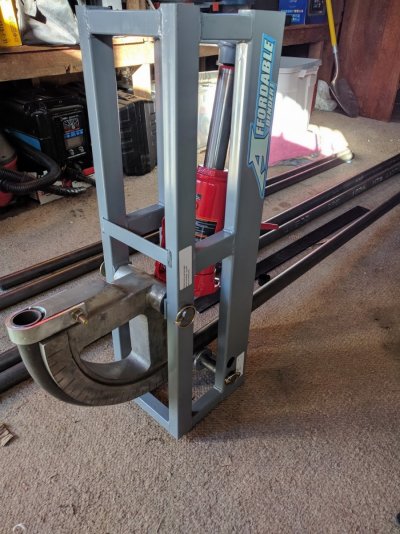
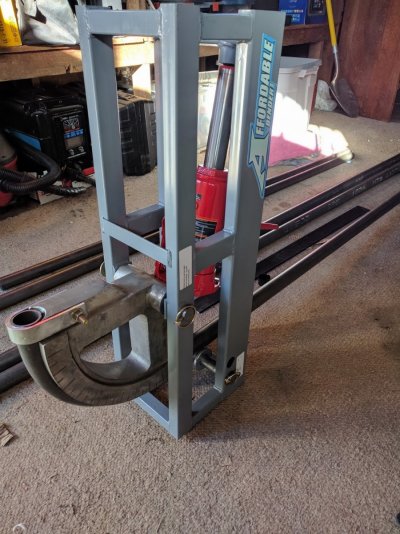
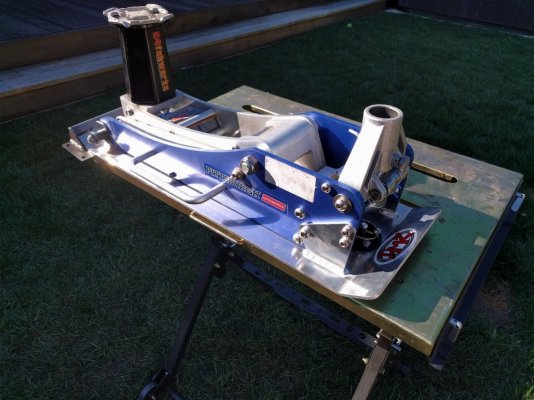
Next I got to start bending some tube. I got pretty lucky not wasting any tubing in this part. The Affordable Tube Bender did its job nicely and I was able to control the bends accurately. I did have to adjust the hydraulic jack to get a solid 90° angle. It was a matter of unscrewing the contact plate from the piston to give the bender a greater amount of throw.
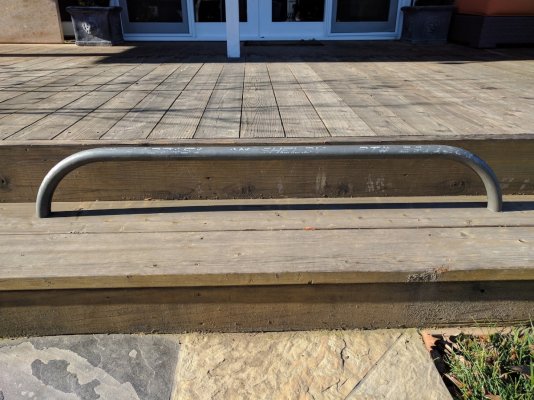
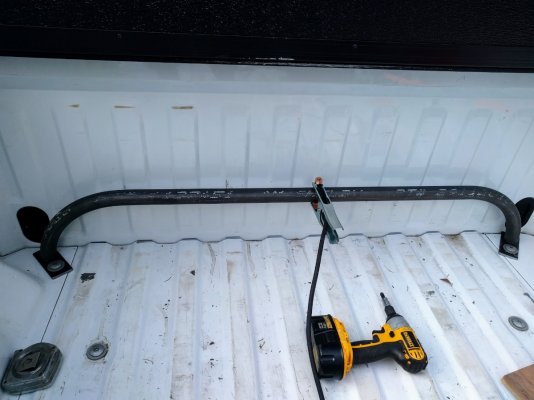
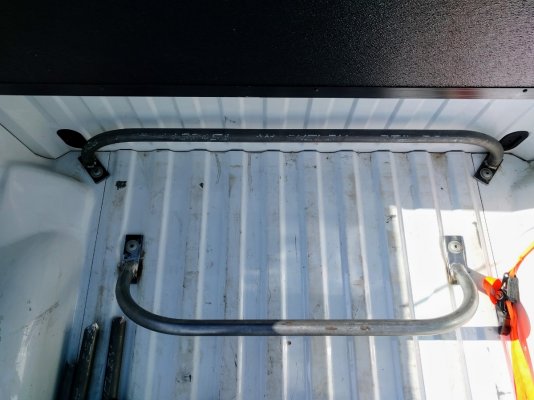
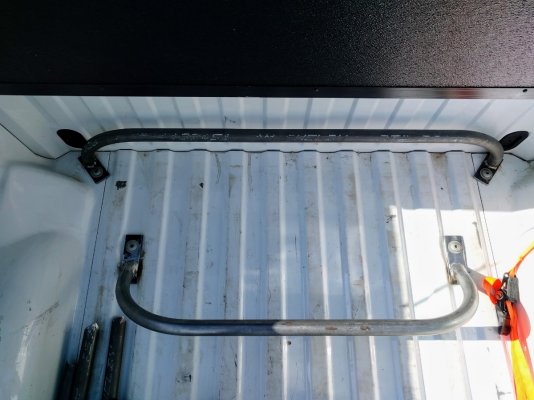
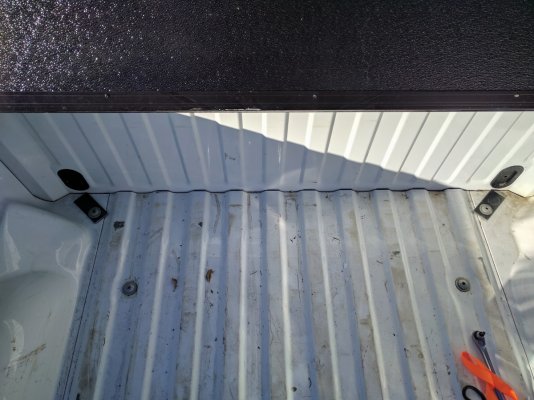
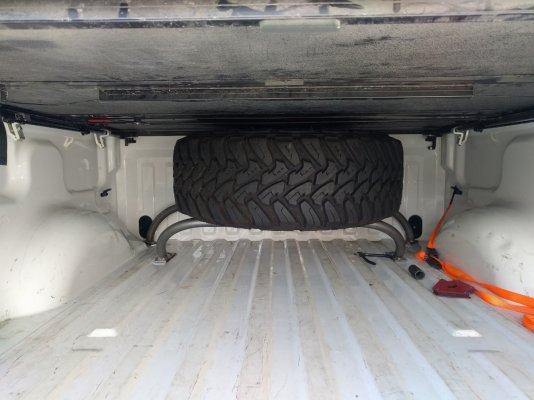
I checked and rechecked clearances regularly to make sure everything would fit. It is a real pain to move a wheel in and out of the bed so many times but I think it is necessary to ensure that everything fits.
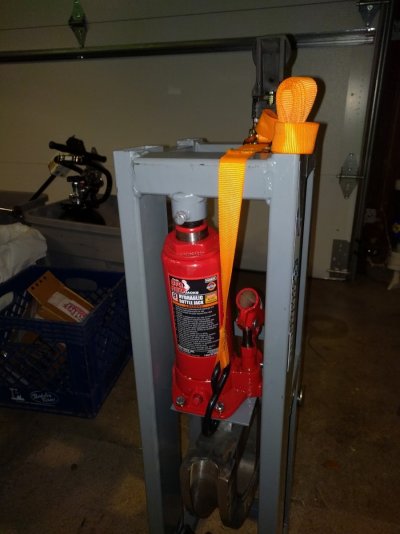
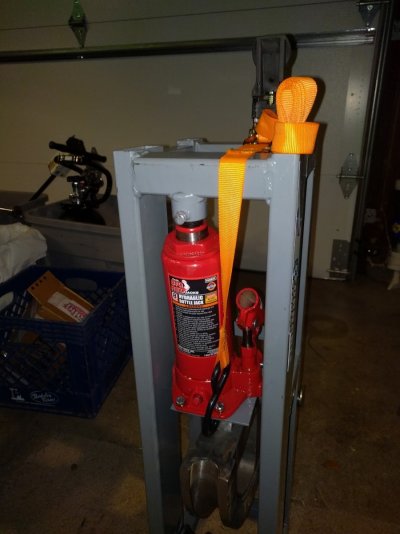
A tip I would offer while using the Affordable Tube Bender is that you can attach a ratchet strap to the base of the hydraulic jack and then use the ratchet to pull up the die/jack assembly. It helps getting the die to 0° and it holds everything up so you can place the tube easier. I would also recommend tightening down the metal tube harness every time you bend it. If it is at all loose the grade 8 bolt that holds it in place will bend and your angles will not be as precise.
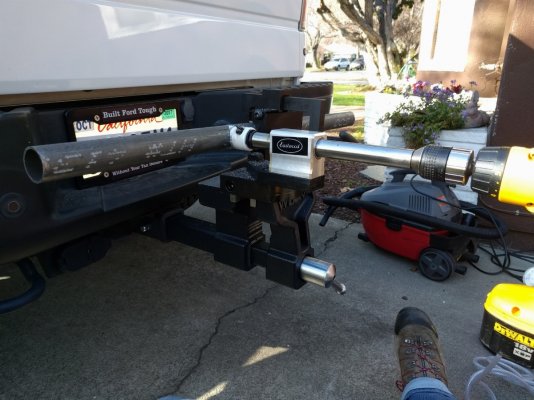
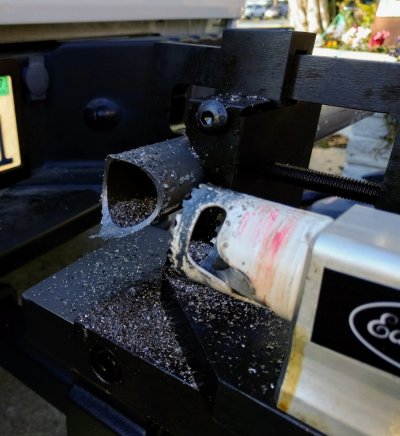
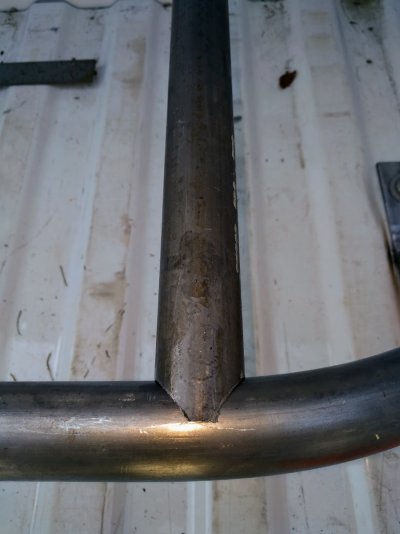
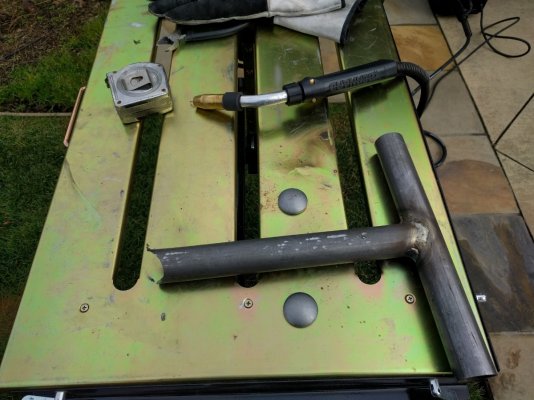
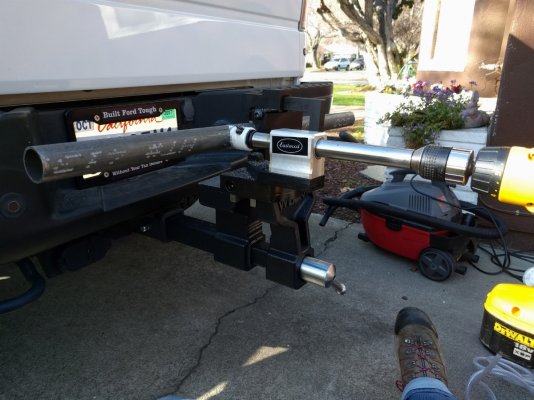
Next step was to create the crossmembers. I used the Eastwood Tube Notcher for this. I was really happy with this tool, did exactly what it said it does and makes fitting these tubes together much easier.
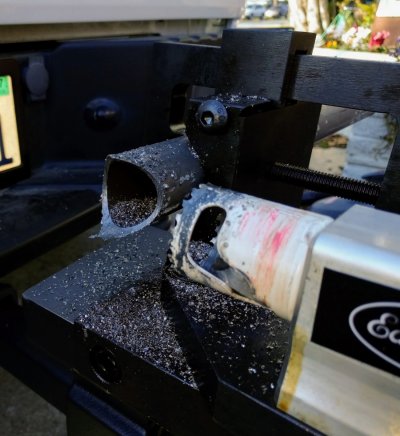
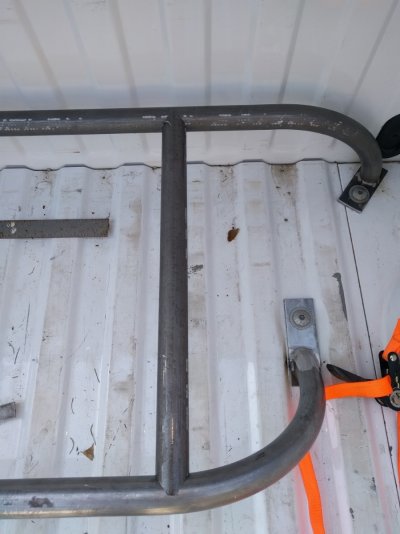
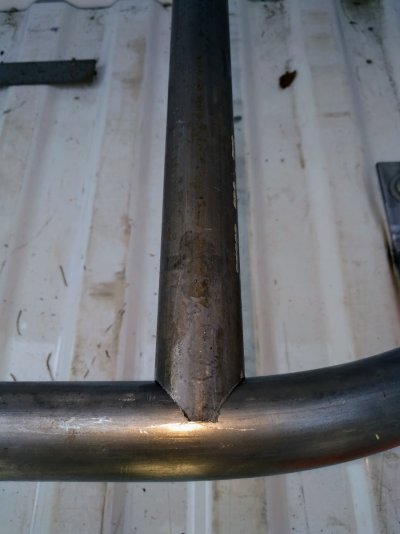
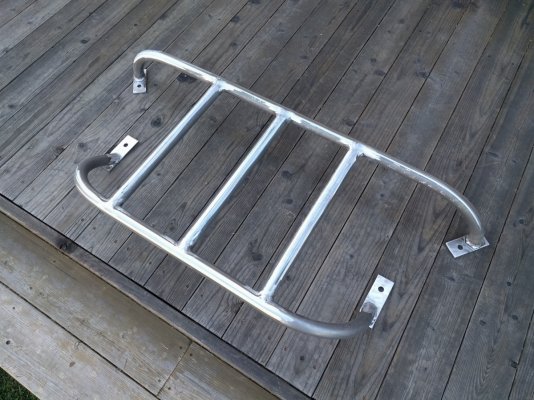
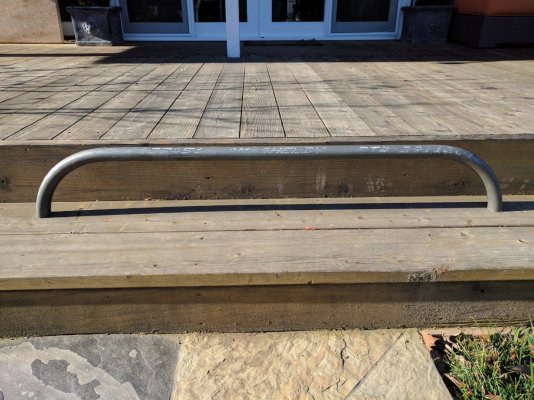
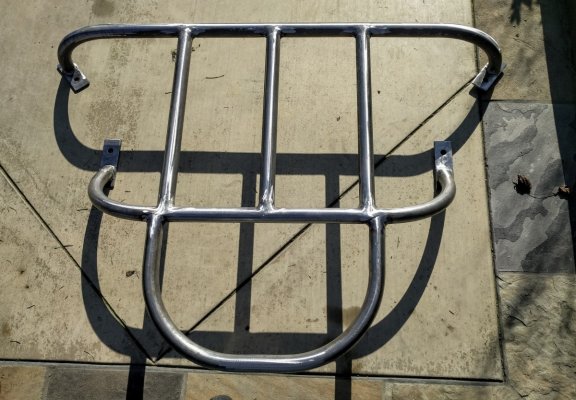
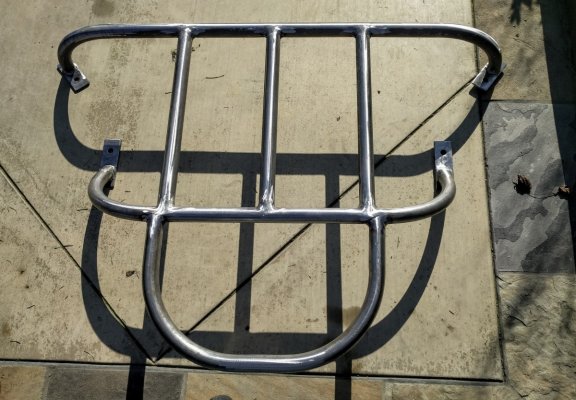
The final loop in the front proved to be the hardest bend to make. It is because when you are bending an already bent tube and the bent part enters the bending die, the angels get all screwy. I must have wasted about 10’ of tubing trying to get this right.
Wheel Harness:
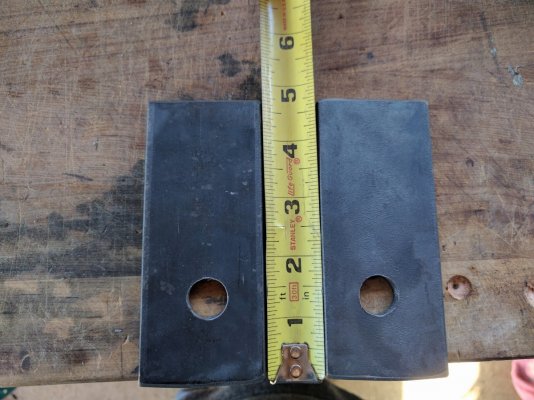
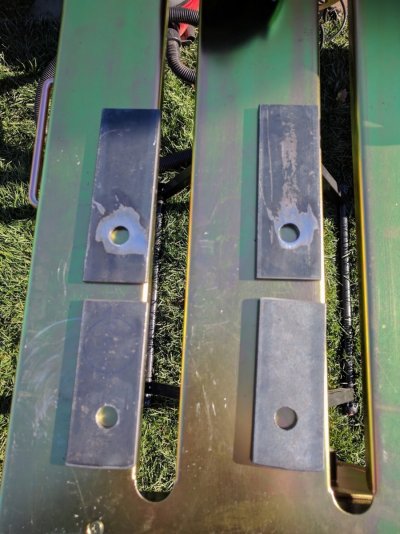
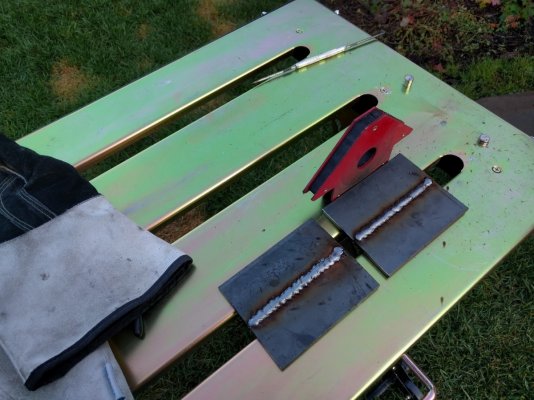
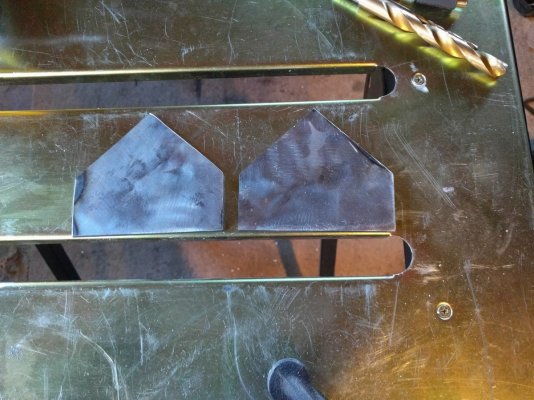
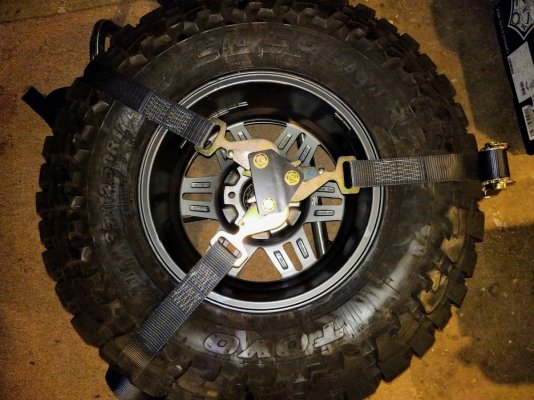
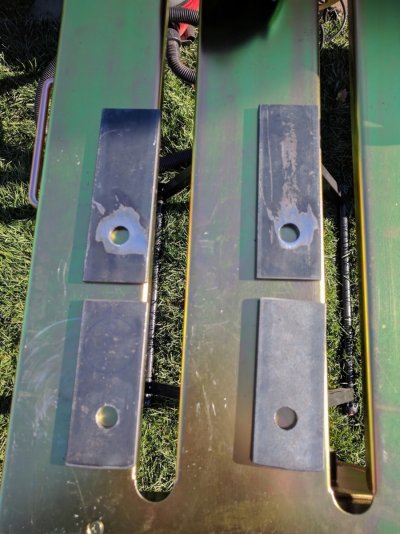
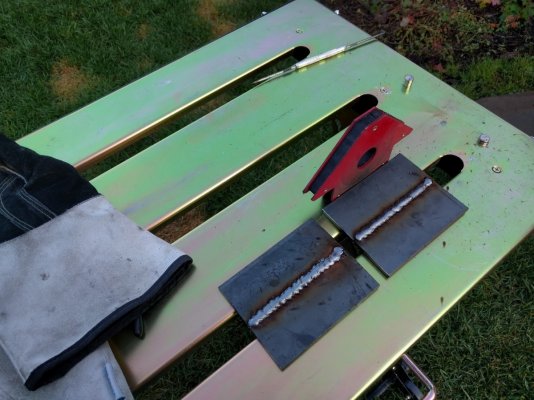
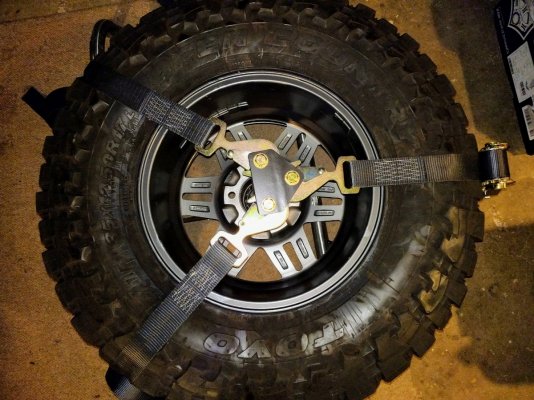
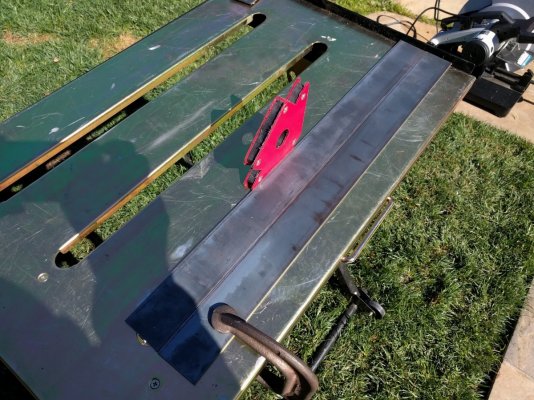
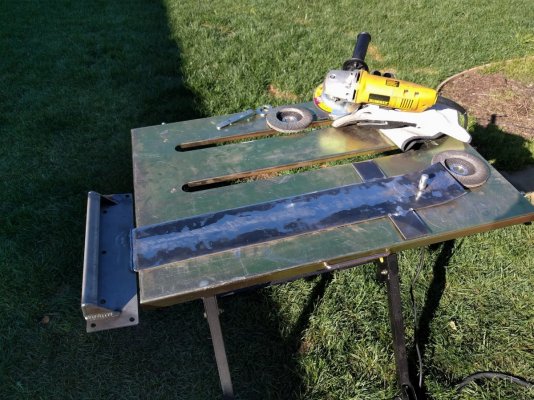
The SDHQ three-way wheel harness comes with a triangle for all the straps to feed through. I decided I wanted all the hooks over the wheel rather than attaching to the rack since I felt that looping the straps around the rack was a better design. I set forth to build something that all the hooks could latch into. I cut up some ¼" plate metal and welded it together.
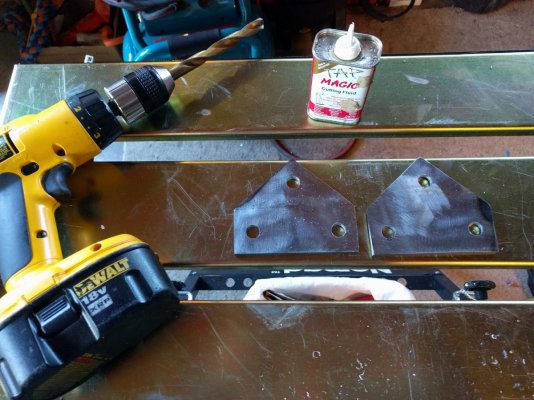
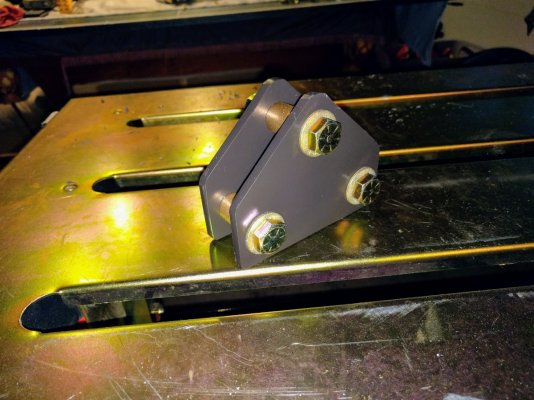
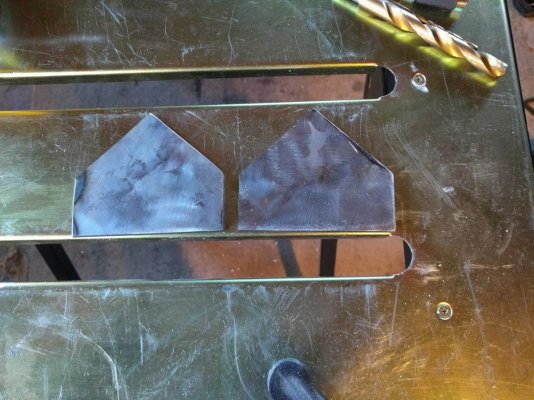
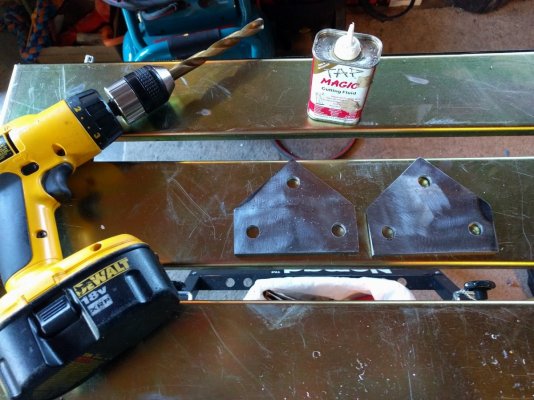
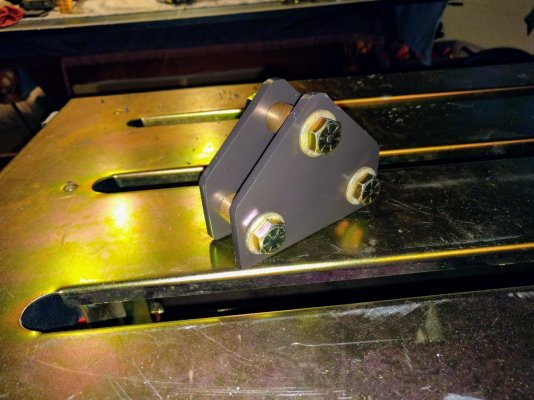
From there I grinded down the welds made some more cuts, drilled some holes, added some hardware and brass bushings and put a coat of paint on it.
Power Tank Mount:
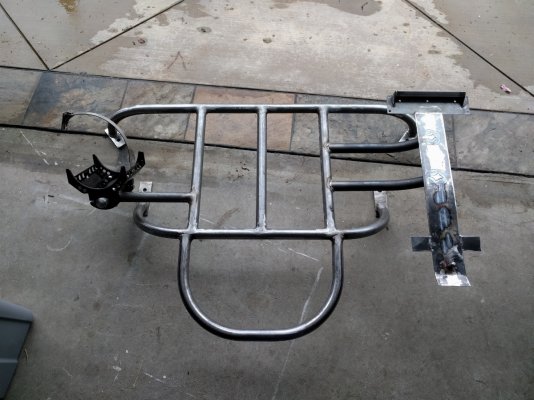
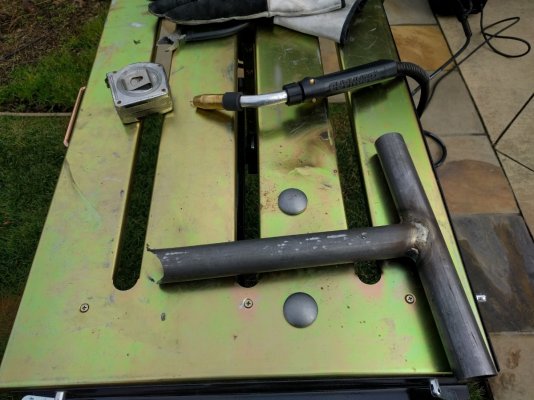
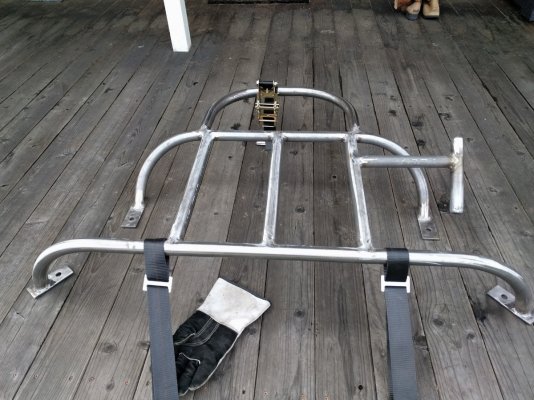
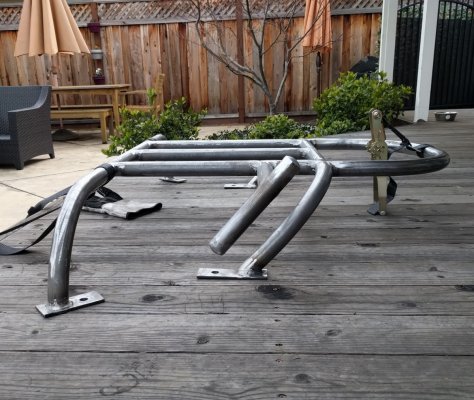
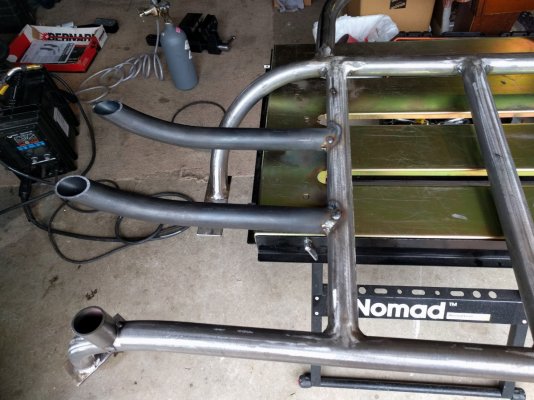
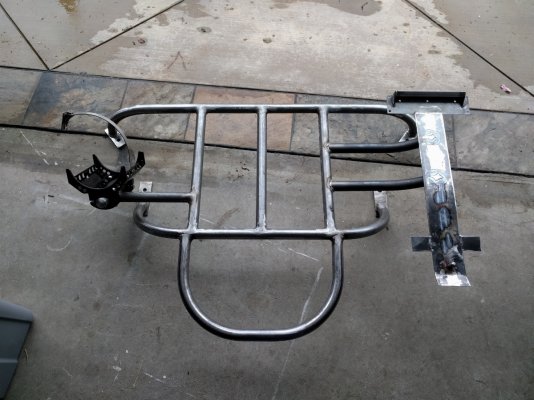
The Power Tank mount had to be cut because I couldn’t bend an angle that tight. I found some nice end caps that could be welded on the ends to clean up the appearance.
Jack Mount:
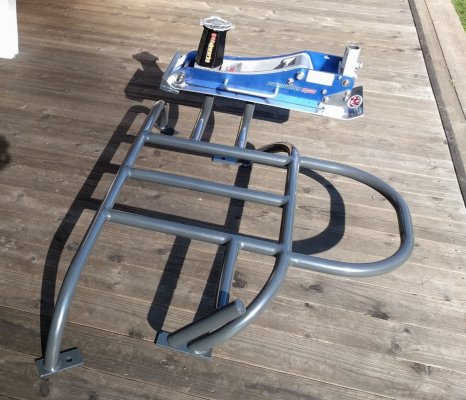
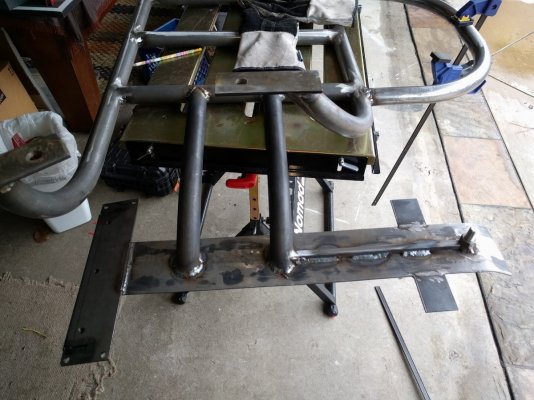
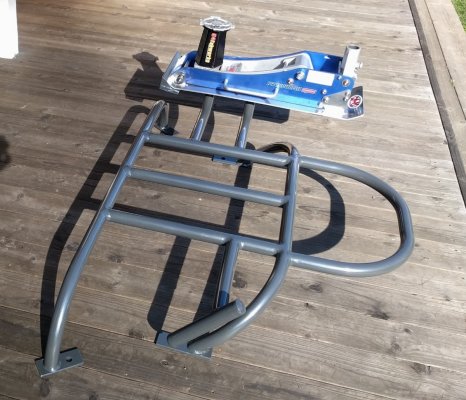
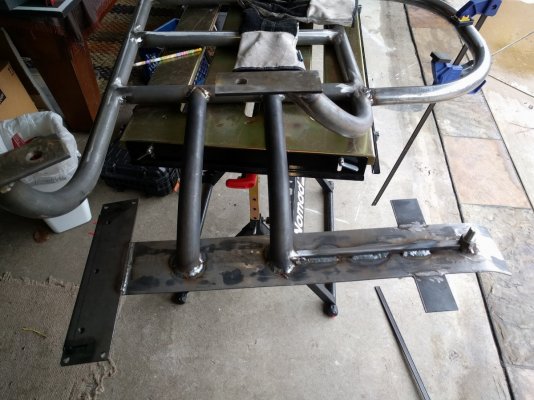
I purchased the jack skid with the mounts and hardware from DMZ. I worked out a way I could weld their stuff onto my rack. The most difficult part about this was getting the bends and the cuts to raise the jack high enough that it didn’t come in contact with the wheel wells but low enough that it didn’t hit the bed cover. Again it was a lot of assembling and disassembling to get the fit right. I joined a couple ¼" pieces of metal for the base and welded on another square tube for rigidity.
Note to anyone doing this, remove the ABS plastic for the hood pin from the skid if you are using it to weld the base, I melted mine a little doing so.
Sending off for powder coat:
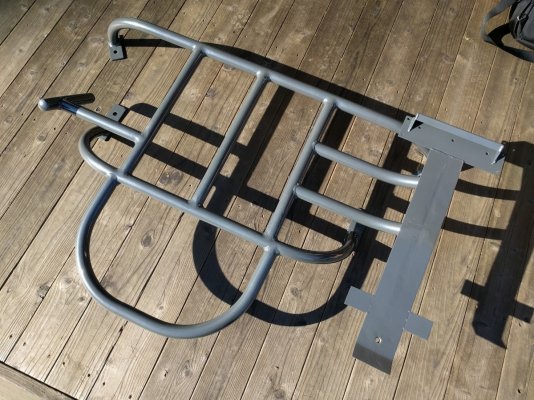
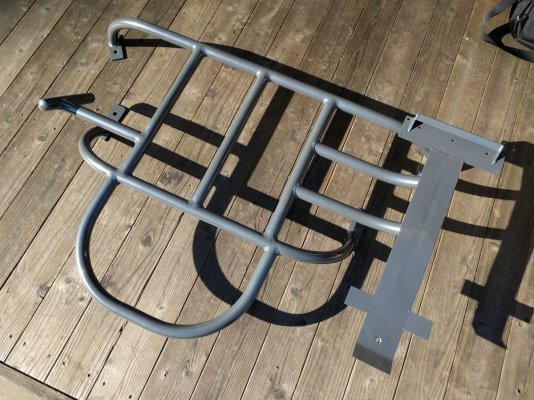
I wasn’t going to let my newly created piece of art rust. So I sent it out for powder coating. The color I chose was called GR02 color grey metallic.
The final product:
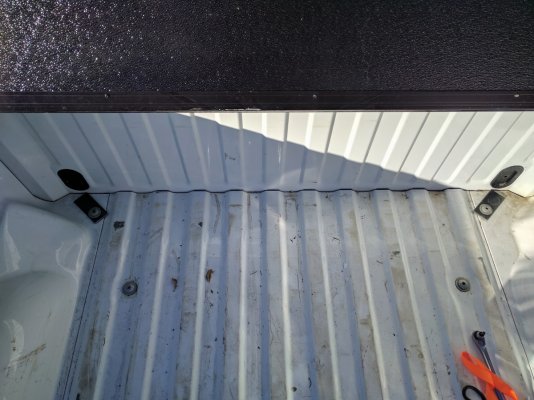
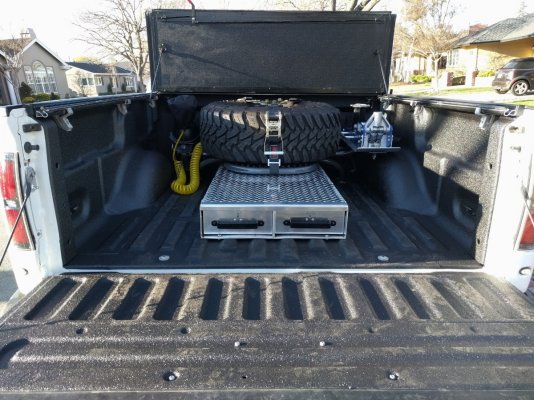
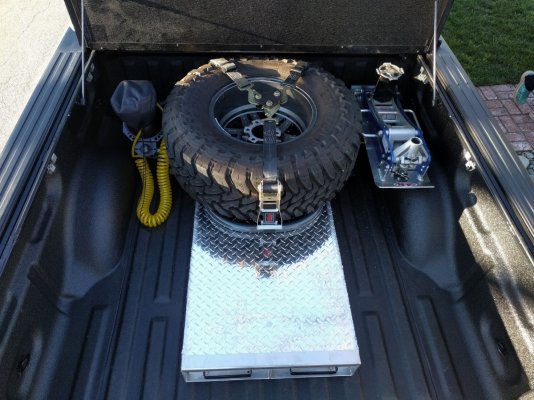
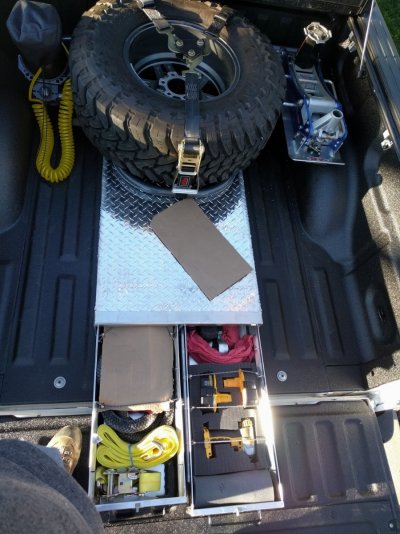
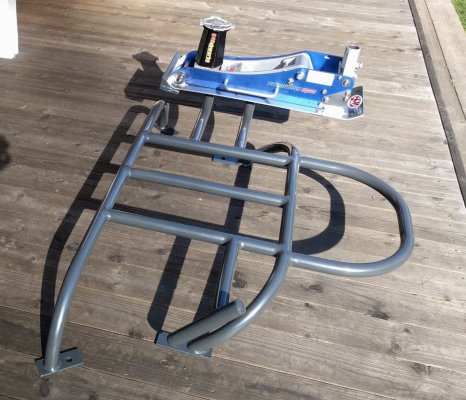
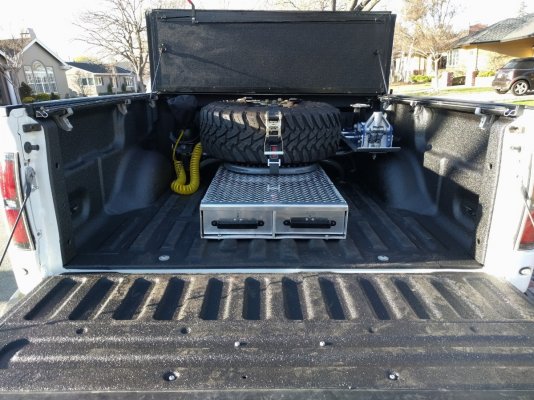
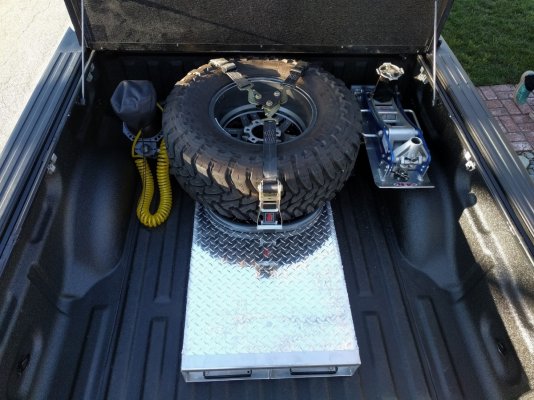
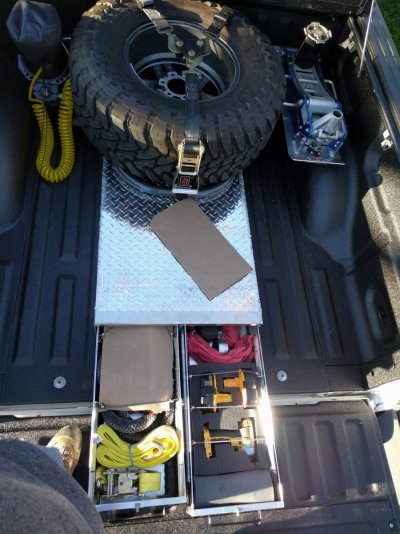
I added a Jobox tool drawer and got the bed Line-X’d for added functionality, durability and appearance. I should note I reinforced the Jobox tool drawer by running a few extra beads along the seams. I am not sure if it needed it but I needed some aluminum welding practice so I went for it.
Testing it out:
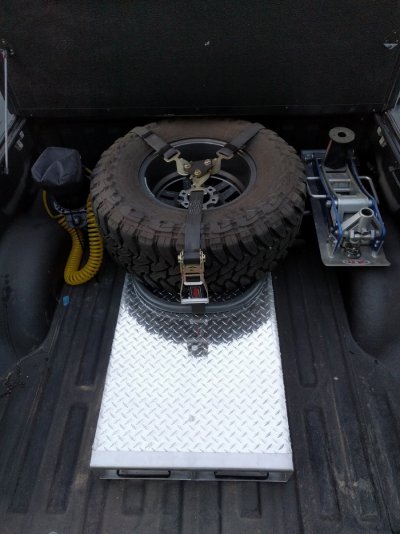
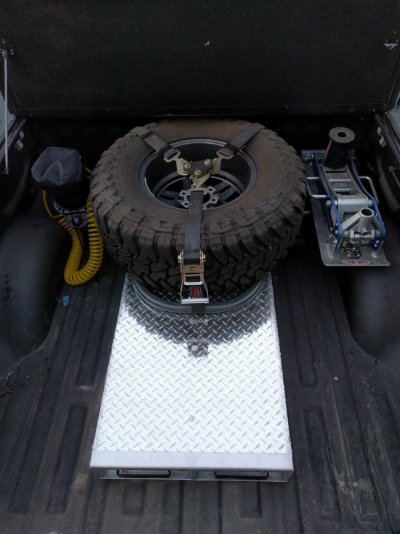
I went down to an annual event called the Desert Safari put on by Tierra Del Sol. I took the truck over some very jarring terrain at speed and did some small jumps. The rack held up well (though the Harbor Freight jack had a few bolts rattle loose). The tools in the box stayed secure too. I couldn’t have been happier with the end result. Here’s a picture after I got home from the event.
Measure twice, cut once, have fun, enjoy the process!
~bigrig
I was inspired when I saw the Krazy House Customs undercover rack to build one of my own. I should say it was part inspiration, part seeing how much shipping costs are to CA, and part just needing a new project. I put the rack to the test last weekend in Ocotillo Wells for the Tierra Del Sol Desert Safari. The weekend was a mix of high speed runs through the washes and some technical crawling through the surrounding eroded mountains. The rack held up great and kept everything secure.

Tools I used:
The caveat here is I used just about every tool I own. But here is a list of things that made the job a lot easier:
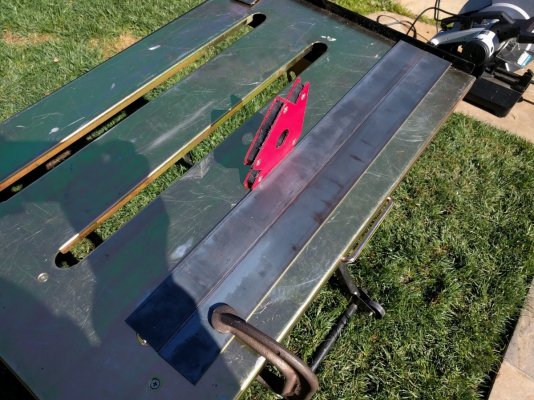
- Mig Welder
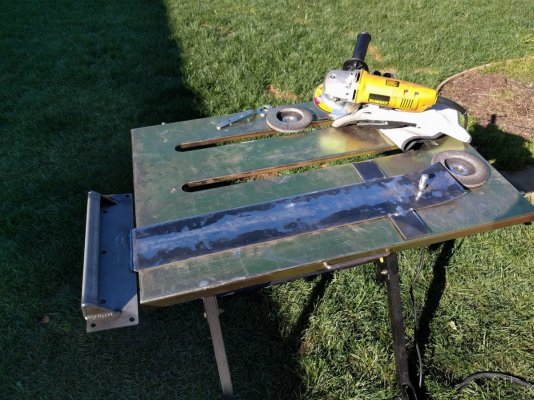
- Angle Grinder
- Evo chopsaw with steel blade (so much better than a grinding disc)
- Drill
- Eastwood Tube Notcher
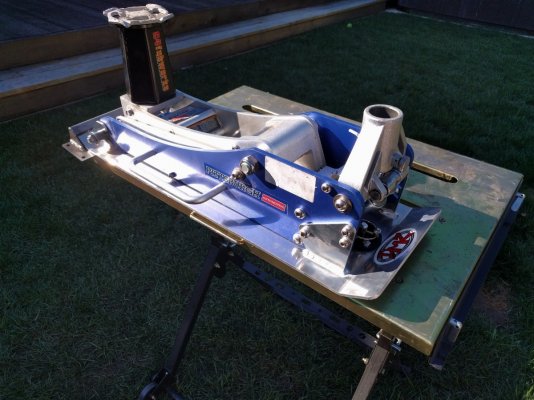
- Affordable Tube Bender
Materials I used:
- 1.5" OD x .095 wall DOM Tubing
- Jobox Truck/Van Storage Drawers
- SDHQ 3-Way Tire Strap
- DMZ Jack Skid with front and rear mounts
The core structure of the rack:
Getting everything lined up right in the beginning makes a big difference down the road (at least I think it would), which is why I was very deliberate and took time to measure everything and fit it before welding it together.
First I started with the feet. I cut them to size and drilled out the holes to support the bed bolts. I drilled a ⅝" hole for each of the feet.


Next I got to start bending some tube. I got pretty lucky not wasting any tubing in this part. The Affordable Tube Bender did its job nicely and I was able to control the bends accurately. I did have to adjust the hydraulic jack to get a solid 90° angle. It was a matter of unscrewing the contact plate from the piston to give the bender a greater amount of throw.


I checked and rechecked clearances regularly to make sure everything would fit. It is a real pain to move a wheel in and out of the bed so many times but I think it is necessary to ensure that everything fits.

A tip I would offer while using the Affordable Tube Bender is that you can attach a ratchet strap to the base of the hydraulic jack and then use the ratchet to pull up the die/jack assembly. It helps getting the die to 0° and it holds everything up so you can place the tube easier. I would also recommend tightening down the metal tube harness every time you bend it. If it is at all loose the grade 8 bolt that holds it in place will bend and your angles will not be as precise.

Next step was to create the crossmembers. I used the Eastwood Tube Notcher for this. I was really happy with this tool, did exactly what it said it does and makes fitting these tubes together much easier.


The final loop in the front proved to be the hardest bend to make. It is because when you are bending an already bent tube and the bent part enters the bending die, the angels get all screwy. I must have wasted about 10’ of tubing trying to get this right.

Wheel Harness:
The SDHQ three-way wheel harness comes with a triangle for all the straps to feed through. I decided I wanted all the hooks over the wheel rather than attaching to the rack since I felt that looping the straps around the rack was a better design. I set forth to build something that all the hooks could latch into. I cut up some ¼" plate metal and welded it together.

From there I grinded down the welds made some more cuts, drilled some holes, added some hardware and brass bushings and put a coat of paint on it.


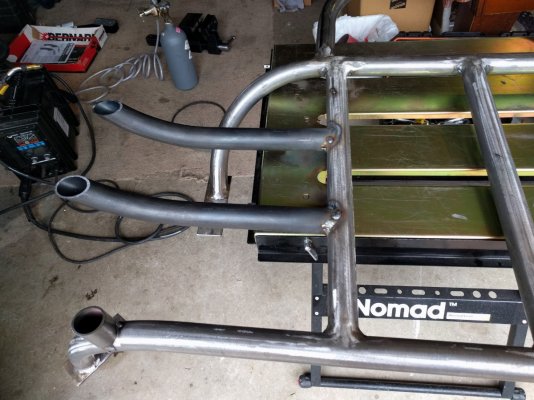
Power Tank Mount:
The Power Tank mount had to be cut because I couldn’t bend an angle that tight. I found some nice end caps that could be welded on the ends to clean up the appearance.


Jack Mount:
I purchased the jack skid with the mounts and hardware from DMZ. I worked out a way I could weld their stuff onto my rack. The most difficult part about this was getting the bends and the cuts to raise the jack high enough that it didn’t come in contact with the wheel wells but low enough that it didn’t hit the bed cover. Again it was a lot of assembling and disassembling to get the fit right. I joined a couple ¼" pieces of metal for the base and welded on another square tube for rigidity.
Note to anyone doing this, remove the ABS plastic for the hood pin from the skid if you are using it to weld the base, I melted mine a little doing so.


Sending off for powder coat:
I wasn’t going to let my newly created piece of art rust. So I sent it out for powder coating. The color I chose was called GR02 color grey metallic.


The final product:
I added a Jobox tool drawer and got the bed Line-X’d for added functionality, durability and appearance. I should note I reinforced the Jobox tool drawer by running a few extra beads along the seams. I am not sure if it needed it but I needed some aluminum welding practice so I went for it.


Testing it out:
I went down to an annual event called the Desert Safari put on by Tierra Del Sol. I took the truck over some very jarring terrain at speed and did some small jumps. The rack held up well (though the Harbor Freight jack had a few bolts rattle loose). The tools in the box stayed secure too. I couldn’t have been happier with the end result. Here’s a picture after I got home from the event.

Measure twice, cut once, have fun, enjoy the process!
~bigrig
Last edited:


